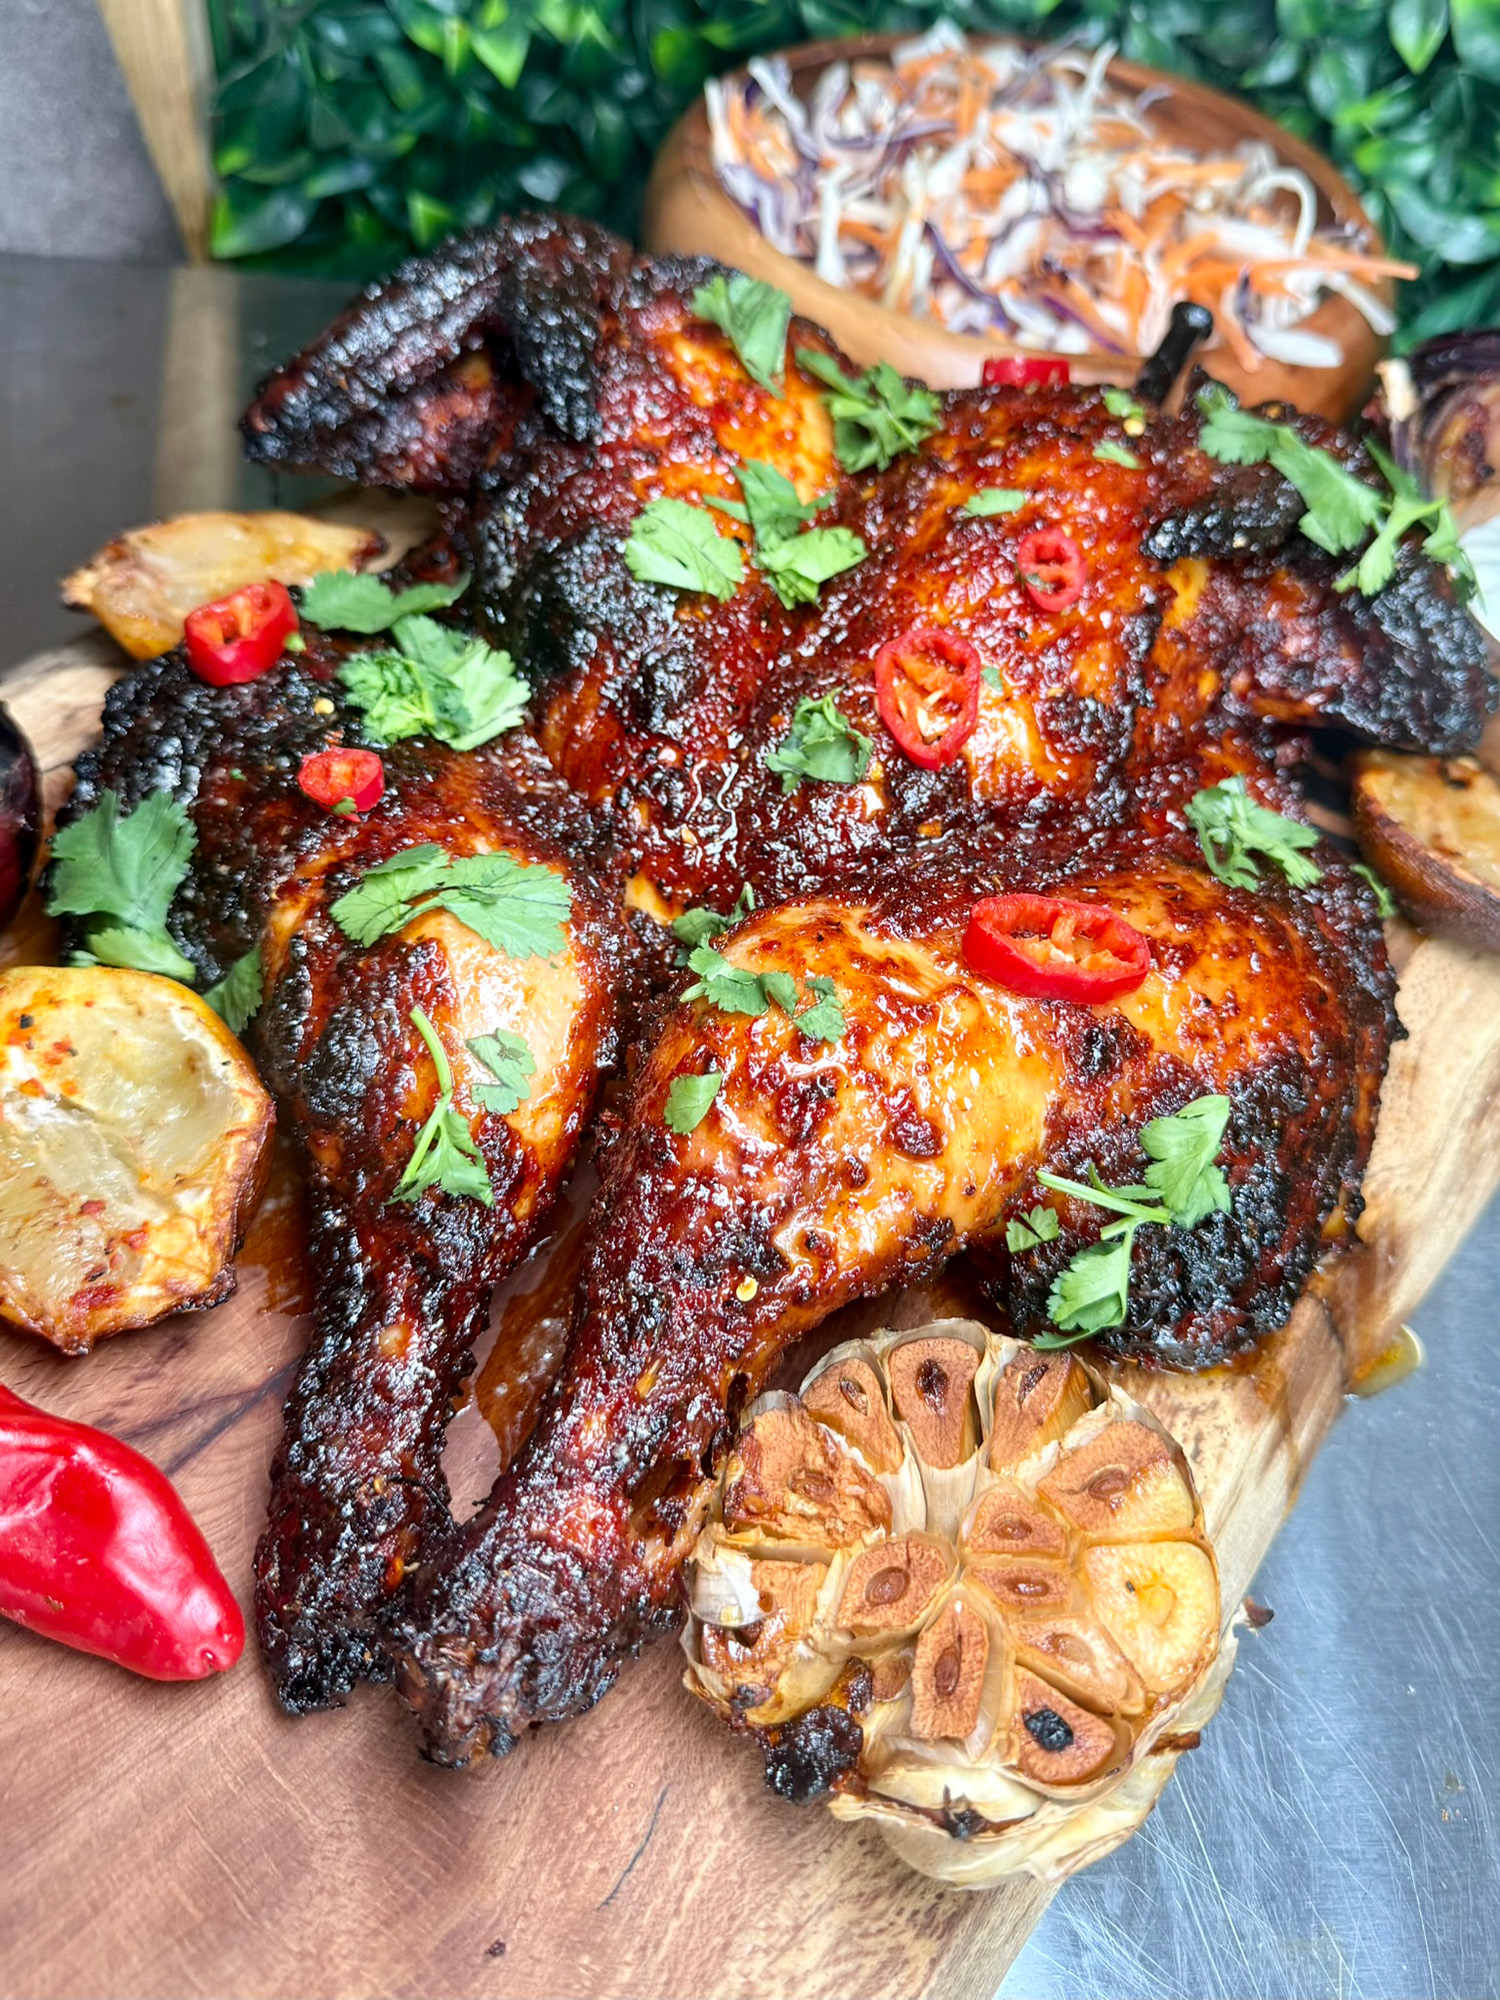


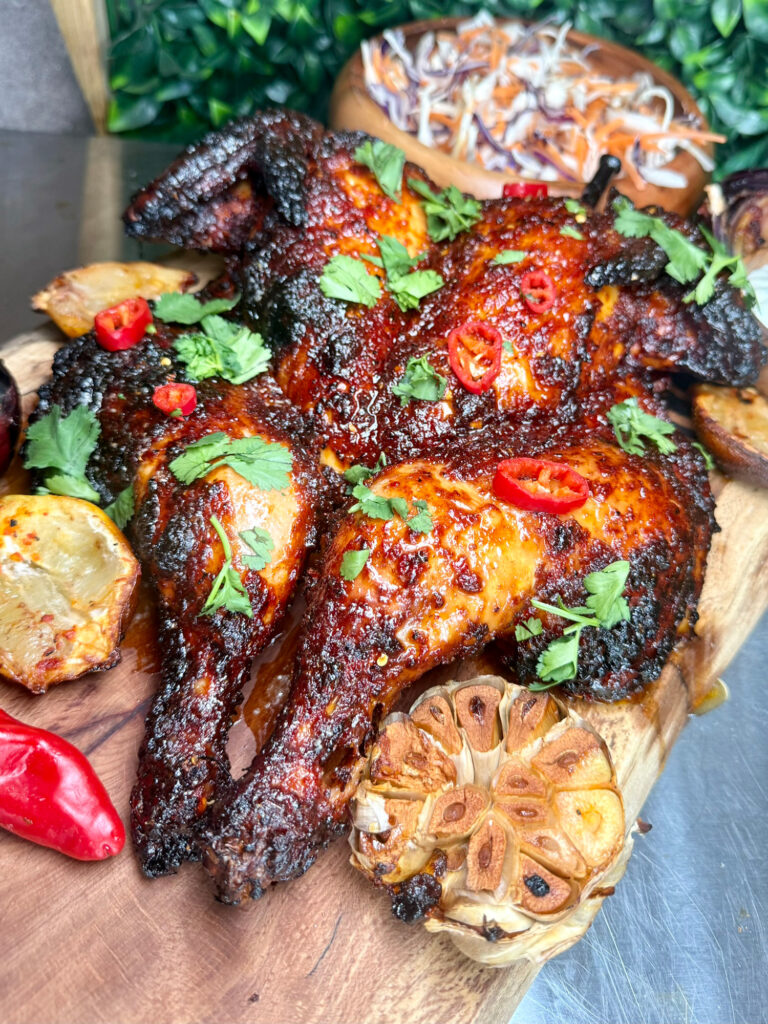
This Firestarter Piri Piri Chicken came about after I was asked to get involved in the next BBQ Without Borders cookbook from The BBQ Community. I was lucky enough to be part of the original cookbook put together by my good mate Jon Wilson, where you’ll find my recipe for the ULTIMATE roast potatoes. This time, I wanted to bring something with proper fire, colour and family-friendly flavour — so piri piri chicken got the nod. It took four attempts to get this where I wanted it. I wasn’t chasing pointless heat that just smashes your face off for no reason. I wanted balance: smoky charred veg, citrus punch, sweetness, spice, a little kick, and enough flavour that the whole family would smash it. And trust me, all my kids do.
Firestarter Piri Piri Chicken – Ninja FlexFlame Sticky Hot Honey BBQ Chicken
Ingredients
Chicken:
Piri Piri Paste - Charred Veg:
Piri Piri Paste - Jarred Peppers:
Piri Piri Paste - Citrus:
Piri Piri Paste - Herbs And Spices:
Piri Piri Paste - Wet Ingredients:
Hot Honey Glaze:
Smoked Butter Finish:
Cooking Tray Extras:
Garnish:
Instructions
-
Step 1: Spatchcock The Chicken
Place the chicken breast-side down. Using sharp kitchen scissors, cut down both sides of the backbone and remove it. Flip the chicken over and press down firmly until it flattens out. Pat it properly dry with kitchen roll.
-
Step 2: Dry Brine Overnight
Sprinkle the 30g flaky sea salt evenly all over the chicken. Place it uncovered in the fridge overnight. This seasons the meat deeper, dries the skin, improves colour, and gives you a better shot at that crispy BBQ finish without needing to summon dark magic.
-
Step 3: Prep The Charred Veg
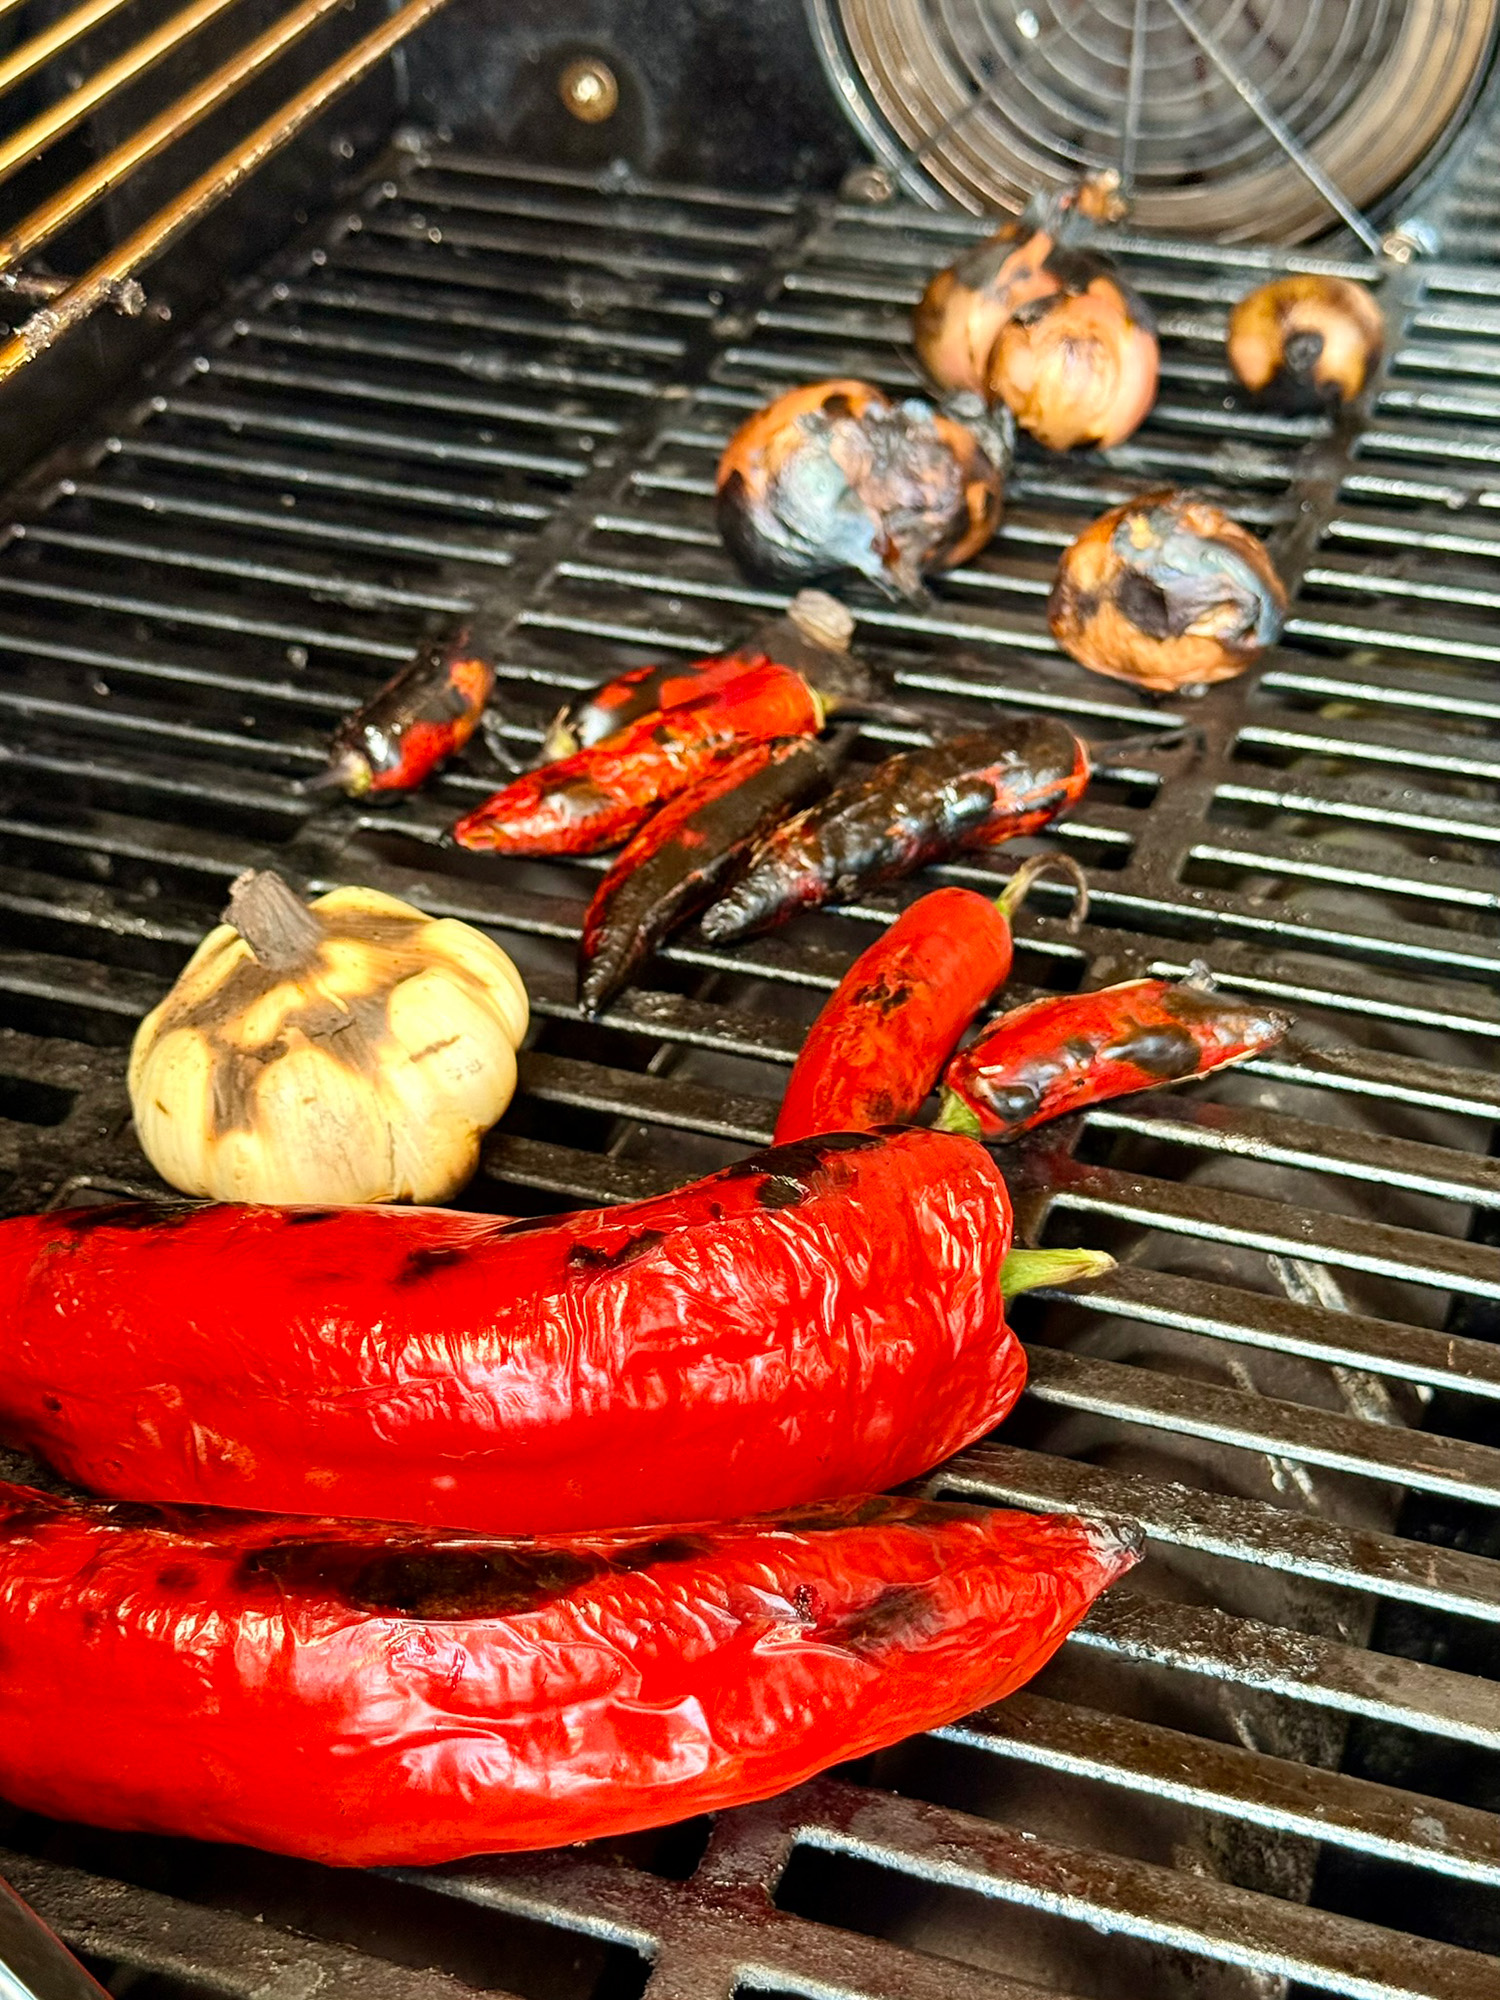
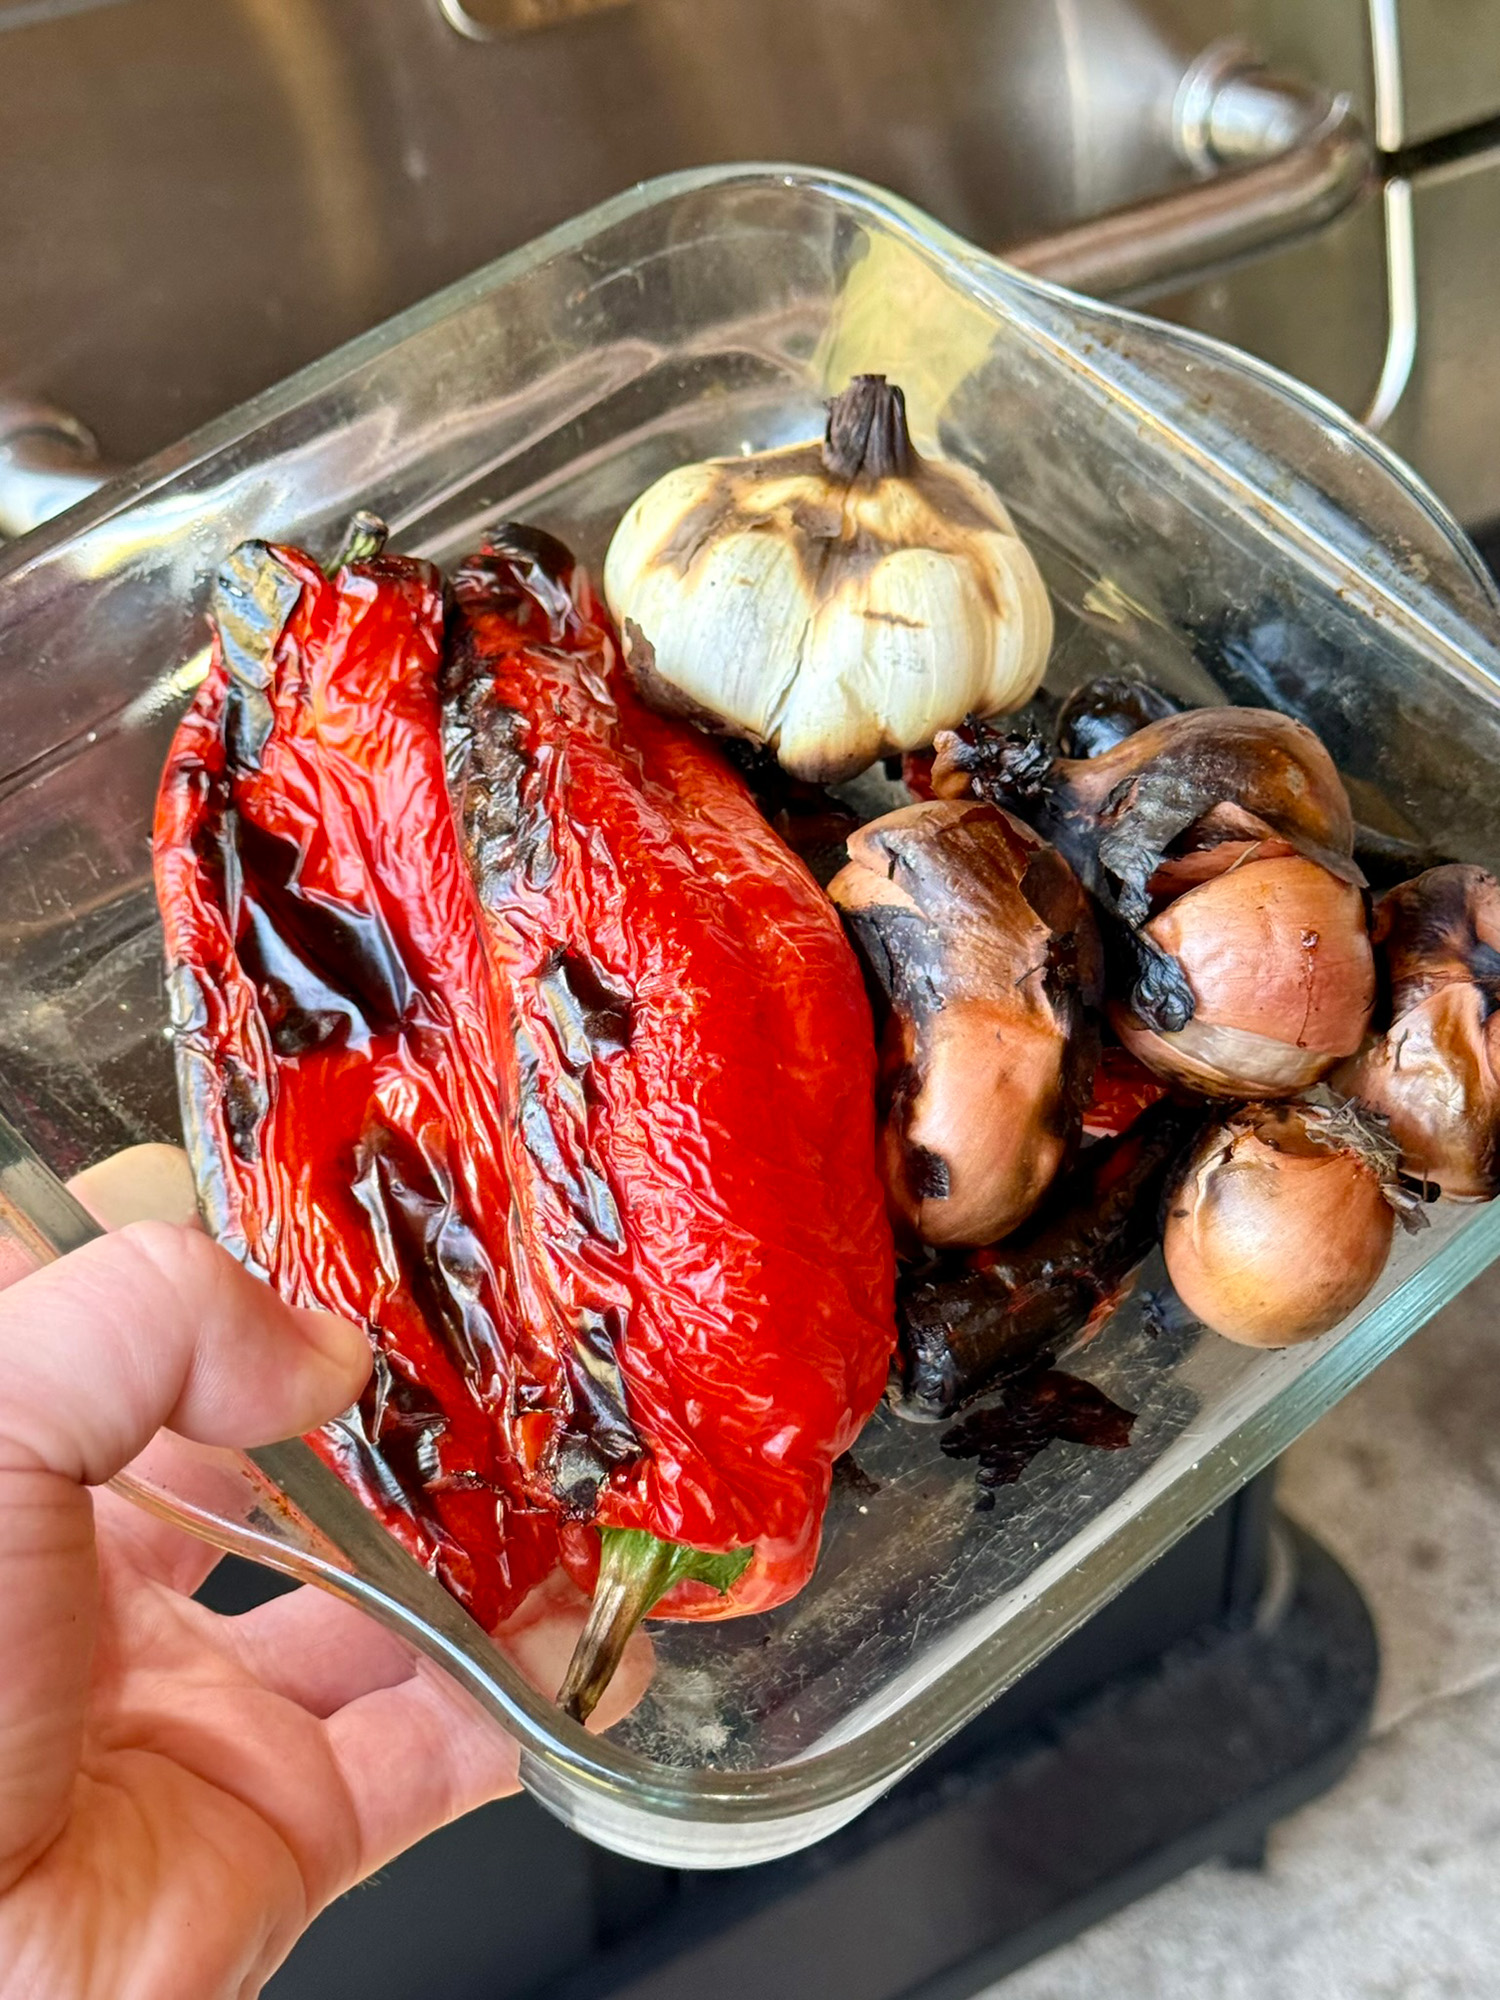
Once your veg is charred, remove any really burnt loose skin from the peppers and chillies, but keep most of the char because that’s where the smoky flavour lives. Peel the outer burnt layer from the shallots, then squeeze the soft roasted garlic out of the bulb.
-
Step 4: Make The Piri Piri Paste
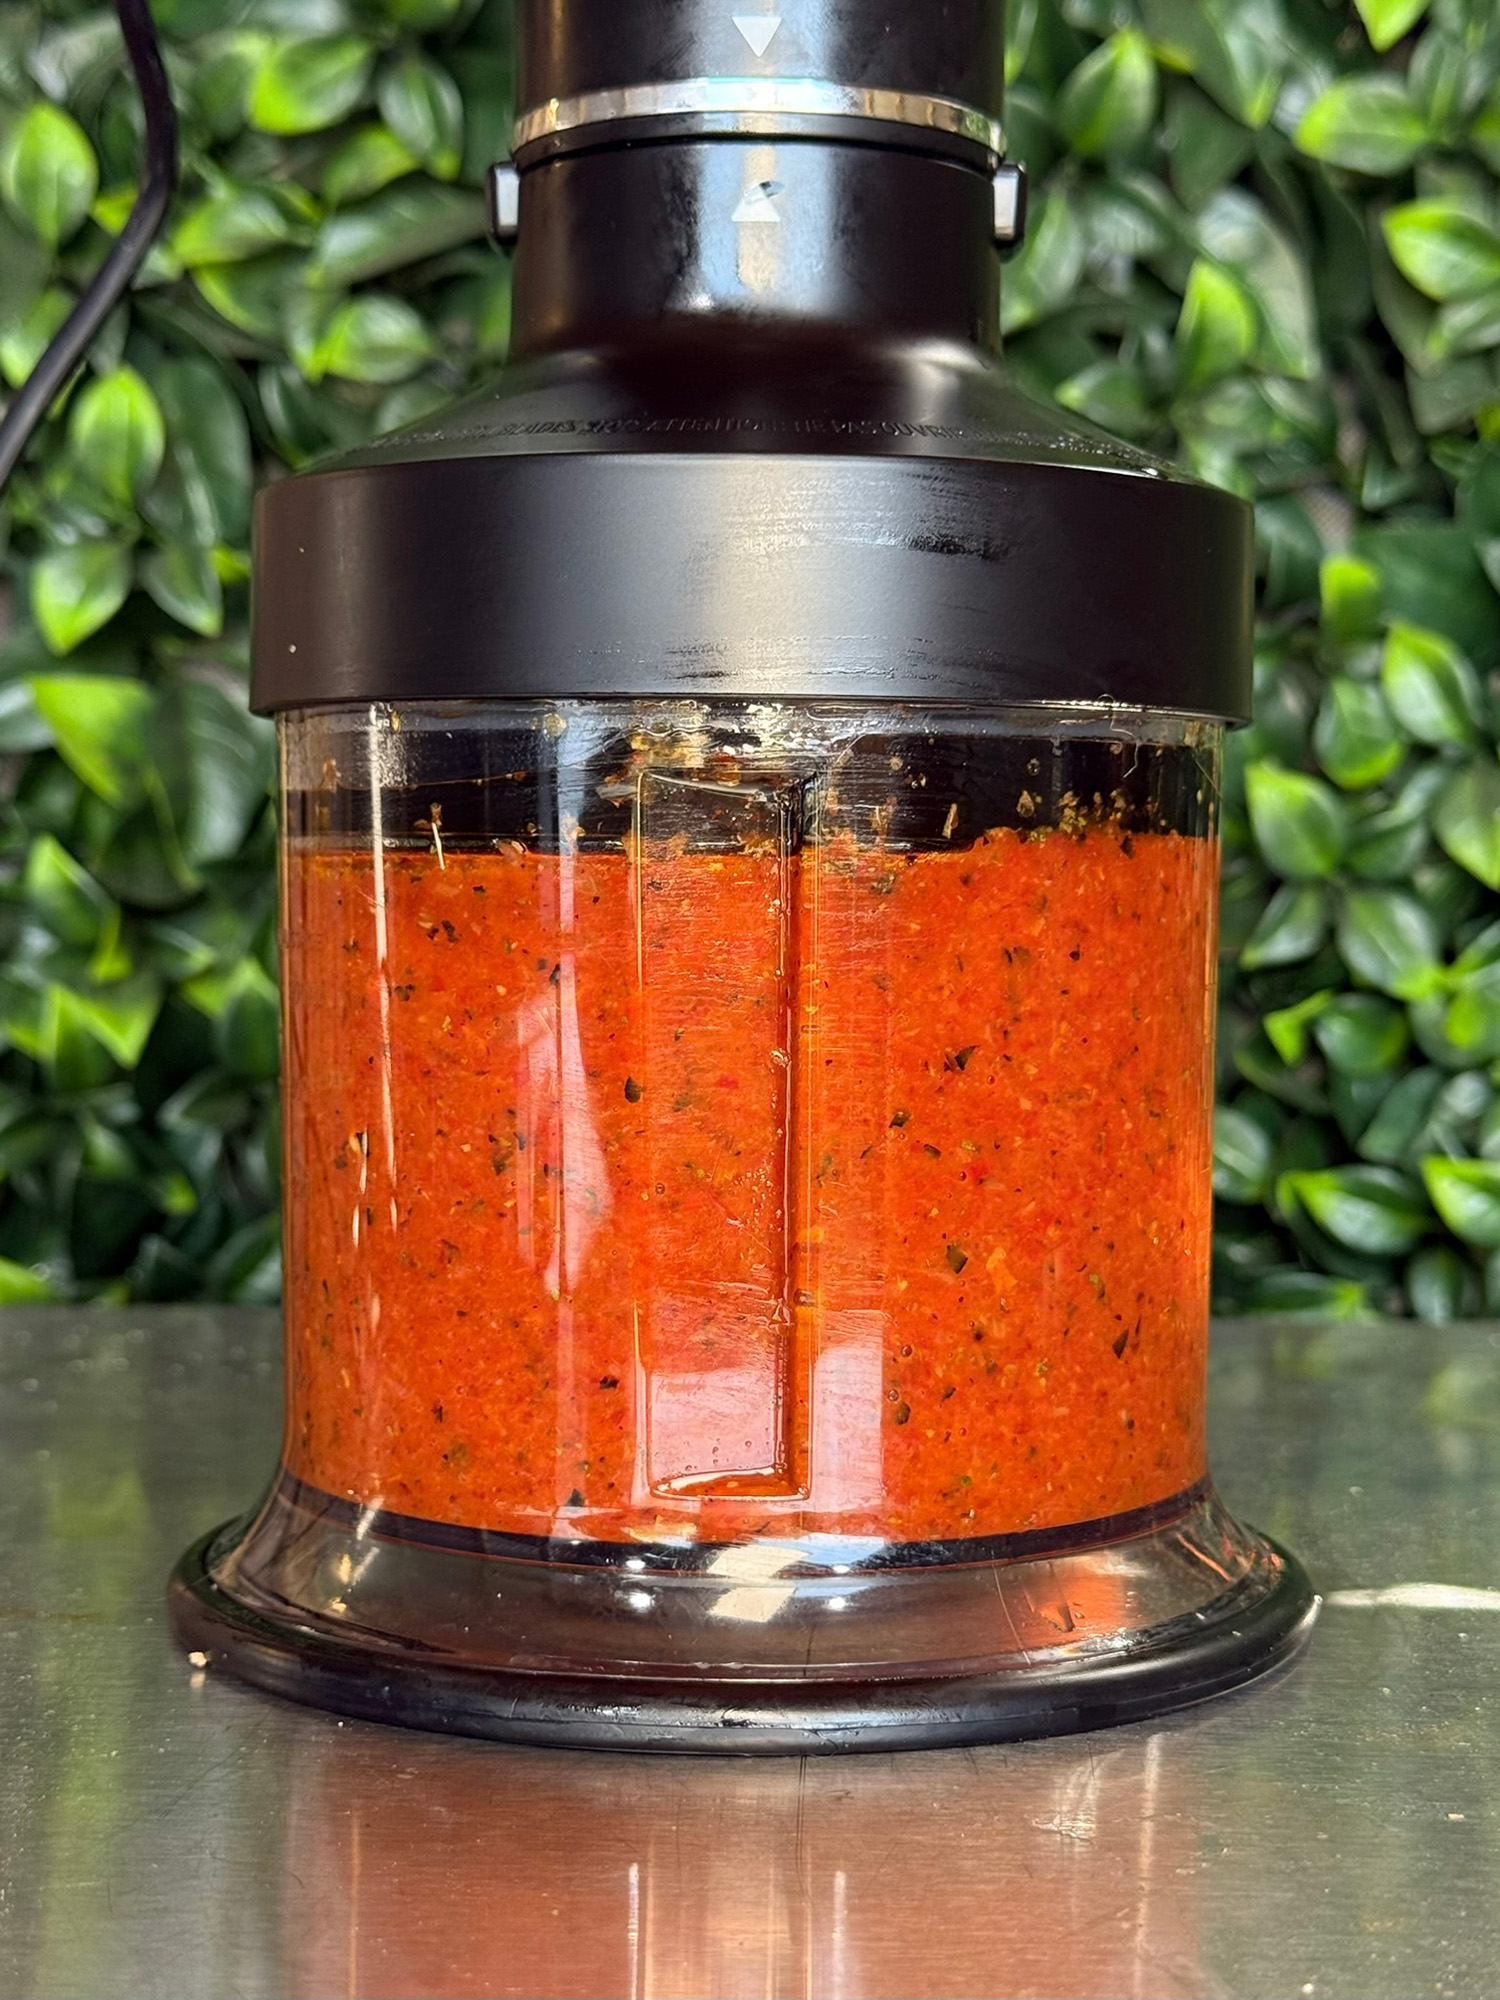
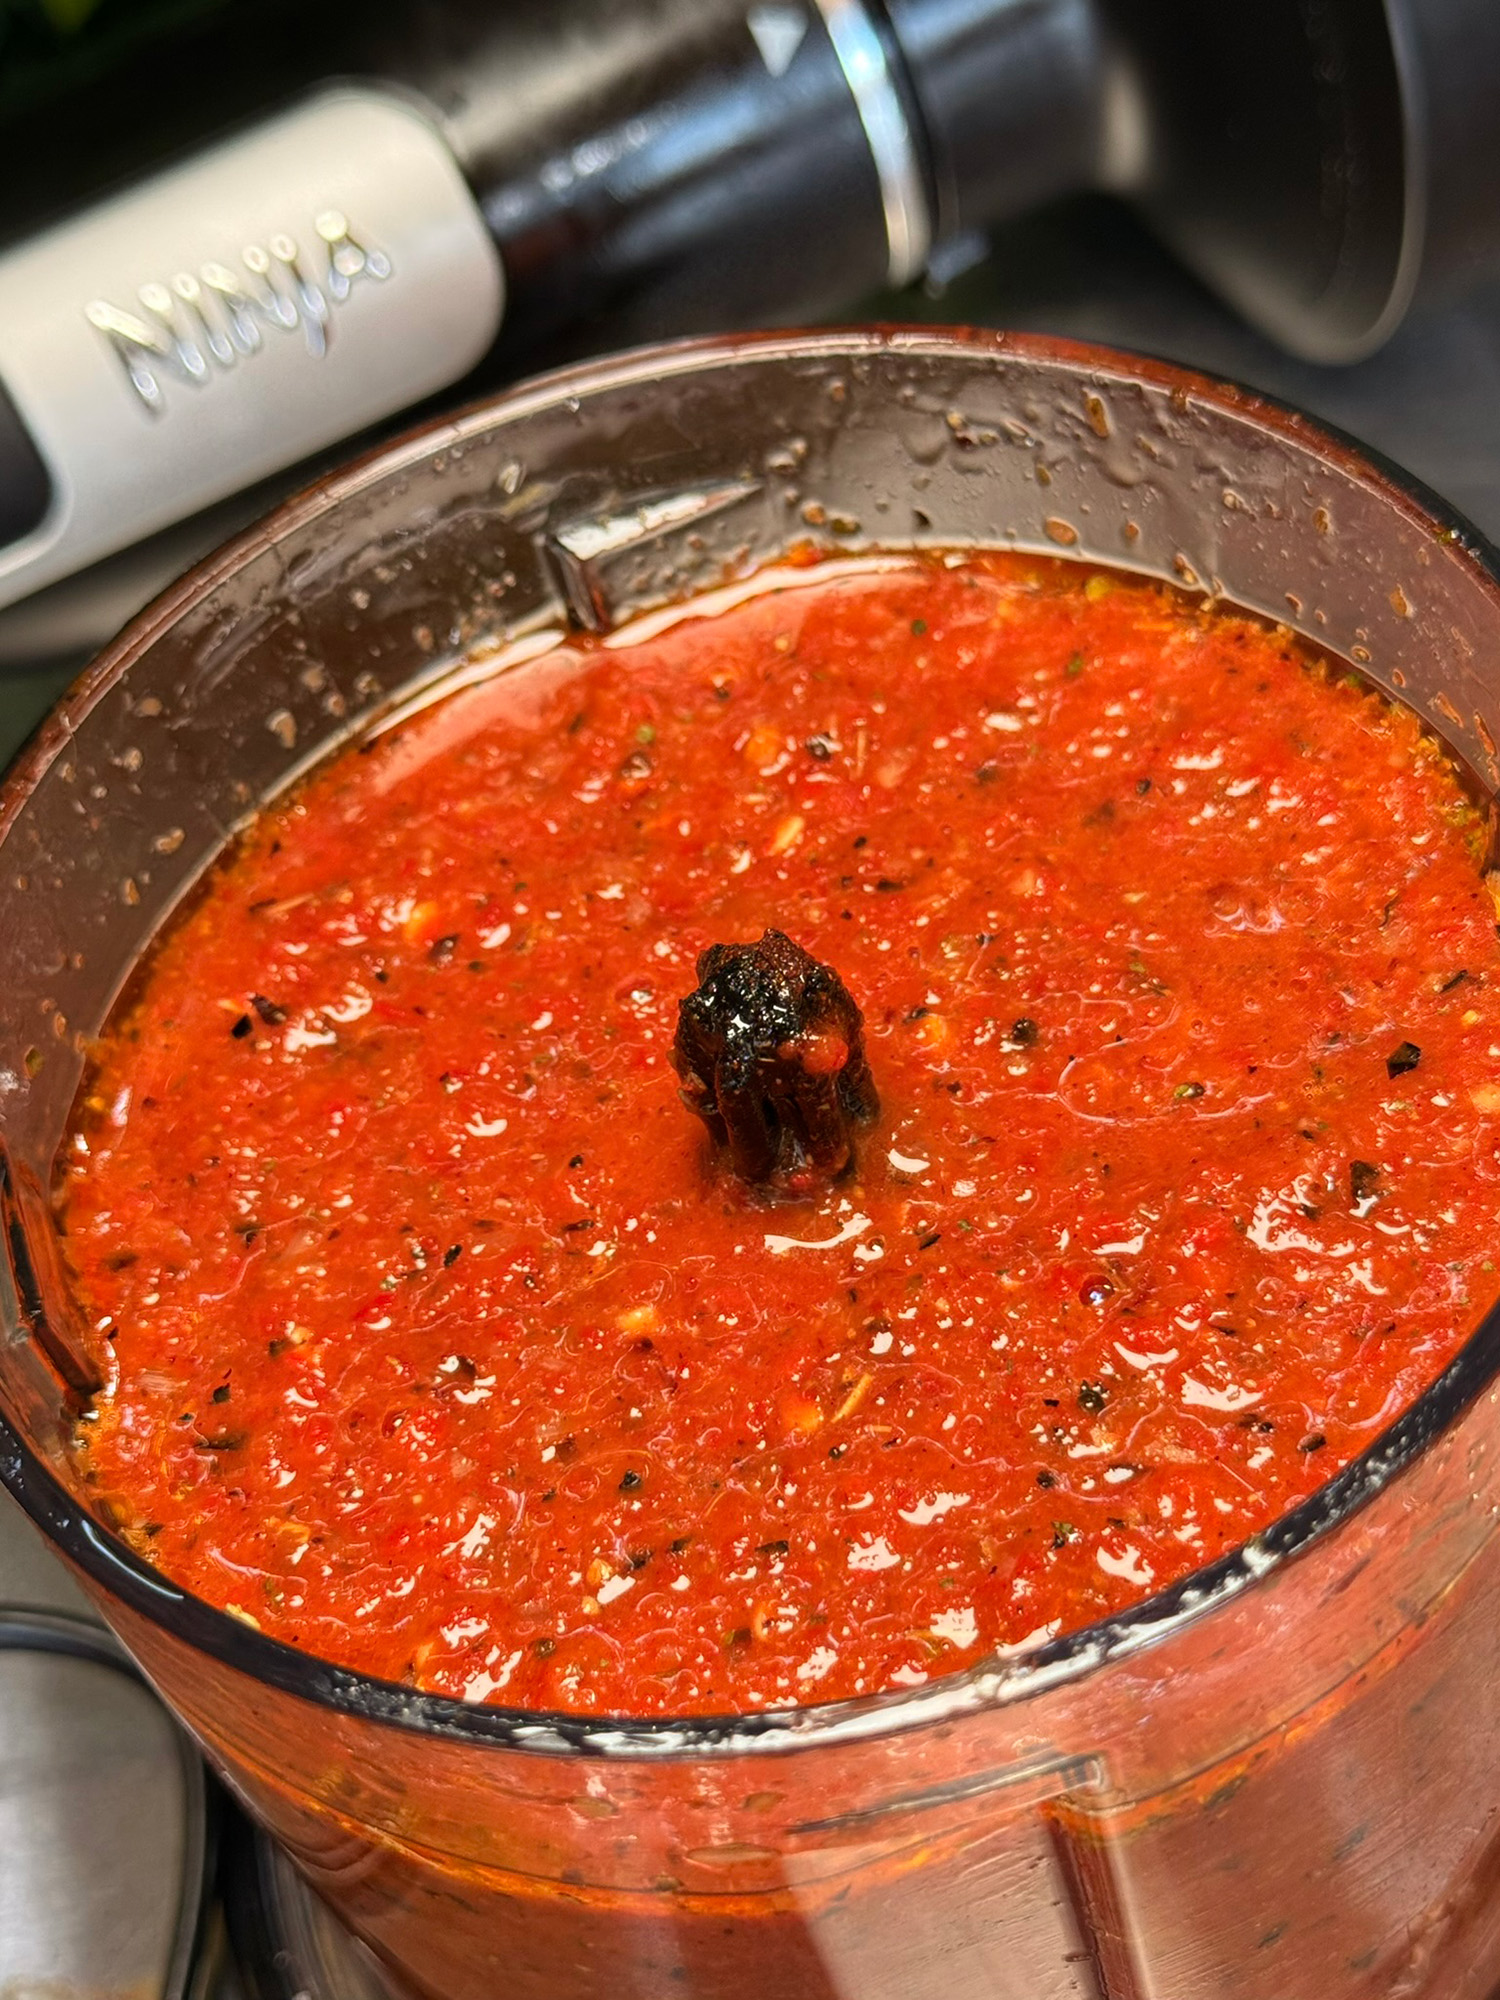
Add the charred pointed peppers, chillies, shallots and roasted garlic to a blender. Add the drained jarred roasted peppers, lemon zest, lemon juice, lime juice, smoked paprika, oregano, coriander, black pepper, sea salt, chilli flakes, red wine vinegar, honey, brown sugar and olive oil. Blend until smooth-ish, glossy, but still slightly textured. You want it punchy, spicy, smoky and slightly too intense. That’s not a problem — that’s the point.
-
Step 5: Reserve Some Sauce
Remove one third of the piri piri sauce and set it aside for basting and glazing later. Do this before the raw chicken gets involved. Never use raw chicken marinade later unless you fancy turning dinner into a stomach-bug lottery.
-
Step 6: Marinate The Chicken
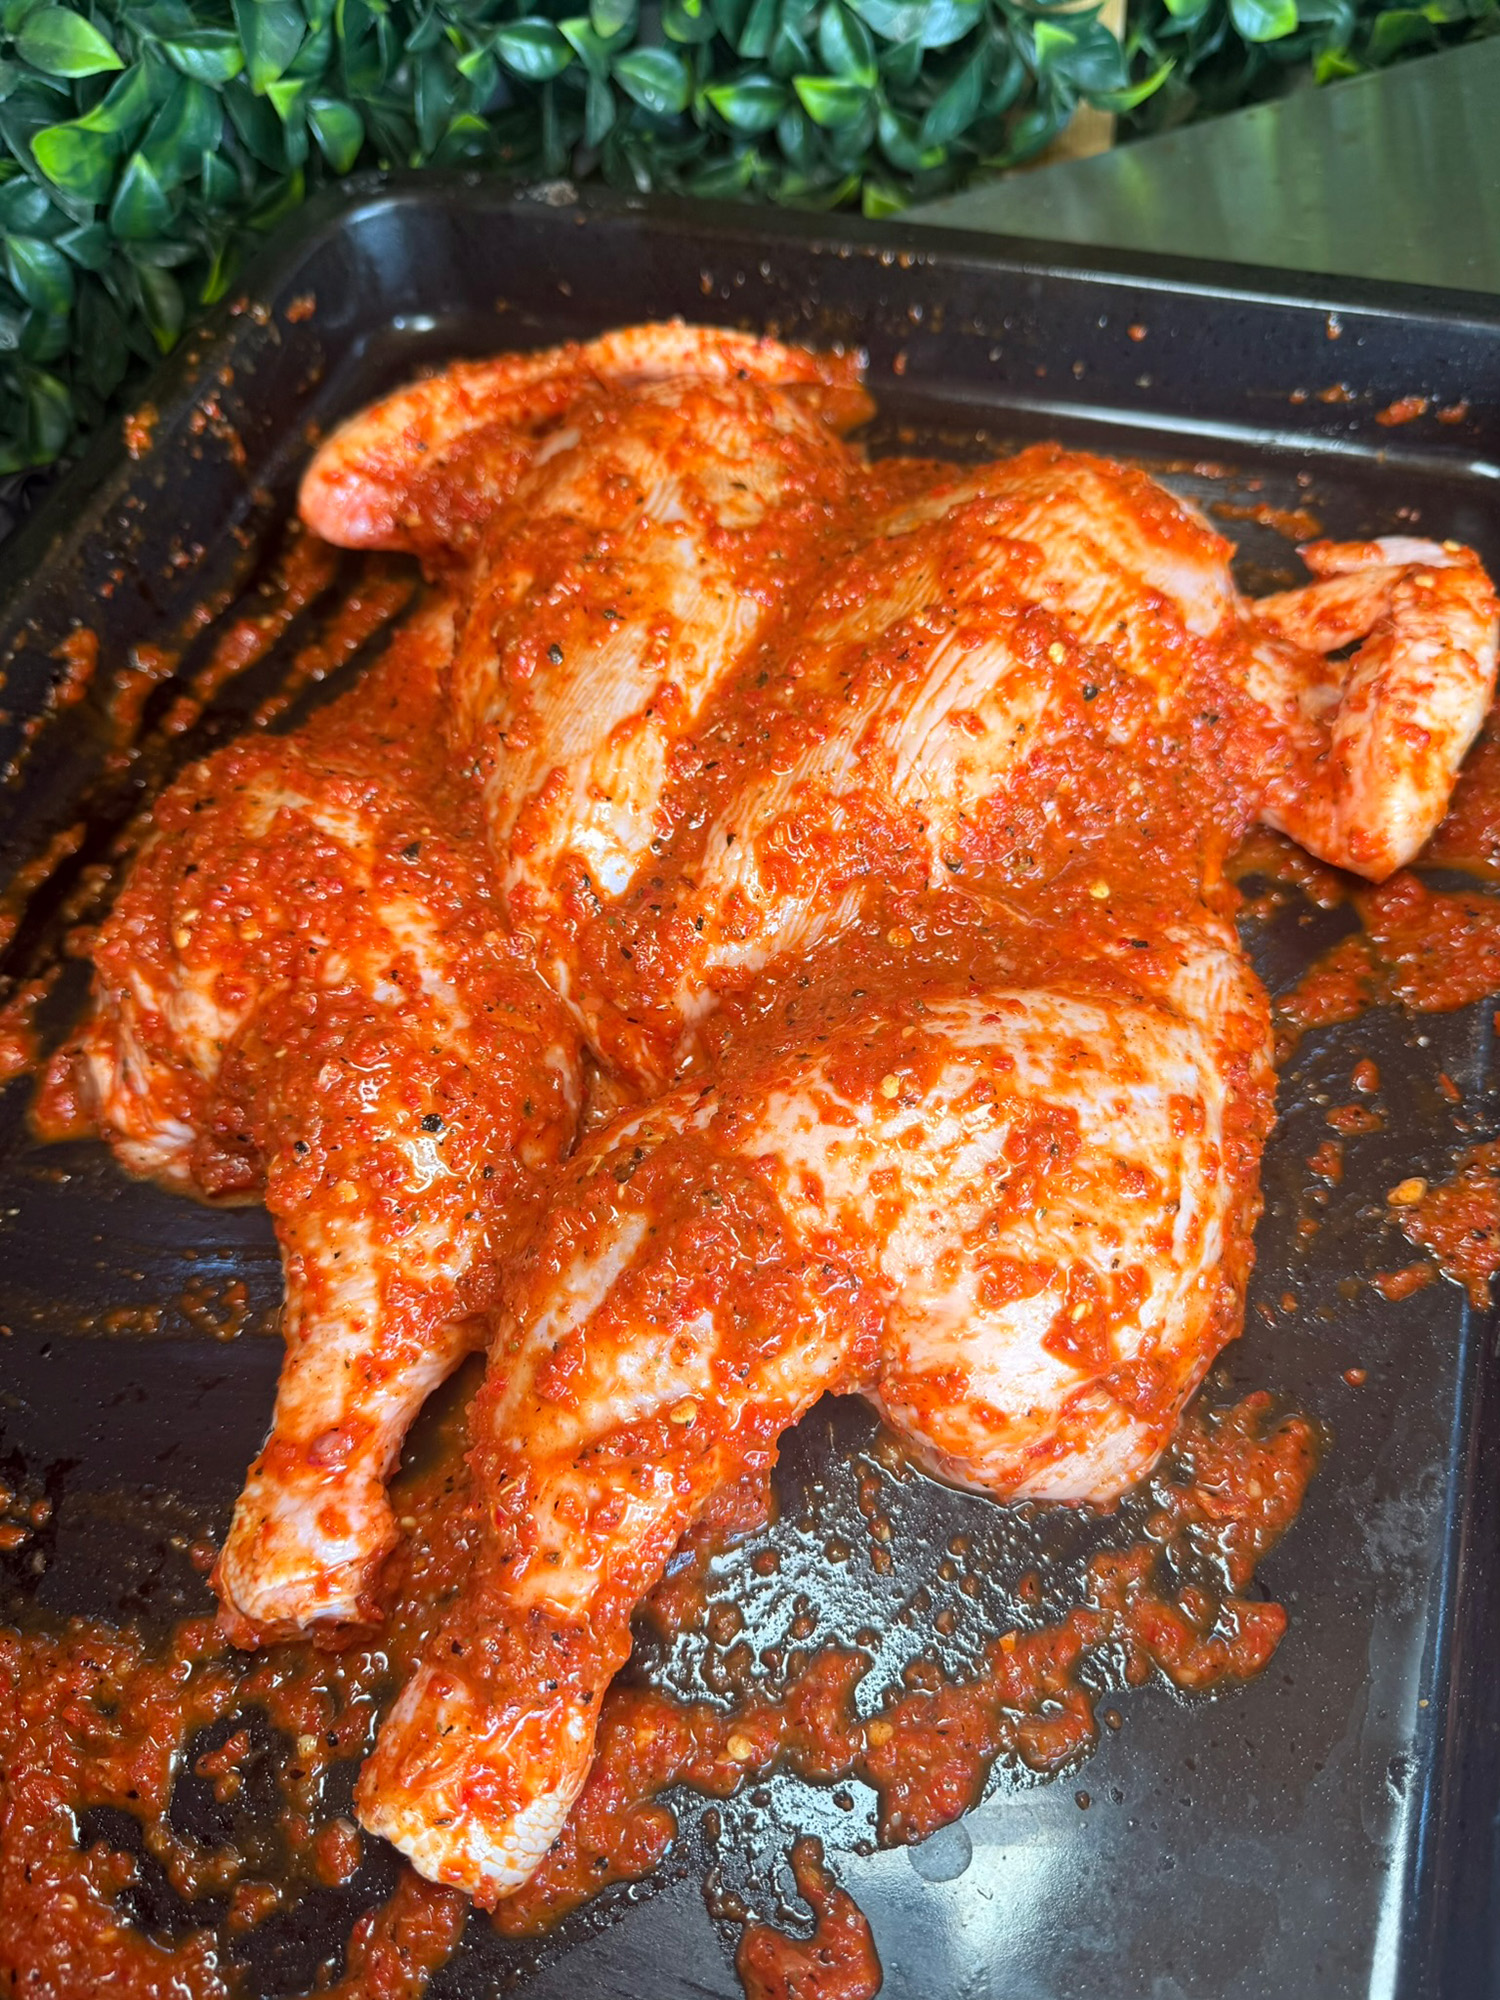
Rub the chicken lightly with 1 tbsp olive oil, then coat it generously with the remaining two thirds of the piri piri paste. Get it into all the nooks and crannies. Marinate for 2–3 hours, then remove from the fridge 30 minutes before cooking so it can lose the fridge chill.
-
Step 7: Preheat The Ninja FlexFlame
Load the Ninja FlexFlame with pellets — use whatever flavour you fancy. Apple, cherry or oak would all work nicely here, but full disclosure: I was testing a secret new FOURGE blend for this cook . . . coming soon.
Set the Ninja FlexFlame to Roast / Bake Mode at 190°C and let it fully stabilise. You want steady, clean heat with that gentle kiss of smoke doing its thing in the background.
-
Step 8: Build Flavour Underneath
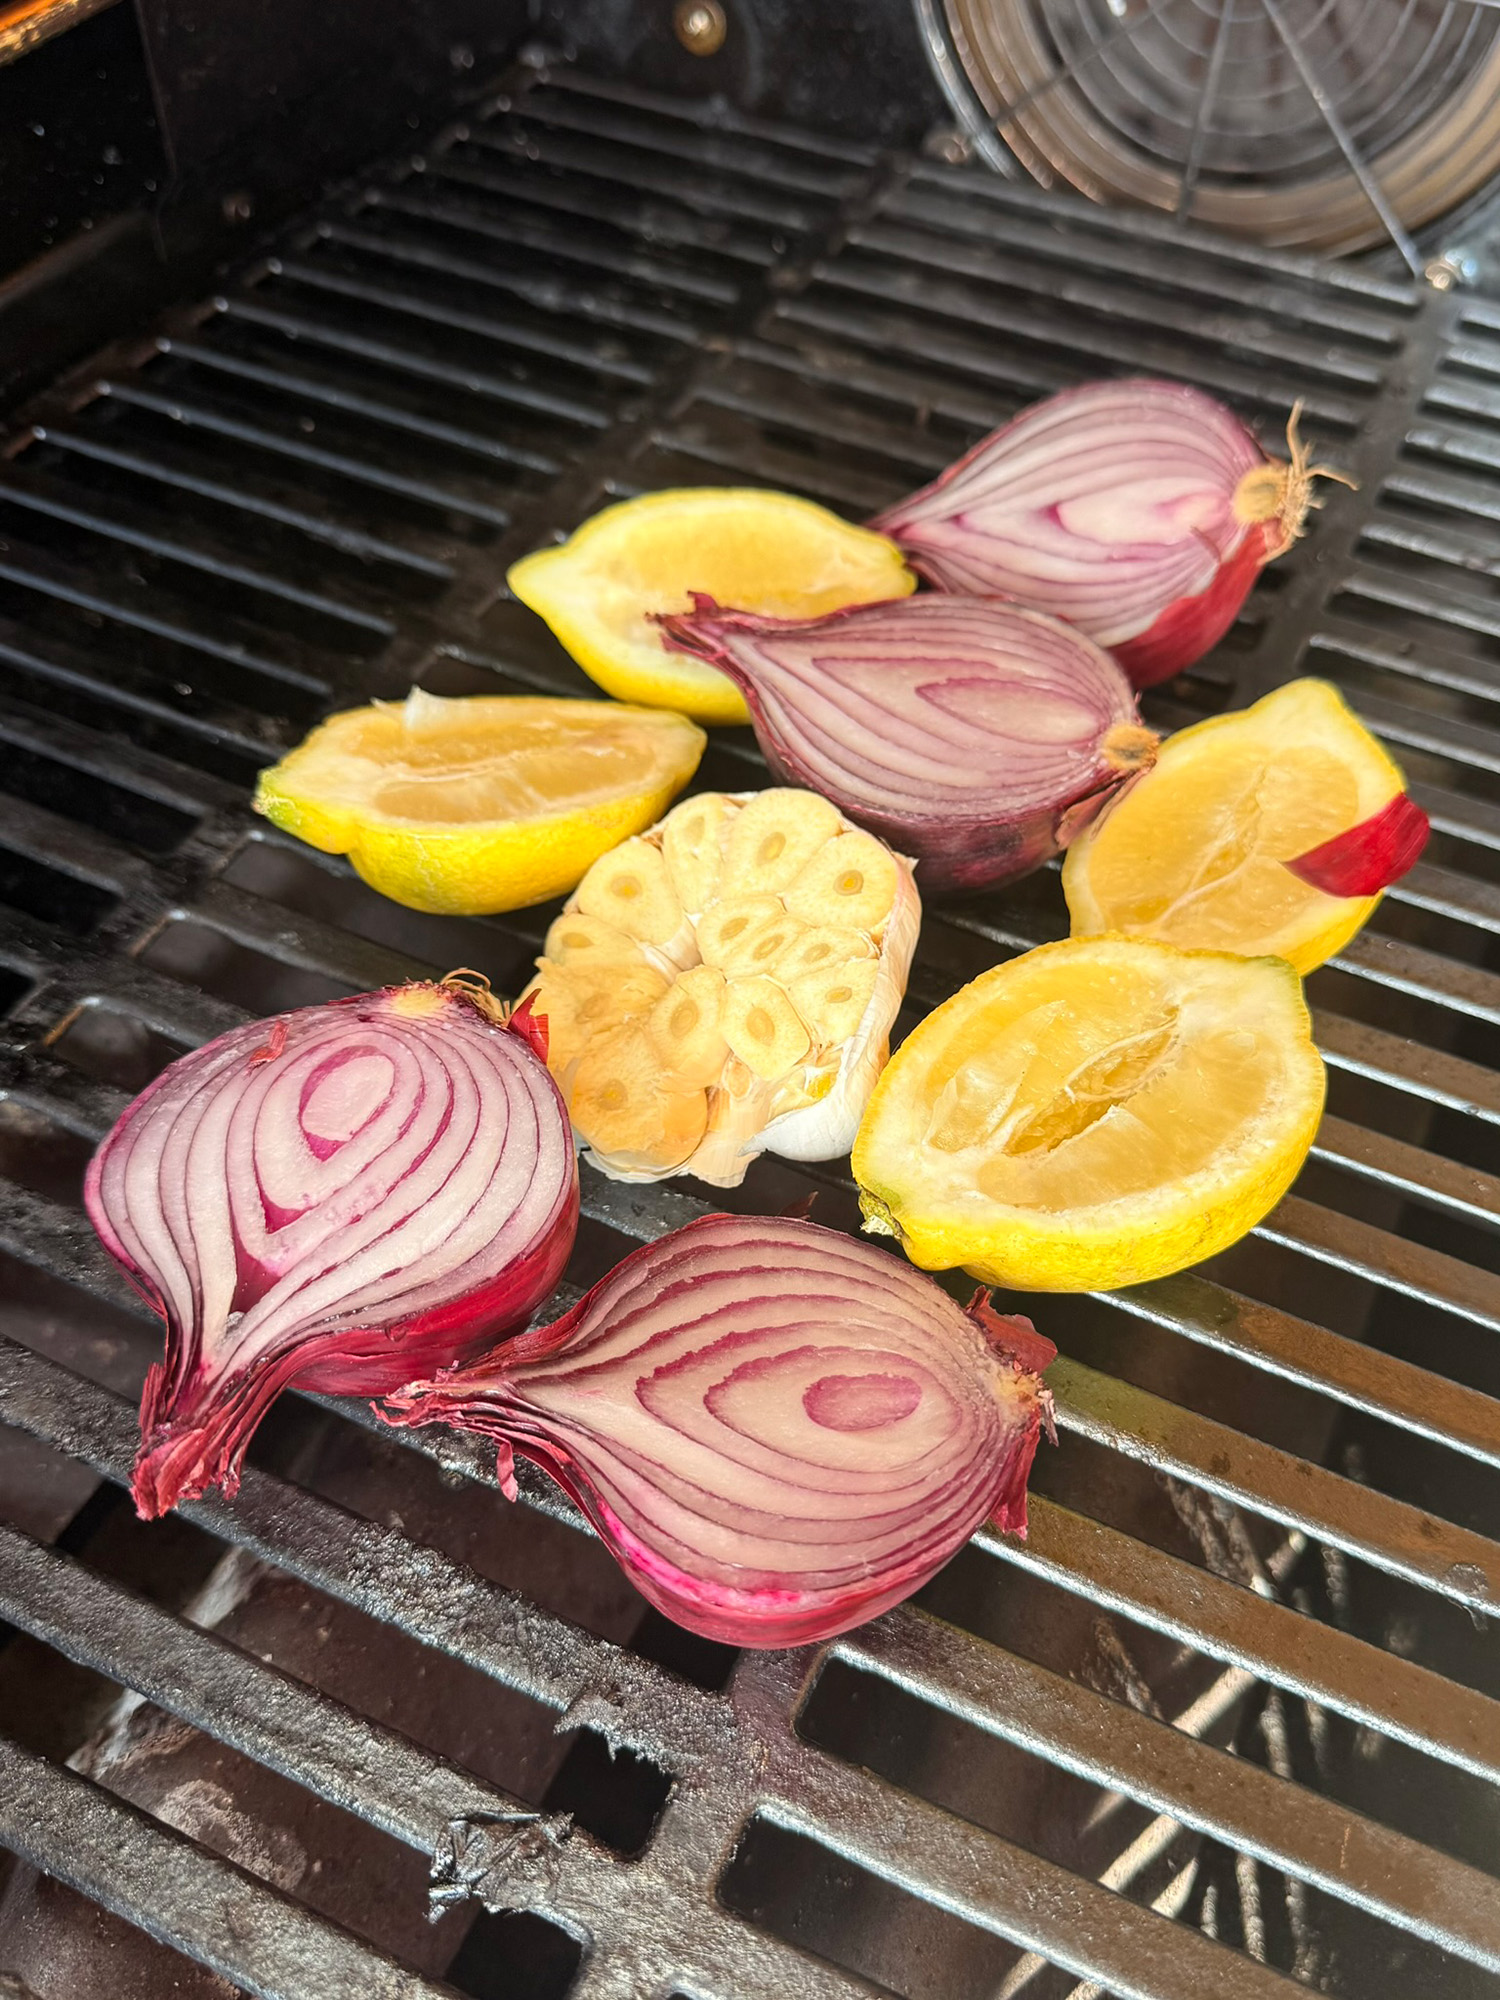
Place the lemon halves, quartered red onion and halved garlic bulb onto the grates. Sit the chicken above them, skin-side up. These bits perfume the chicken, catch the juices and turn into banging garnish.
-
Step 9: Start Cooking
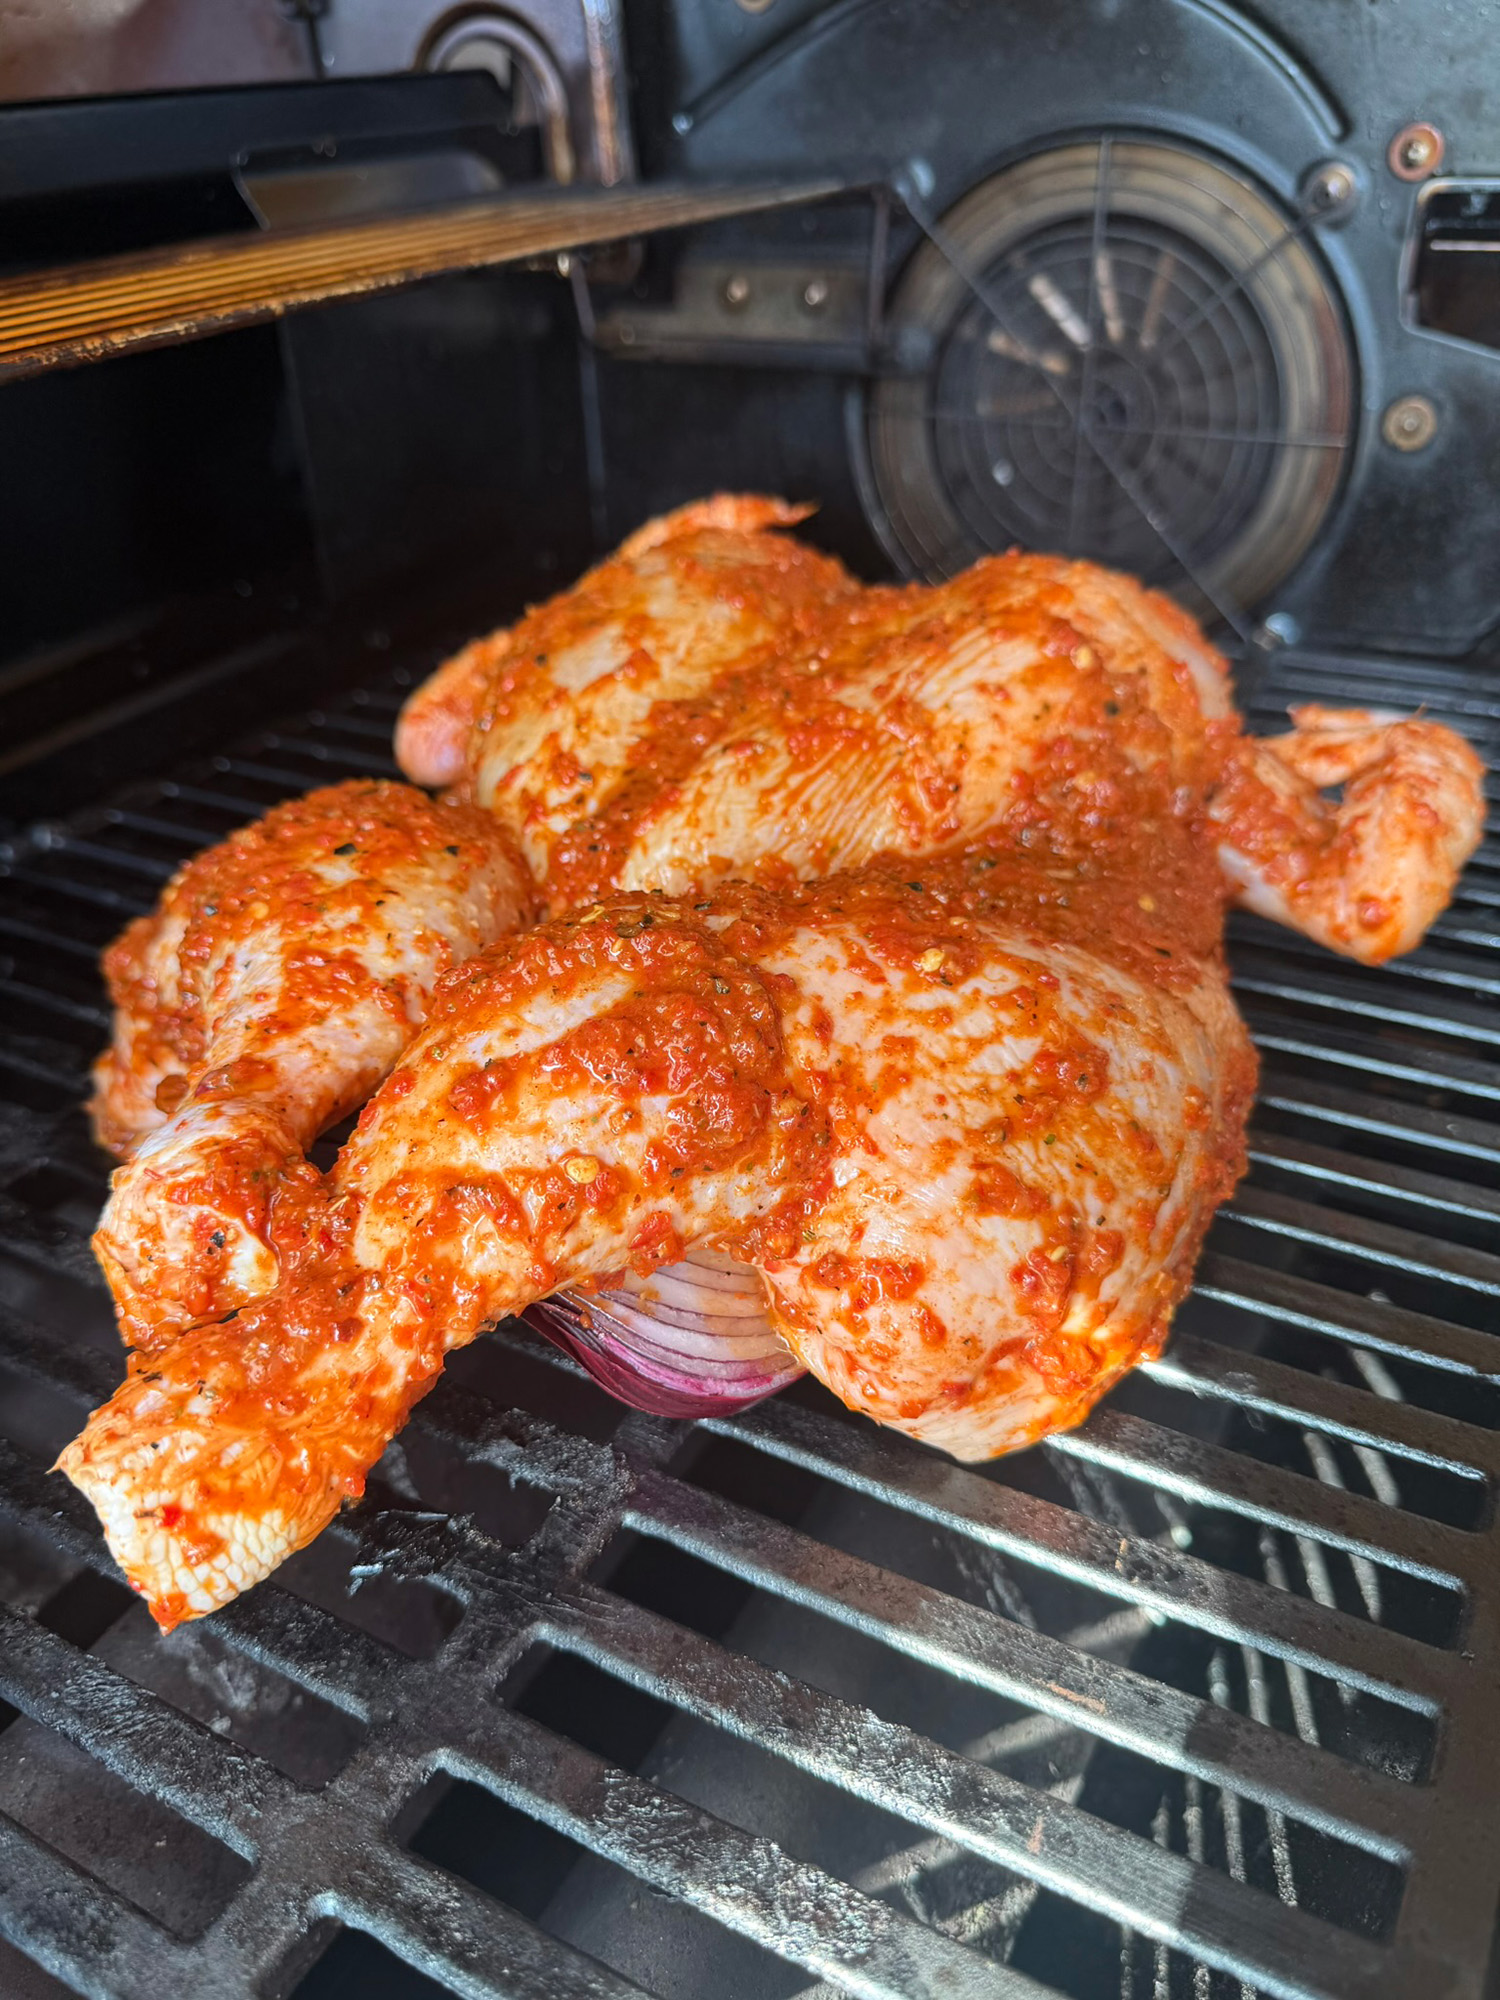
Cook the chicken skin-side up, untouched, for 20 minutes. Let the skin tighten, the fat start rendering, and the colour begin to build.
-
Step 10: First Baste
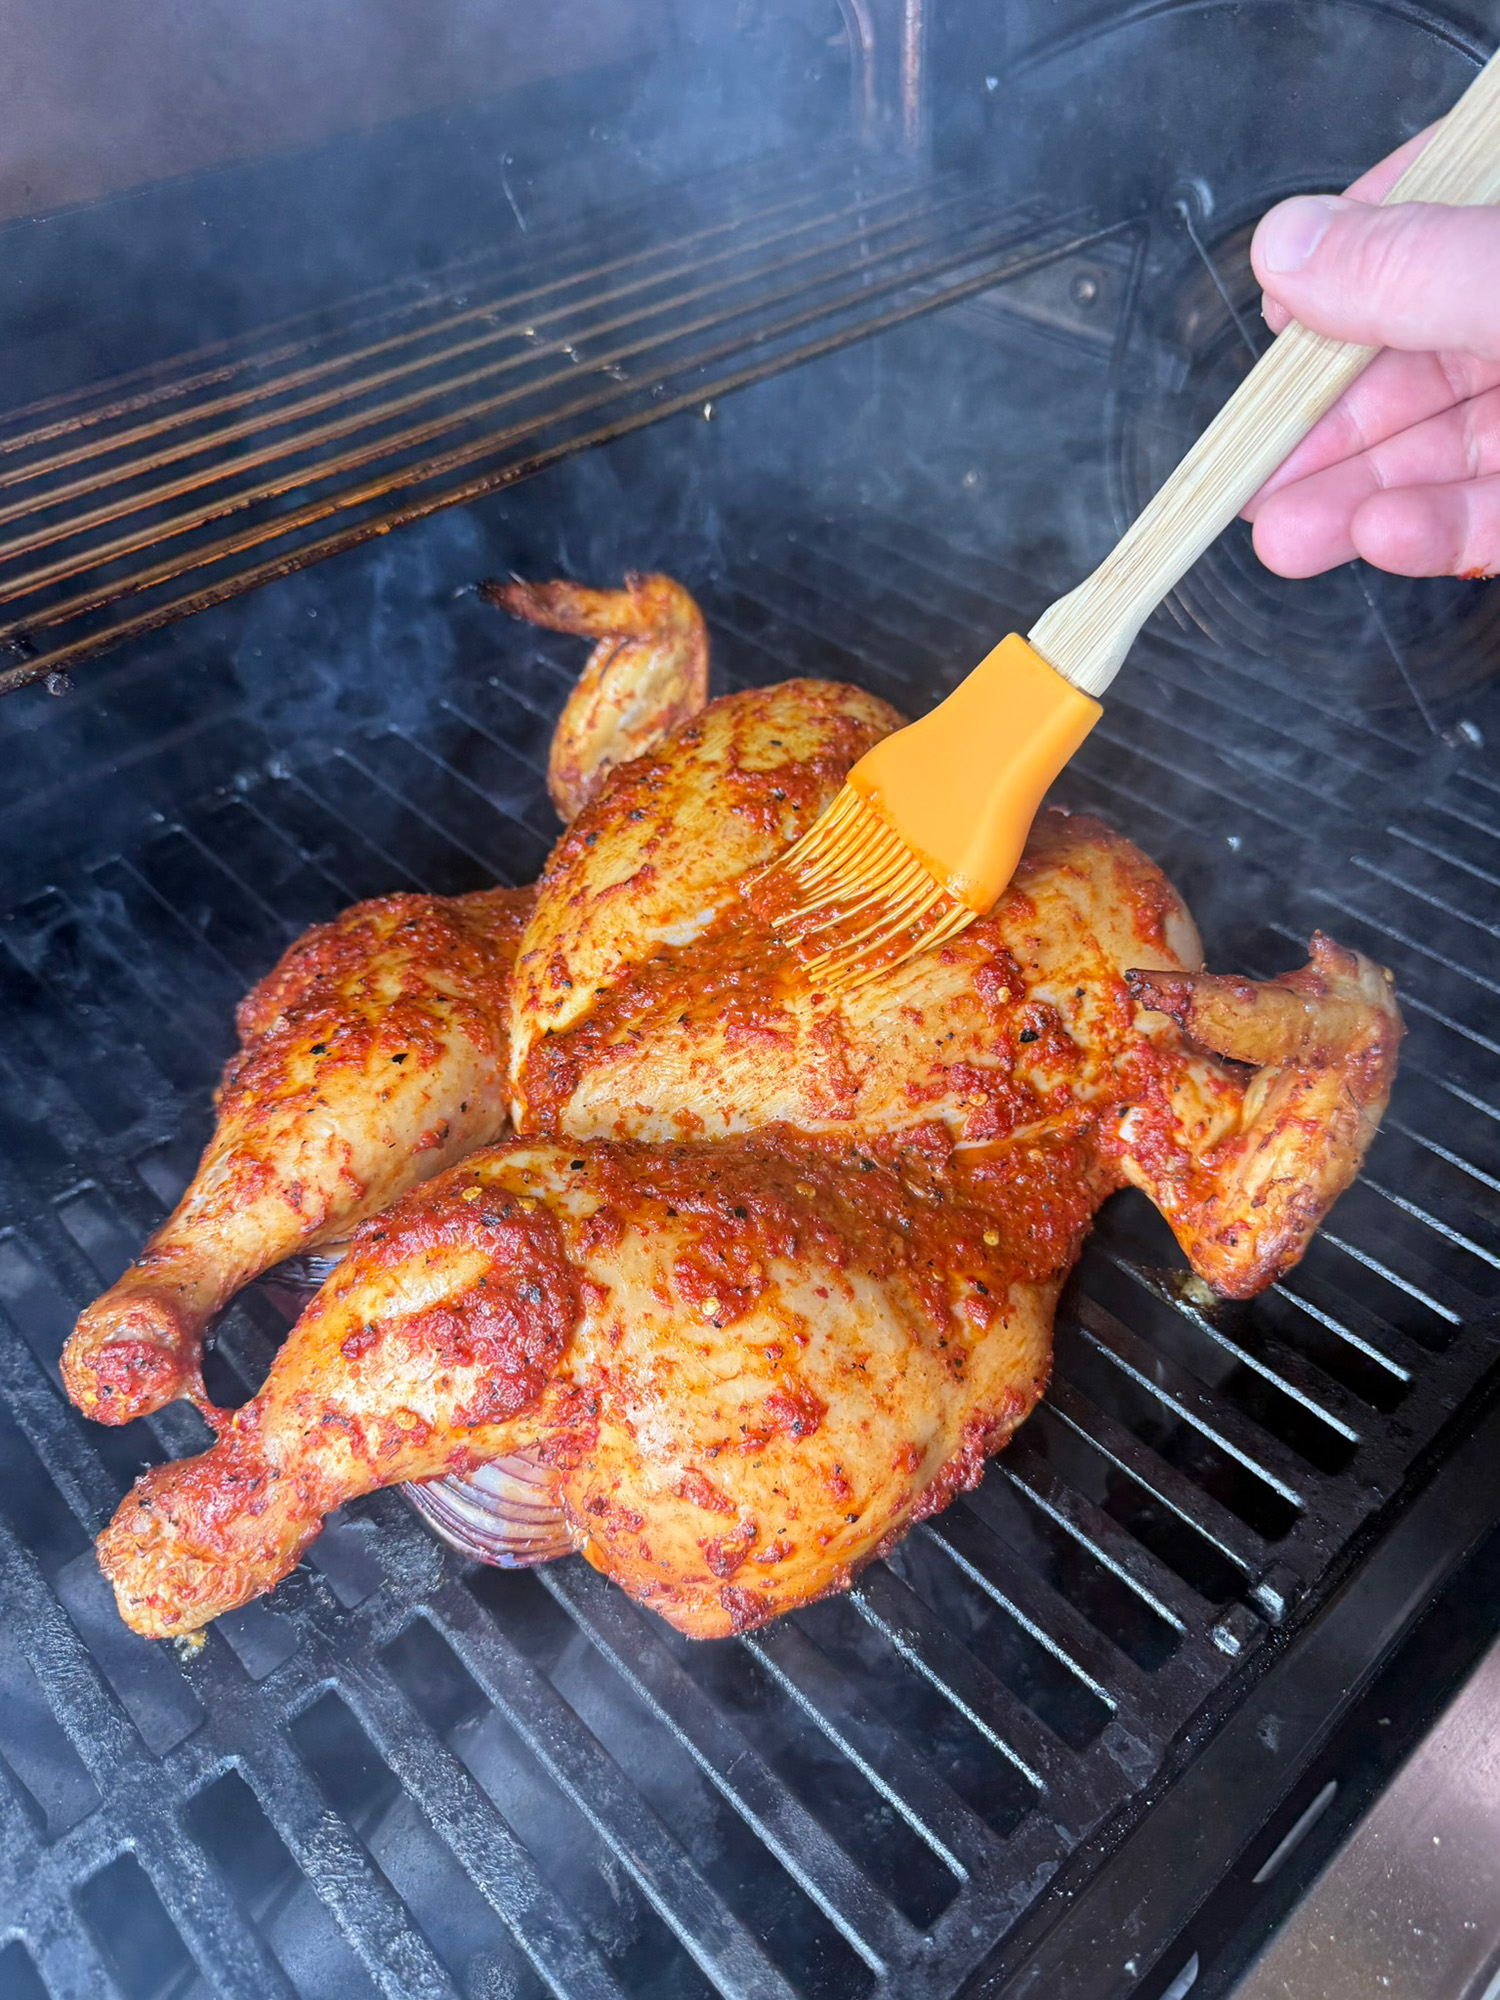
After 20 minutes, lightly brush the chicken with the reserved piri piri sauce. Keep it thin. You’re building glossy layers, not plastering a garden wall.
-
Step 11: Continue Cooking And Basting
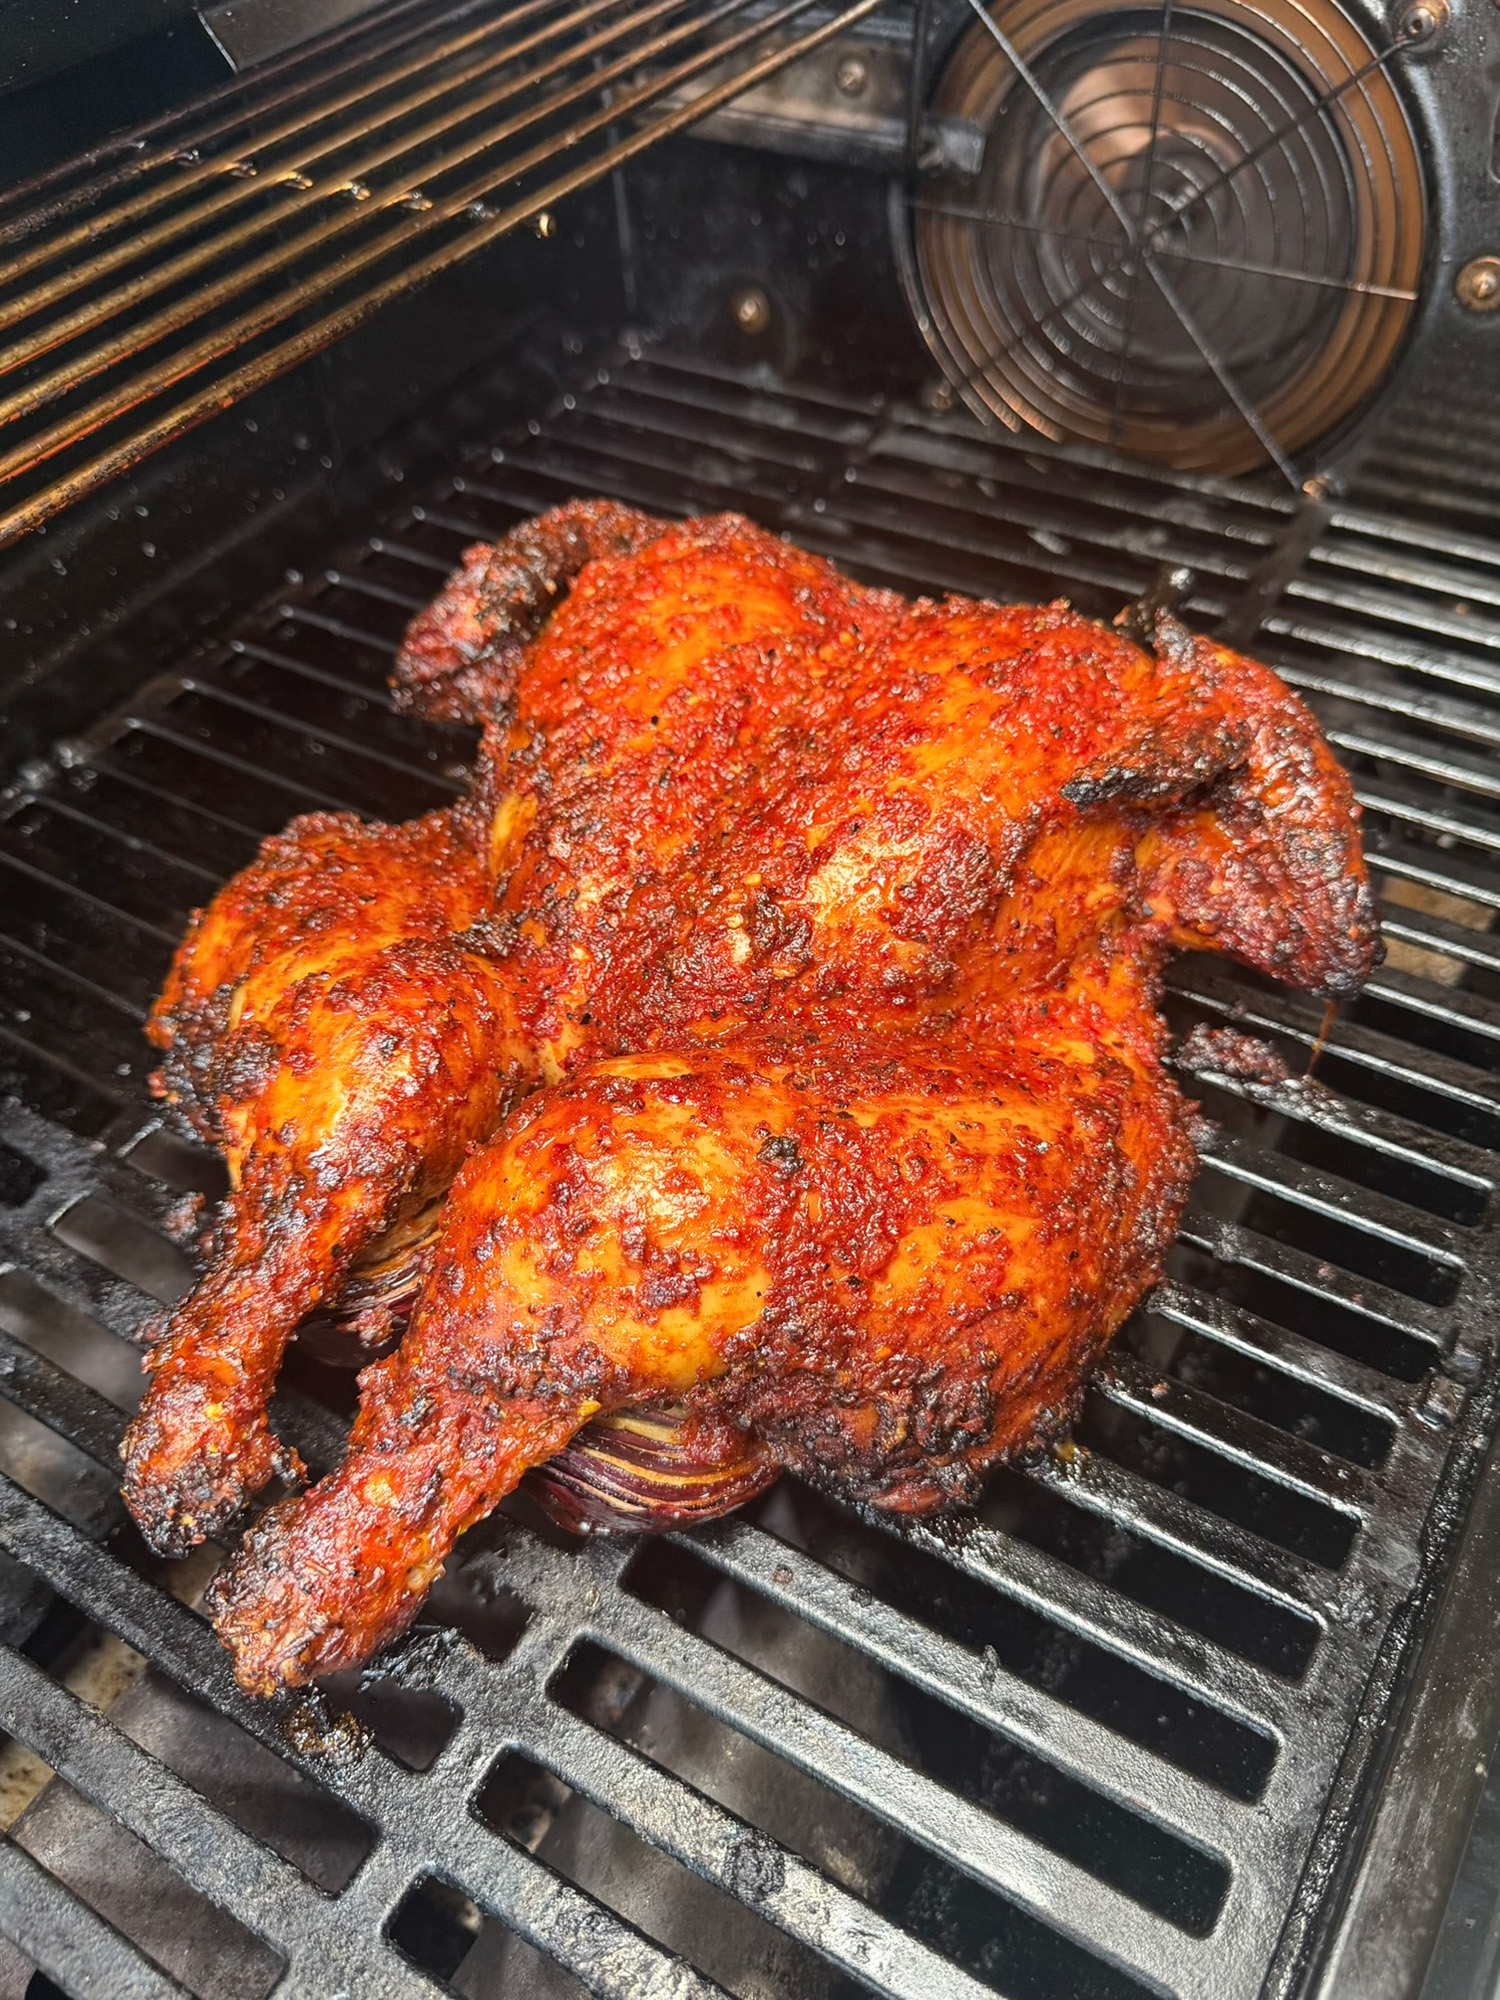
Cook for another 40–50 minutes, basting every 15 minutes with thin layers of reserved sauce. Keep an eye on the skin and edges so the sugars don’t catch too hard.
-
Step 12: Check Internal Temperature
Before the final glaze, aim for the breast to be around 68–70°C and the thighs around 74–75°C. Use a probe thermometer.
-
Step 13: Make The Hot Honey Glaze
Warm the runny honey, chilli flakes, hot sauce, lemon juice and flaky salt together gently. Don’t boil it. You just want it loose, glossy and ready to paint the chicken like spicy edible varnish.
-
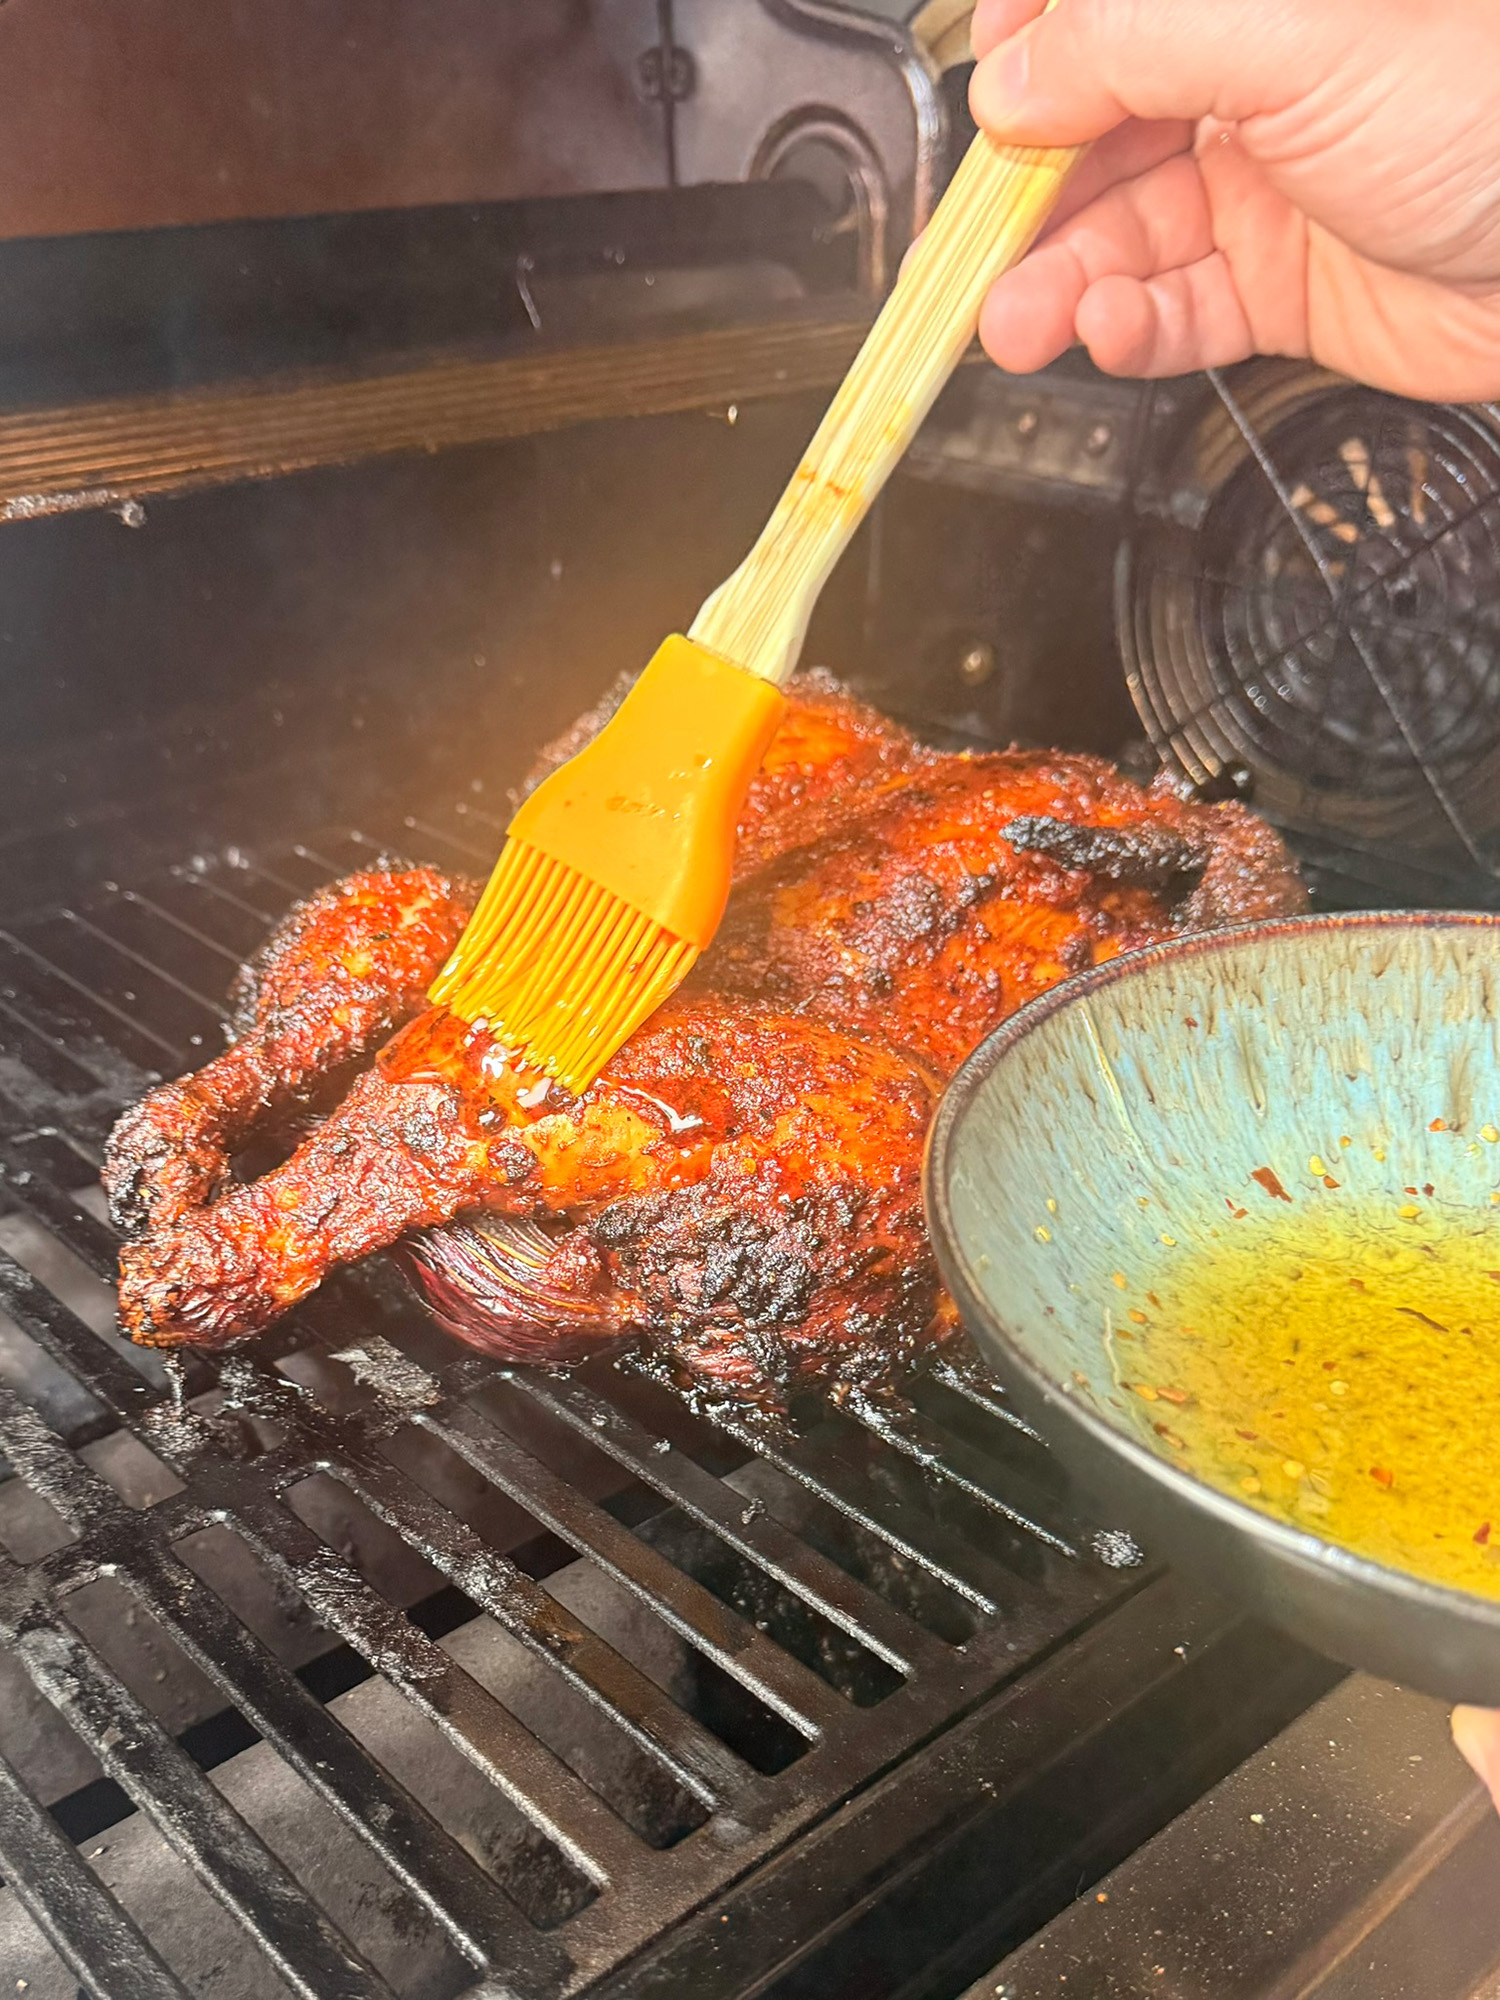
Step 14: Final Glaze Blast
Brush the hot honey glaze all over the chicken. Watch it closely. This bit goes from “beautiful lacquer” to “carbon tax” very quickly. You’re looking for sticky shine, bubbling edges, deep red colour and tiny charred spots. Final internal temperature should be 72°C in the breast and 78°C in the thighs.
-
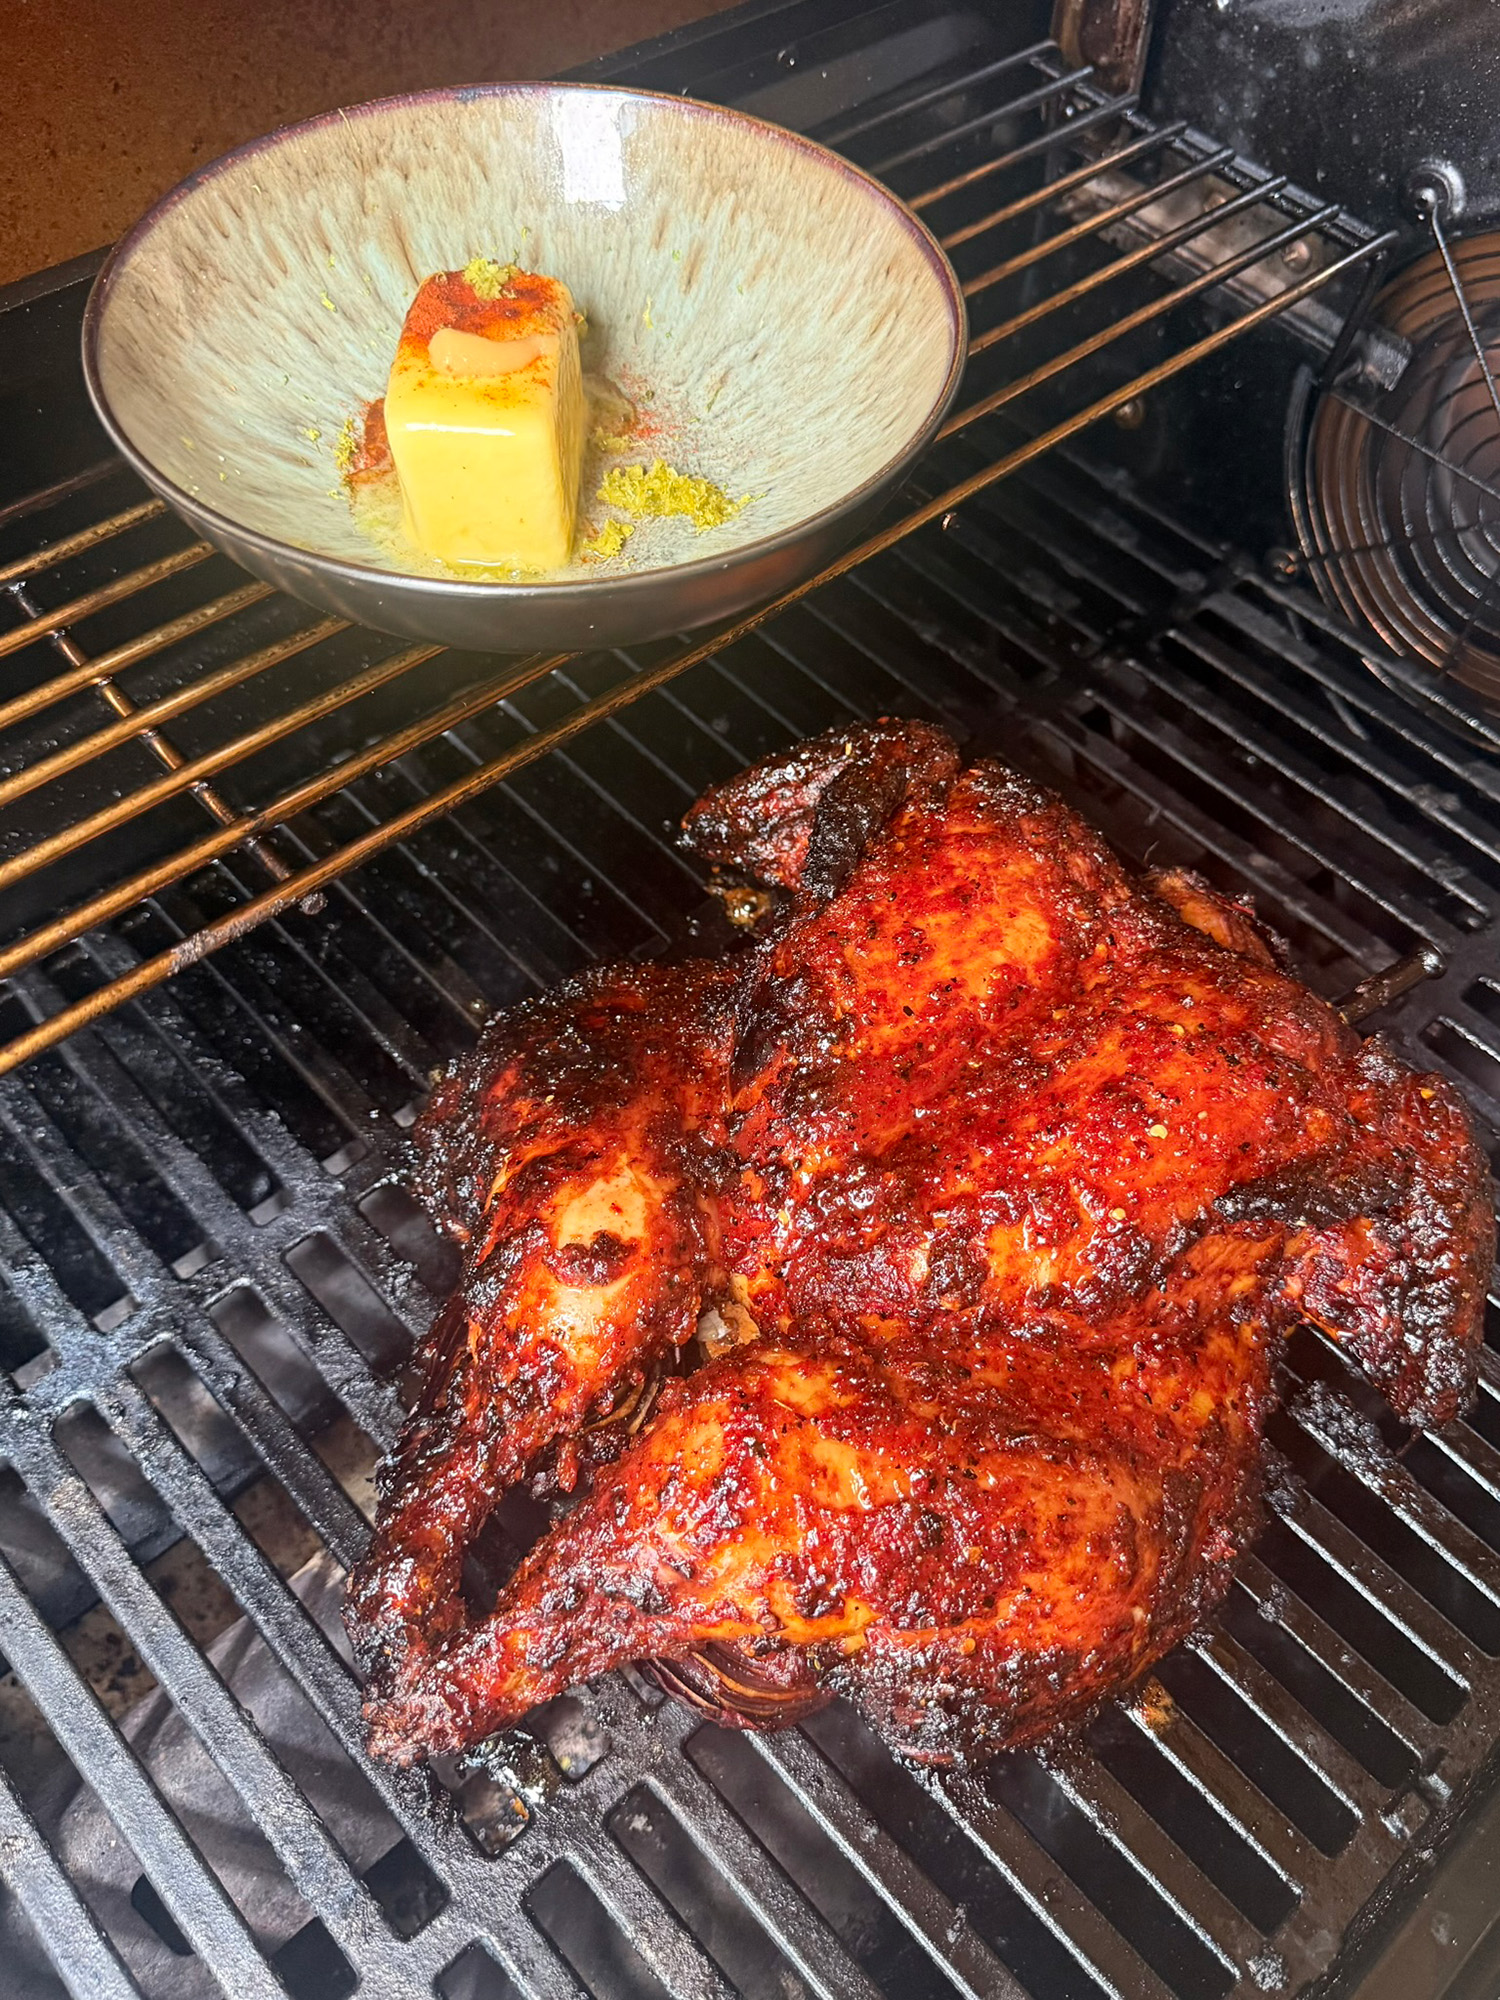
Step 15: Add The Smoked Butter Finish
Melt the butter, then mix in the smoked paprika, grated garlic and lime zest. Lightly brush this over the rested chicken for ridiculous shine, richer flavour and that proper food-porn finish.
-
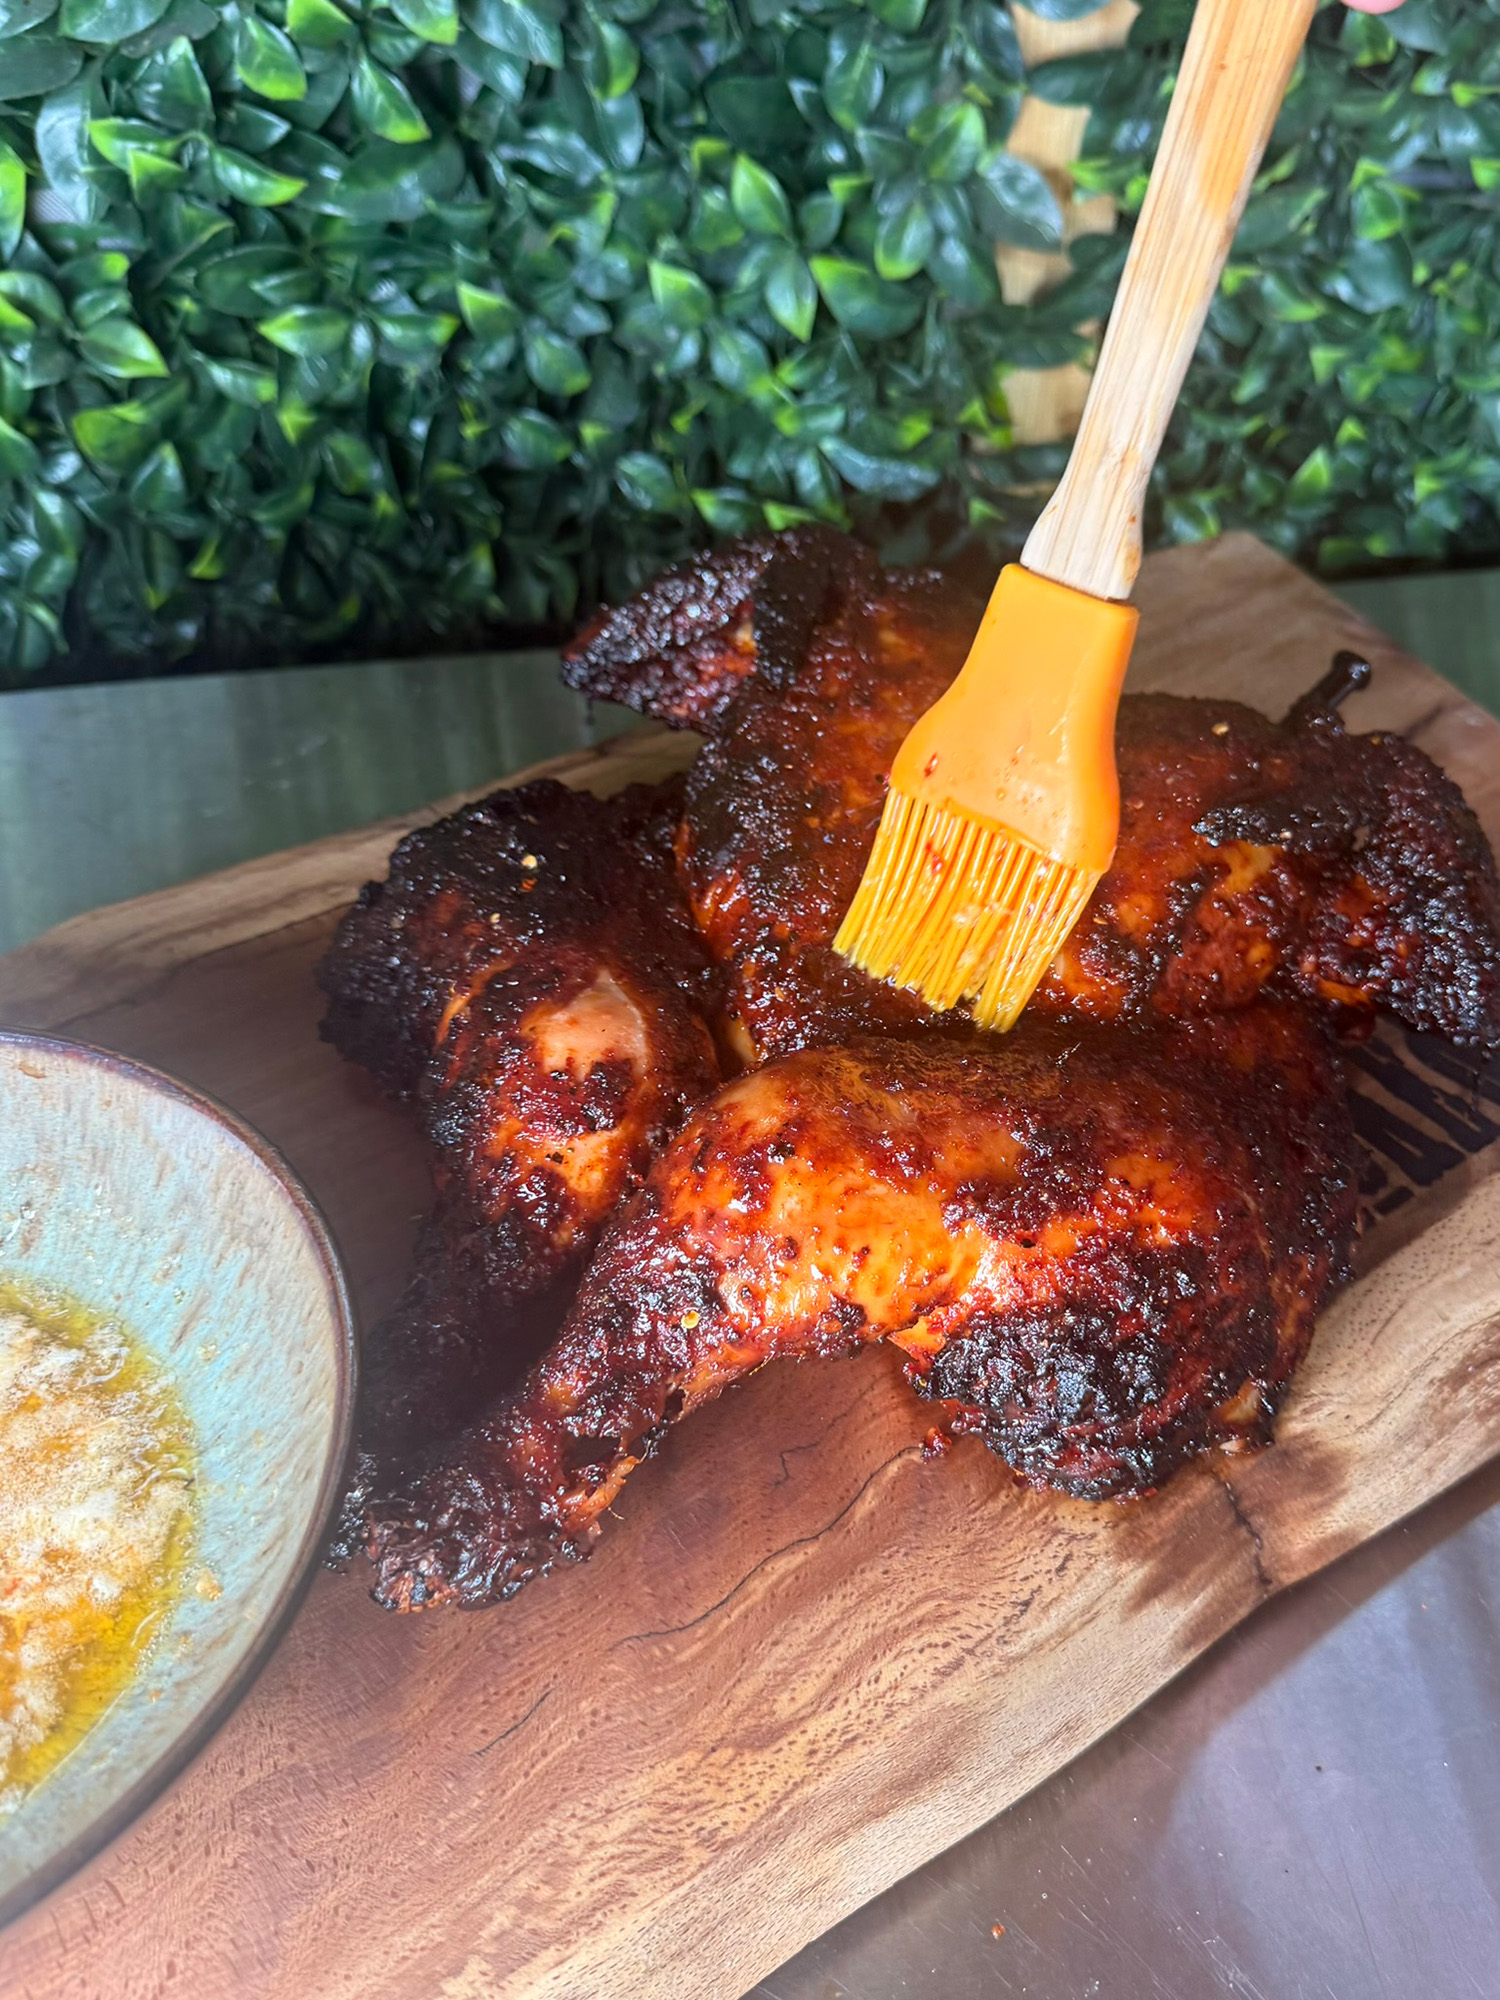
Step 16: Rest The Chicken
Rest the chicken for 10 minutes before carving. Don’t cut early.
-
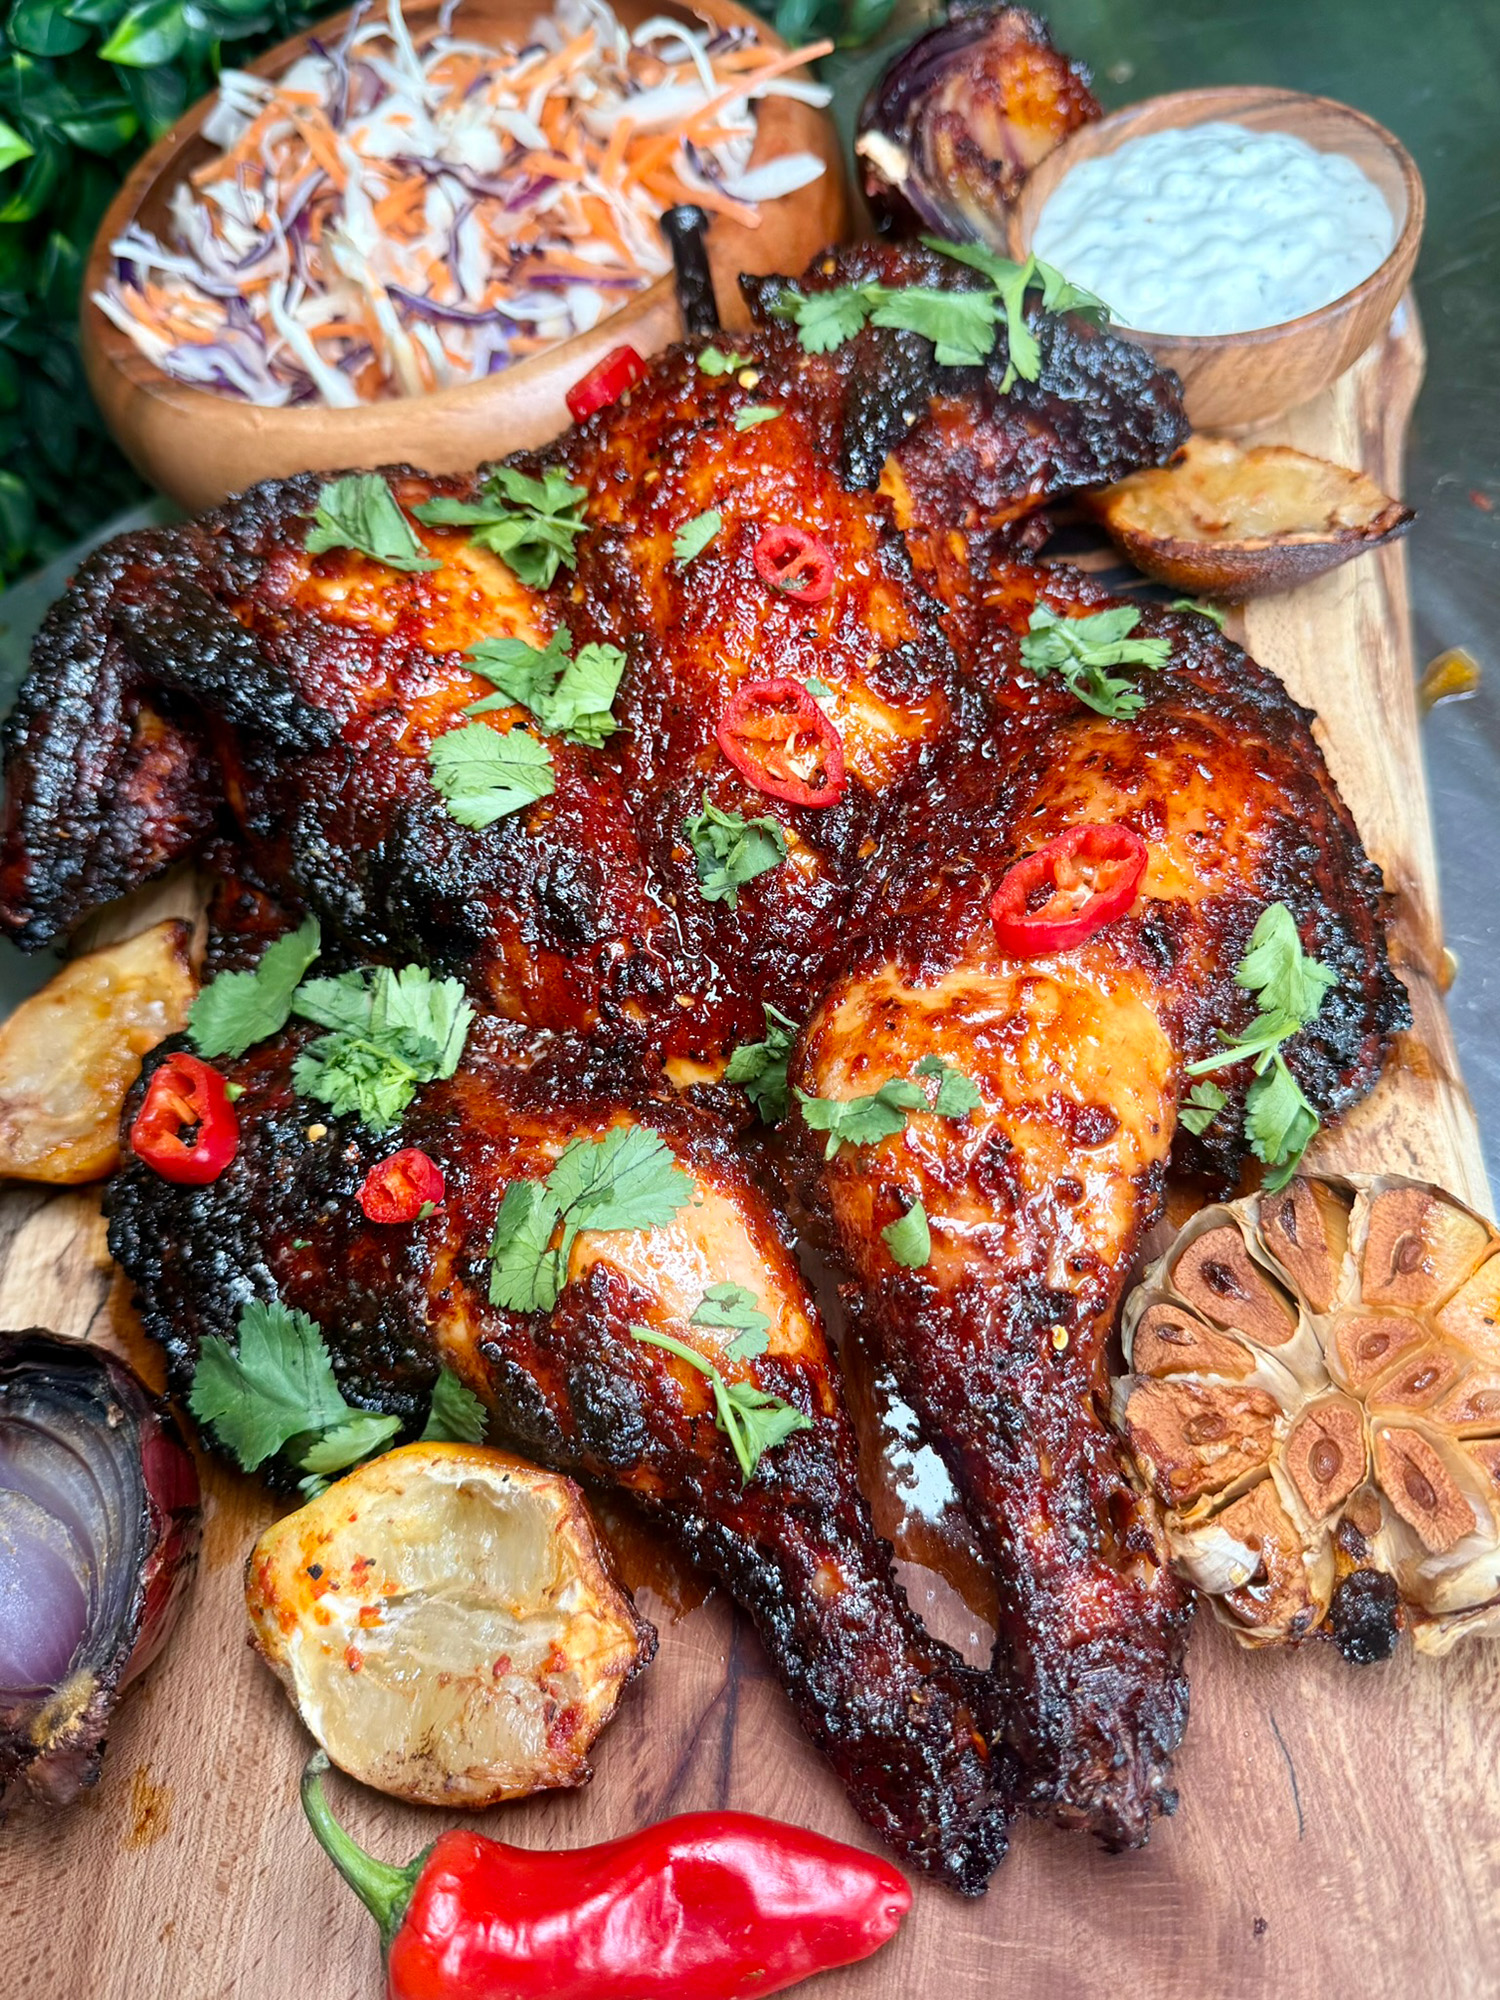
Step 17: Garnish And Serve
Scatter over fresh coriander, sliced chilli and flaky salt. Serve with charred lemons, dirty fries, purple slaw, smoked garlic mayo and a cold lager. Right before photos, brush on one final tiny layer of warm glaze so the chicken shines like it’s got its own lighting crew.
Equipment
-
 Ninja FlexFlame
Affiliate Disclosure: This post may contain affiliate links. If you buy a product using these links, we get a commission at no extra cost to you. Your support helps keep the BBQ magic alive, and we thank you in advance!