After many weeks of deliberating over which brand of Dutch oven to purchase I finally hit the button and ordered myself a starter set of ‘The Windmill‘ cast iron products that I found on the ‘Savage BBQ‘ website.
This starter box set me back £139.95 and after seasoning for hours on end I decided it was time to cook my first dish in a Dutch oven.
I wanted the first cook to be something special . . . something I would really enjoy . . . and finally decided to cook up some smoked beef short rib ragu.
. . . let’s do this!
The Beef Short Ribs
I purchased 2kg of Beef Short Ribs from ‘Village Butchers‘ which set me back £32.27
After a little trim to remove excess fat (and any silverskin from the top) I was pretty happy with what I had to work with.
Note: I leave the silverskin on the bone side to help ensure the meat doesn’t fall off the bone during smoking.
The Big Pig
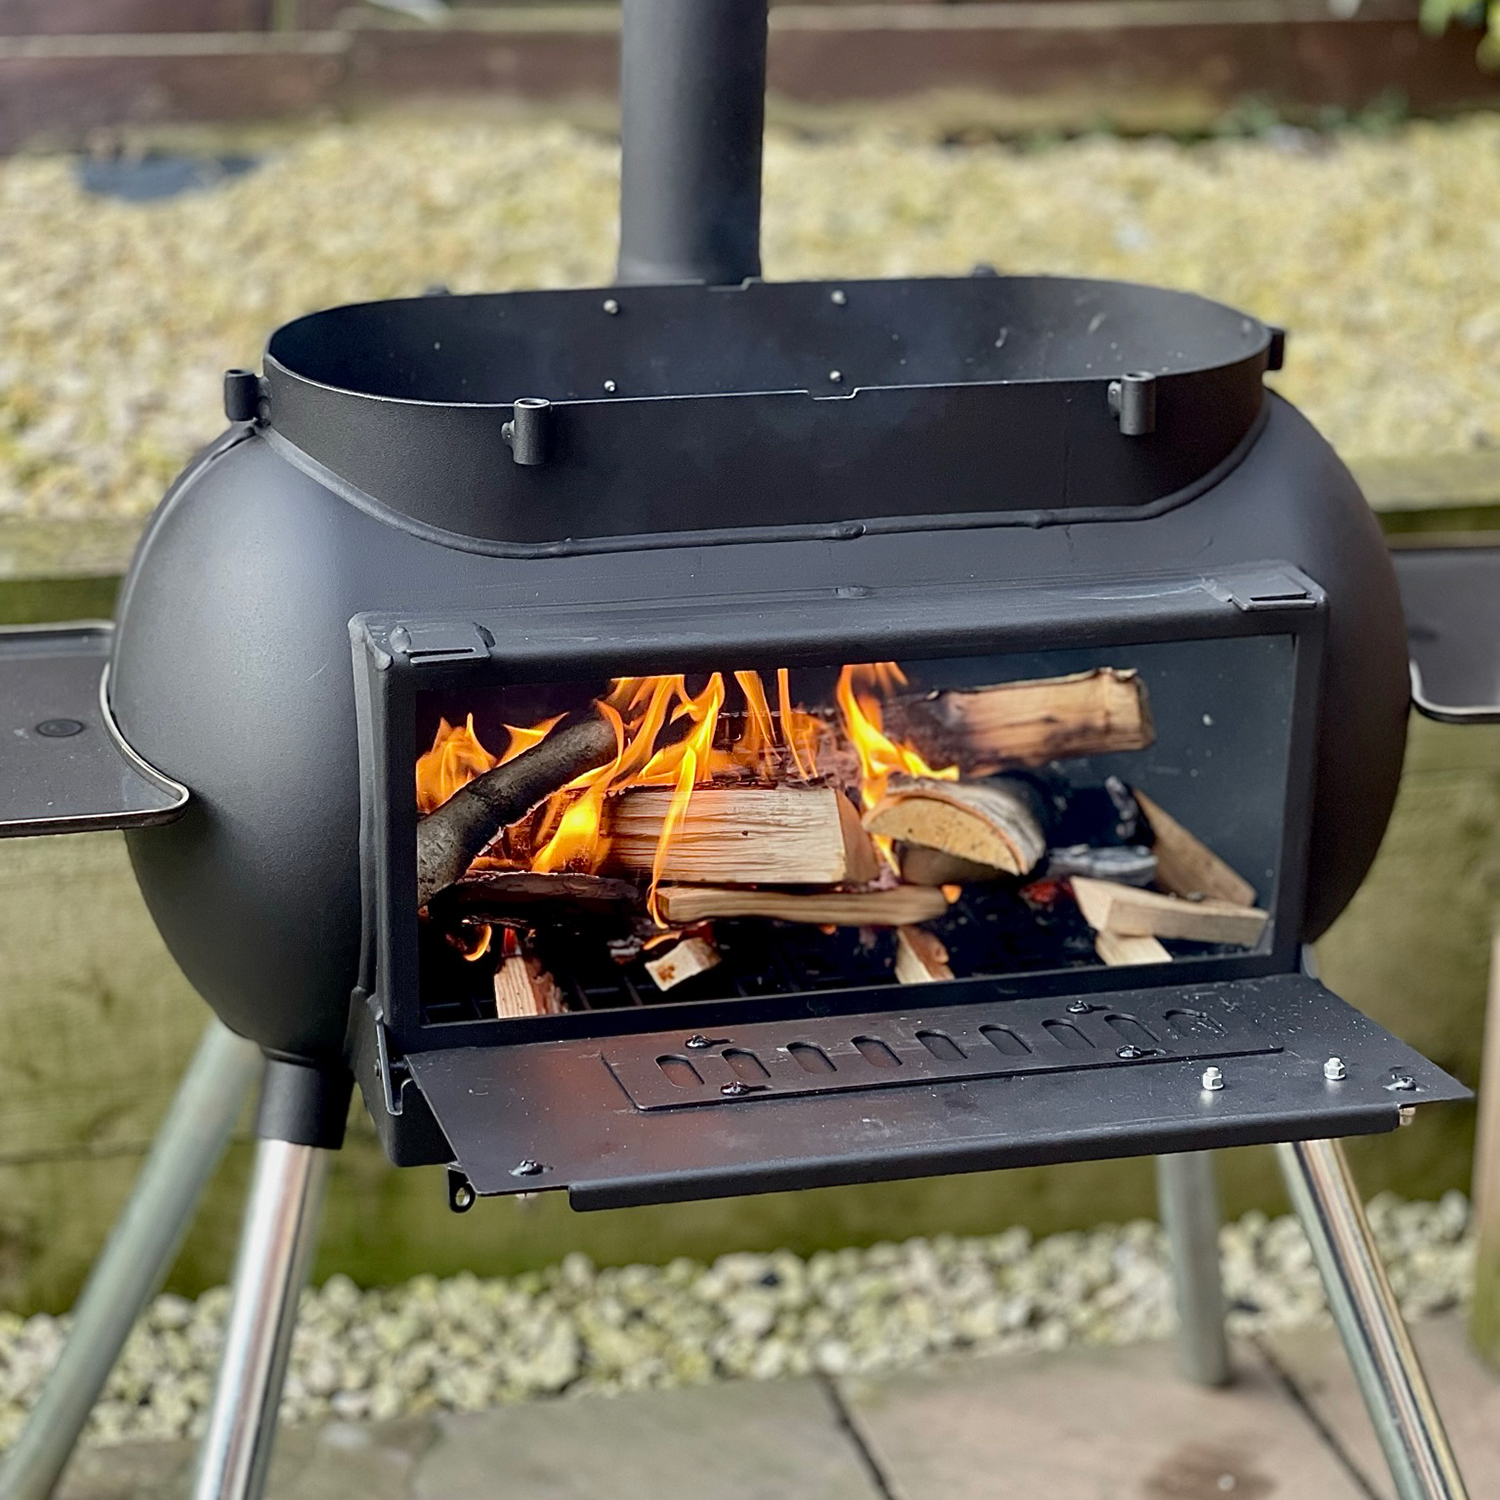
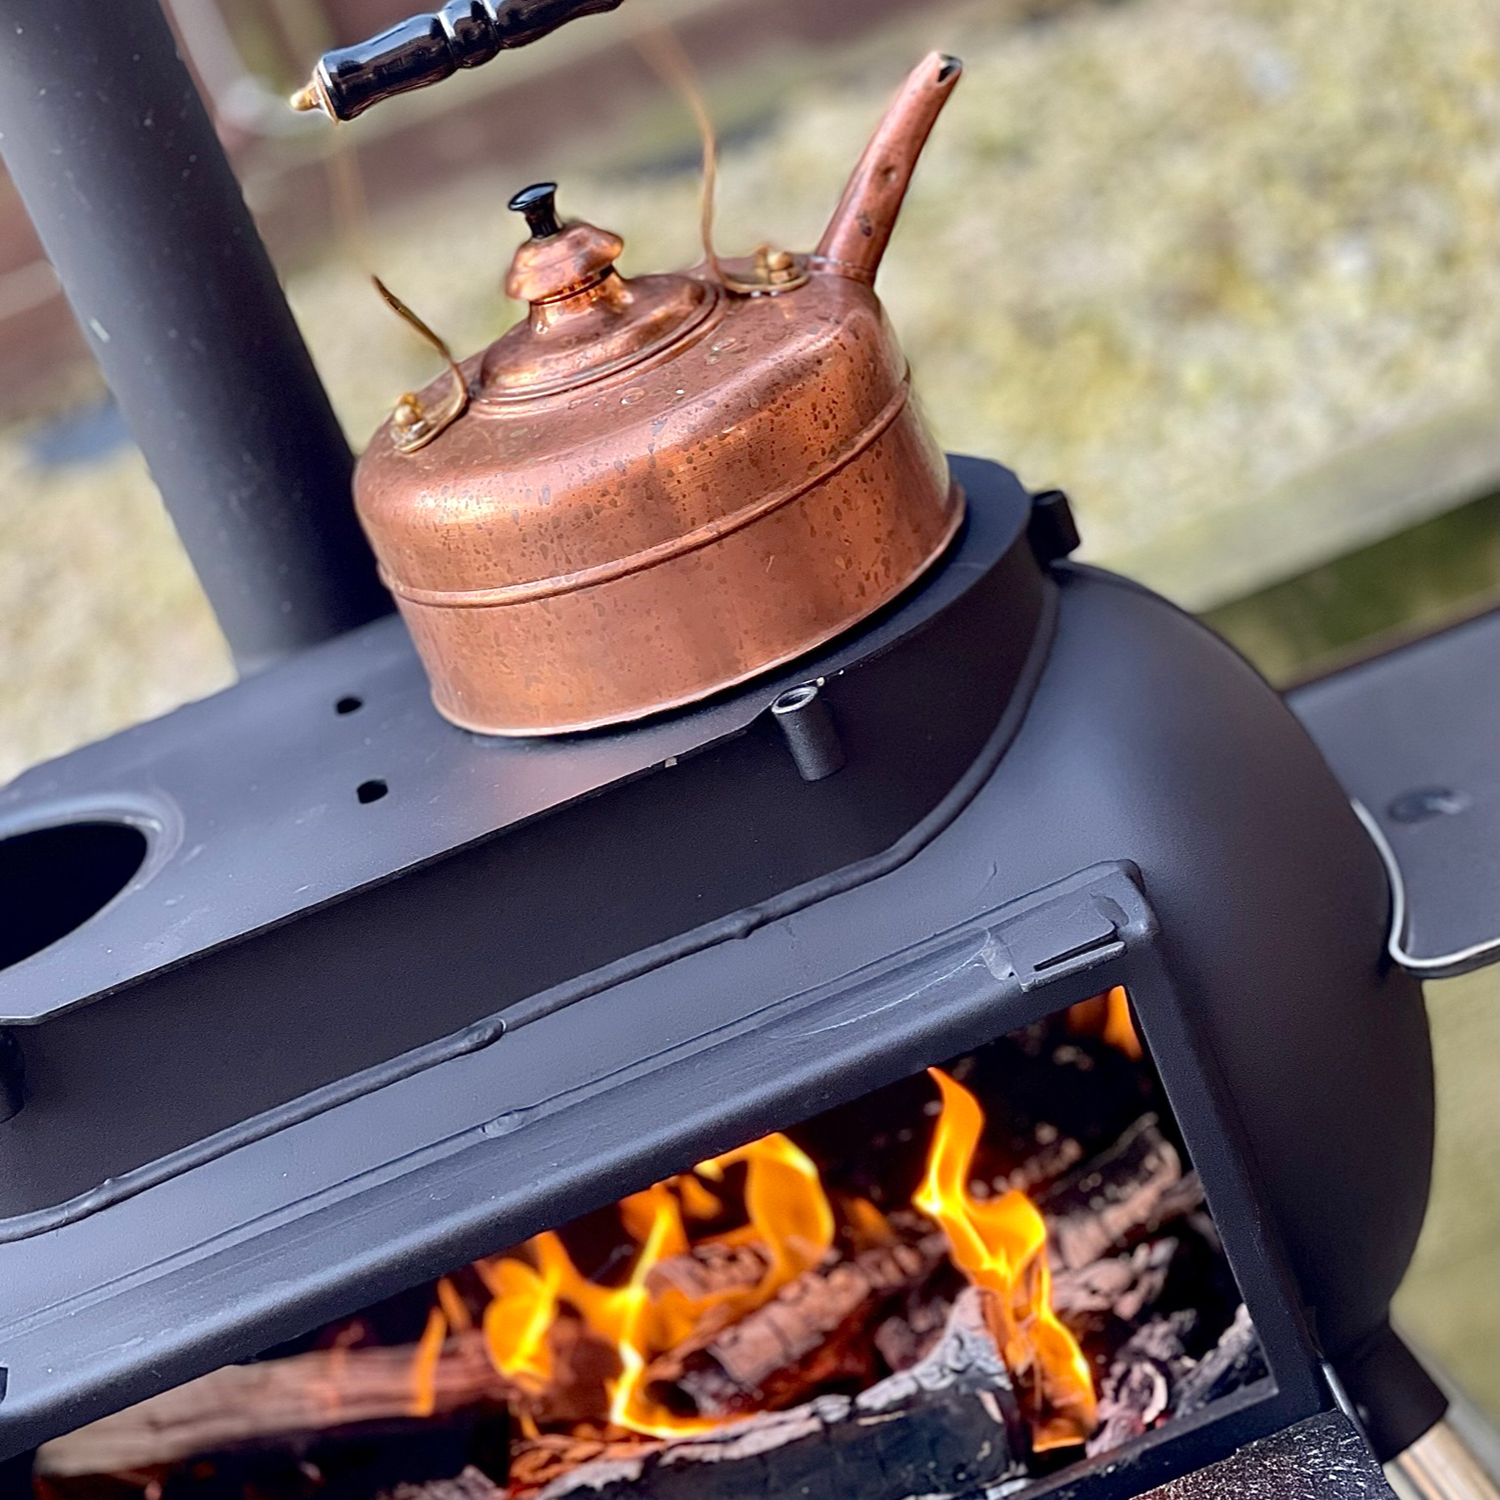
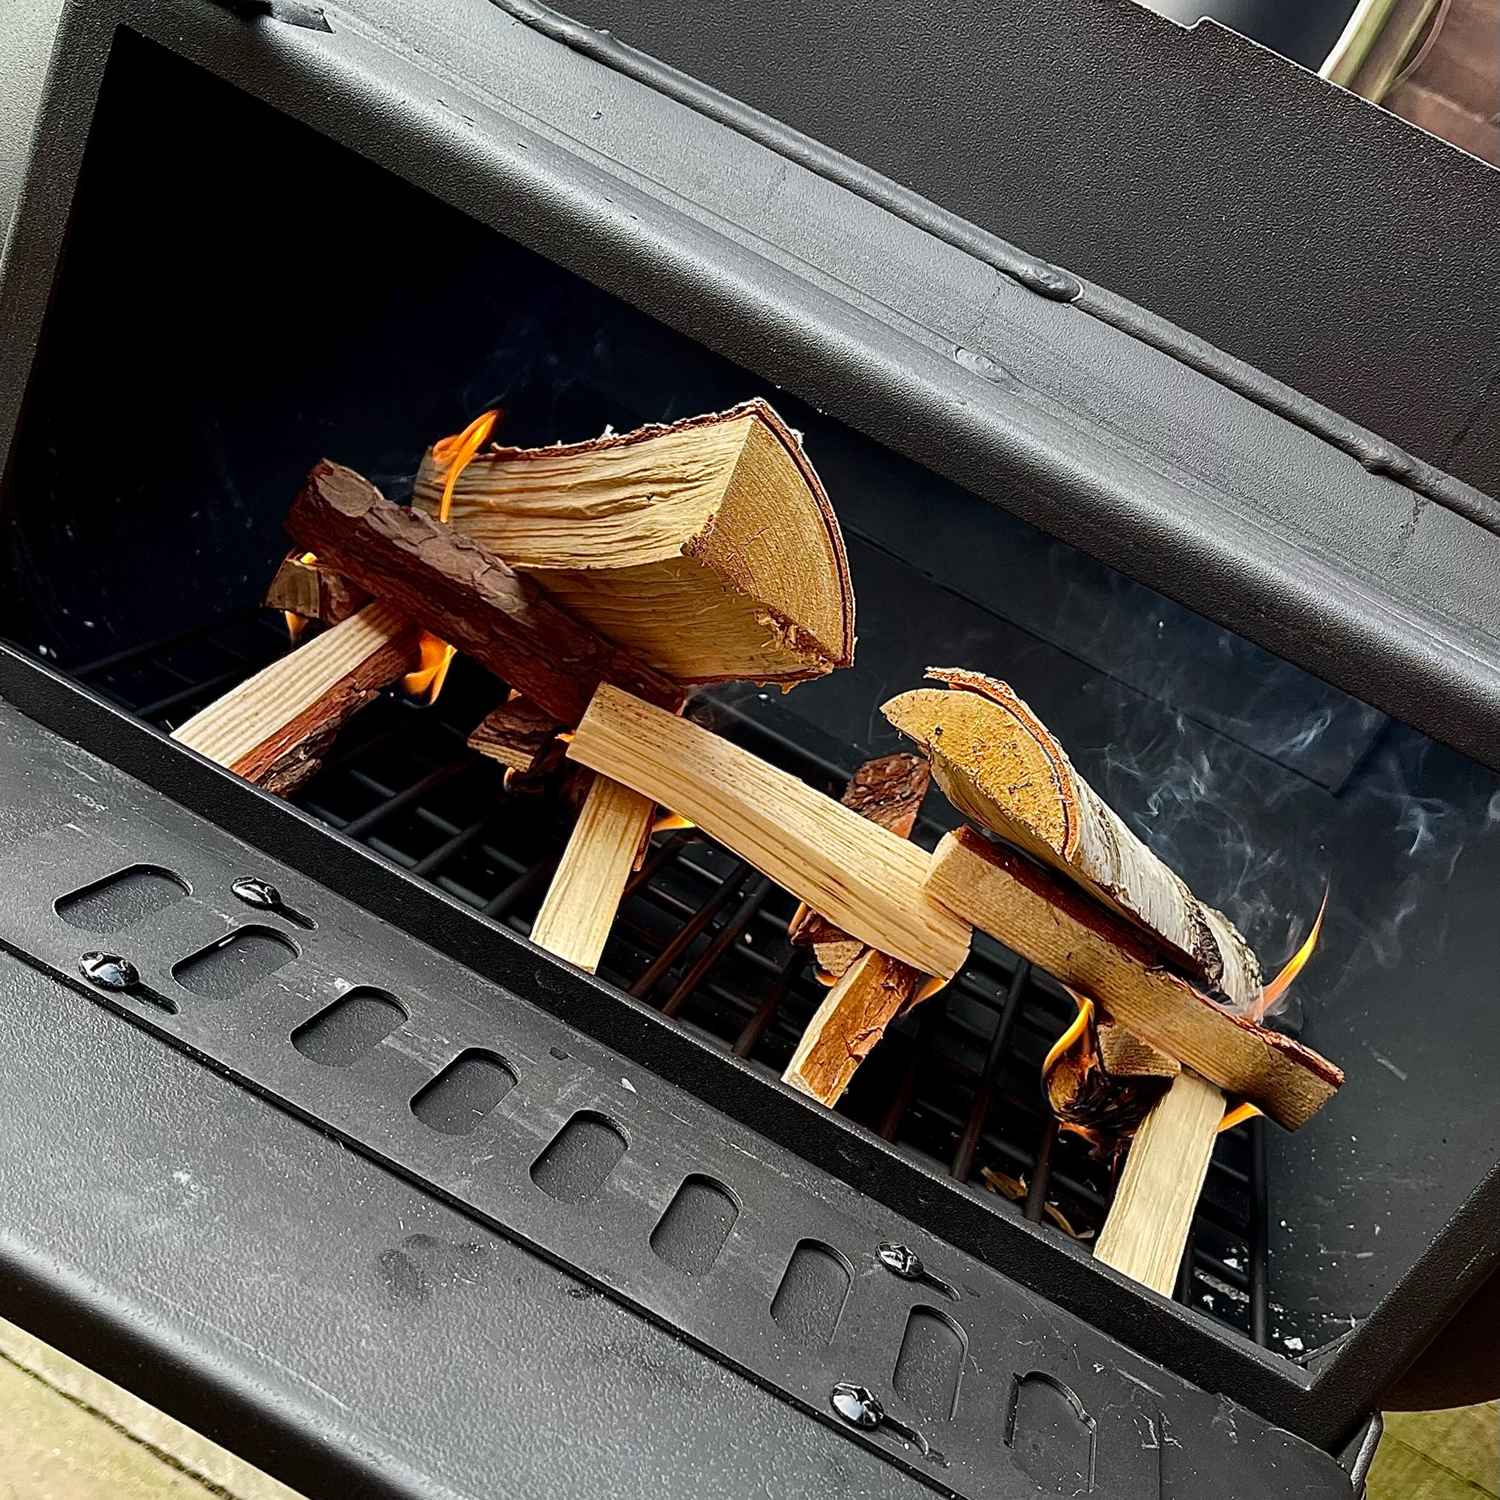
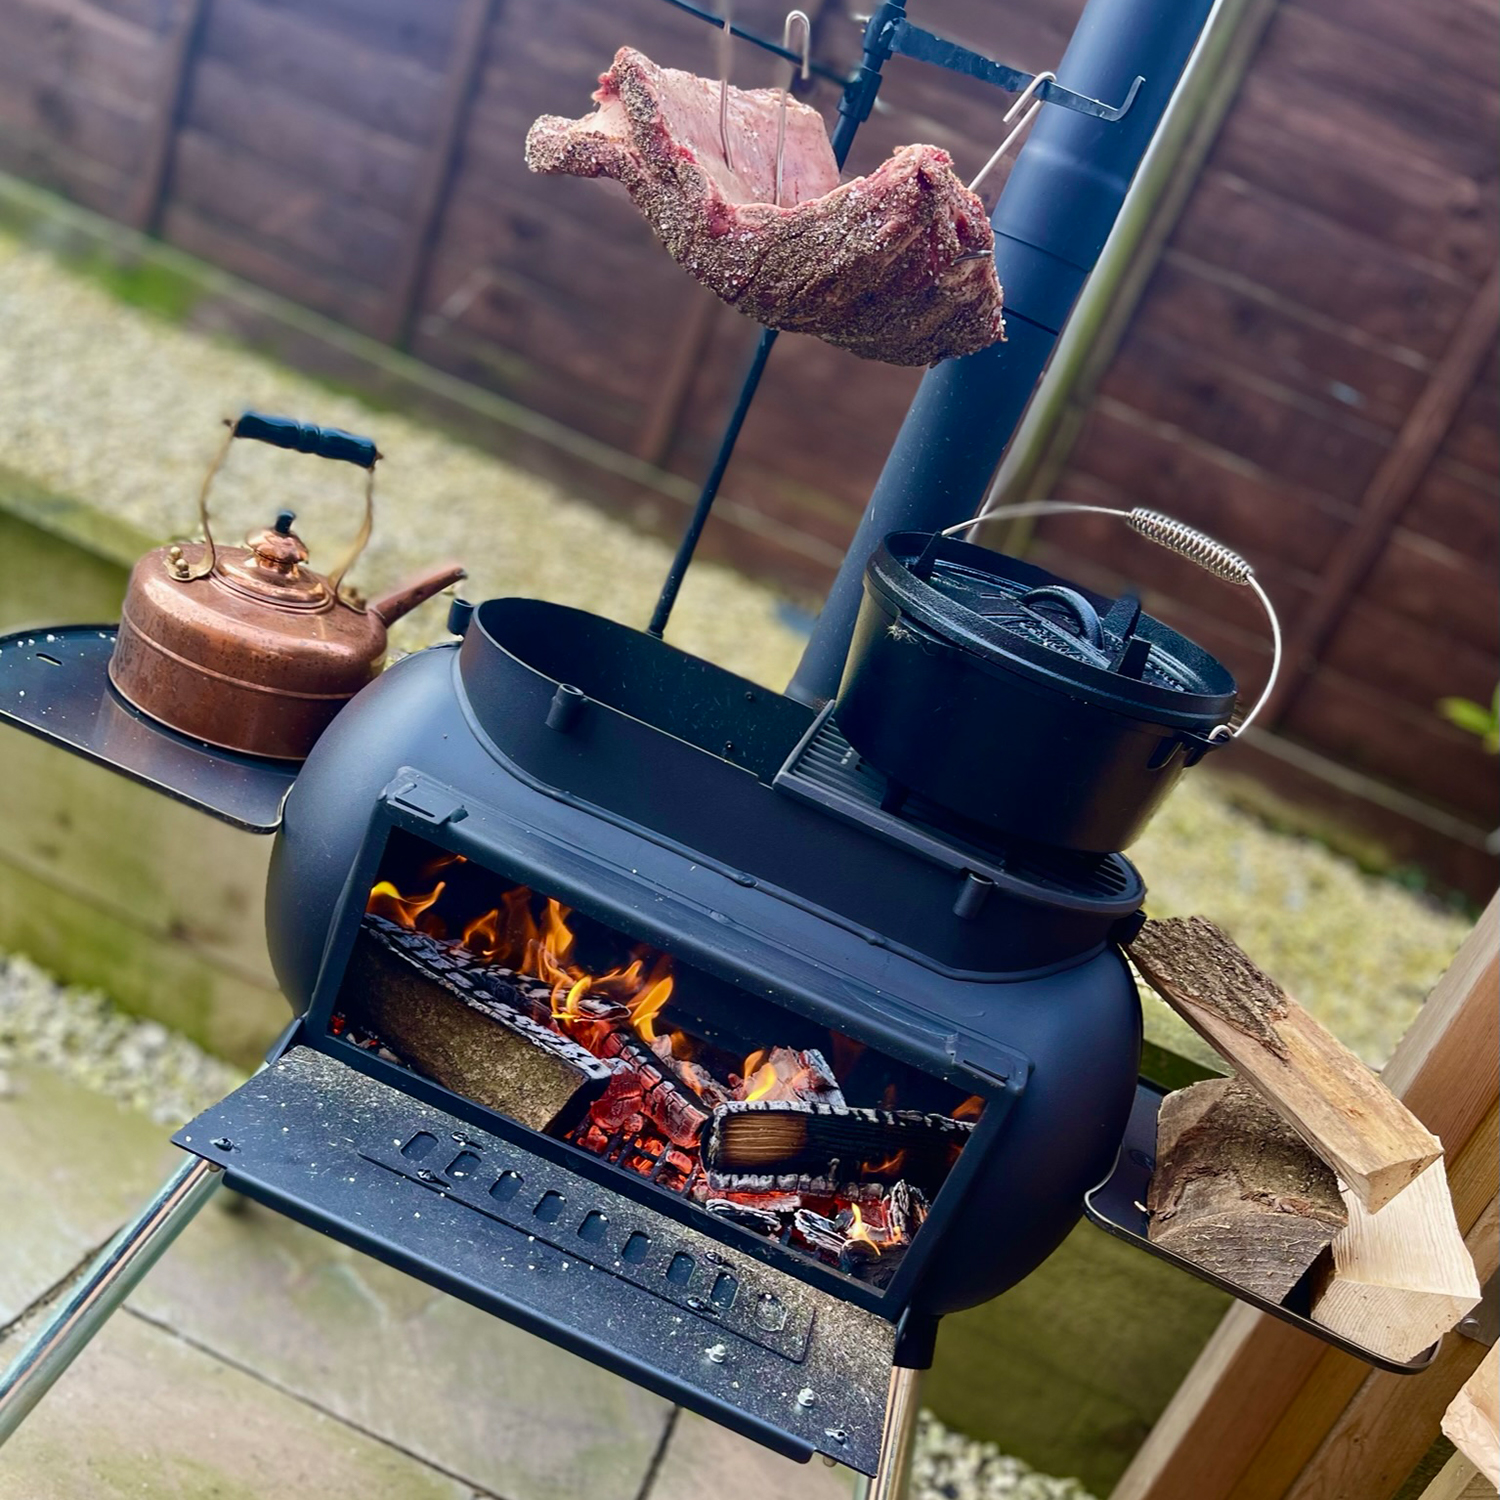
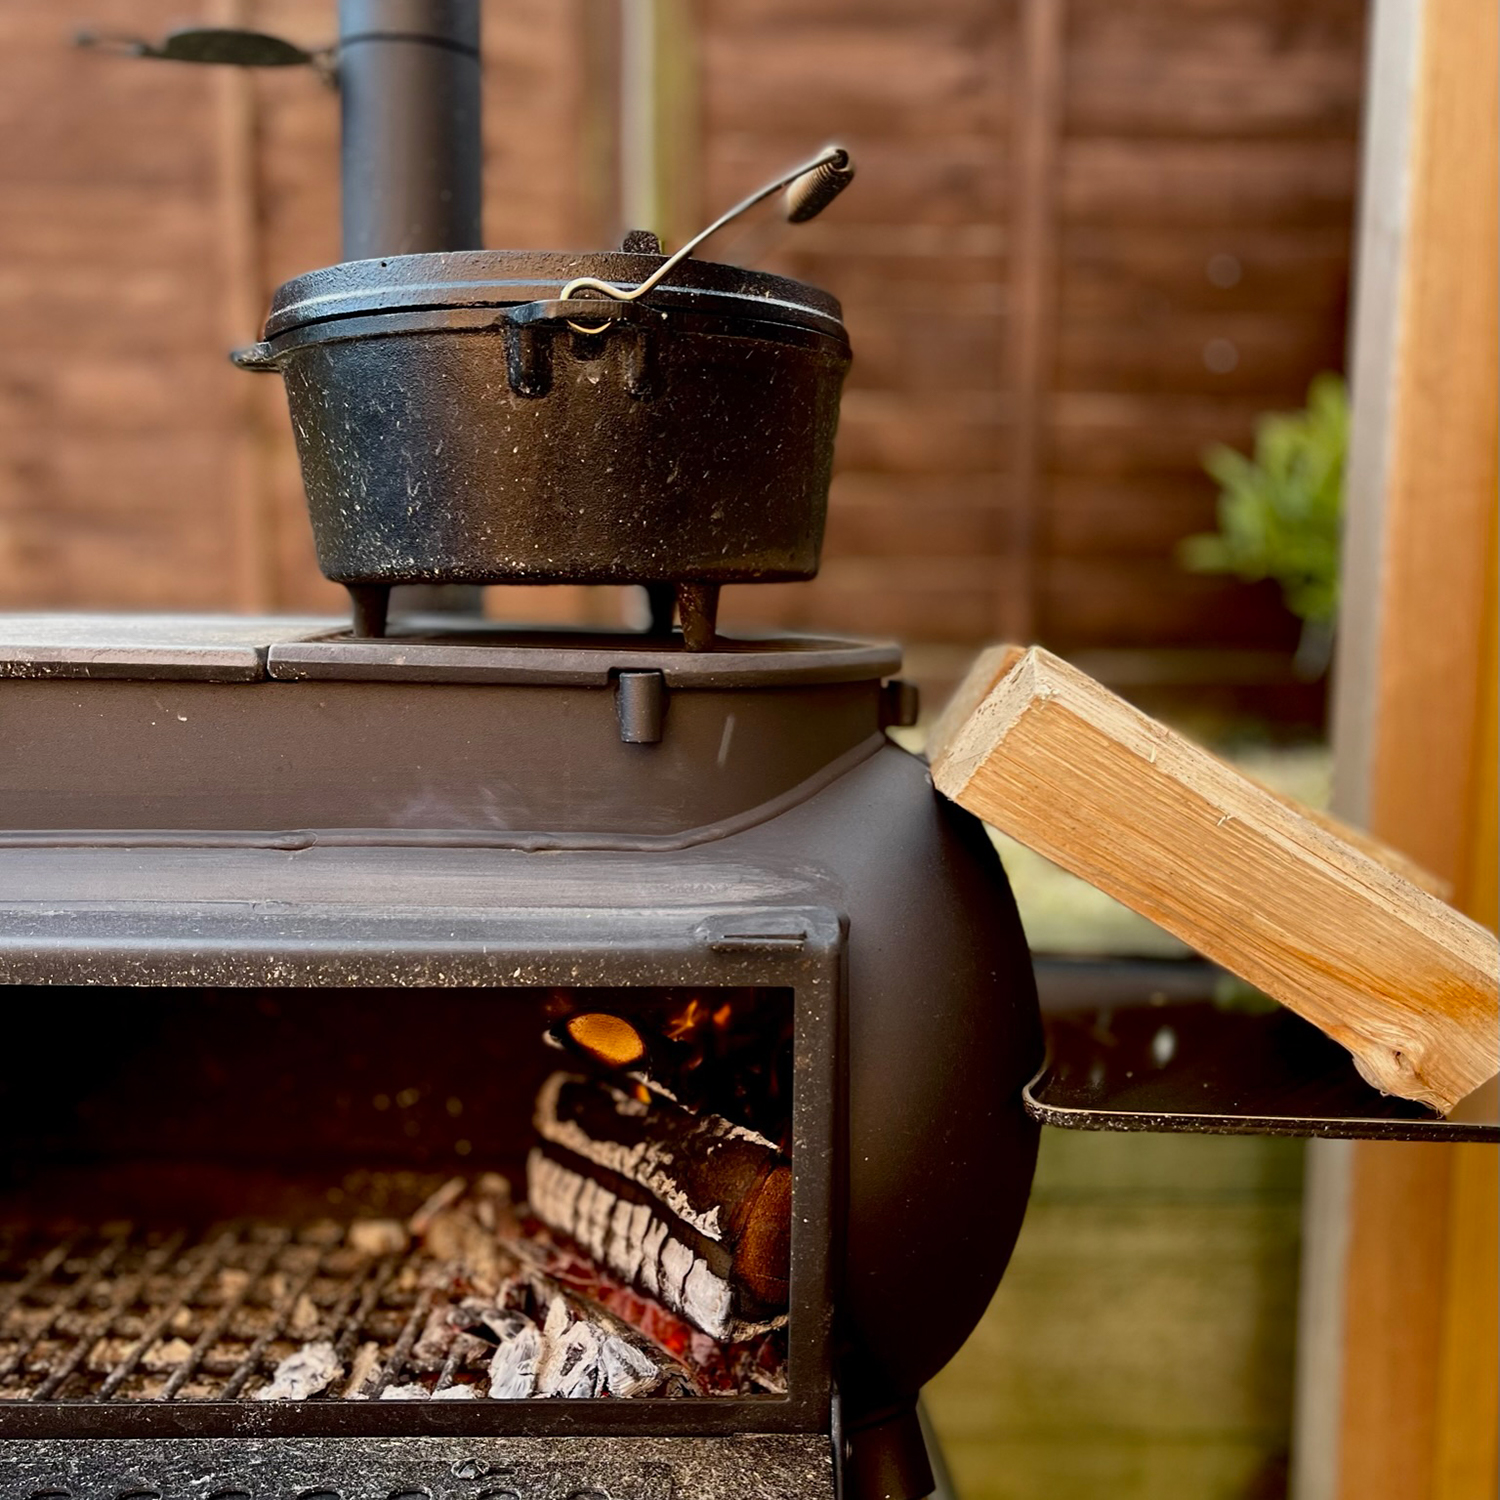
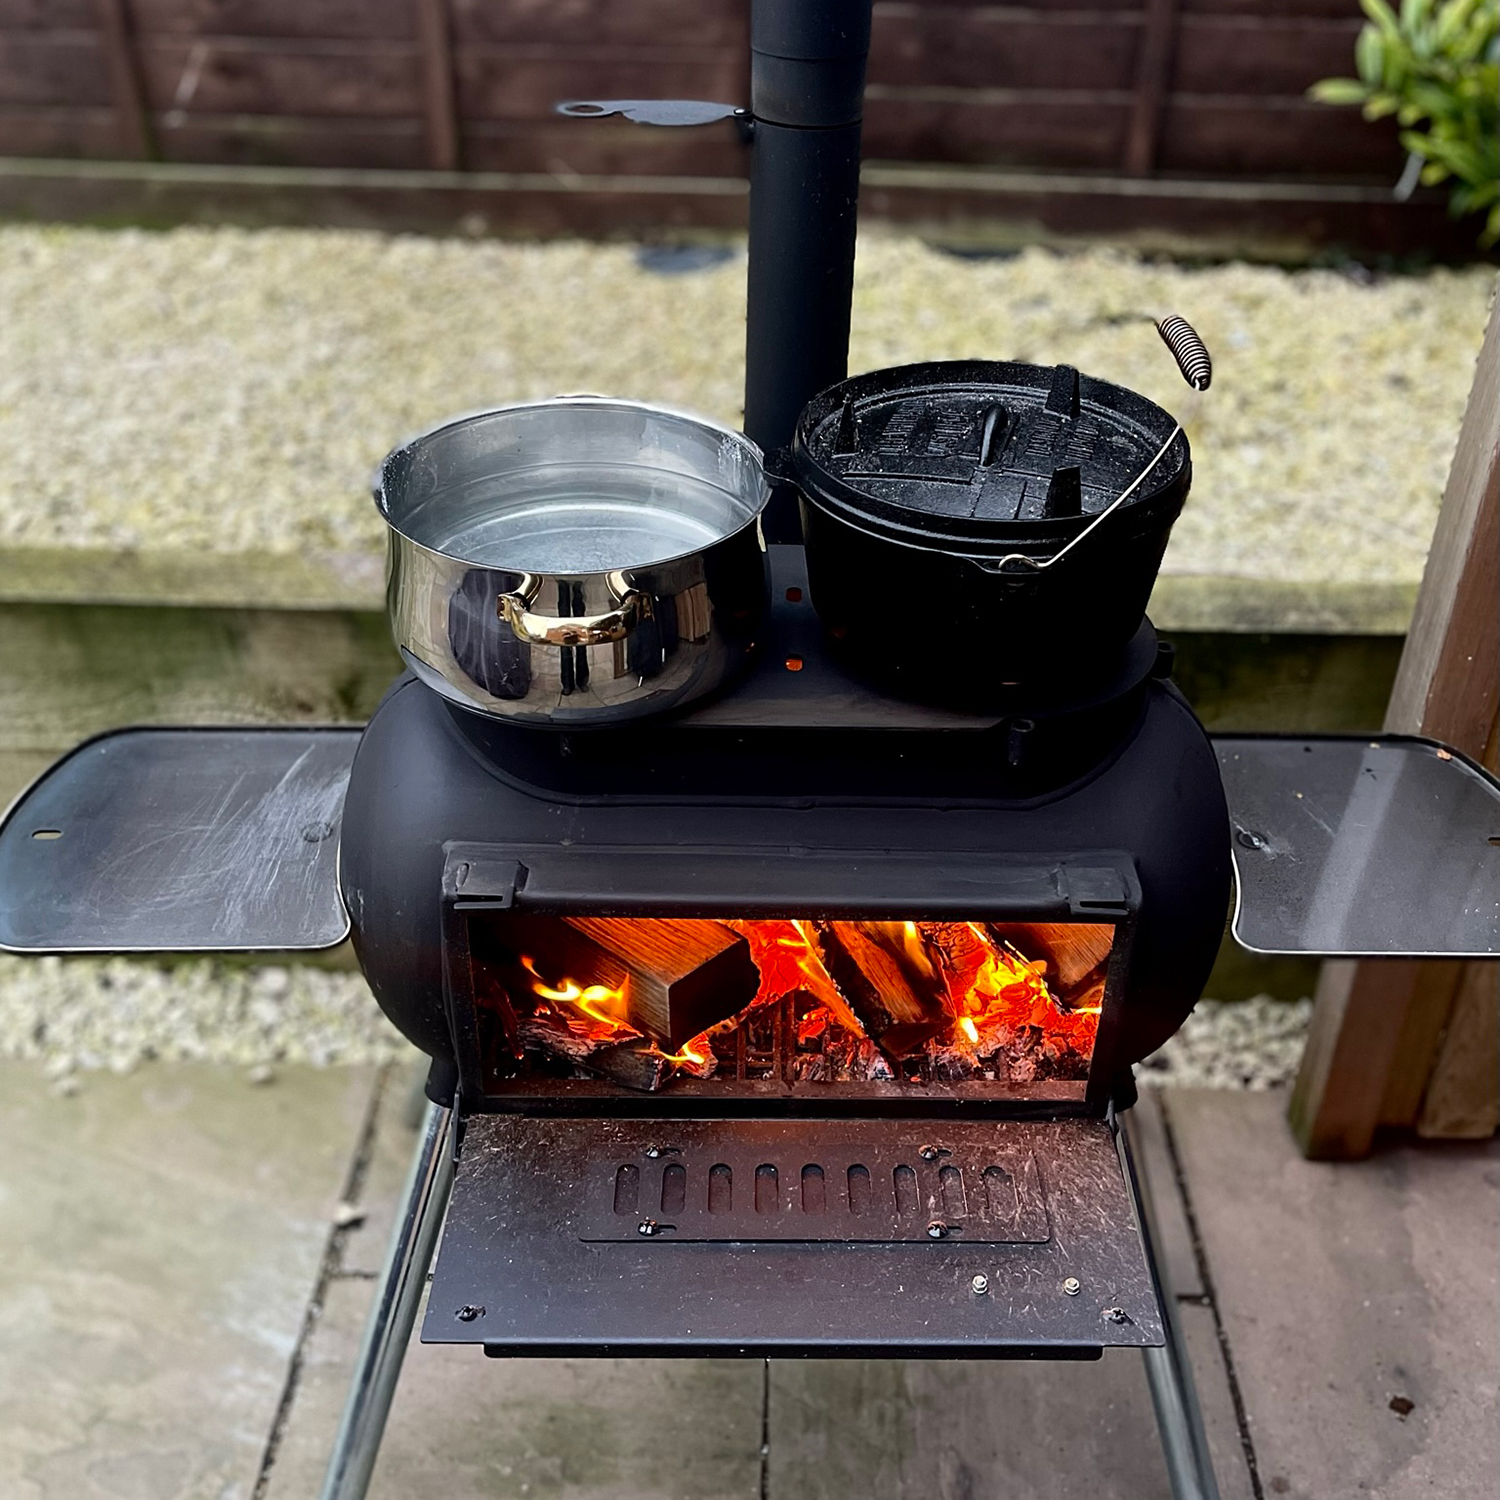
As this was my first cook on the Big Pig I thought you’d appreciate a little look around this awesome bit of kit.
The ‘Big Pig’ is solid and weighs 40+ kg so unlike the ‘Series 2‘ I won’t be moving this around different spots in the garden to cook . . . that’s for sure!
There are so many different styles of cooks possible on the ‘Big Pig’ due to the flexible nature of the configuration and available accessories that I wasn’t sure where to start . . . but once I got that fire established I soon discovered that this would not just be for cooking . . . there would be many, MANY, nights sitting in front of it enjoying life with the wife and kids too.
Initial Smoke
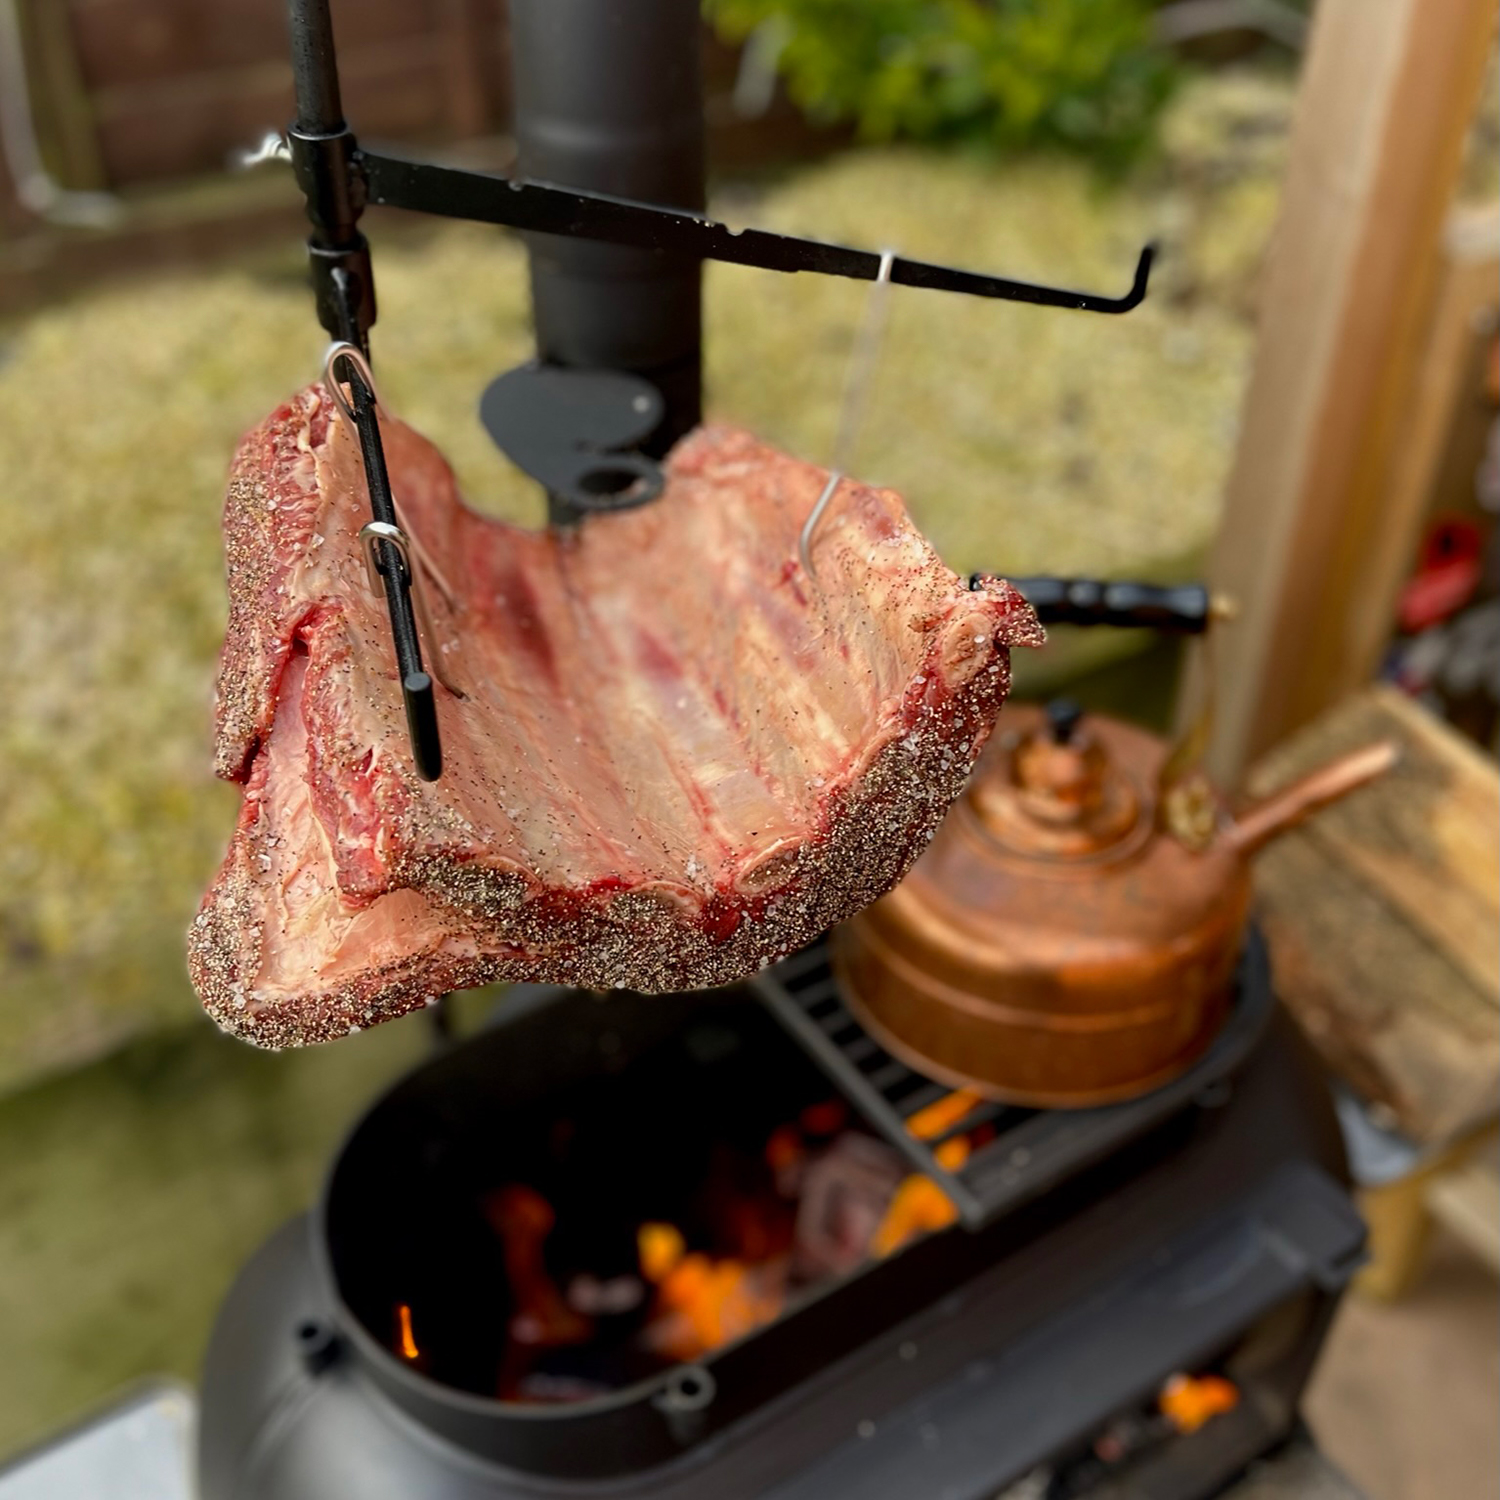
Once I had generously seasoned the rack in an equal measure of salt / black pepper I decided to start cooking the ribs by introducing them to some gentle heat / smoke first.
Using the Ozpig Tool Rack I secured the ribs above the Big Pig and let that clean smoke work its magic.
After 2 hours I could see the ribs had taken on some nice smoke so I was comfortable proceeding.
The Dutch Oven
Whilst the ribs were smoking away I was also heating up my 3.8l Dutch oven on the Big Pig in preparation for the next step.
I removed the short ribs and sliced them into individual bones. Into the Dutch oven I added 2 tablespoons of Olive oil and once hot I browned the ribs (in batches) for 3 minutes per side and then set aside on a plate for later.
Note: It was at this point I realised my Dutch oven wasn’t big enough so I had to pop down to the local hardware store to get a saw to cut the ribs in half before browning / searing. #DontJudge
The Ragu Base
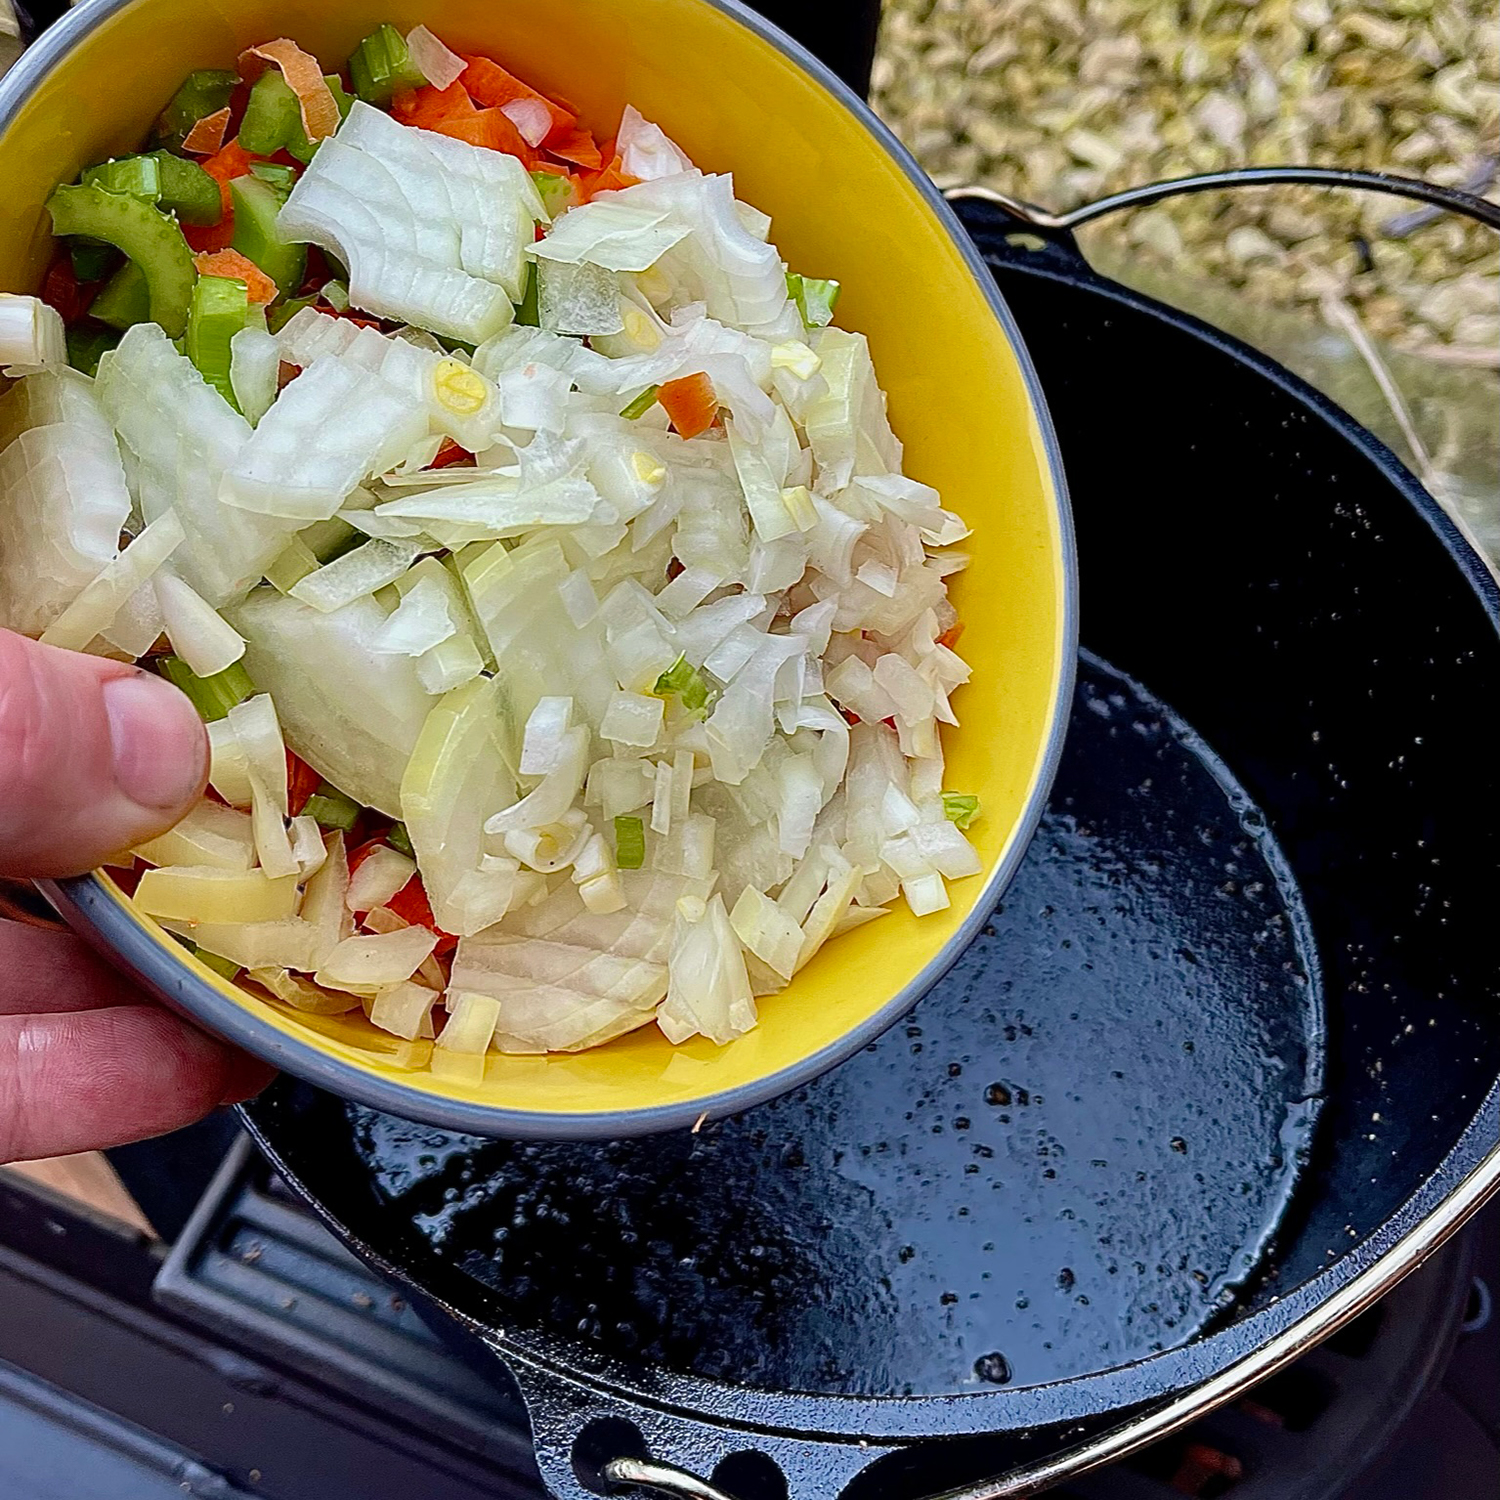
I finely chopped 3 carrots, 1 onion and 1 stalk of celery and placed in the medium hot Dutch oven.
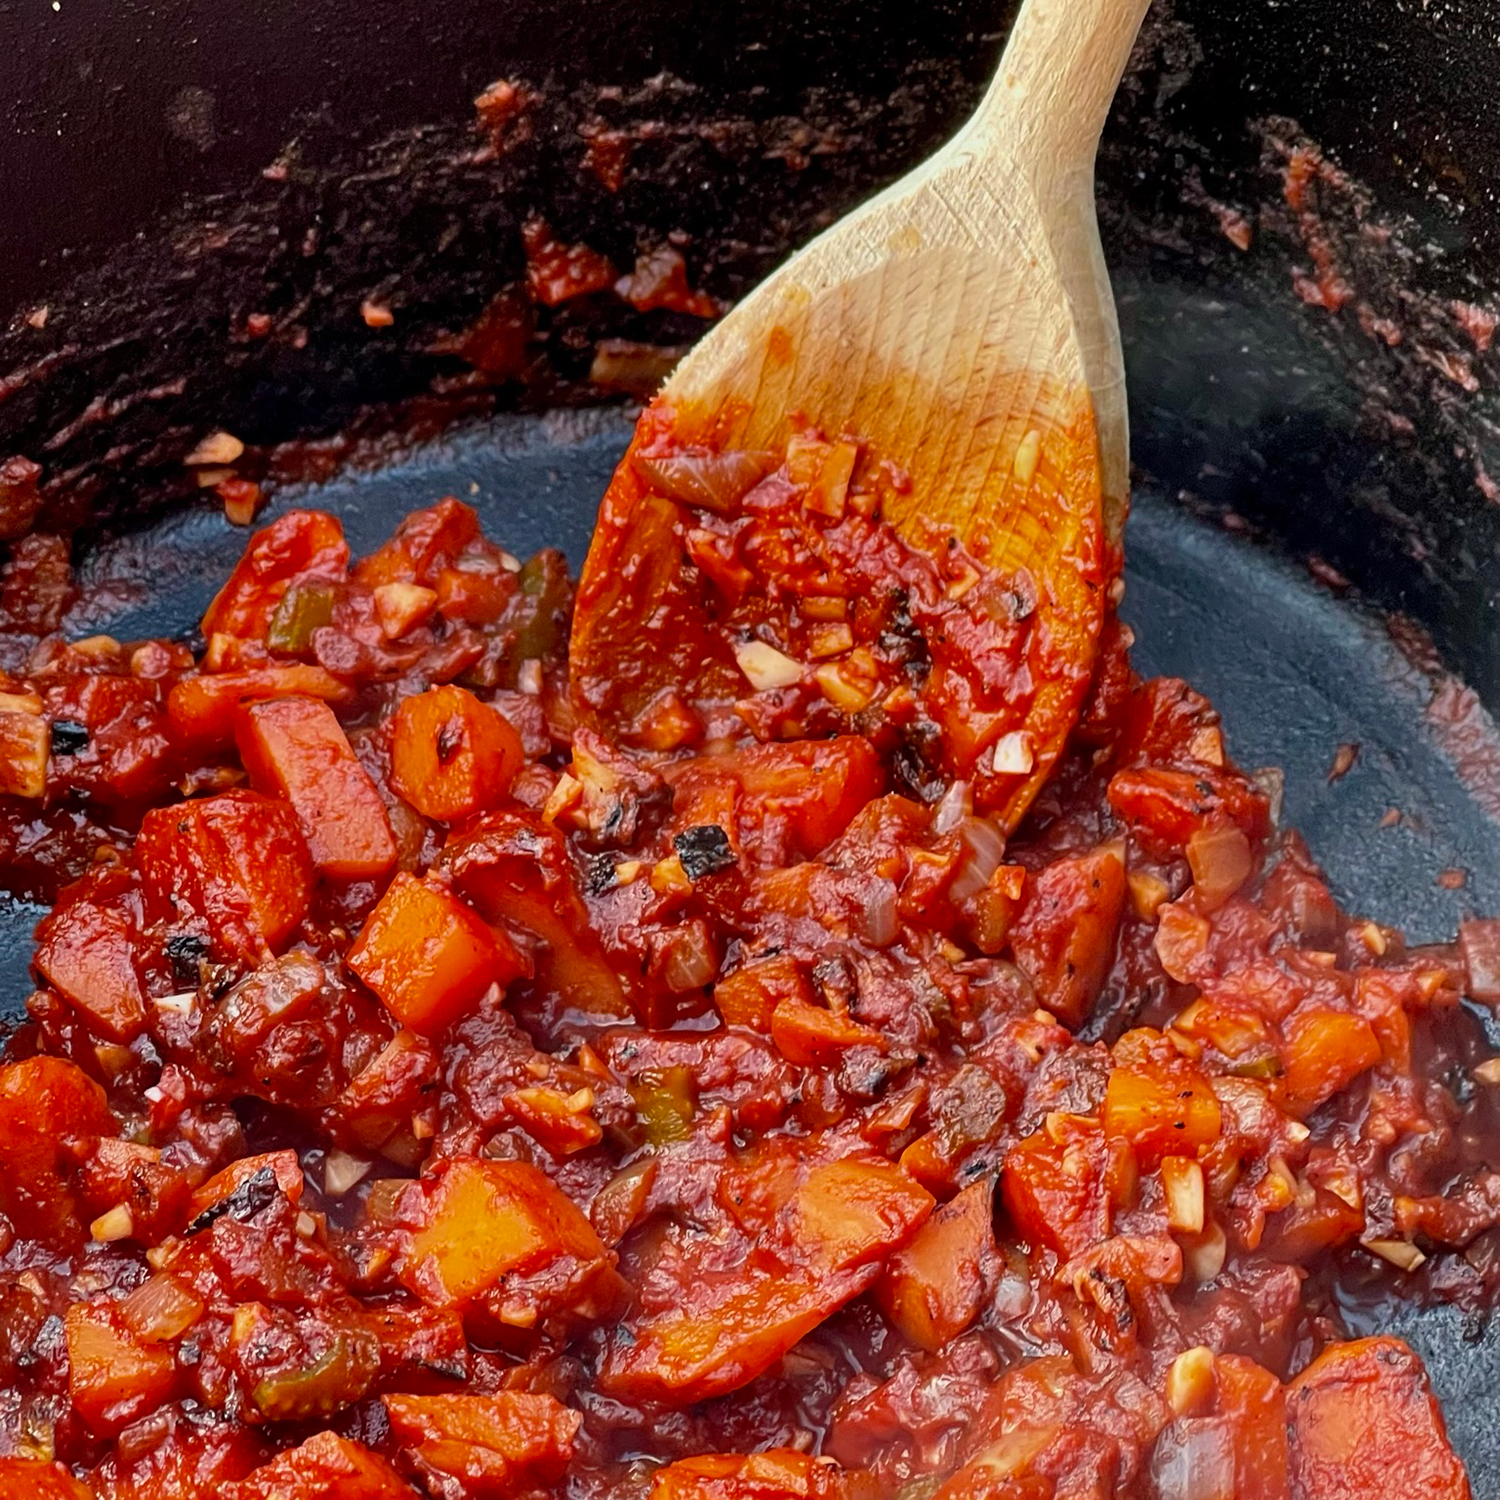
This was cooked for around 20 minutes (stirring occasionally) until everything was deeply browned.
I then added 8 finely chopped cloves of garlic and 160g tomato paste and stirred for a further 2-3 minutes to incorporate.
Time for the Wine
OK, although I’m a huge fan of enjoying the odd alcoholic beverage during a cook, we actually need to use some wine as part of the recipe at this stage . . . sorry . . .
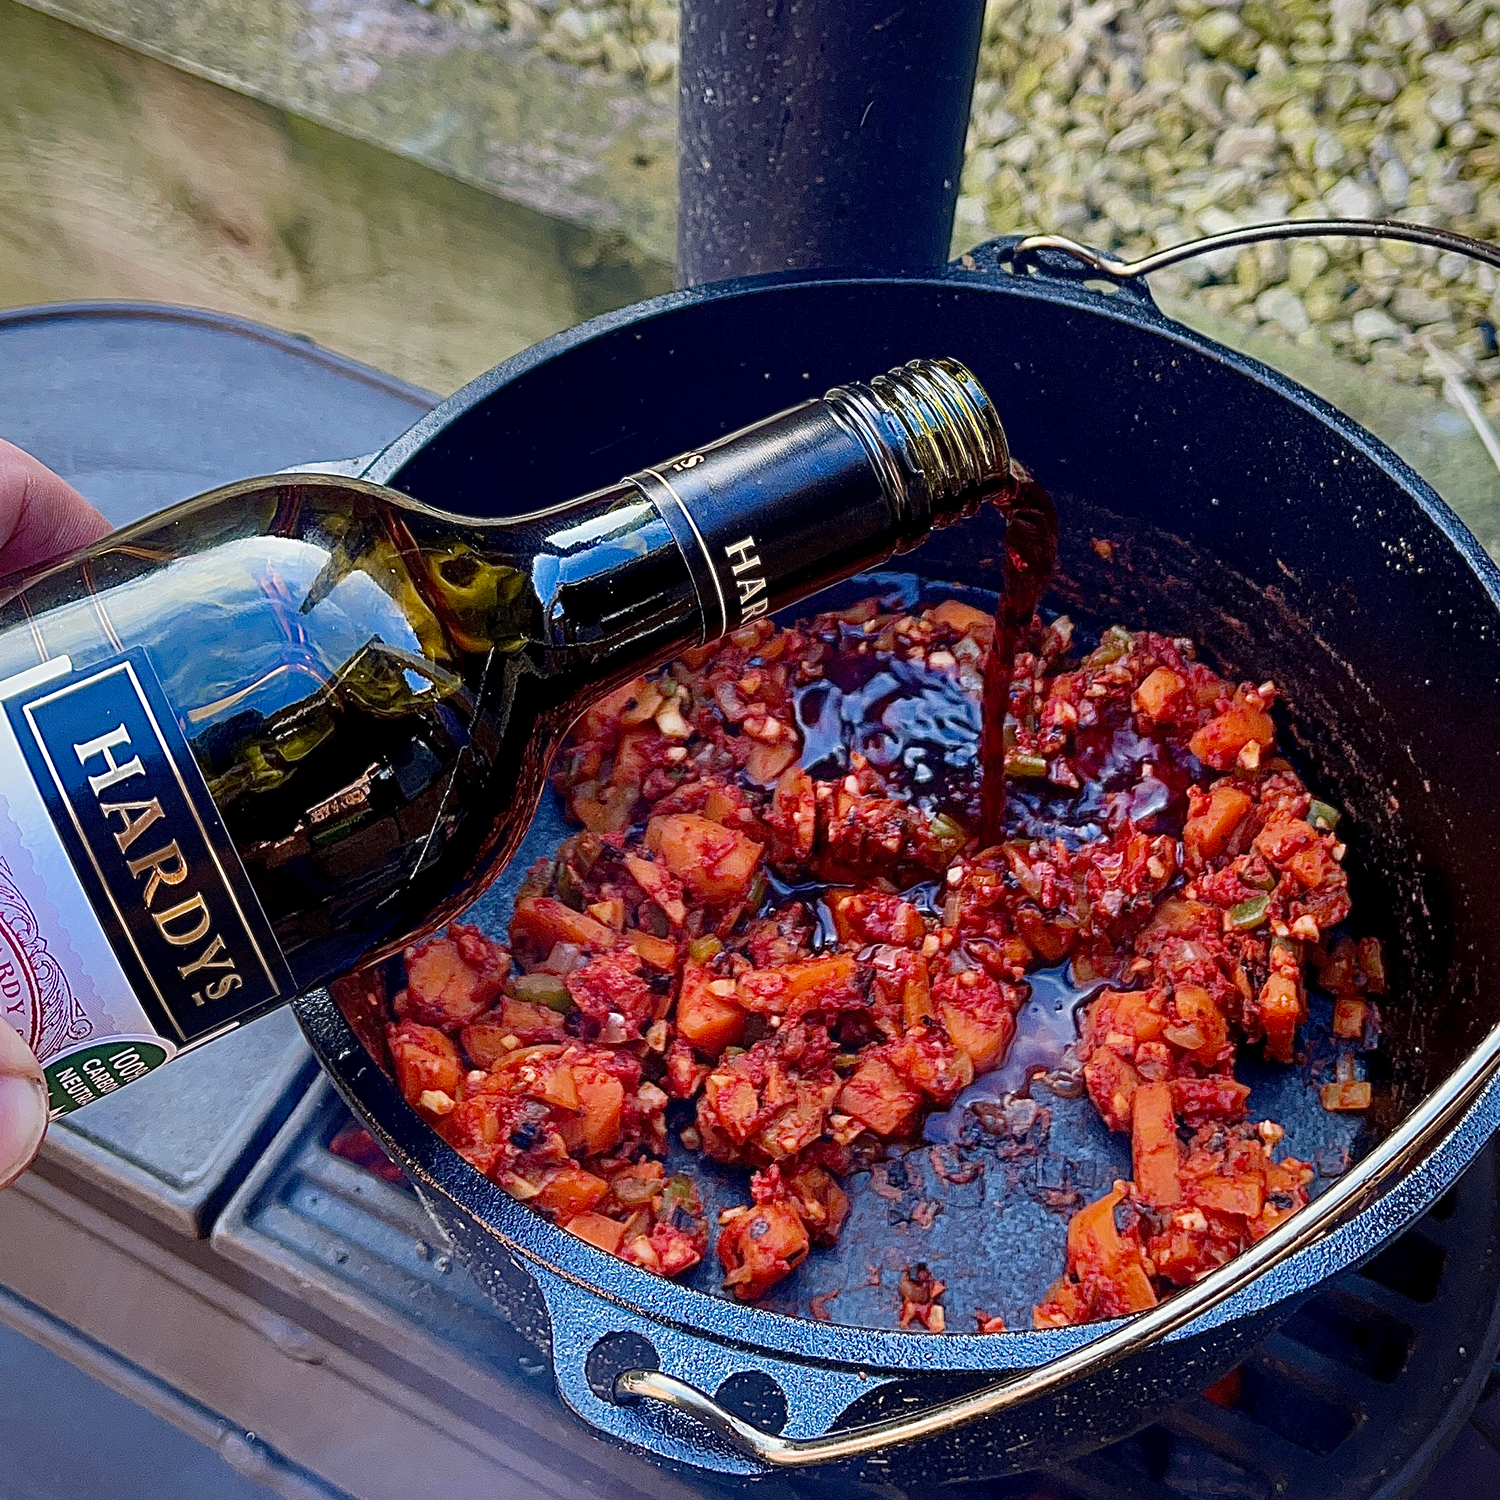
Pour 1 large glass (or 1 cup if you are common like me) dry red wine into the Dutch oven and stir constantly for 3-4 minutes . . . scraping up any browned bits from the bottom.
Time for the Slow Simmer
Add the following to the Dutch oven:
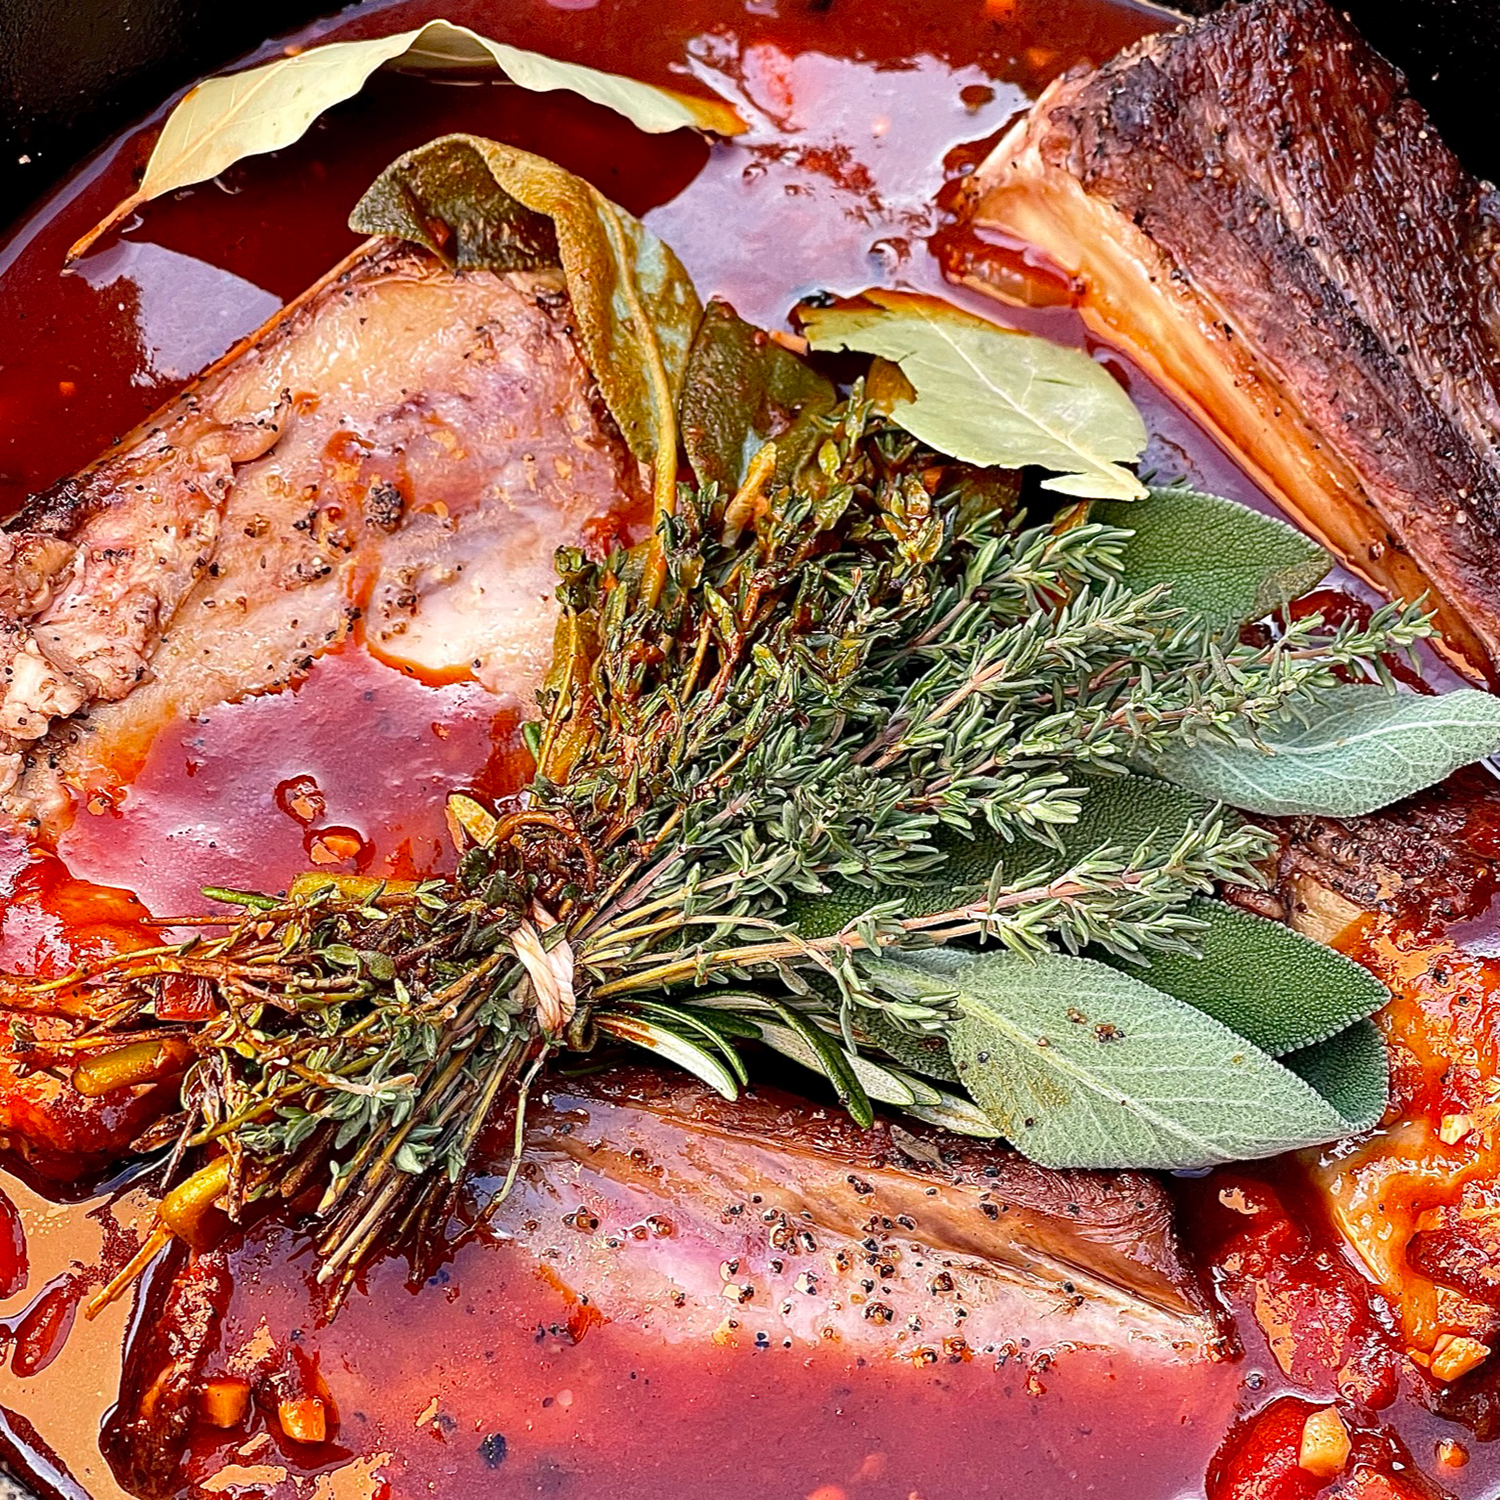
- Tied bundle of fresh herbs (2 sprigs rosemary, 4 sprigs sage leaves and 12 sprigs thyme)
- 2 bay leaves
- 1 can chopped tomatoes
- 500g beef stock
- Beef Ribs
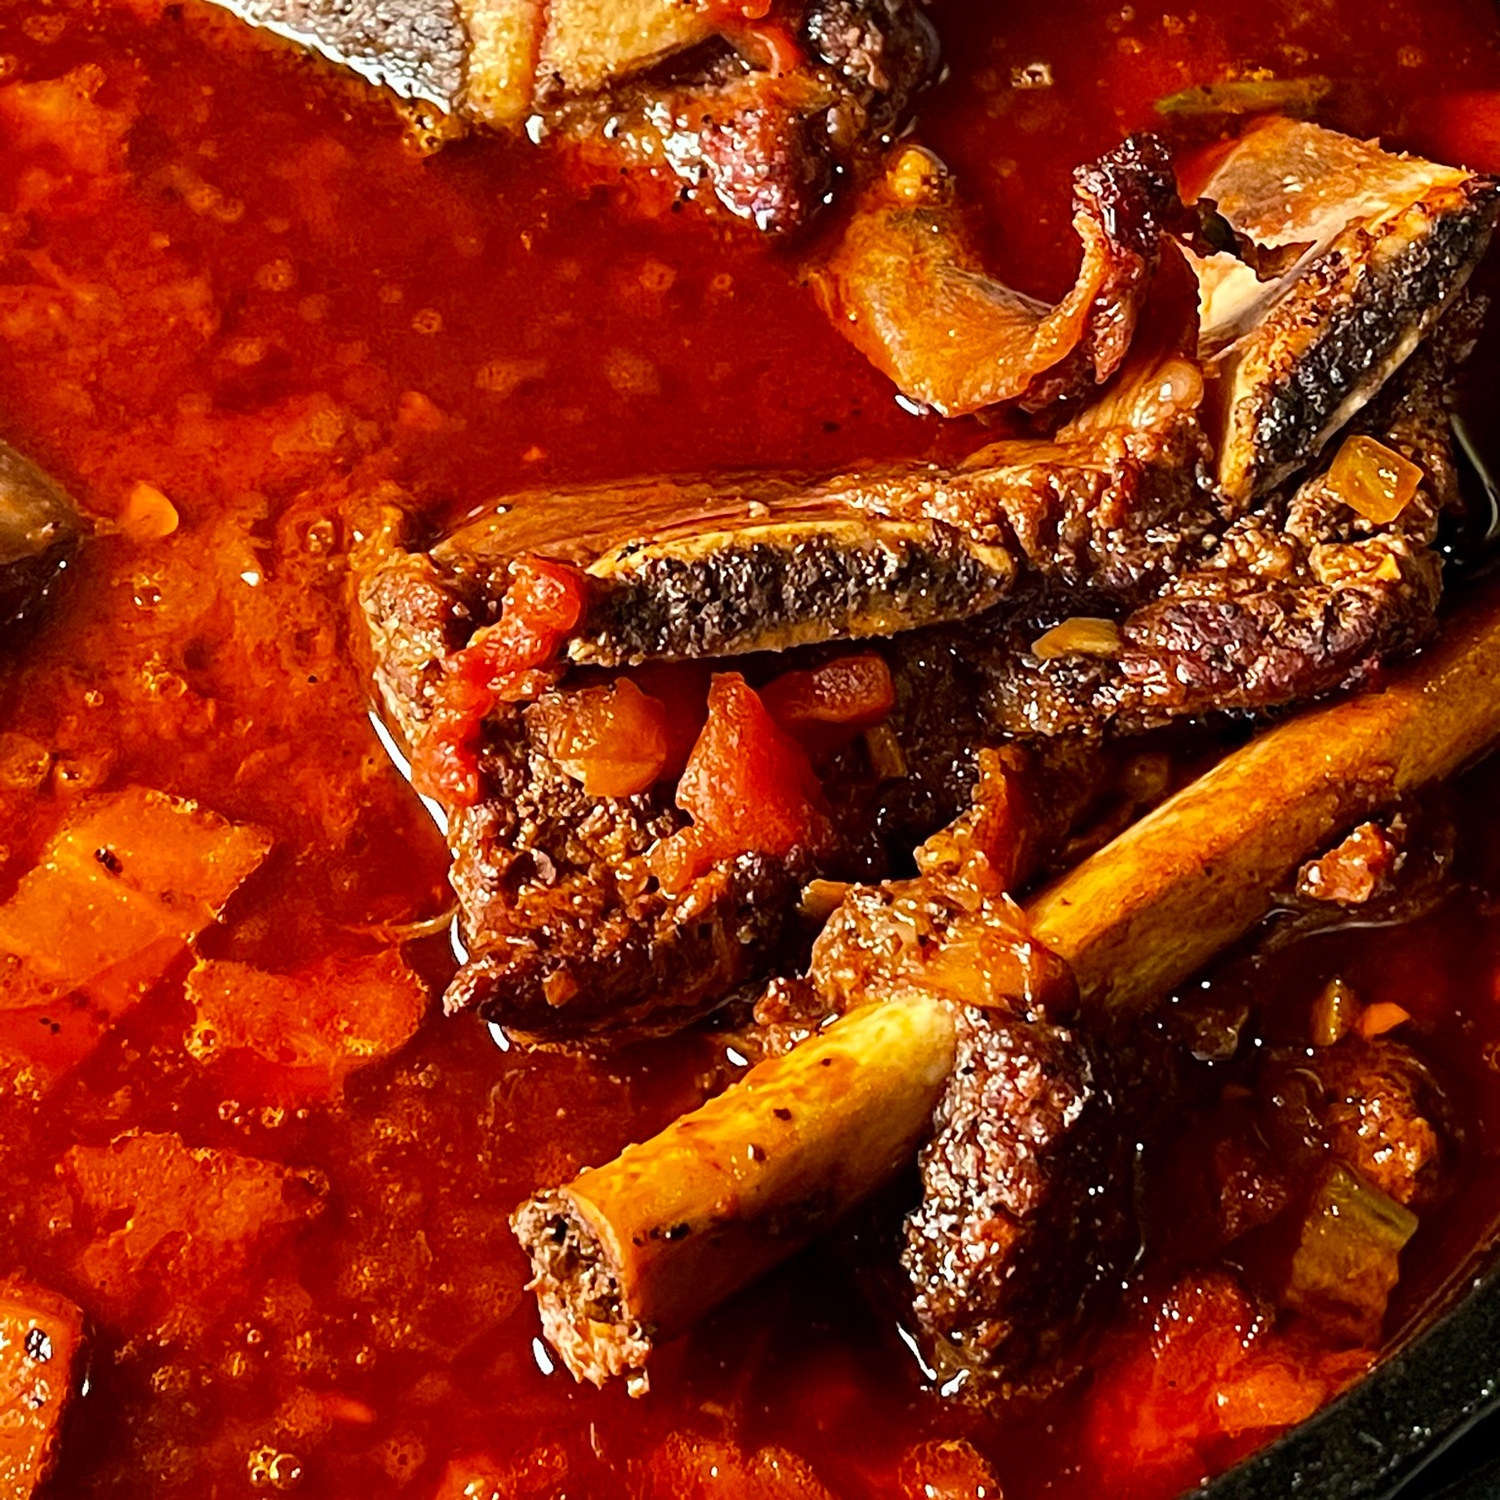
Bring to the boil and then cover and reduce to a low heat. Stir occasionally for roughly 3 hours (until the ribs are fall-apart tender – around 205°f to 210°f).
Time to Shred the Beef
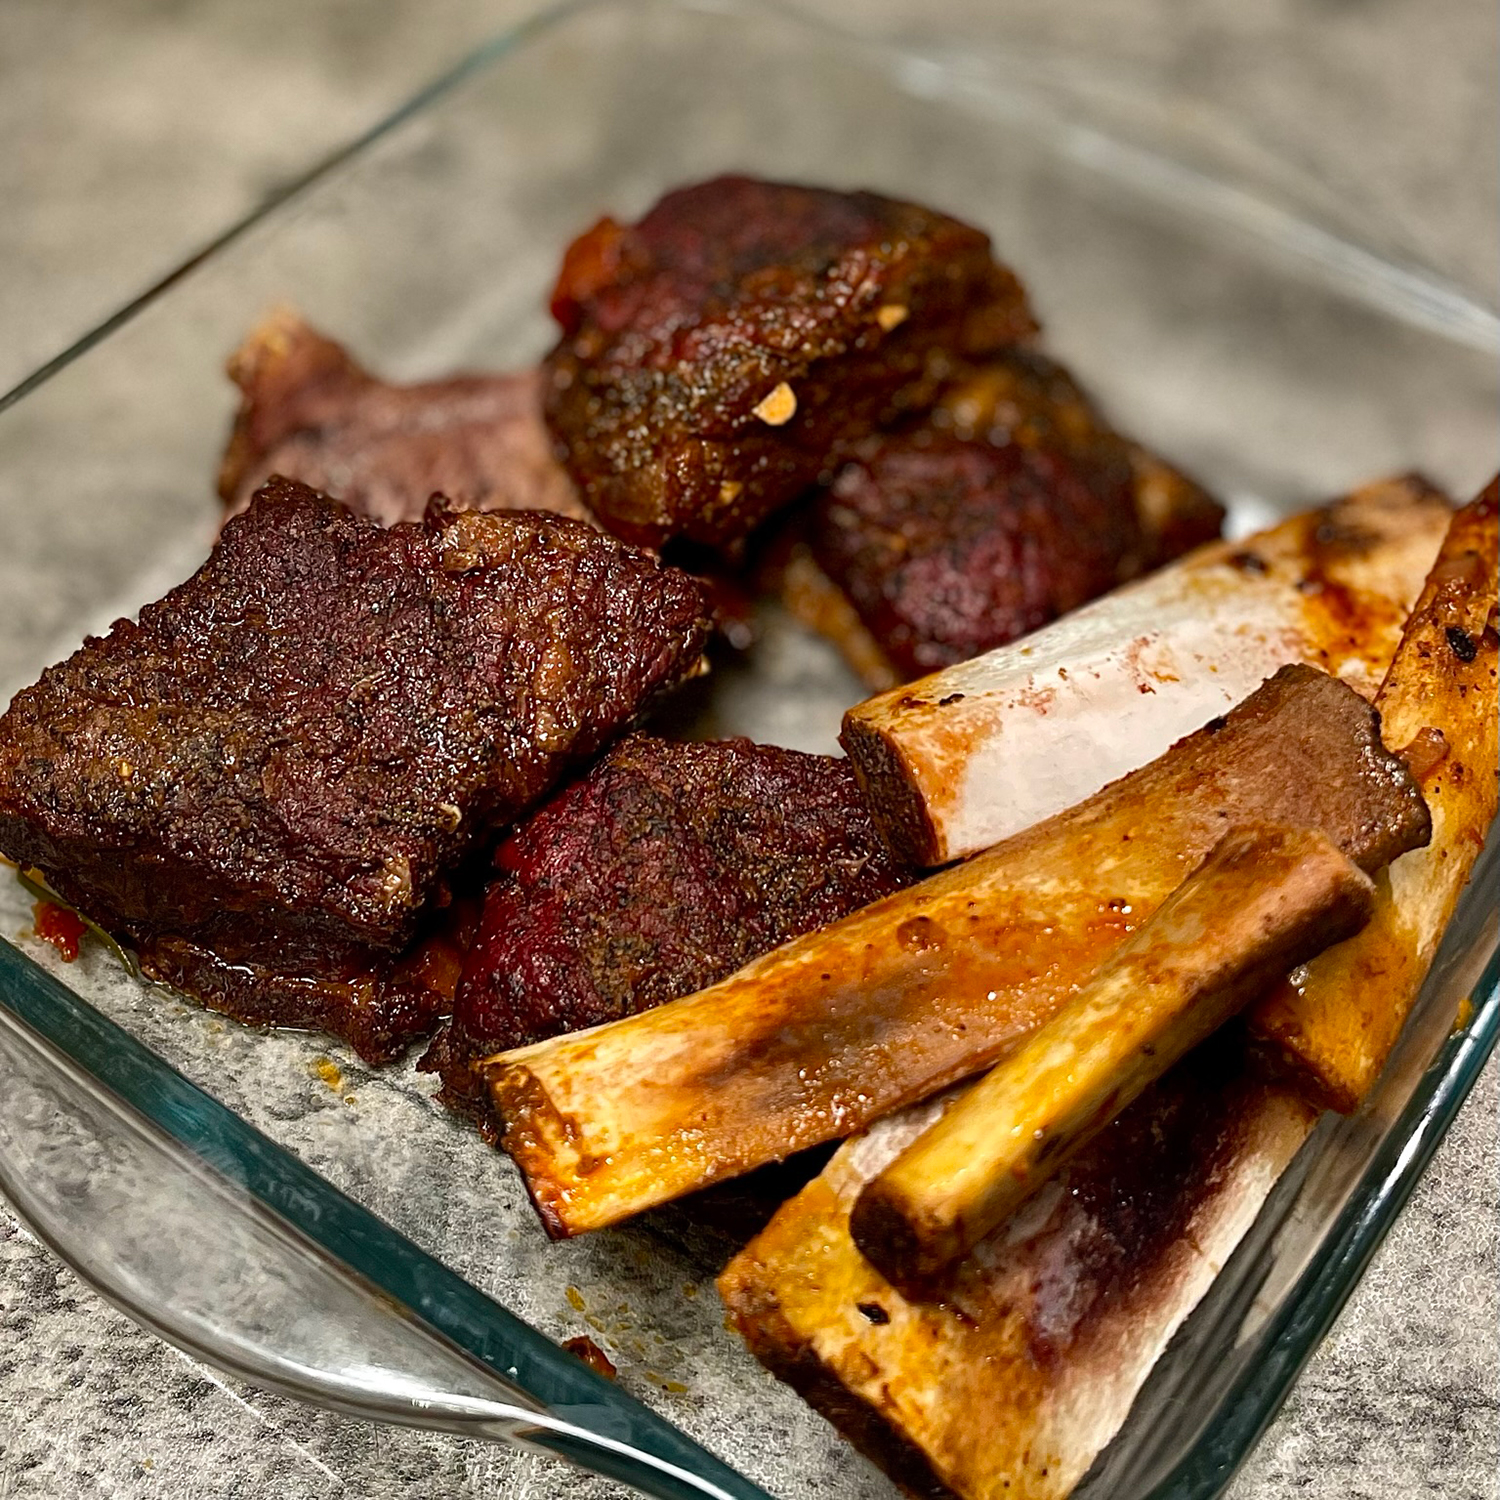
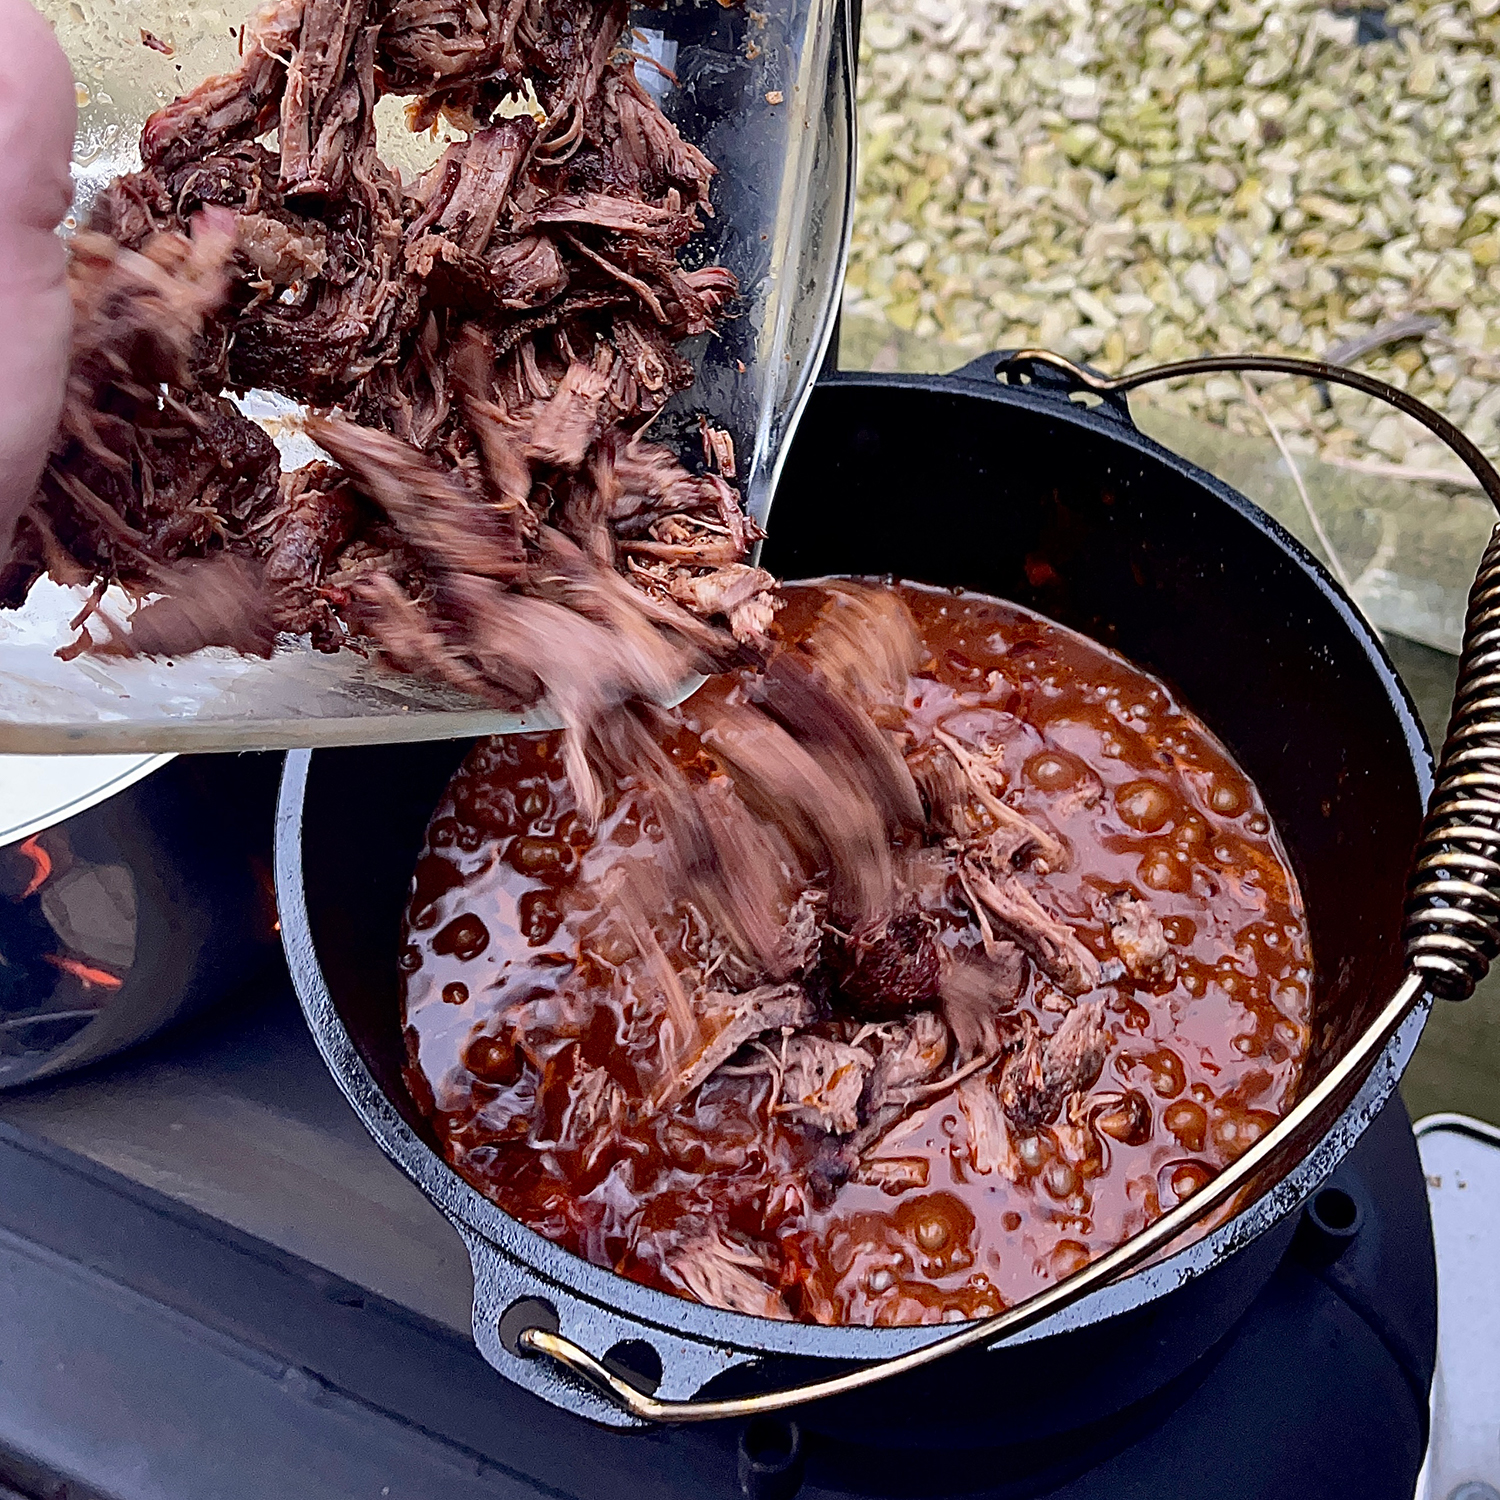
Remove the fresh herbs and bay leaves from the Dutch oven and transfer the ribs to a chopping board and shred (discarding the bones).
Return the shredded short rib meat to the pot and stir to combine.
Note: If you have excess fat sitting on the top of the ragu at this stage, skim some off with a spoon and discard.
It’s Pasta Time
Cook your pasta of choice (around 650g) and drain (making sure you keep that starchy water).
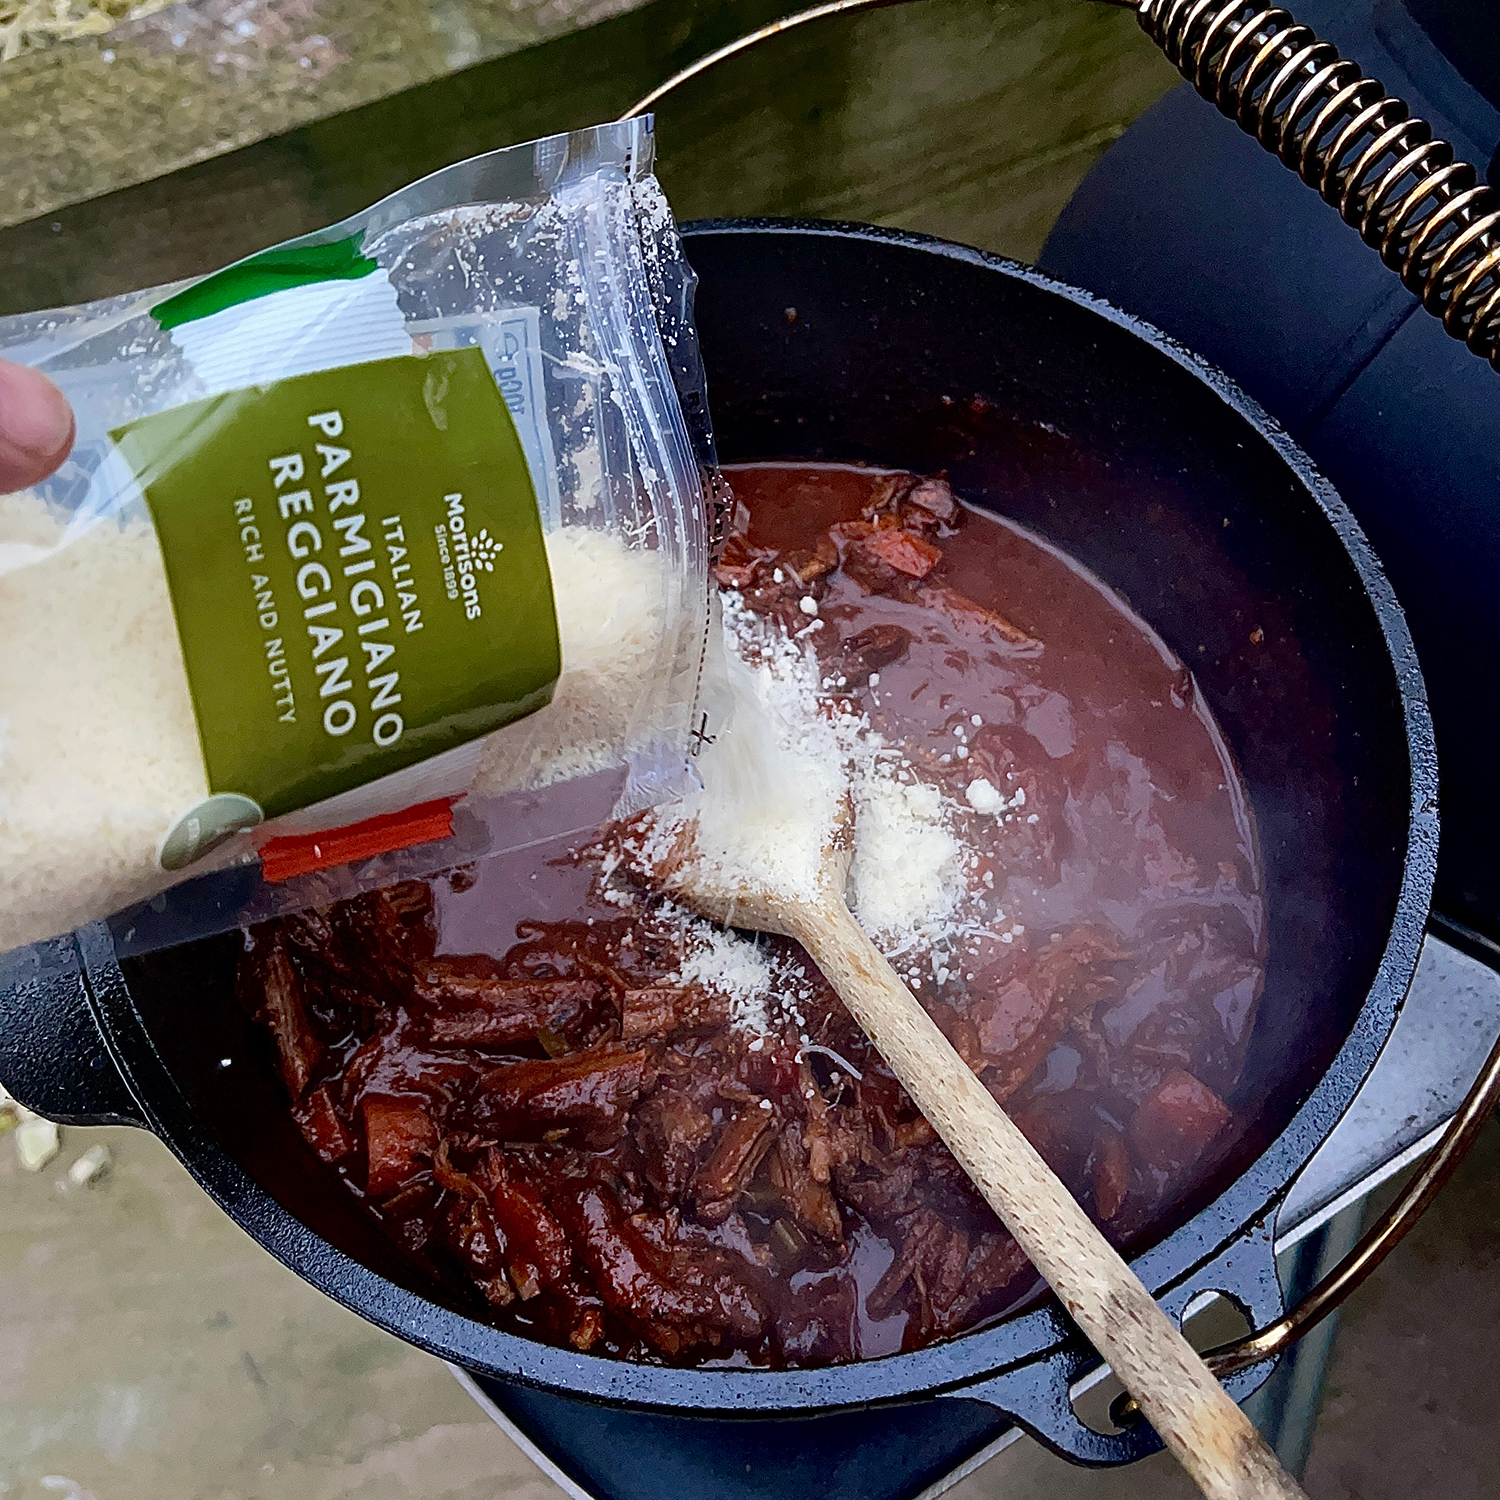
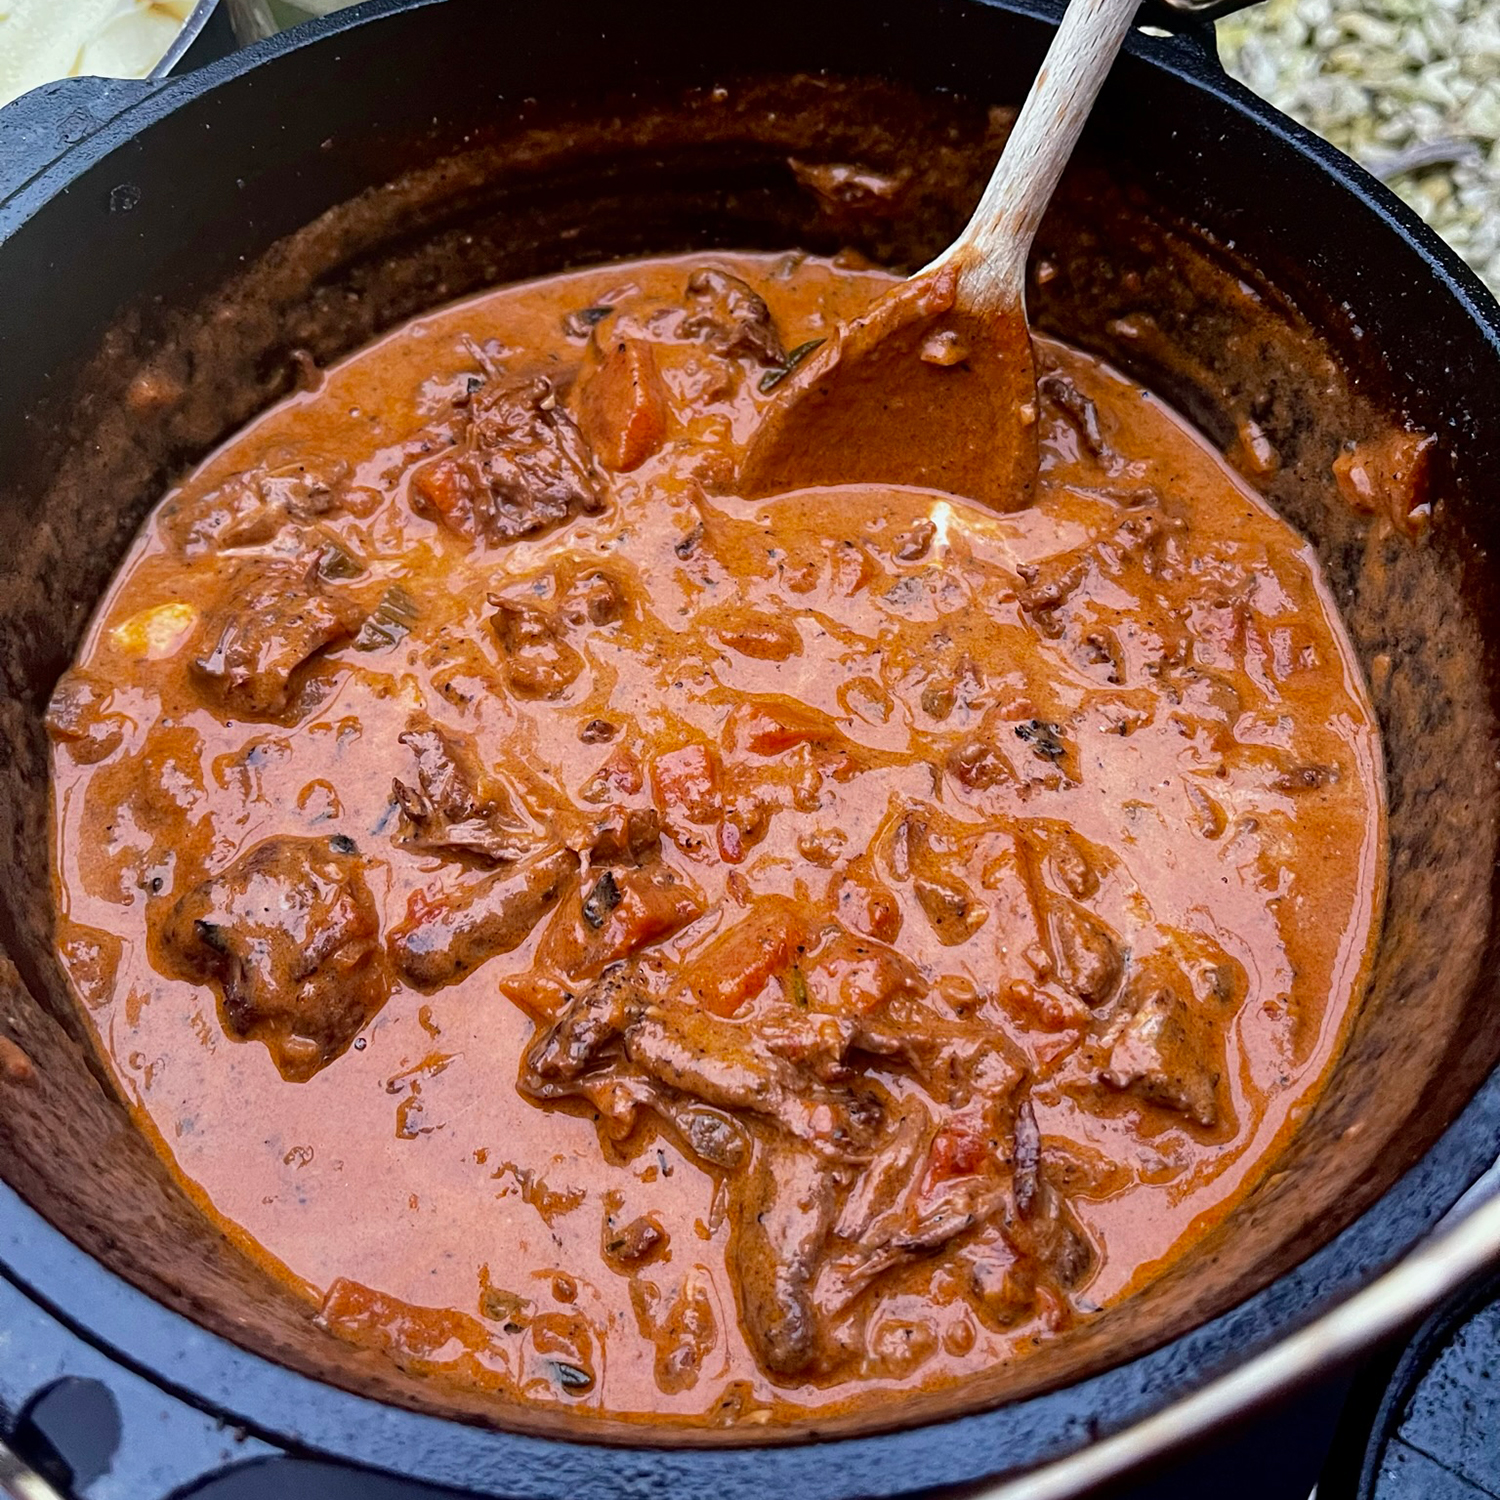
Whilst your pasta is boiling add 120ml heavy cream and 45g grated parmesan cheese to the Dutch oven and stir.
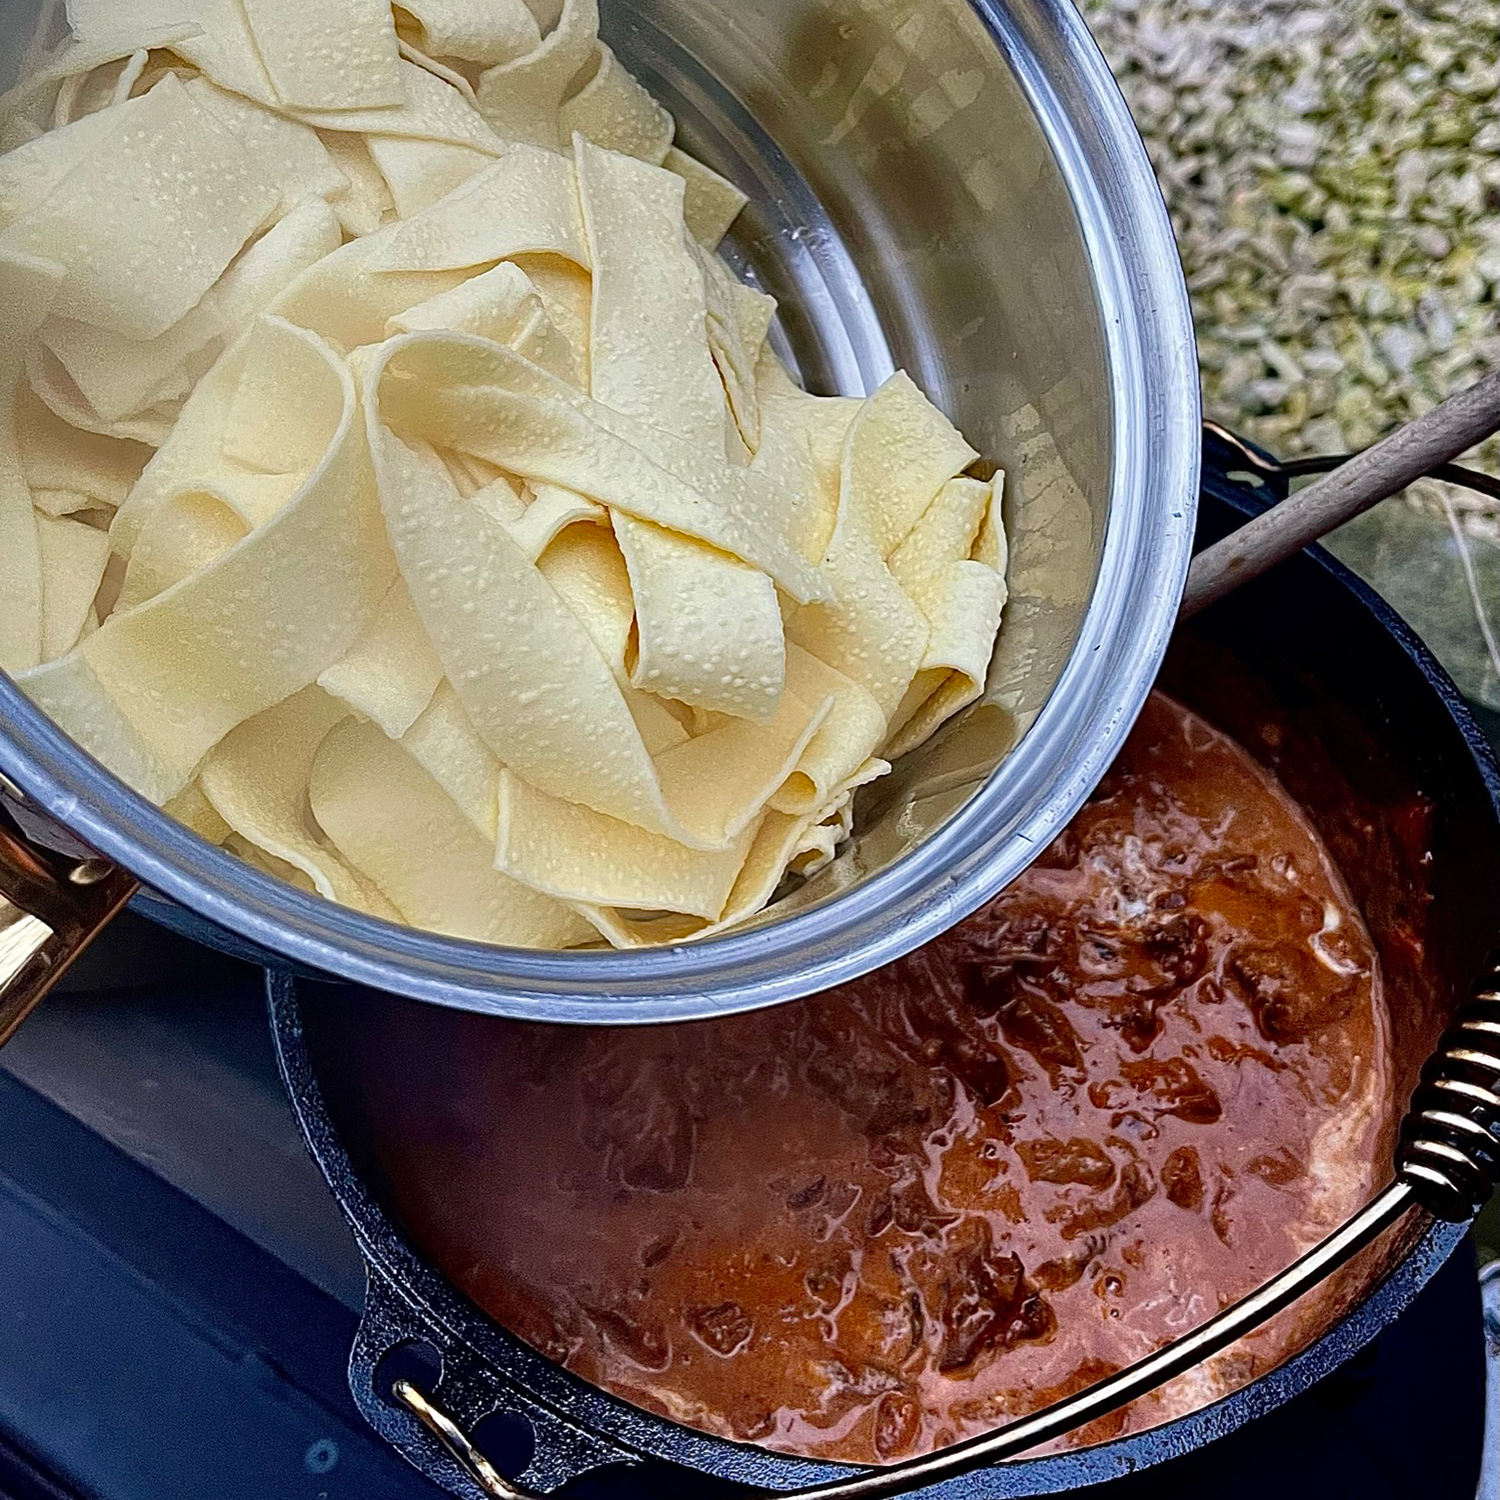
Once the pasta is drained (not rinsed) add to the pot and toss to coat.
Tip: Need to loosen things up a little? Add some of the water used to cook the pasta. Need to tighten things up? Add an extra handful of parmesan . . . easy!
Serve
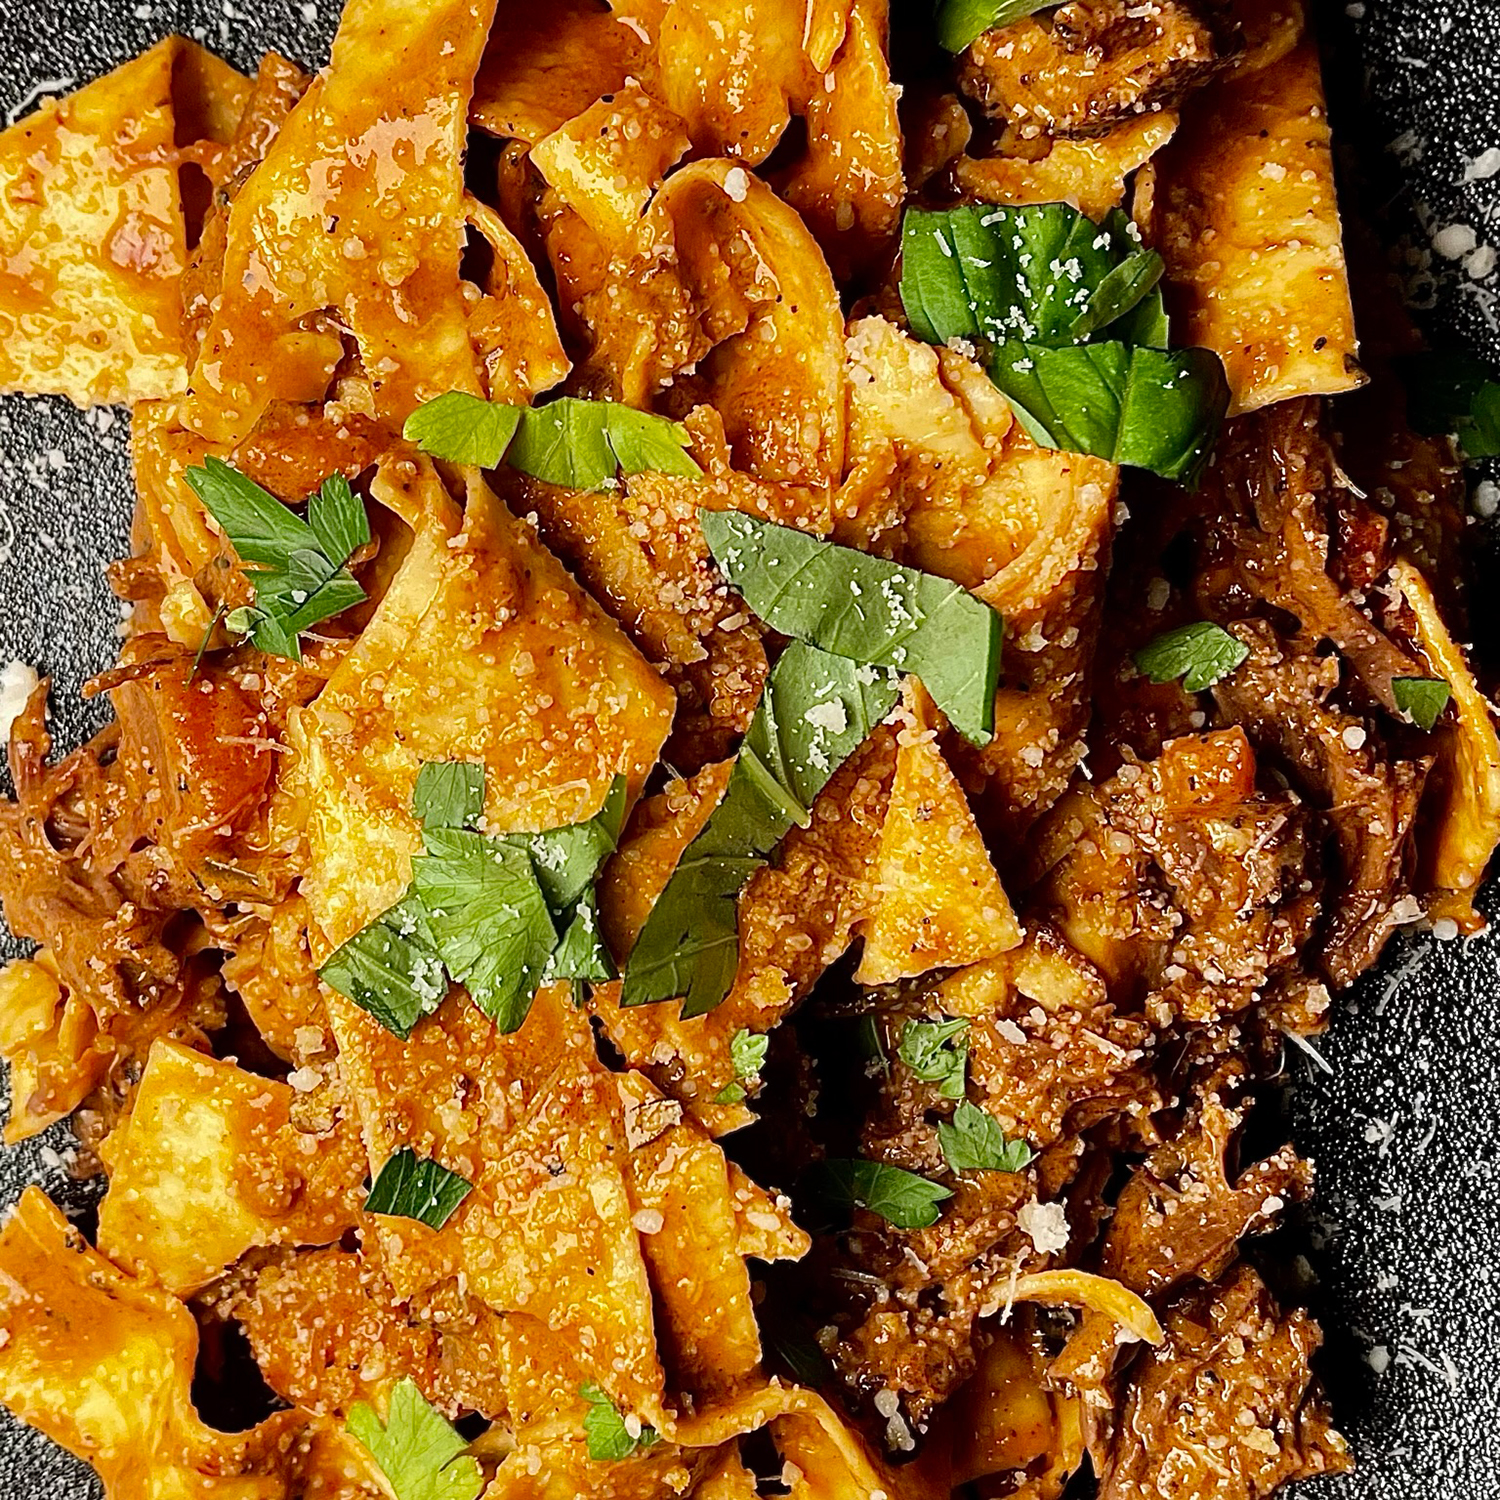
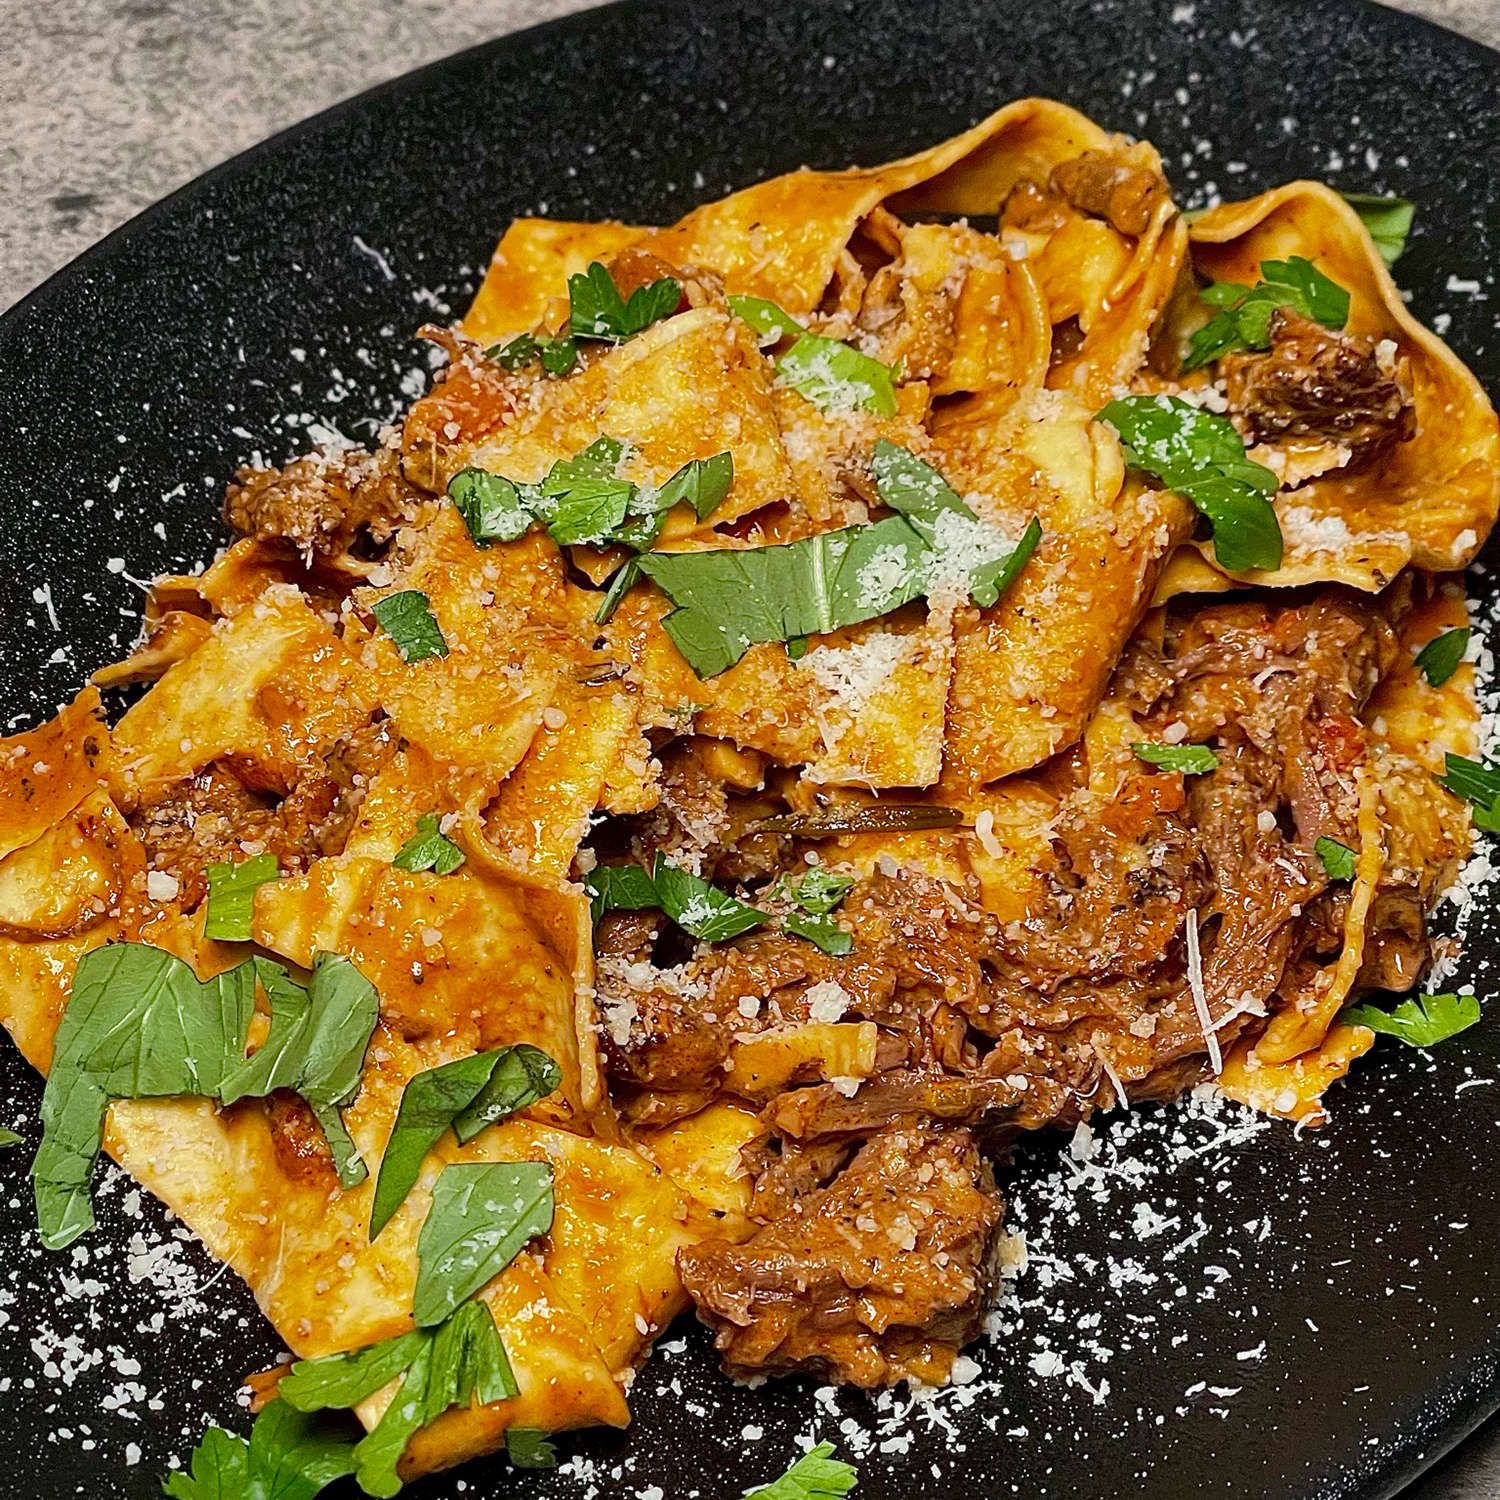
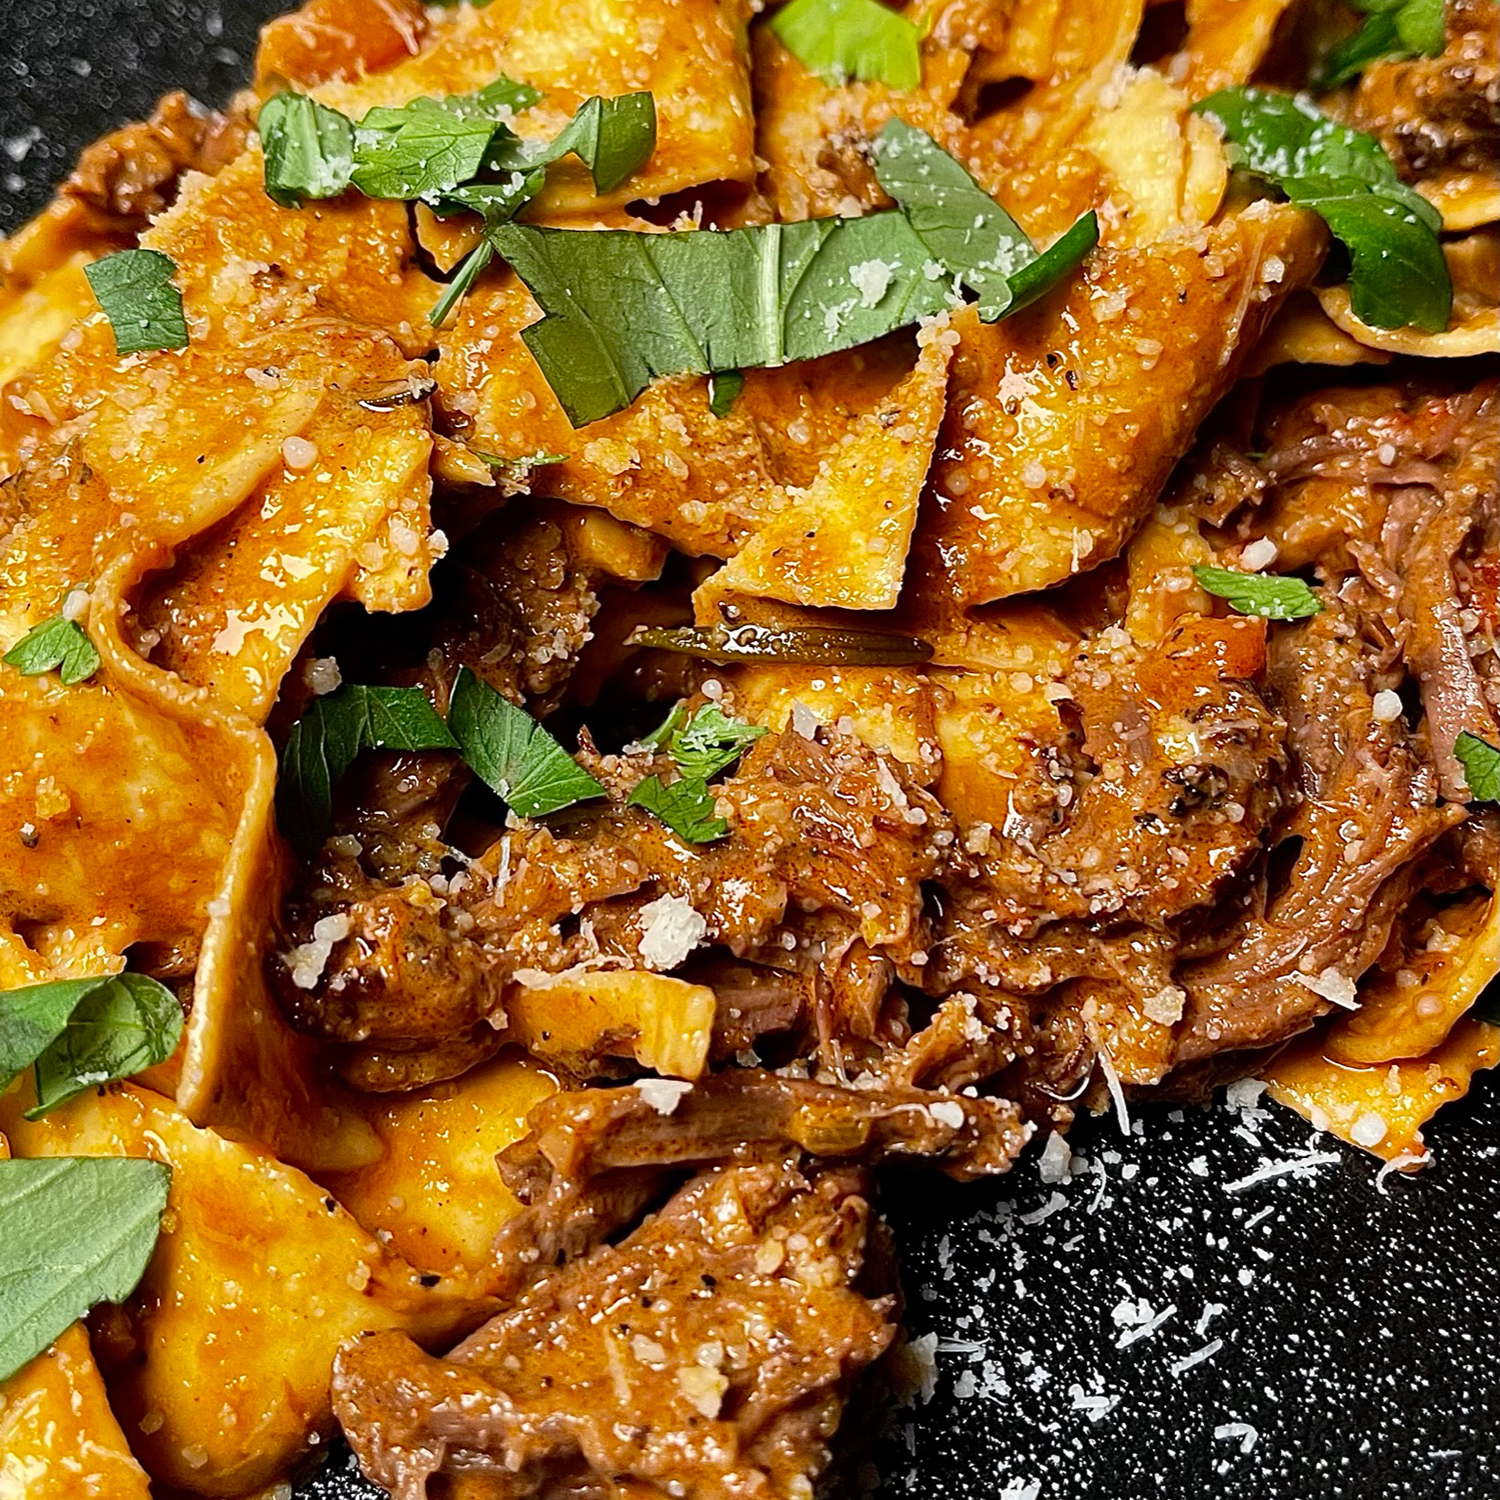
Portion into bowls and top with grated parmesan and some chopped fresh herbs (I went for basil and parsley).


