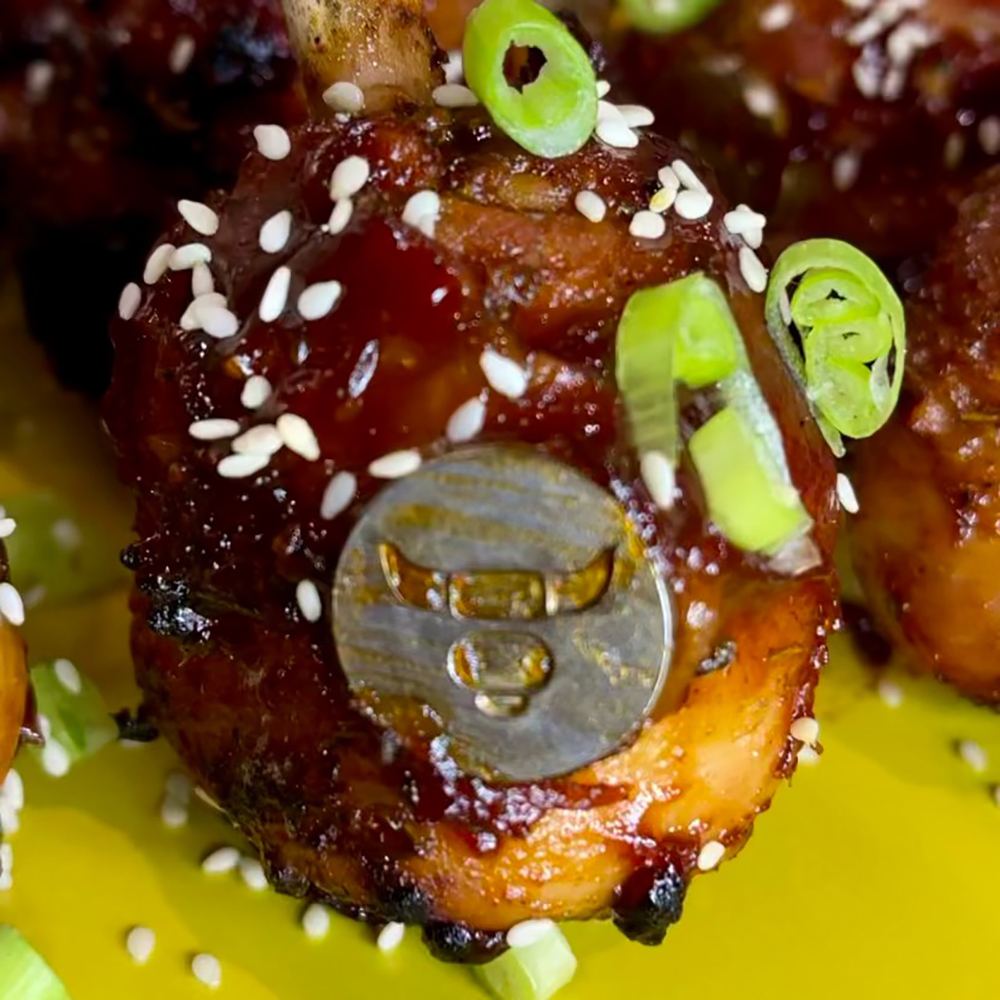
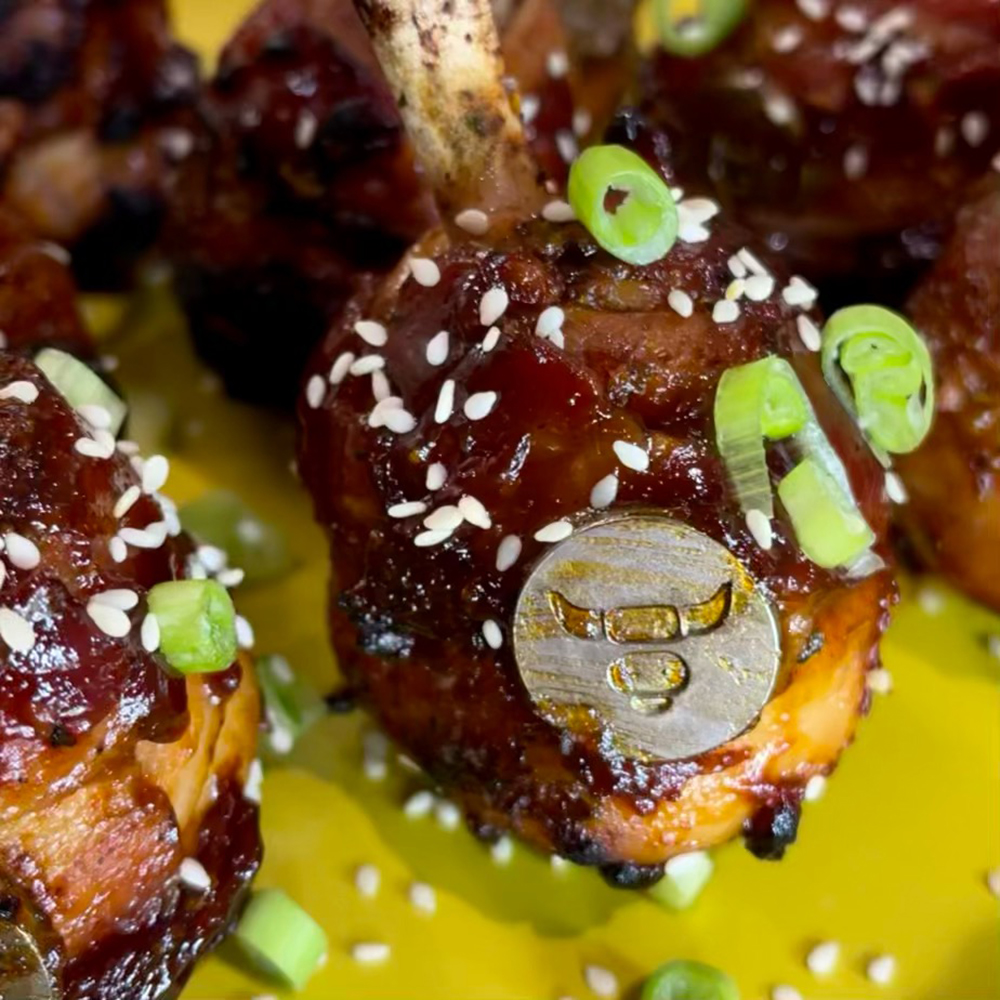
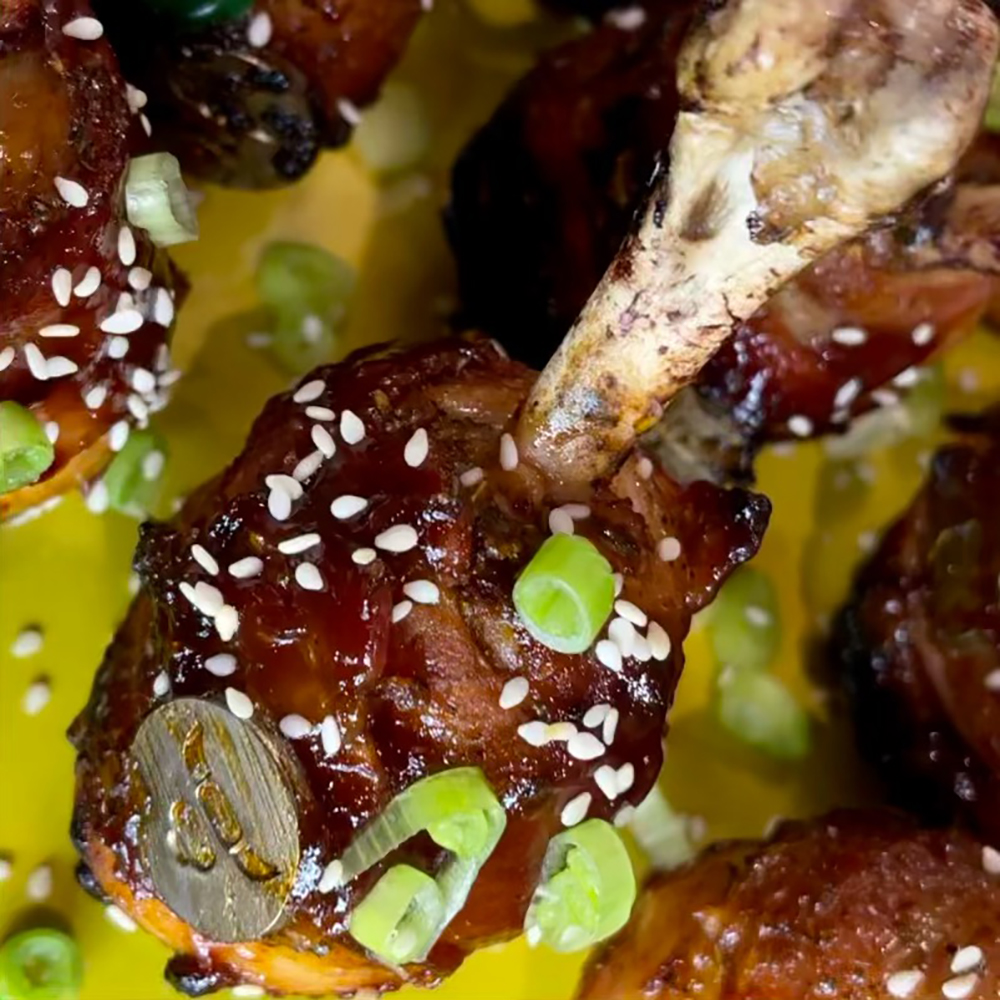
I’ve been wanting to make these for some time now, just a bit of fun . . . or so I thought! Sure, they taste great . . . but the prep / cook is a little more involved than I first thought.
With ingredients costing just a couple of quid I really wanted to push the limit of what I’m capable of and produce the best god damn lollipops possible.
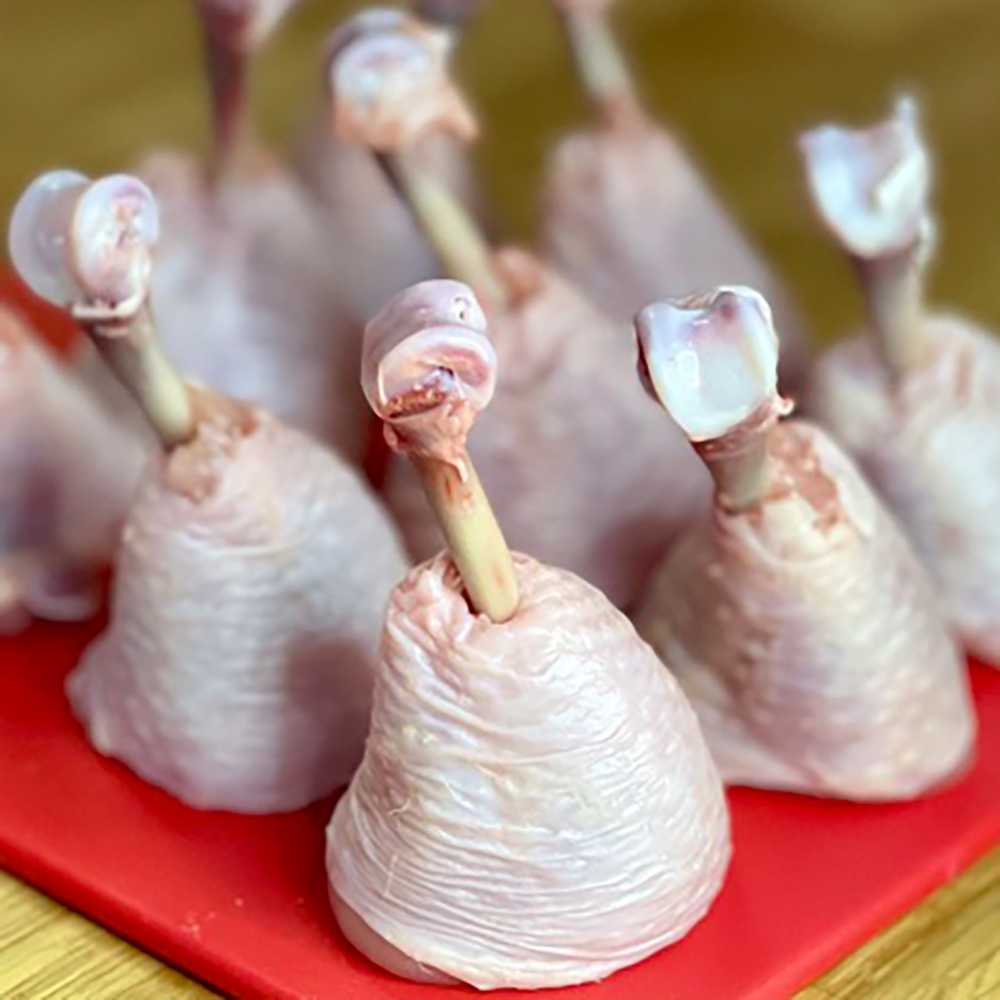
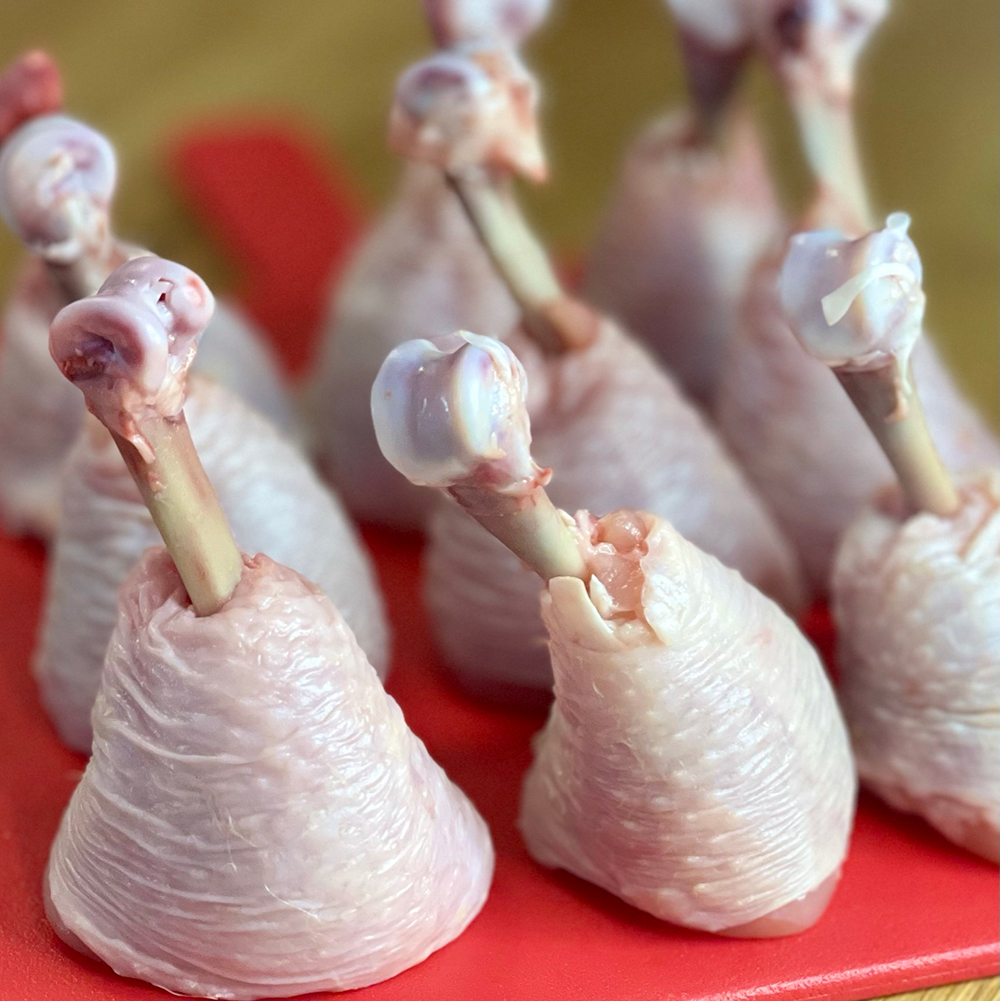
Step 1 . . . The ‘French Trim’ (or so I believe it’s called)
It was my intention to produce one of my quick recipe videos for these . . . but after wrestling with the first drumstick and nearly cutting my finger up I decided to stick to basics and simply take a few photos.
For the initial step you will need:
- Patience
- Relaxing music
- Paper towels (not just for the tears)
- Sharp knife
- Scissors
- Needle nose pliers (just makes life easier)
Basically my process involved making a slit around the circumference of the bone . . . twice . . . to make sure you get those damn tendons. Once your happy you need to scrape the skin towards the top and then pull the skin up and over using that paper towel I mentioned earlier.
Next grab those needle pliers and reach inside the drumstick pulling those tendons up and cut them off. If like me you haven’t got 4 arms I found this was a great opportunity to ask a family member for help.
Next slide your finger down inside the chicken a little and you’ll feel a tiny pin bone . . . bend at the base until it snaps and then remove.
Don’t worry, we’re nearly there . . . With phase 1 anyway!
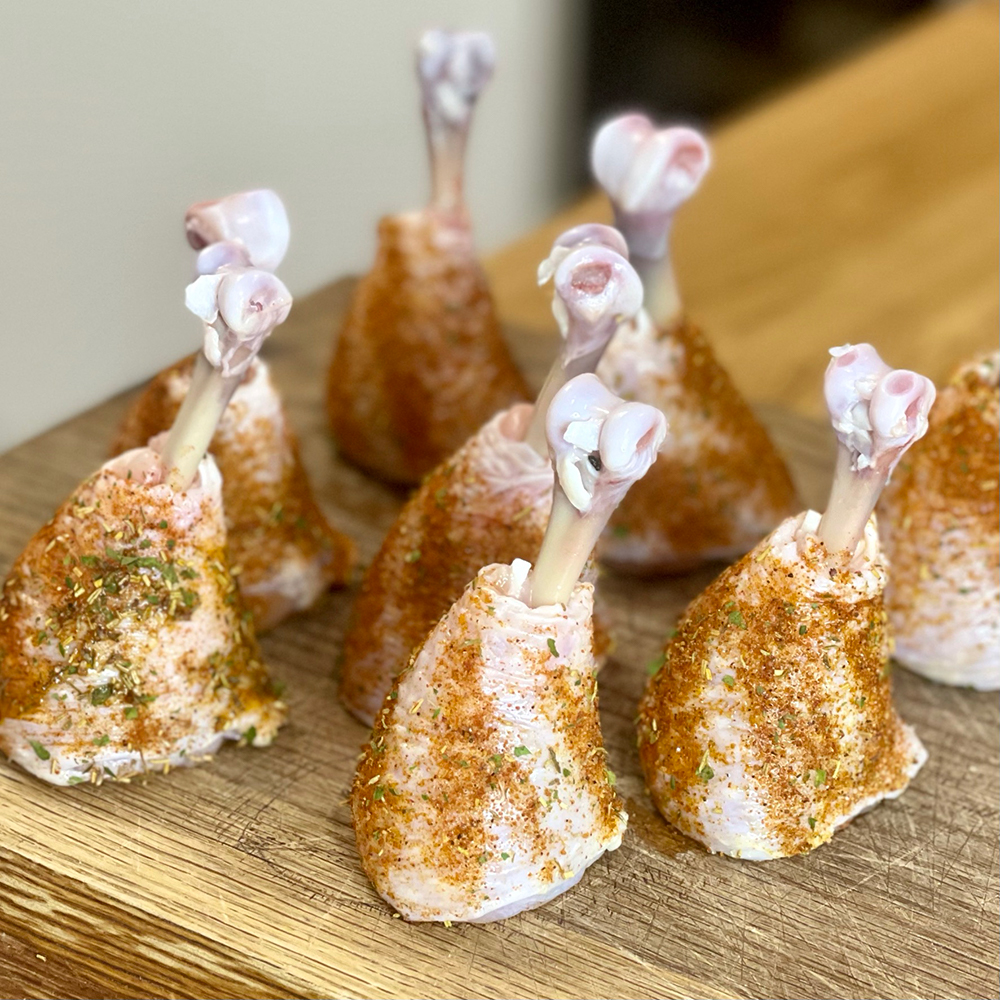
Once you’ve removed the pin bone simply push the meat down forming a ball of perfectly clean, enjoyable chicken.
Step 2 . . . The Brine
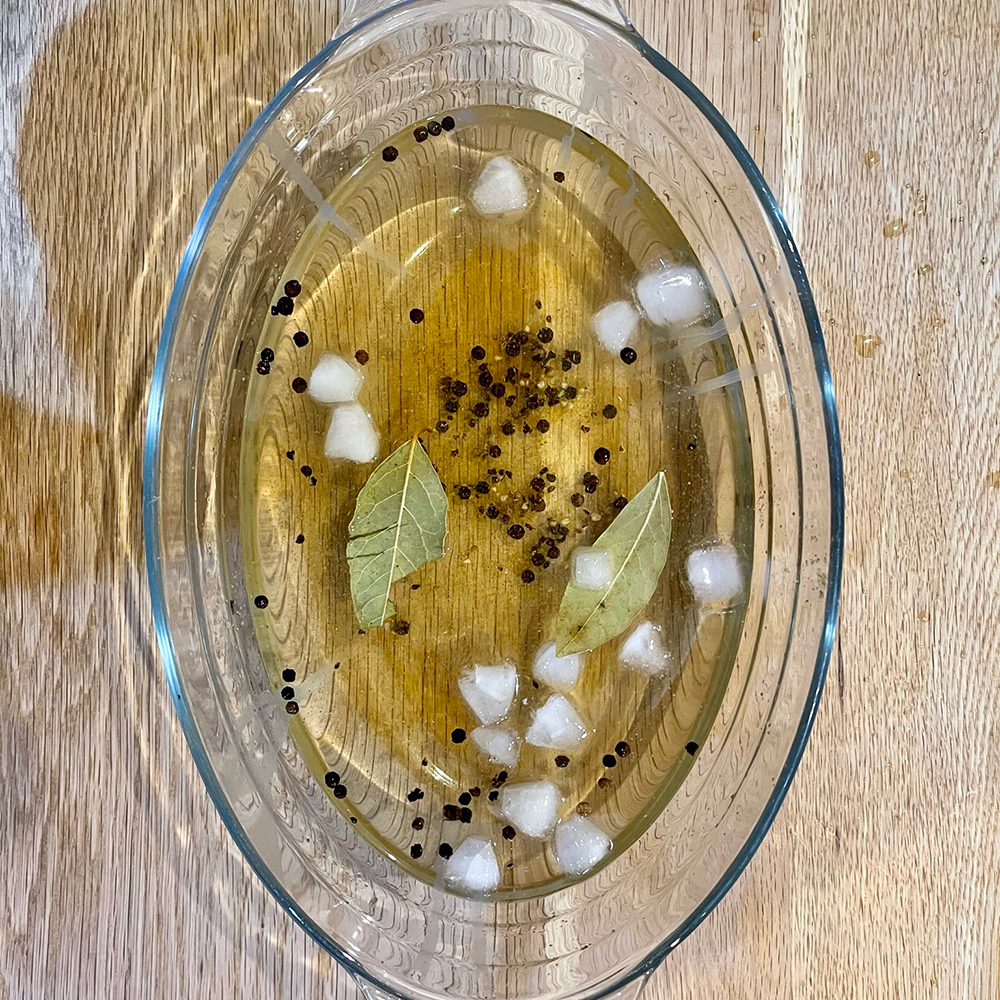
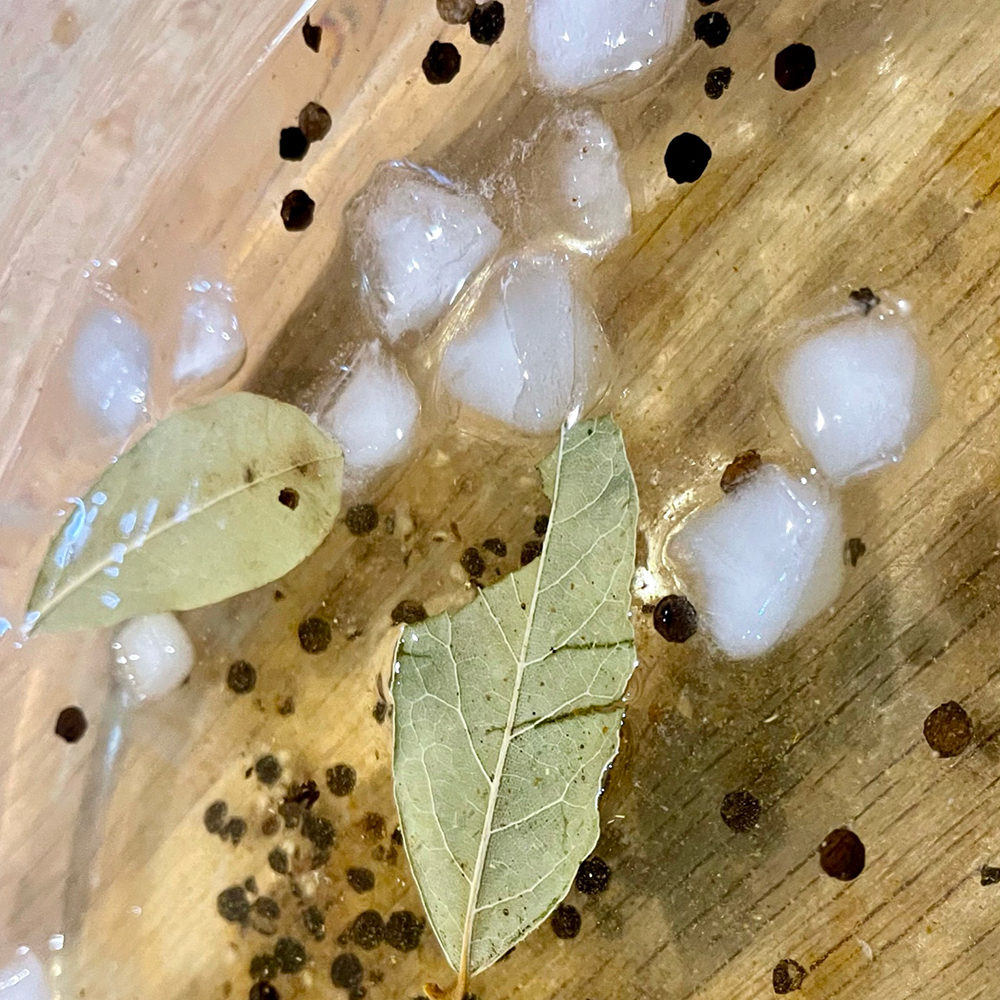
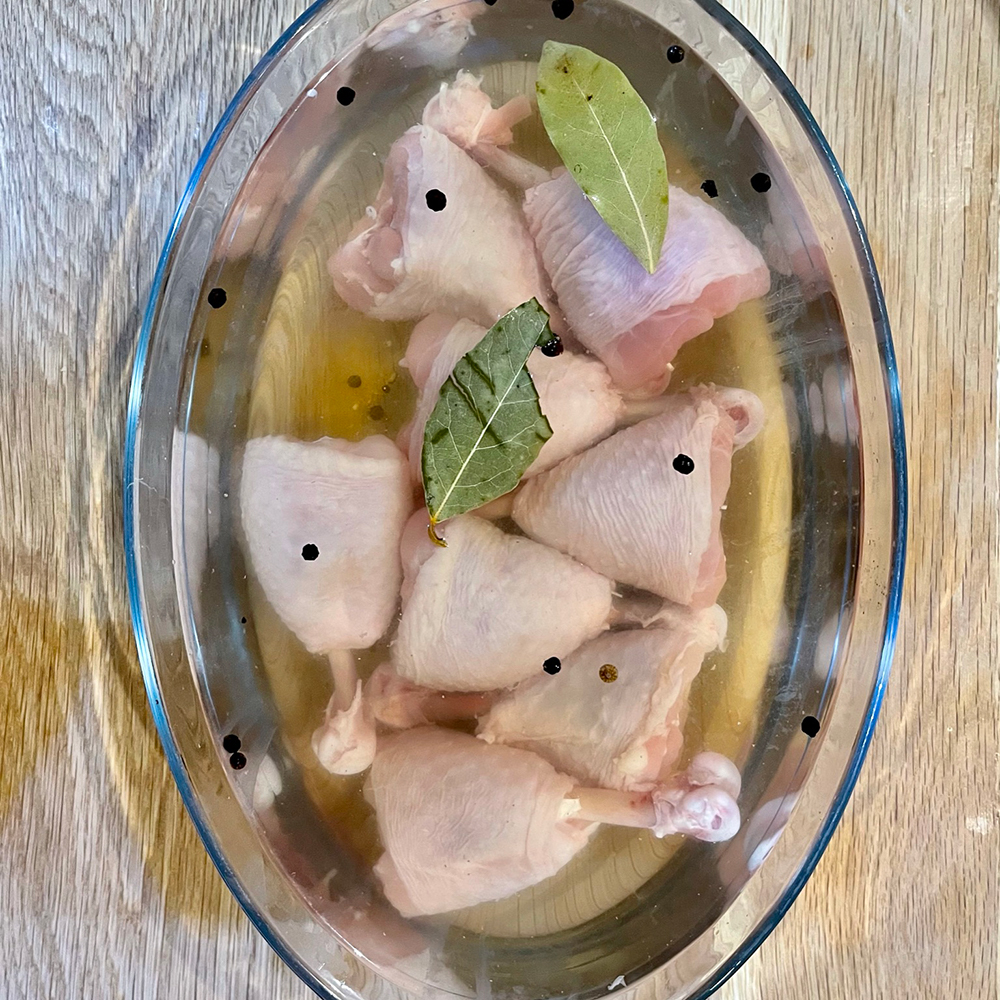
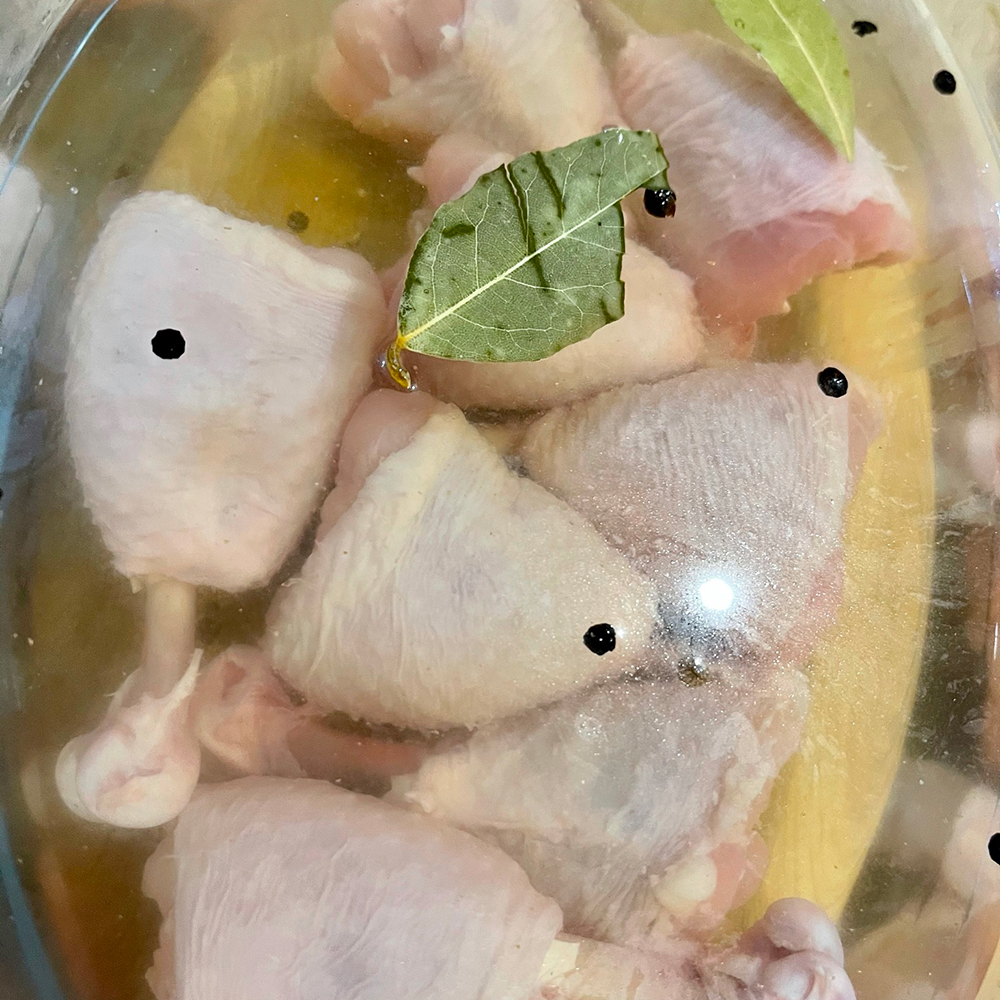
Now, you can miss this step completely, but 4 hours before I planned to cook these lollipops up I placed them in a basic brine in the fridge.
. . . I went for:
- 1 litre boiling water
- 40g salt
- 70g sugar
- 1 tsp garlic granules
- 1 tsp peppercorns
- 2 Bay leaf
- 1 tsp red pepper
Note: Once everything was mixed together I added loads of ice / cold water to bring the temp down before adding the chicken.
Why did I brine? Well, remember I said earlier I wanted to see how good I could make these . . .
Step 3 . . . Layer that flavour
Once the chicken had been in the brine for 4 hours I removed and patted dry with kitchen roll. I then gave them a light spray with olive oil before sprinkling ‘Chook Chalk BBQ Rub‘ from ‘The Rusty BBQ Company‘ all over them.
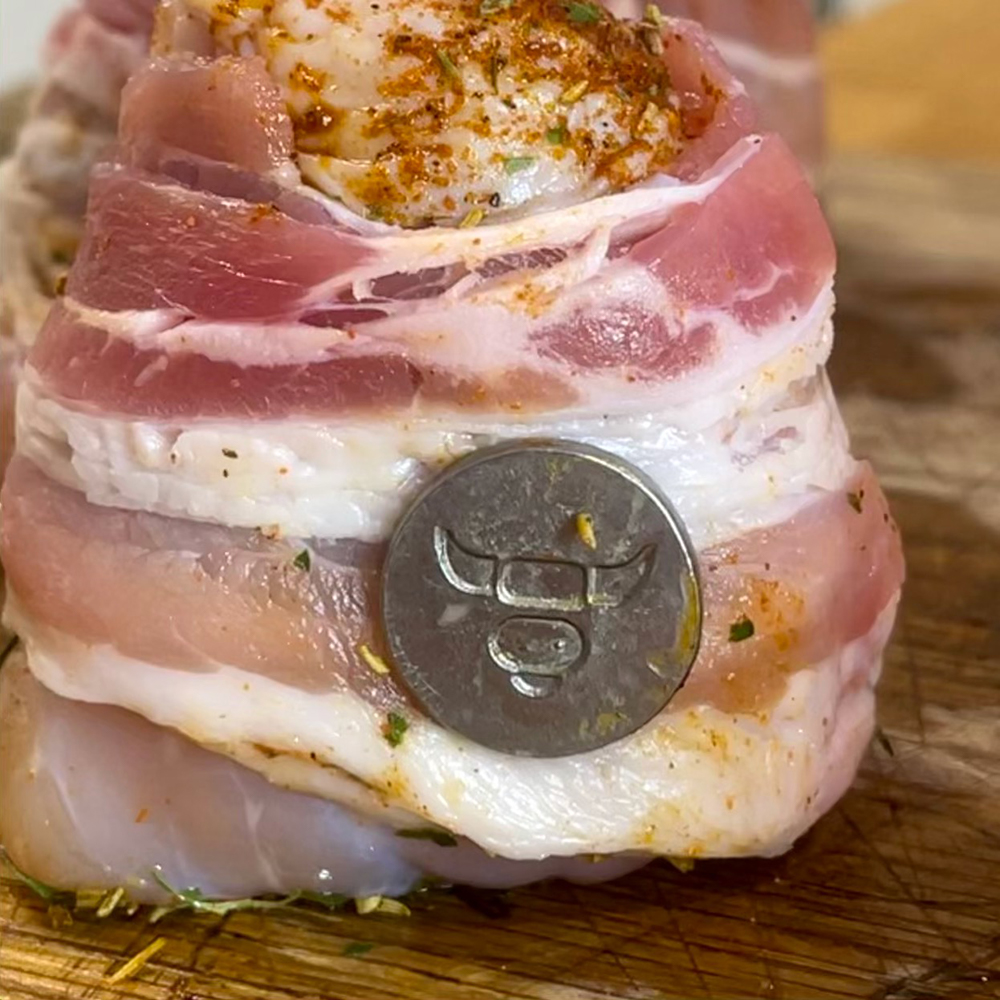
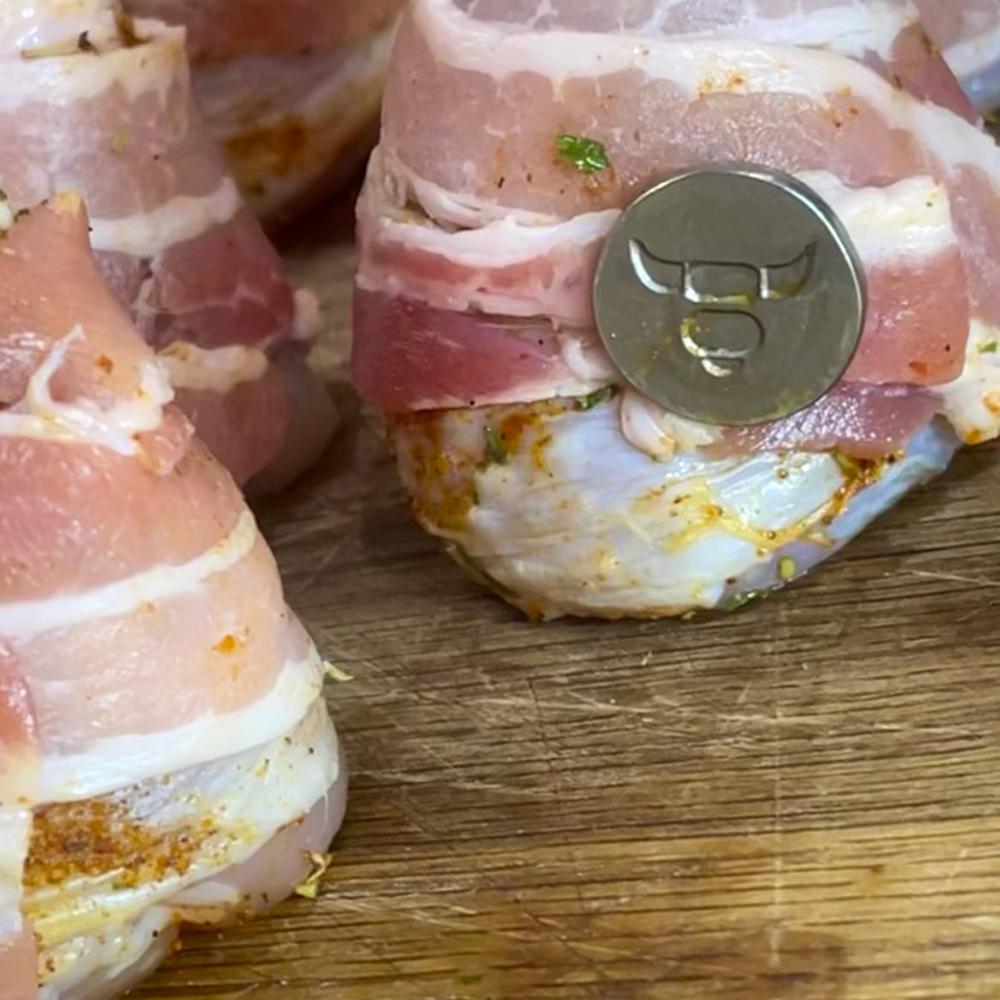
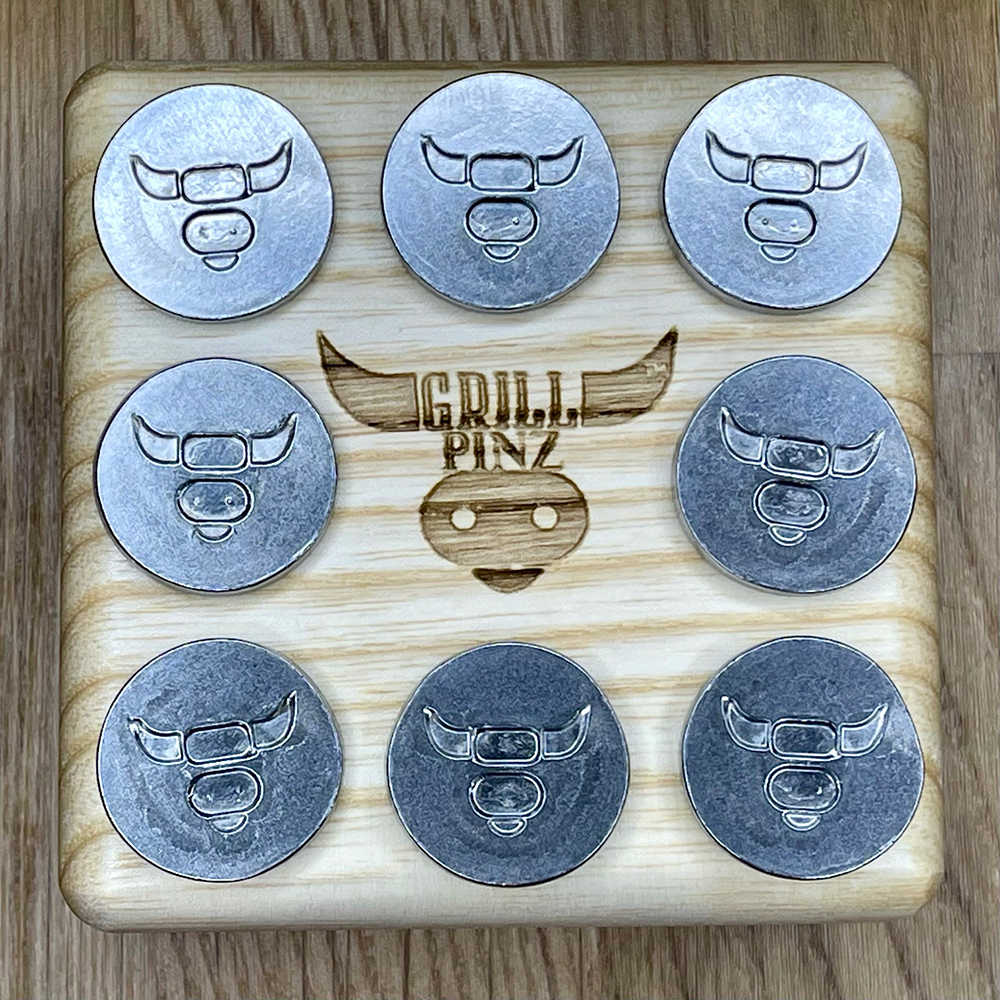
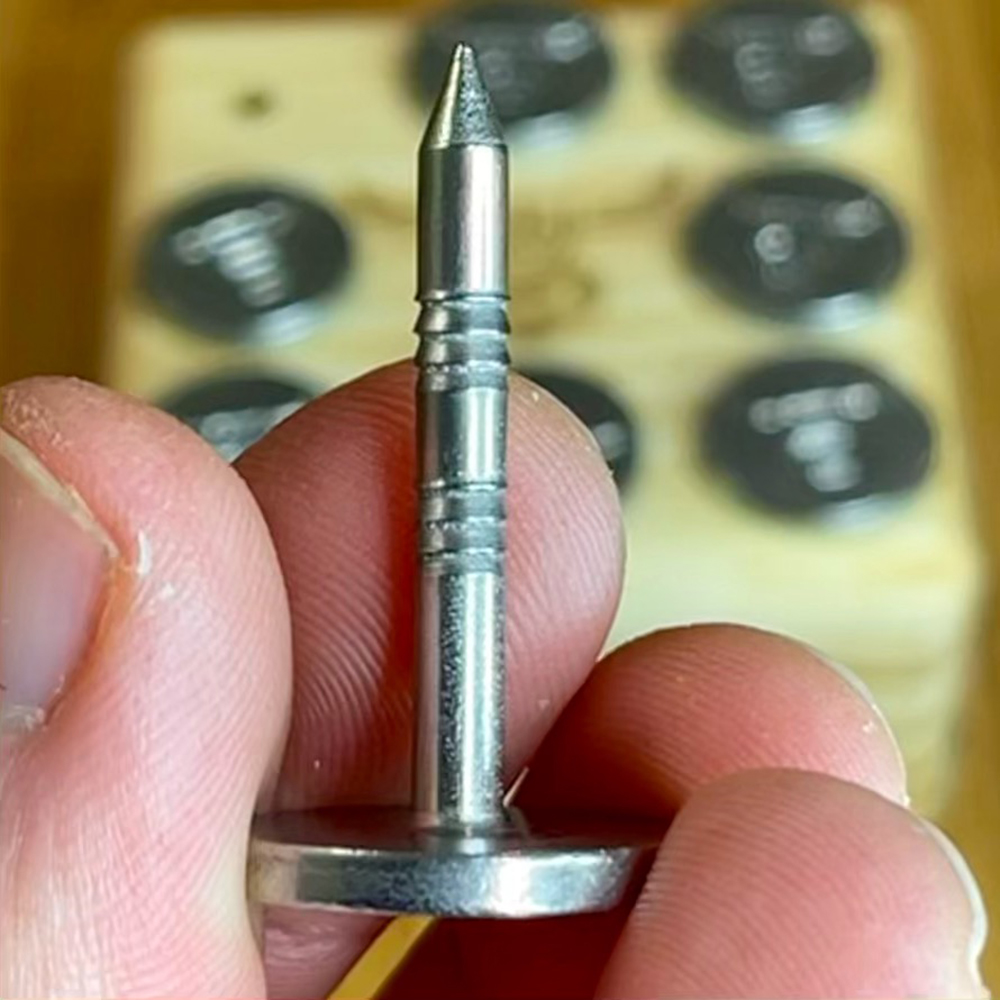
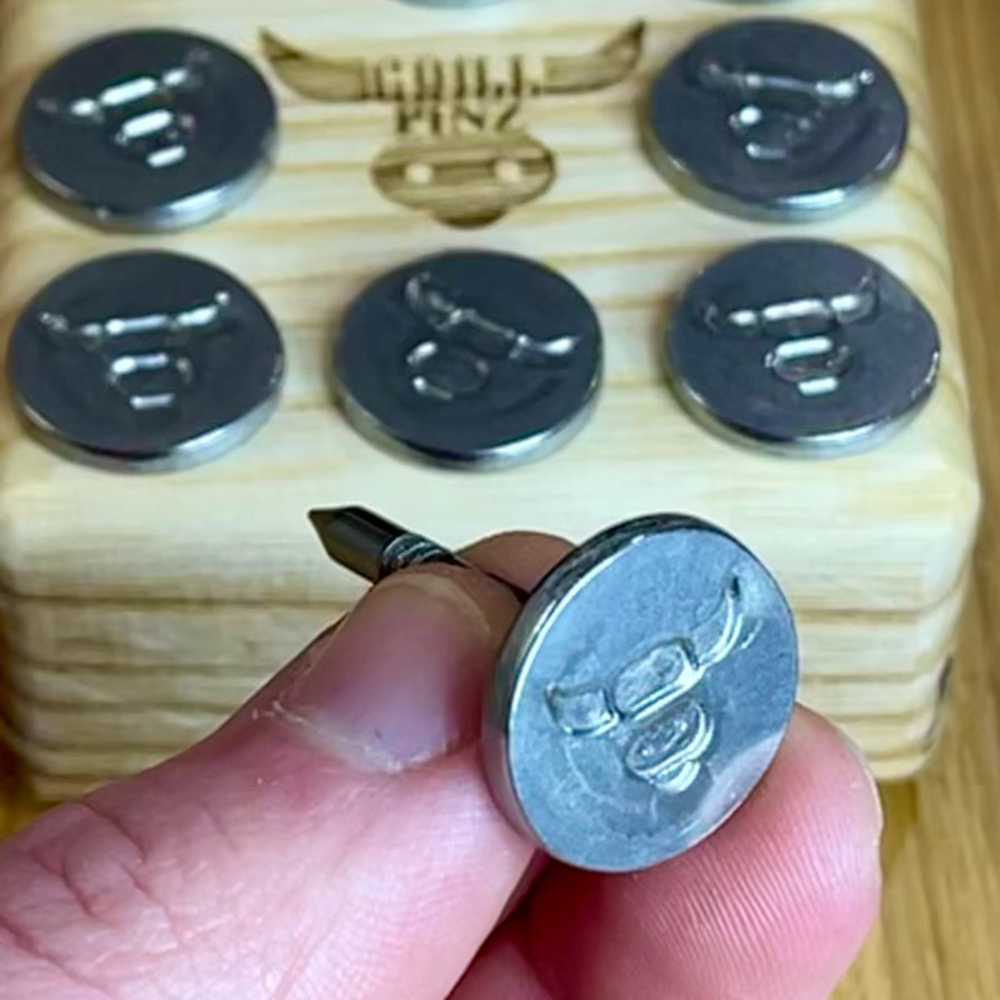
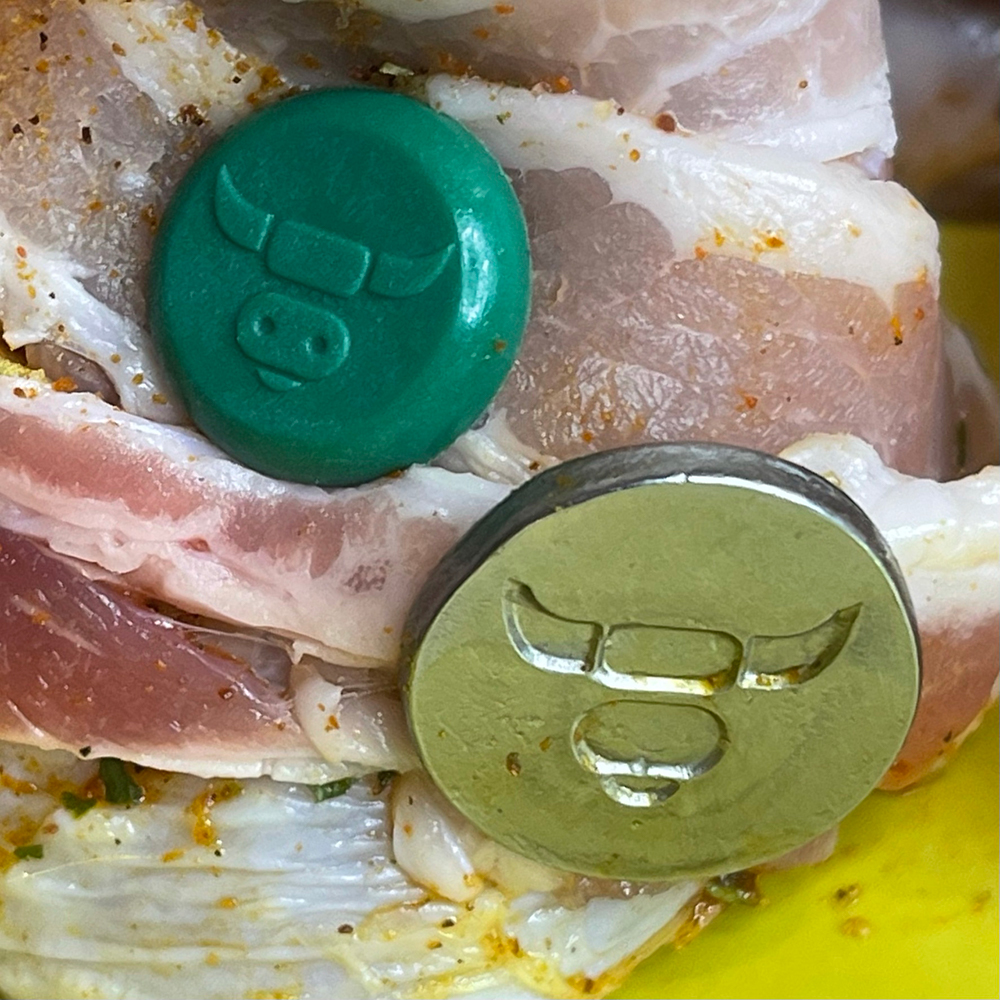
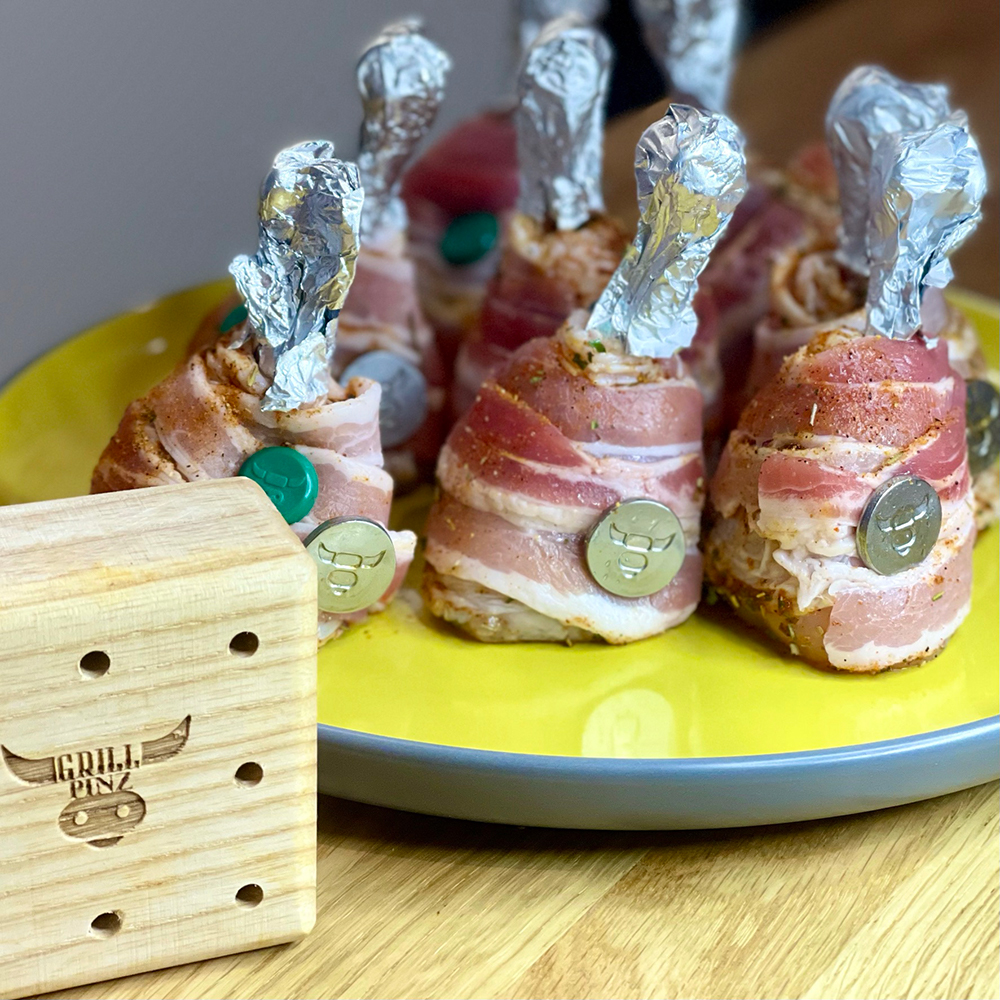
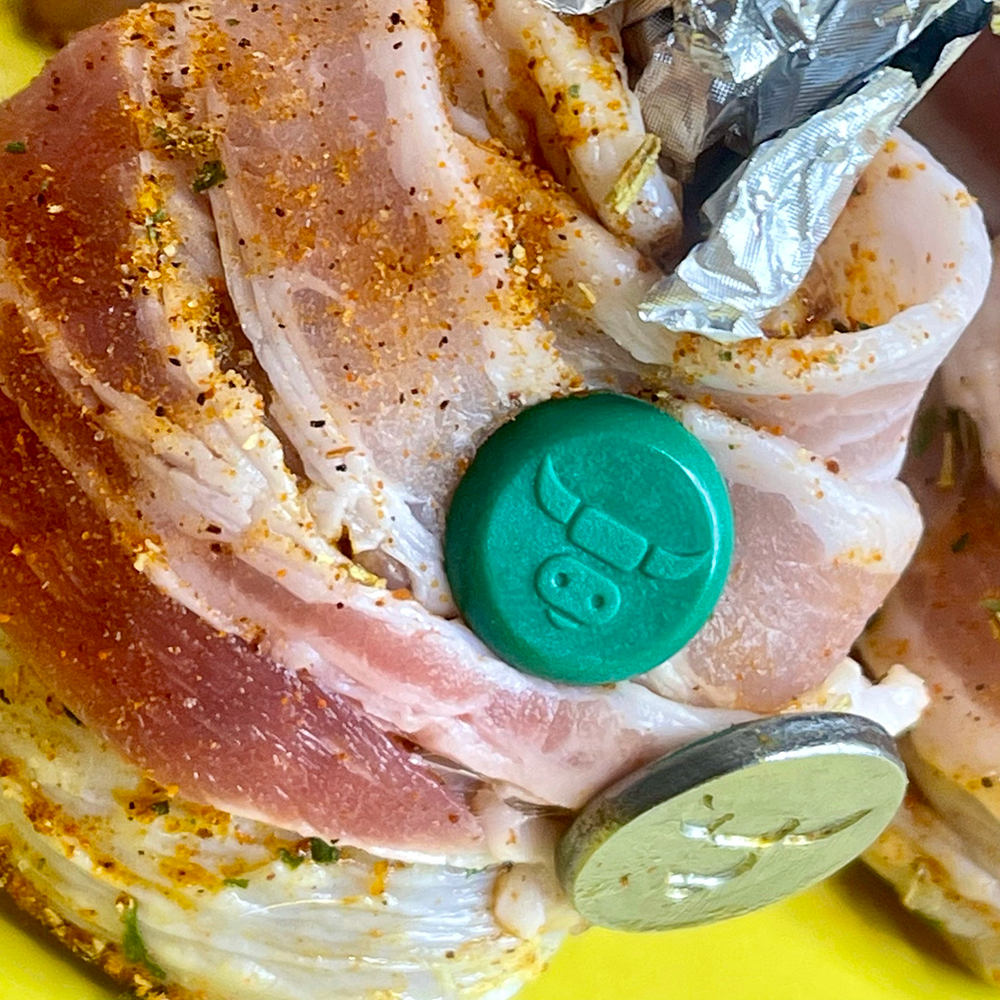
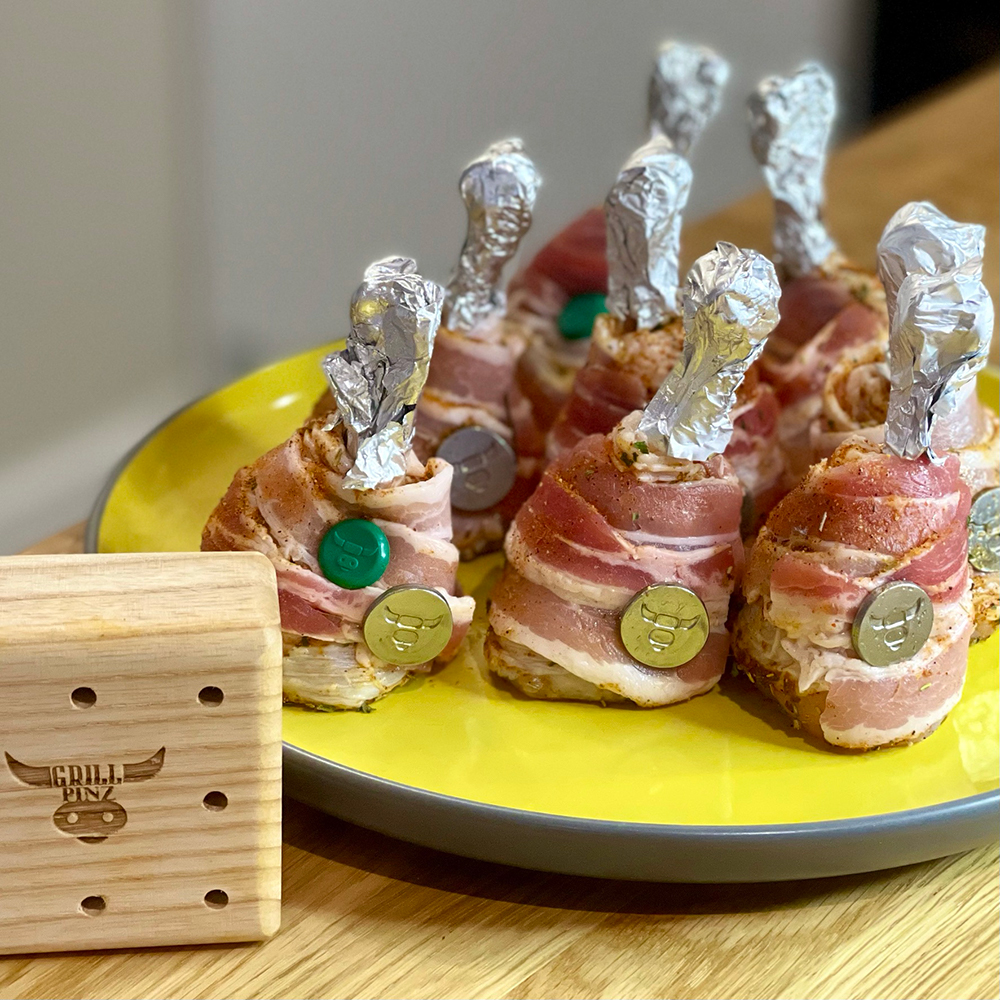
Next was to wrap a rasher of streaky bacon around each one and fasten with a ‘Grill Pin‘ from ‘Grill Pinz‘. These pins, in my opinion, are a game changer. Not only do they look great, I no longer fear that my kids will find splinters of wood in their food.
Step 4 . . . Prep done
Once you’ve wrapped all your lollipops in streaky bacon it’s time for the final sprinkle of magic . . . in my case this was a very light dusting of ‘Hogwash BBQ Rub‘ over the bacon.
The final step is to wrap the exposed bone in a bit of foil (to maintain the colour after cook), step back, and admire all your hard work.
Who’d have thought a simple chicken drumstick cook would have been so much work!
Step 5 . . . Set up the BBQ / Smoker
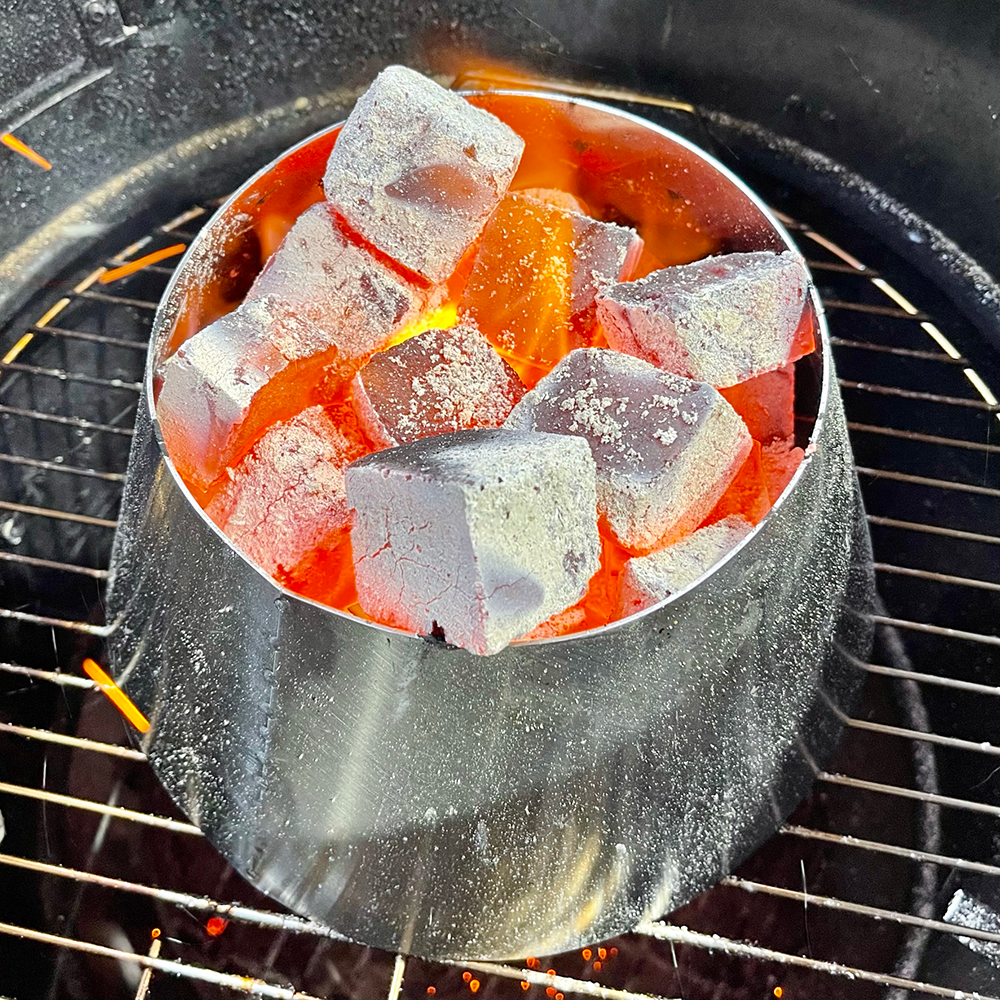
For those that have been following my journey you probably already know I have a ProQ, these are fantastic, they really are, but in order to reach those high temperatures needed for crispy chicken you need to get a small accessory.
Introducing the fuel dome / vortex from Pro Smoke. Now using this bit of kit you’ll be able to ramp up the temperature in your bullet smoker to circa 450°F
Step 6 . . . The Cook
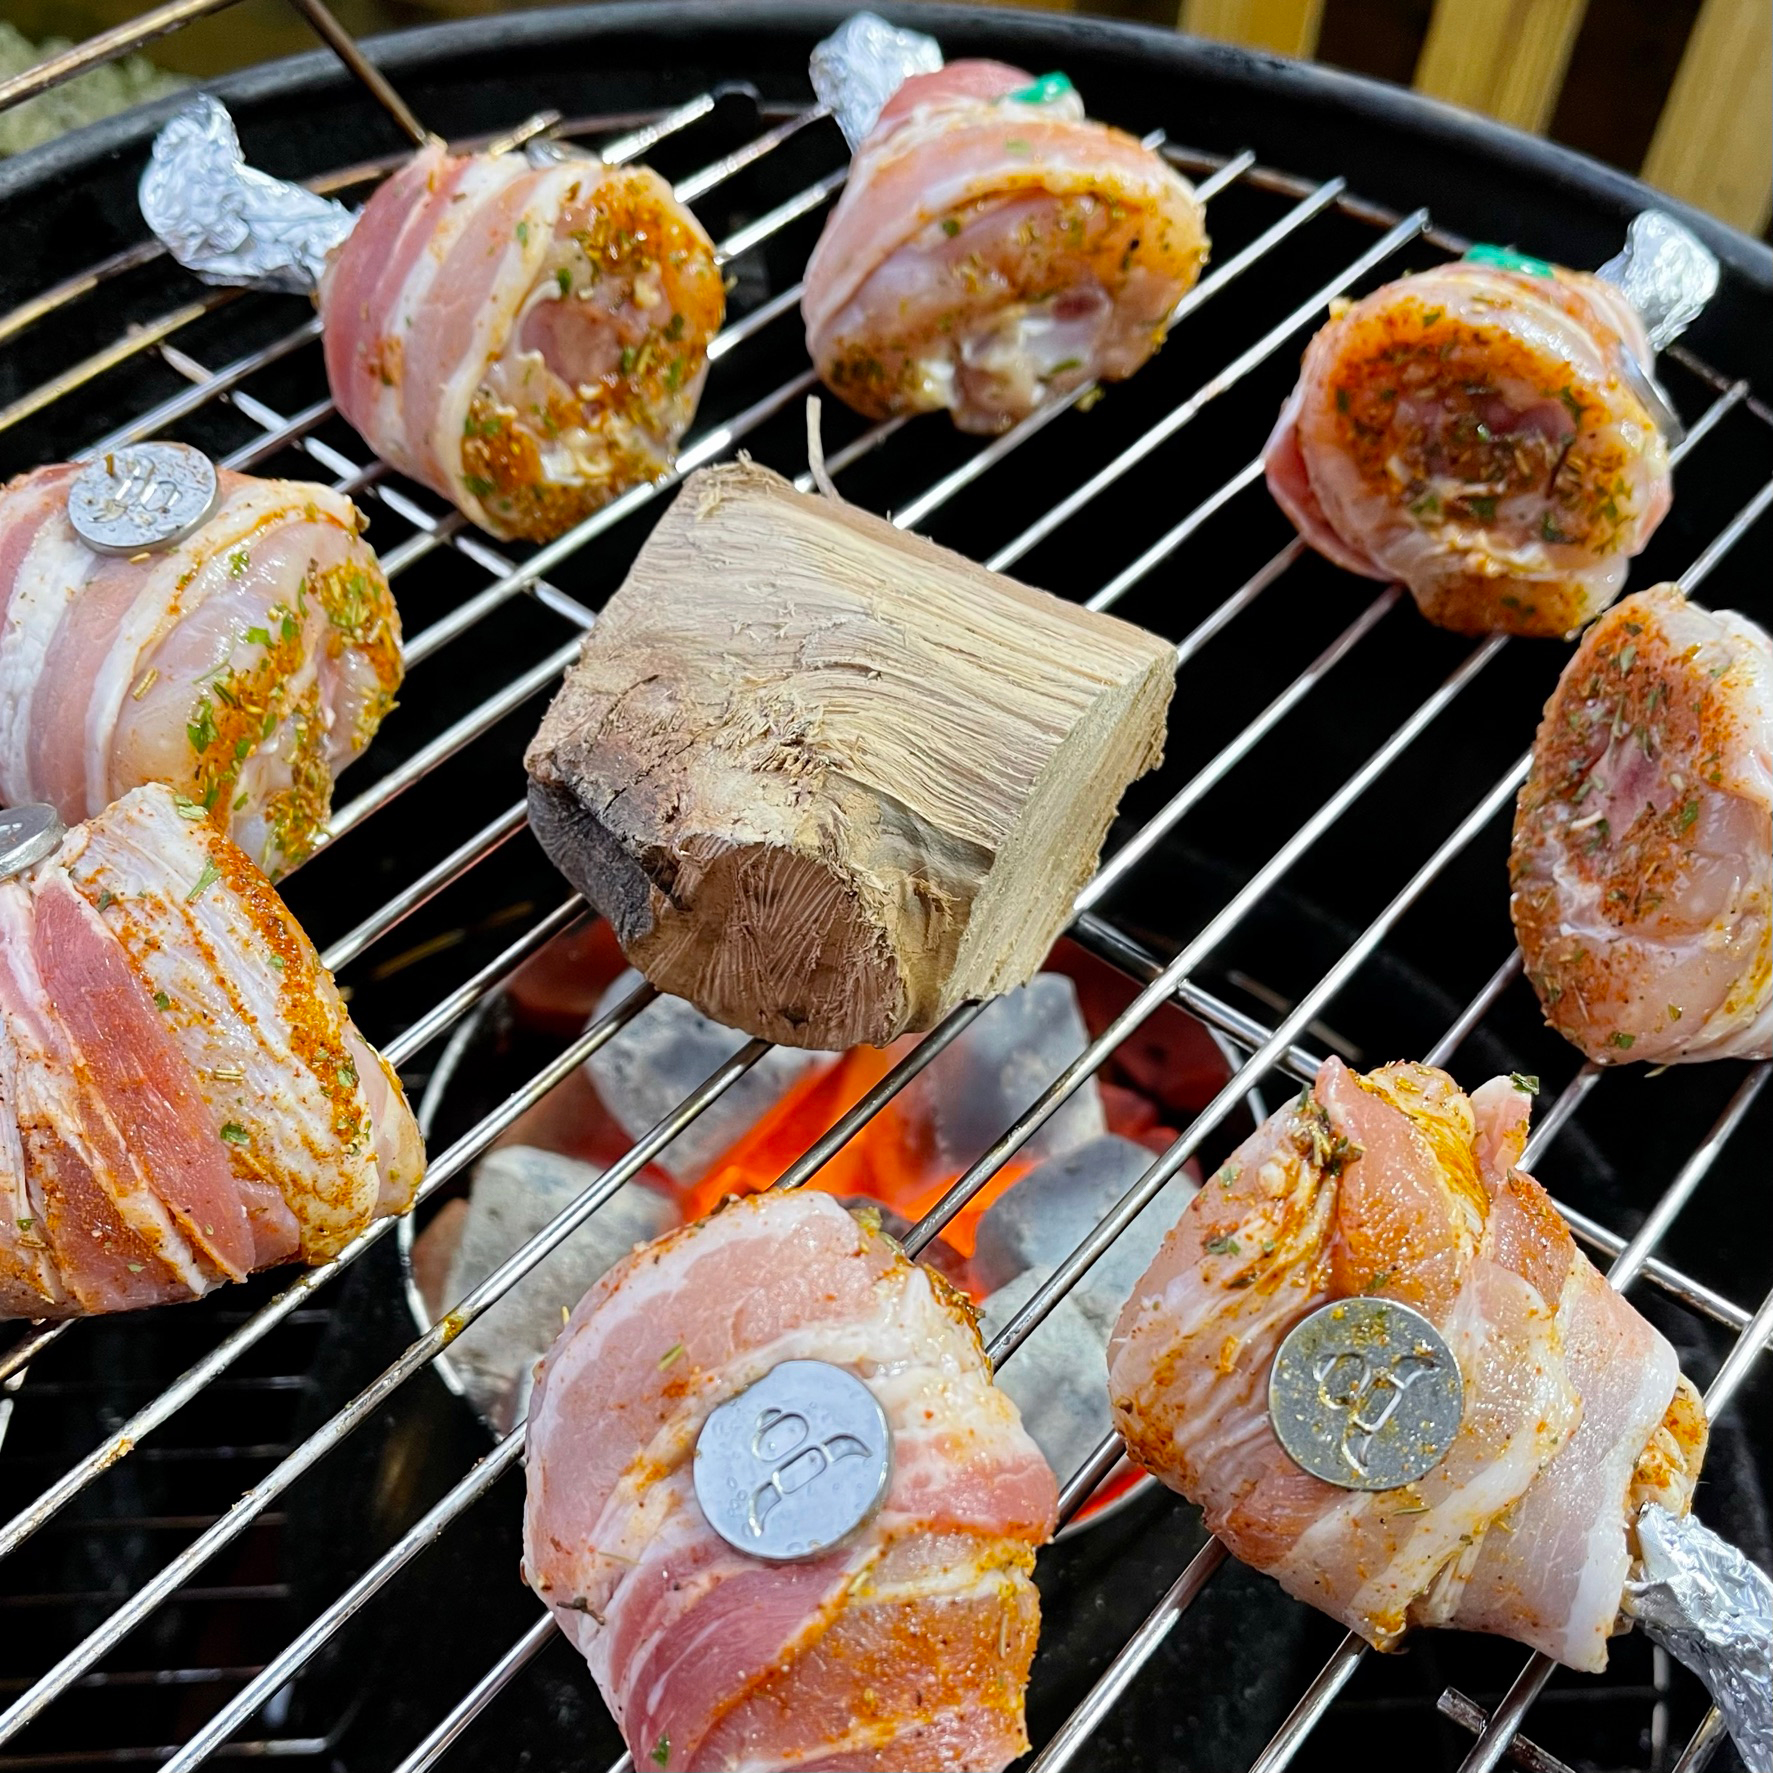
Once your BBQ / Smoker is up to temperature simply place your chicken lollipops on the grill and add a small chuck of wood in the centre . . . after all . . . this is ‘SMOKE & SEAR’.
In my case I added a nice chunk of apple wood . . . perfect for chicken.
Turn every 10 minutes and within 30 minutes you should have an internal temp around 150°F
Step 7 . . . The Sauce
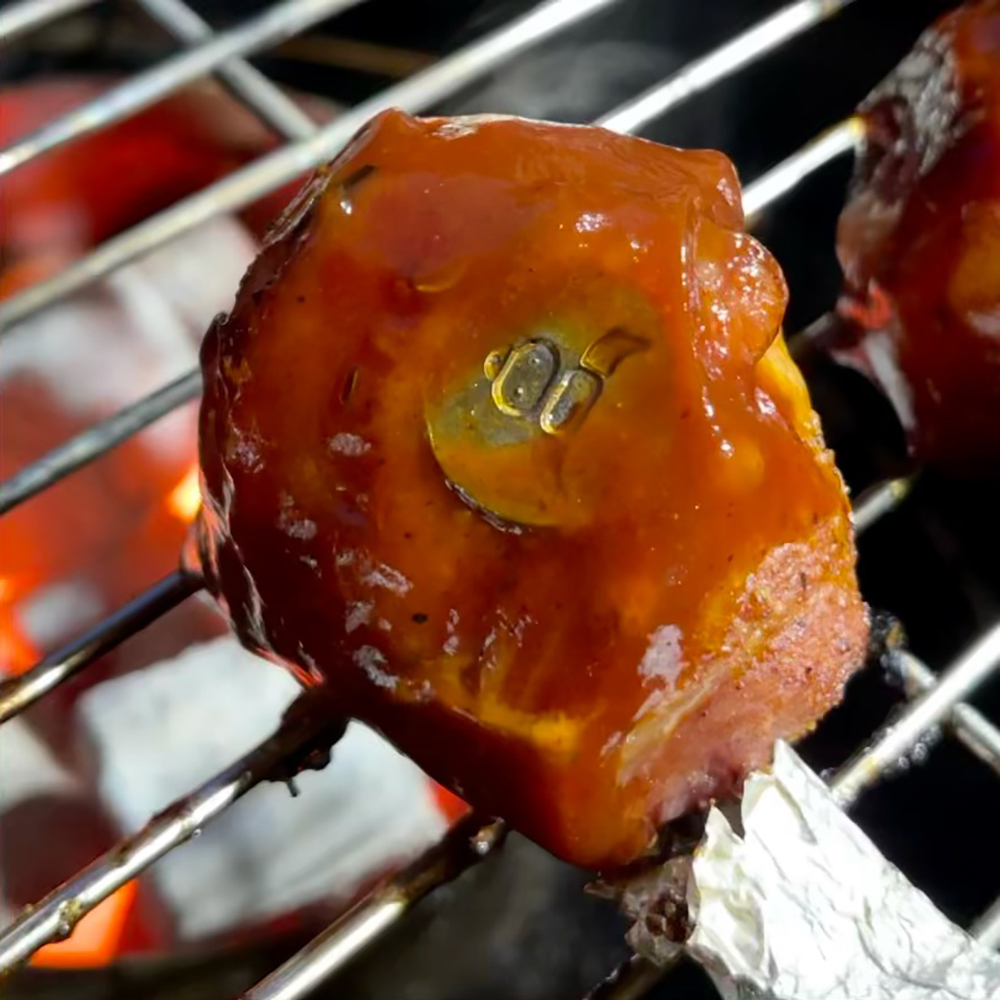
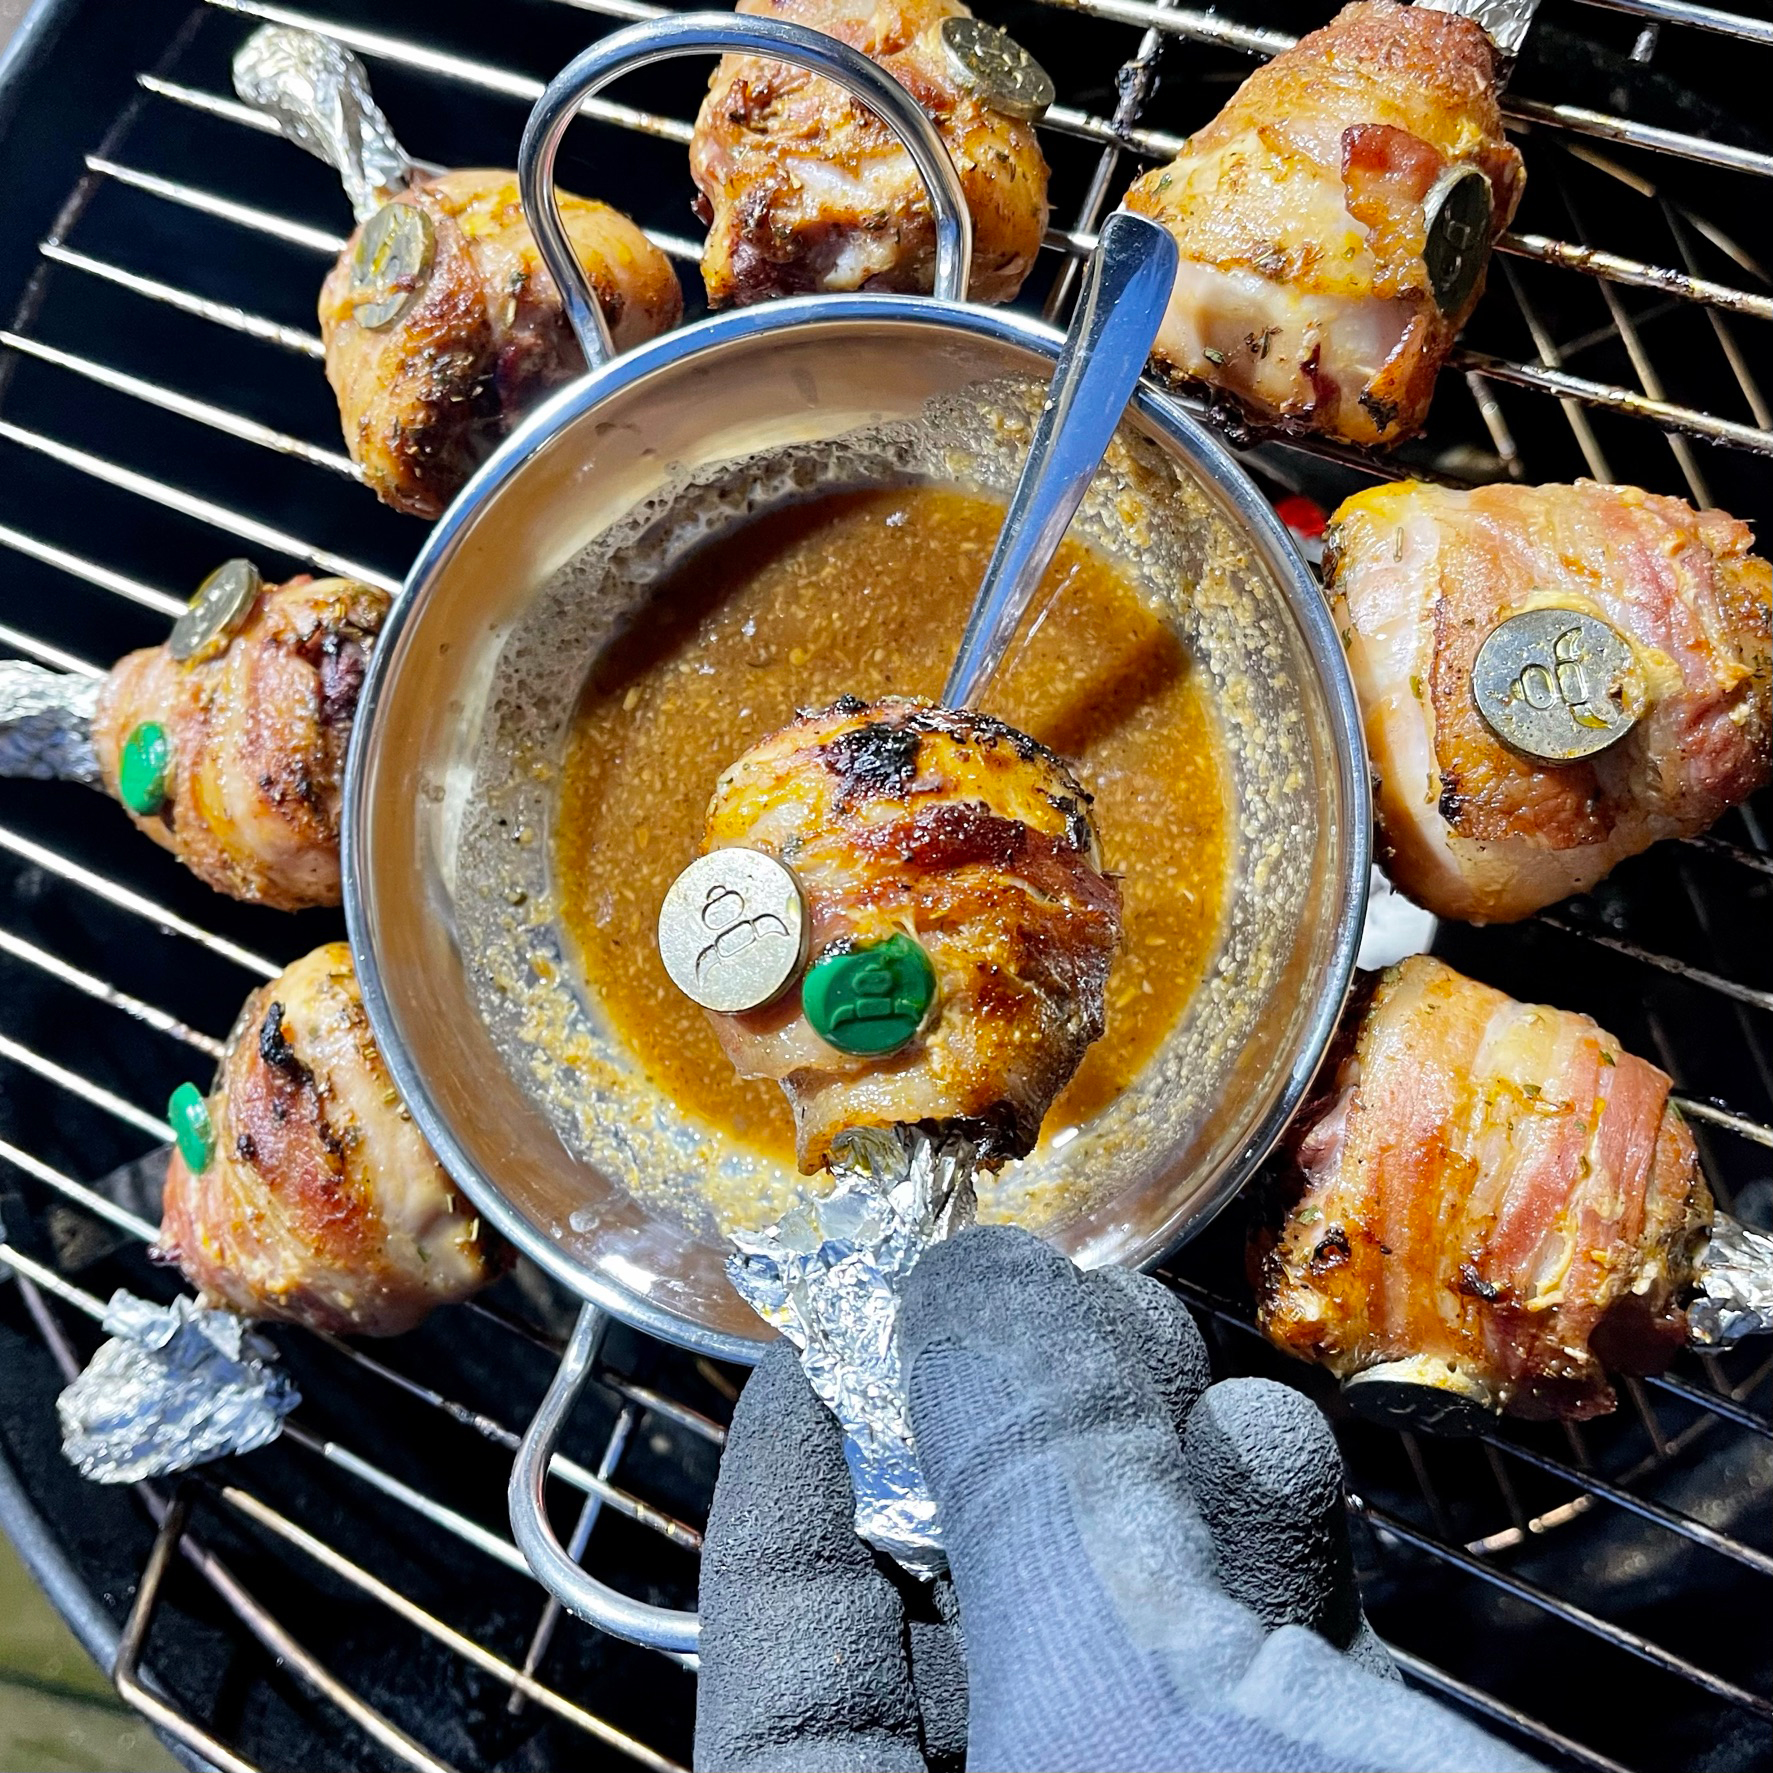
Once the chicken is hitting 150°F it’s time to coat in sauce (the fun part). In turn grab your lollipops and dunk in your favourite sauce.
Myself – Bullseye ‘Sweet and Spicy’
Son – Pepper Jar Creations ‘Garlic Sauce’
Now you can see another benefit of using ‘Grill Pinz’ over standard toothpicks. The green markers let me know which ones are my sons 😉
Step 8 . . . The final hurdle
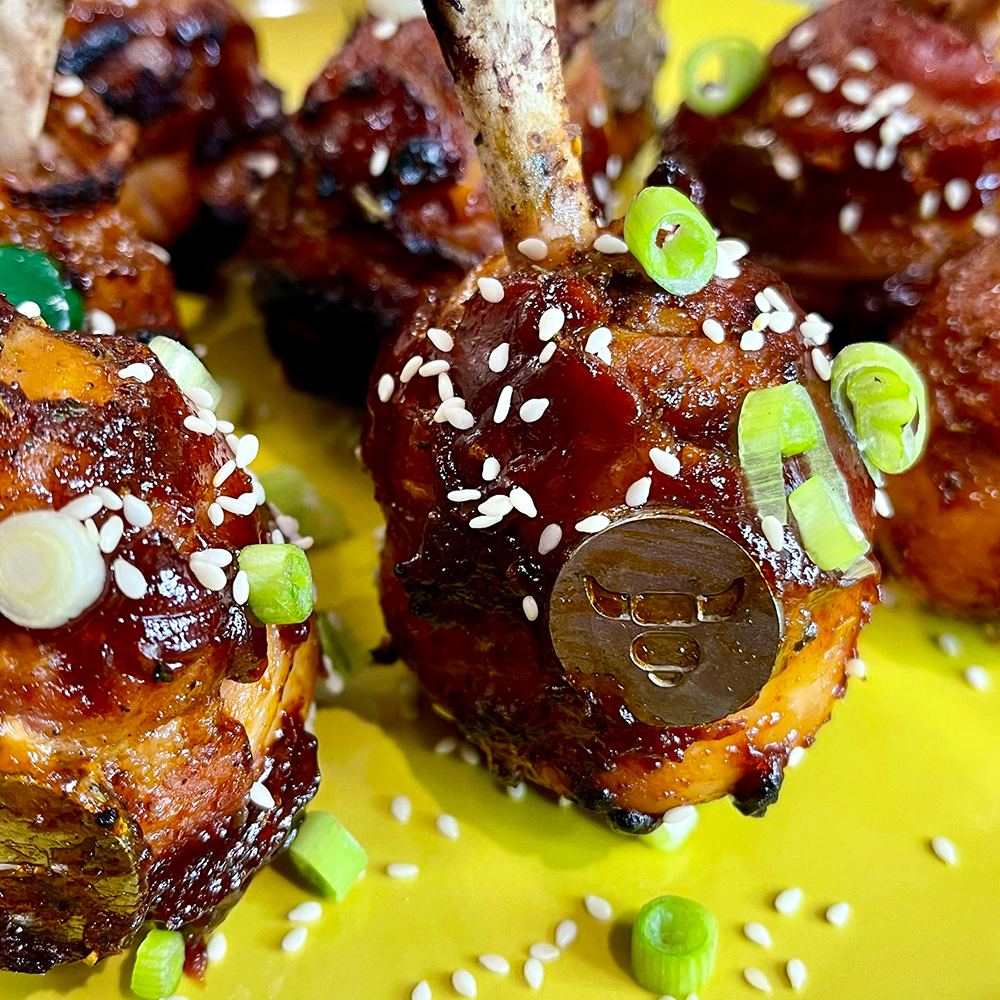
All you need to do now is wait for the internal temperature to reach 175°F at which point it’s time to take off the BBQ.
Note: Feel free to ‘dunk’ in your sauce again during this final stage if you like . . . I won’t tell anyone!
P.S As I took each one off the BBQ I placed in the centre for a couple of seconds as I like a little more ‘char’ to my chicken.
