Ever wondered what it takes to craft the perfect Smashburger?
Well, wonder no more! I’m about to share my tried-and-true tips, tricks, and secrets that will take your Smashburger game to the next level.
This isn’t just a recipe, it’s a blueprint for burger brilliance, a foundation upon which you can build your own mouth-watering masterpiece.
So, dust off that grill, roll up your sleeves, and let’s dive into the delicious world of Smashburgers.
Ready to elevate your BBQ skills from ordinary to extraordinary? Let’s get sizzling!
Selecting the Beef
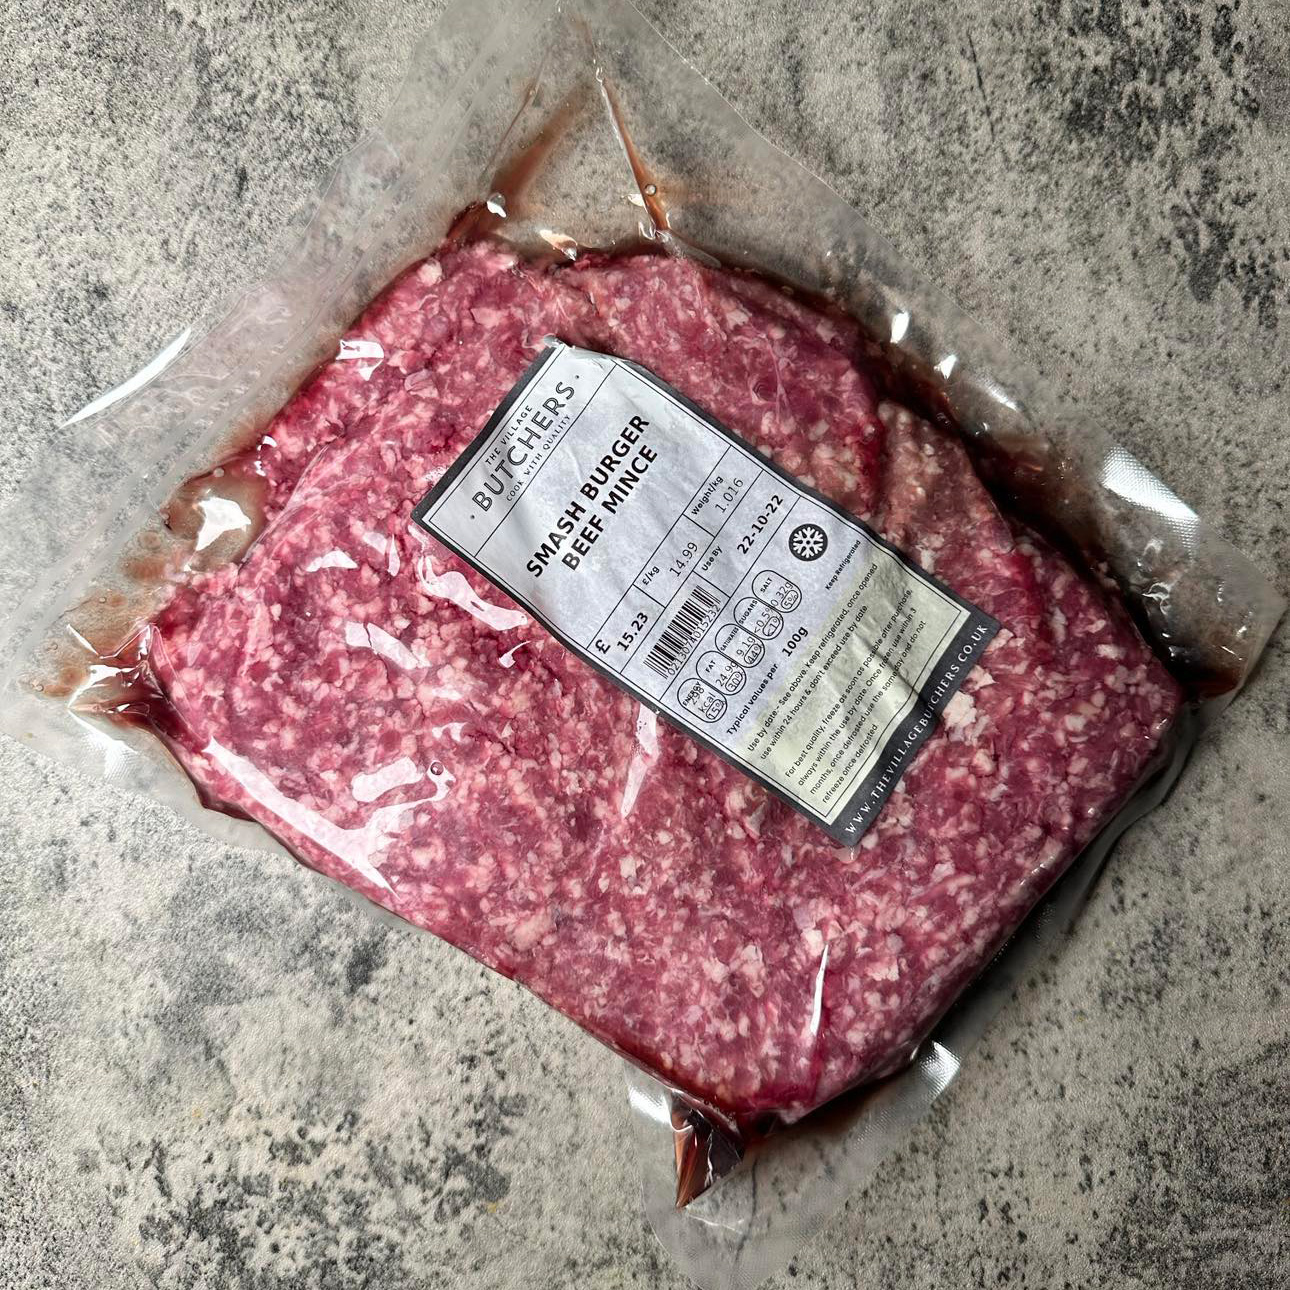
First things first, we’re going to need some beef mince. But not just any beef mince, oh no! We’re after the good stuff, the kind with a 20% fat content. Why? Because fat equals flavour, my friends! 🍔
The fat melts during cooking, infusing the burger with juicy goodness.
So, forget about that 5% fat nonsense and embrace the fatty delight that is 20% beef mince.
Forming the Meatballs
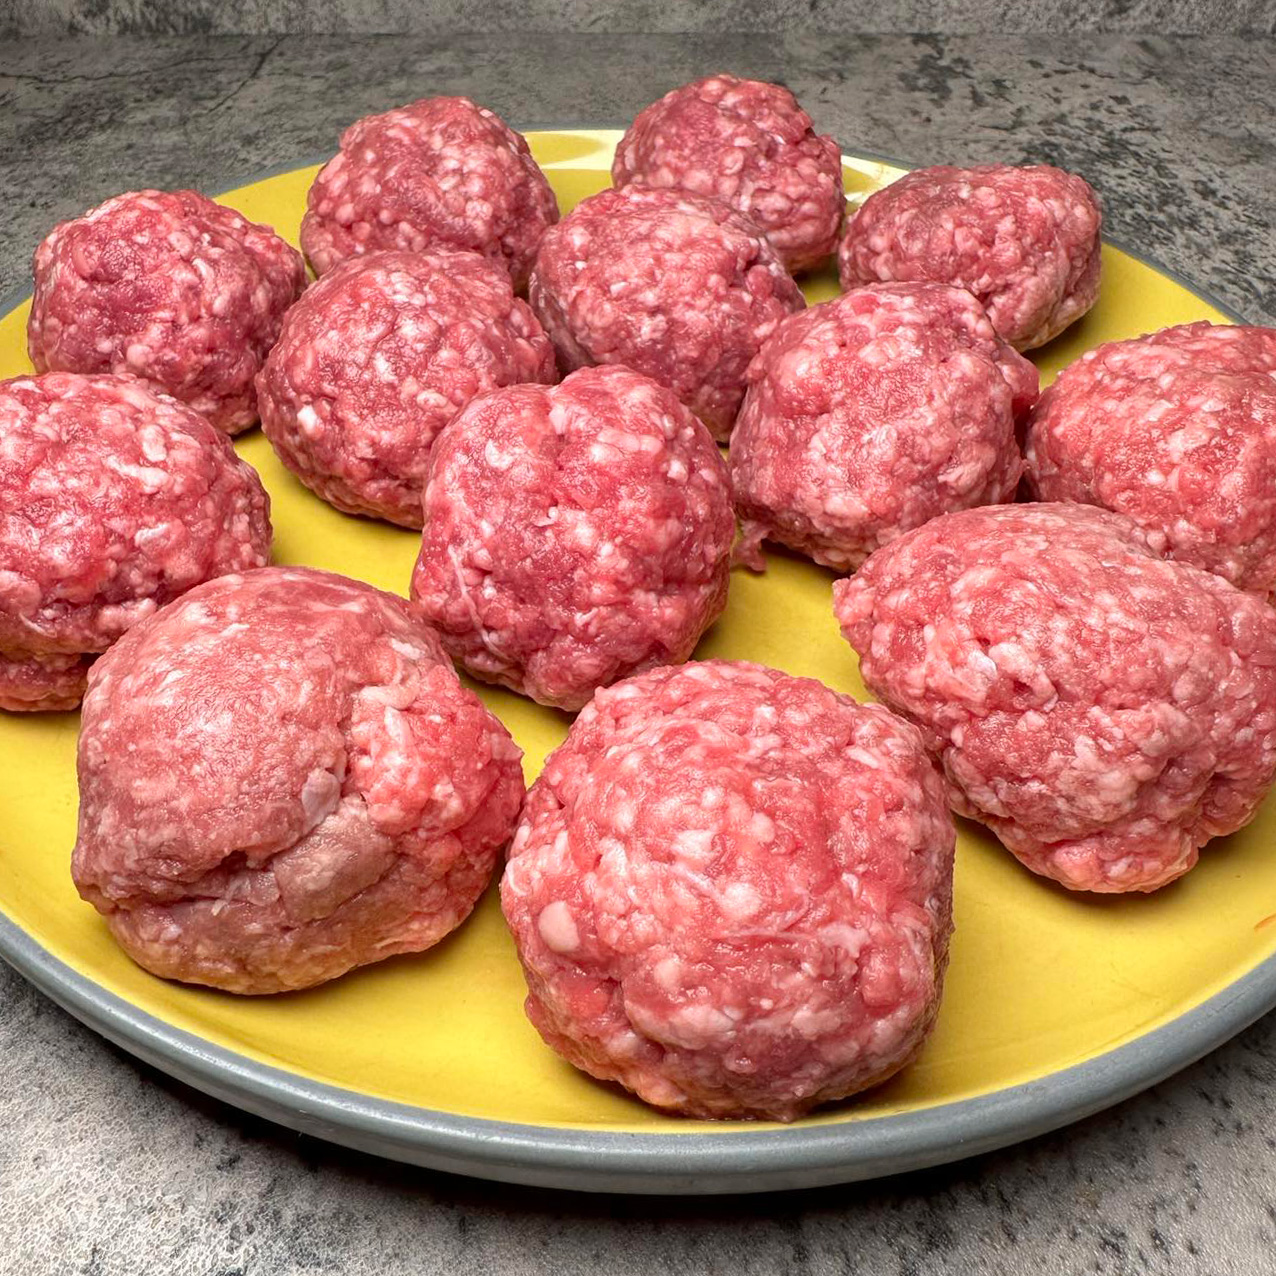
Next up, we’re going to form our mince into loose balls, each weighing in at around 90g. Now, you might be tempted to squash and squeeze that mince into perfect little spheres, but resist the urge! Overworking the meat can lead to tough burgers, and nobody wants that. So, keep it loose and your burgers will be tender and juicy.
Preheating the Plate
Now, let’s talk about heat. We want our hot plate to be sizzling at around 205-315°C before we even think about cooking.
This high heat is crucial for achieving the Maillard reaction, a chemical reaction between amino acids and reducing sugars that gives browned food its distinctive flavour.
In layman’s terms, it’s what gives your burger that irresistible crust.
Cleaning the Plate
Before we start cooking, let’s make sure our hot plate is clean. Any residue from previous cooks can interfere with the Maillard reaction we’re trying to achieve.
Plus, we want our burger to be the star of the show, not last night’s sausages.
Toasting the Buns
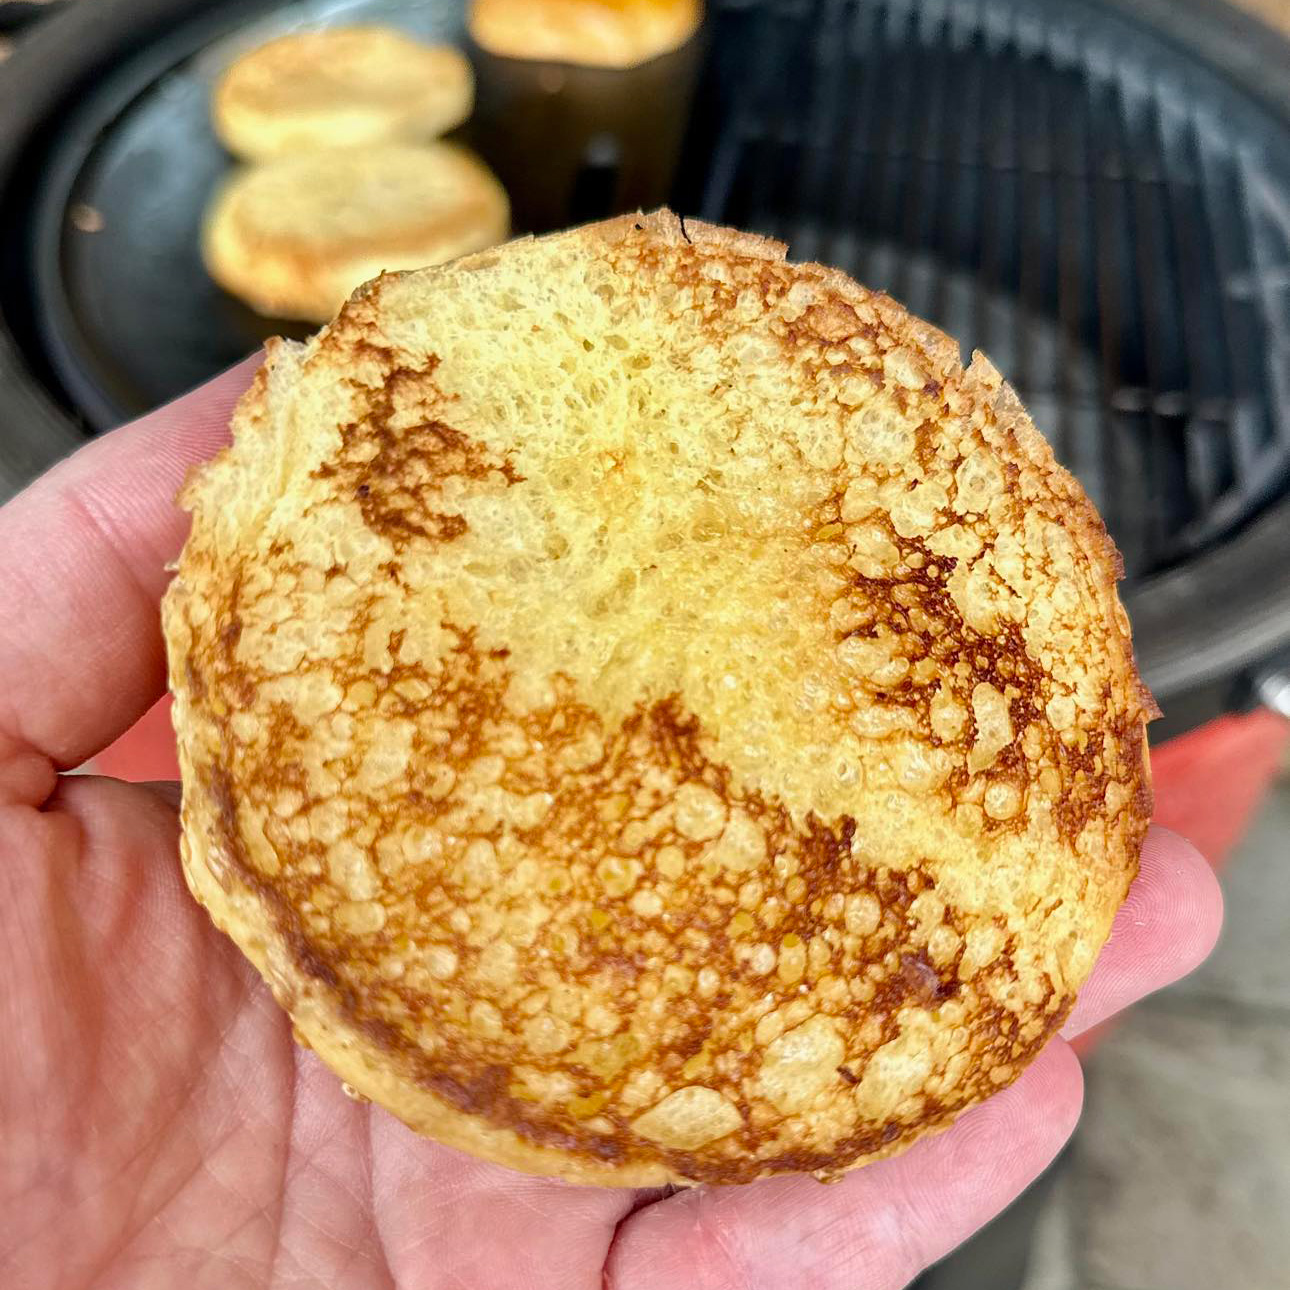
Let’s turn our attention to the buns. We’re going to toast them on the hot plate with a bit of butter. Toasting not only adds a nice crunch, but it also creates a barrier that prevents the bun from soaking up the burger juices and turning soggy. And let’s face it, nobody likes a soggy bottom!
Preparing the Buns
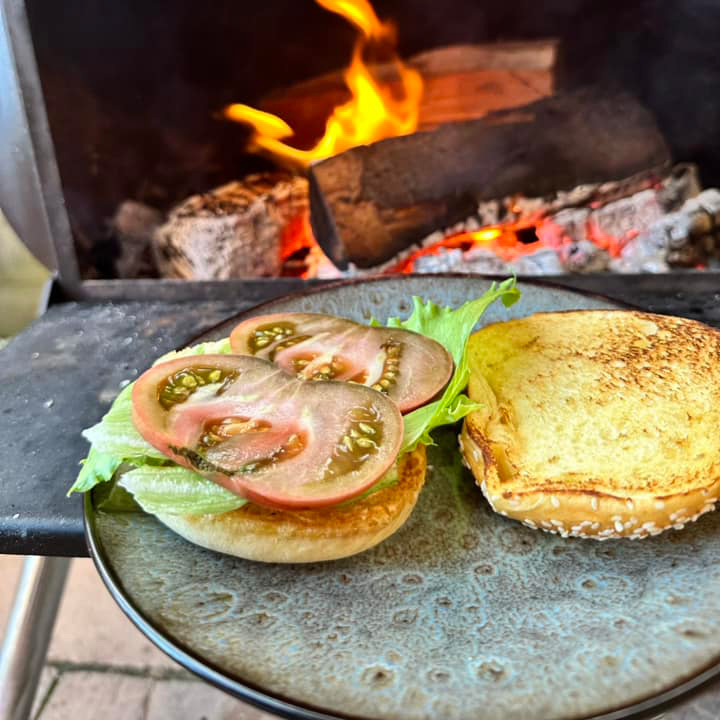
Once our buns are toasted, it’s time to dress them up. Start with a layer of lettuce and tomato on the bottom half of the bun. This creates another barrier against sogginess and adds a bit of freshness to balance out the rich burger.
Then, add your sauce of choice. This is your chance to get creative and add a personal touch to your burger.
Searing the Patties
Now, onto the main event: the patties. Place two of your 90g meatballs on the hot plate and let them sear for about 20 seconds. This initial sear helps to form a crust on the outside of the patties, locking in the juices and creating a flavourful exterior.
Smashing the Patties
Here’s where the ‘smash’ in ‘smashburger’ comes in. We’re going to smash those meatballs into thin patties using a heavy-duty spatula and a piece of greaseproof paper.
Smashing the patties increases their surface area, allowing for more of that delicious Maillard reaction to occur.
Seasoning the Patties
Next, we’re going to season our patties with a pinch of salt and pepper. Salt enhances the natural flavours of the beef, while pepper adds a bit of heat.
But remember, we’re seasoning, not curing, so a little goes a long way.
Flipping the Patties
After about a minute, or when you see the moisture from the mince rise to the top and a crust forming around the edges, it’s time to flip.
This is a crucial moment in the cooking process. Flip too soon, and you’ll lose that beautiful crust. Flip too late, and you risk overcooking the burger. Trust your instincts and look for the signs, and you’ll nail it every time.
Adding the Cheese
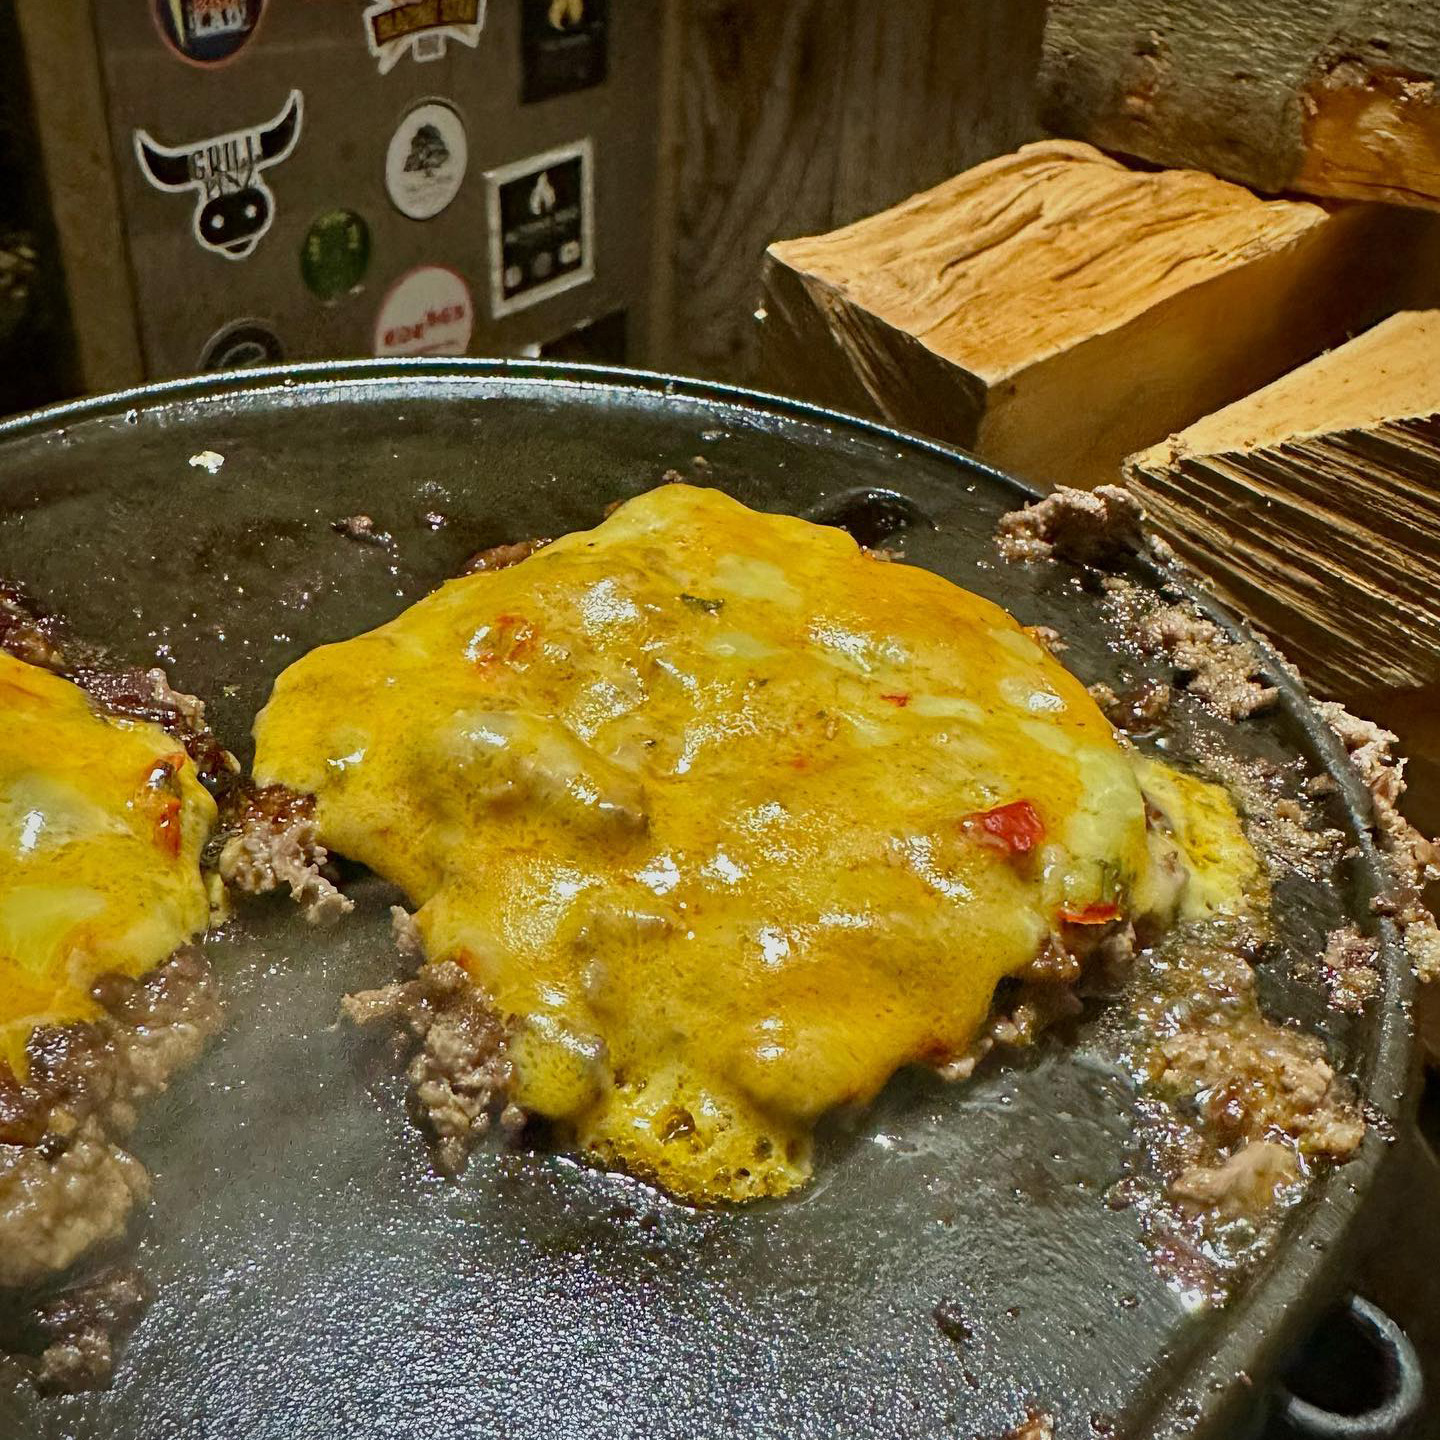
Once you’ve flipped the patties, it’s time to add the cheese. The residual heat from the patties will start to melt the cheese, creating a deliciously gooey layer. And let’s be honest, what’s a burger without cheese?
Melting the Cheese
To help the cheese melt, we’re going to add a bit of steam. Just squirt a little liquid (water, cider, or beer) near the patties and cover them with a cloche for about 30 seconds.
The steam helps to melt the cheese evenly and quickly, ensuring every bite of your burger has that cheesy goodness.
Stacking the Patties
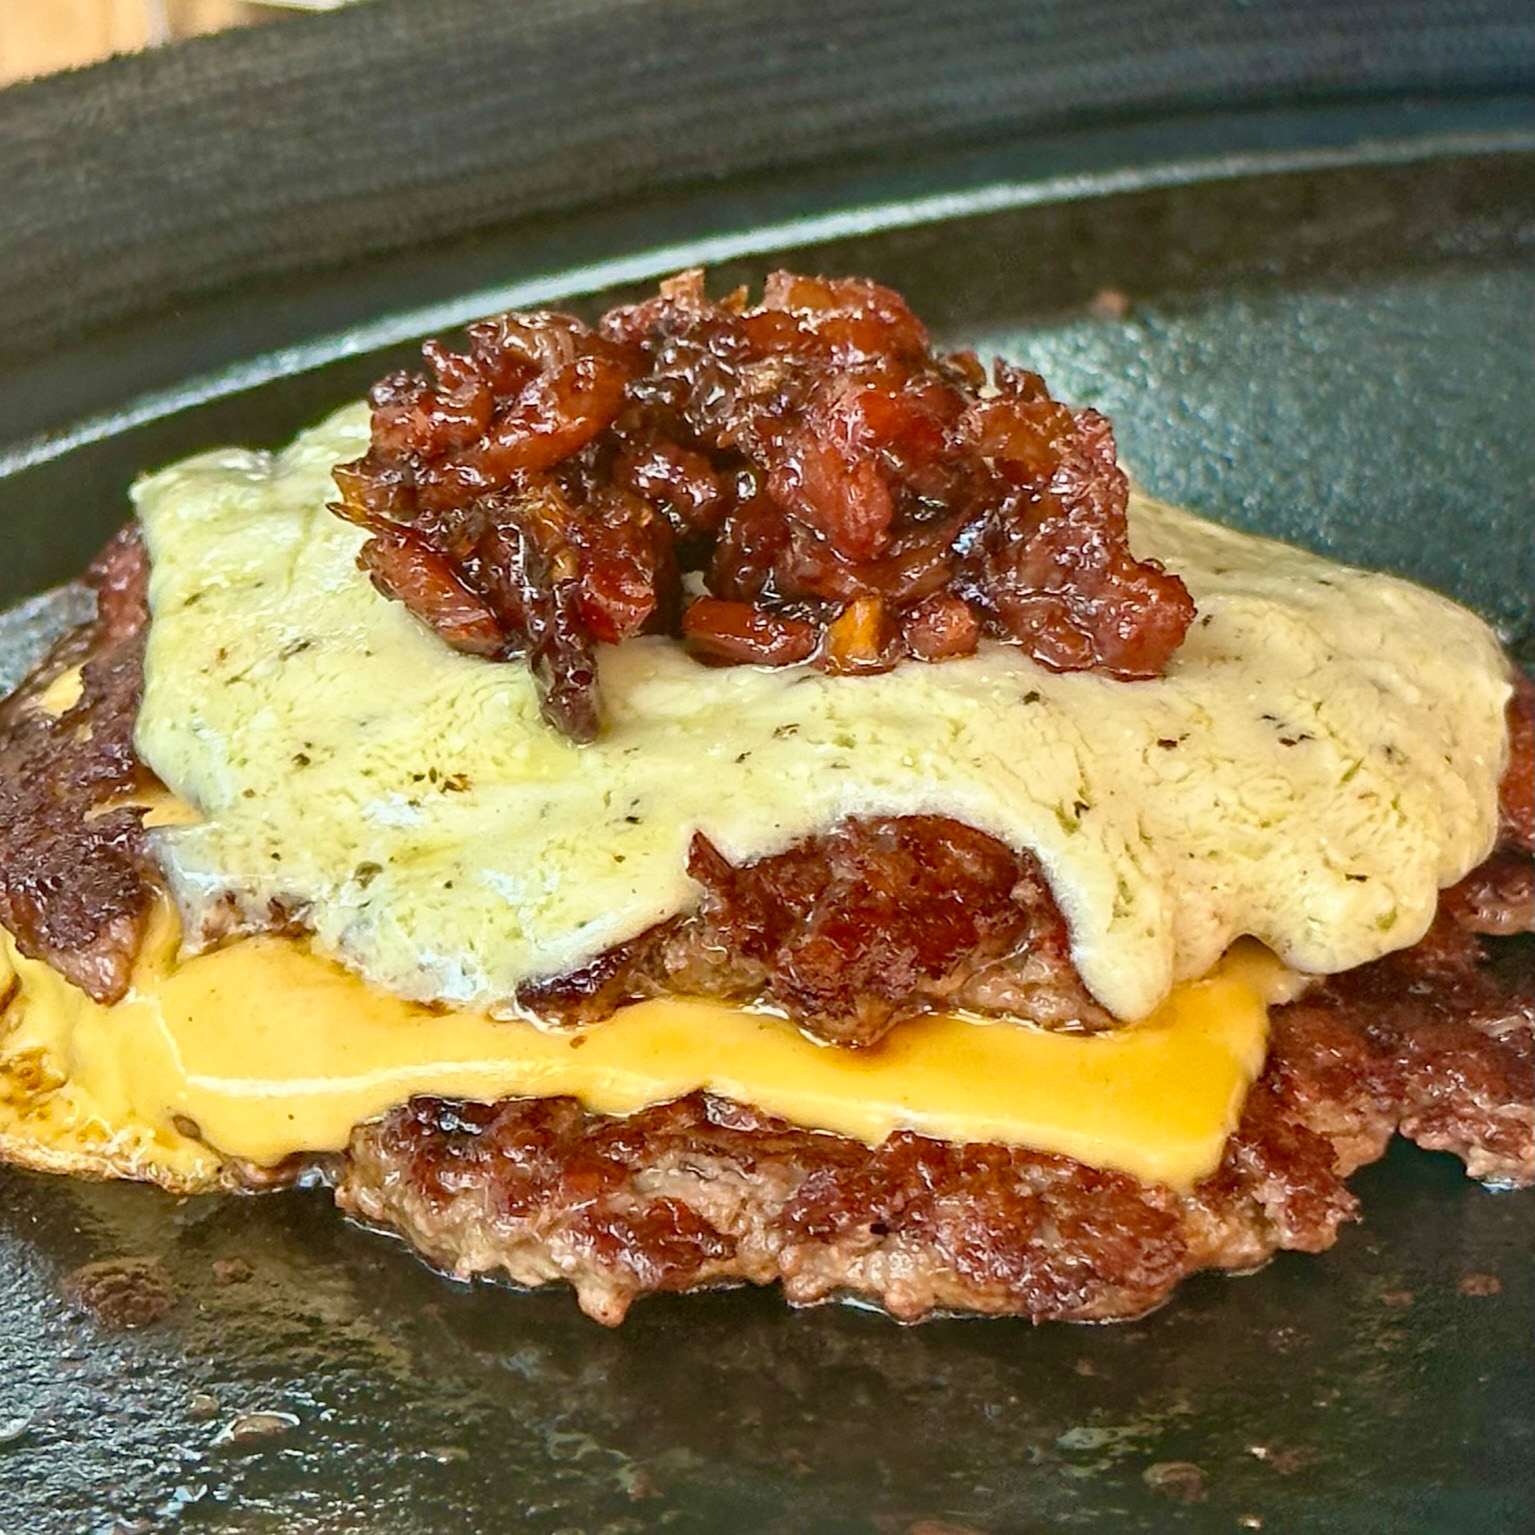
Once the cheese is nicely melted, it’s time to create our burger tower. Using your spatula, scrape up one patty and place it on top of the other. This double-patty setup not only makes for a more filling burger, but it also creates a beautiful cross-section when you bite into it.
Adding the Toppings
Next, add your toppings of choice directly on top of your burger tower. This could be anything from bacon jam to crispy onions. The toppings add another layer of flavour and texture to your burger, making each bite unique.
Capping the Tower
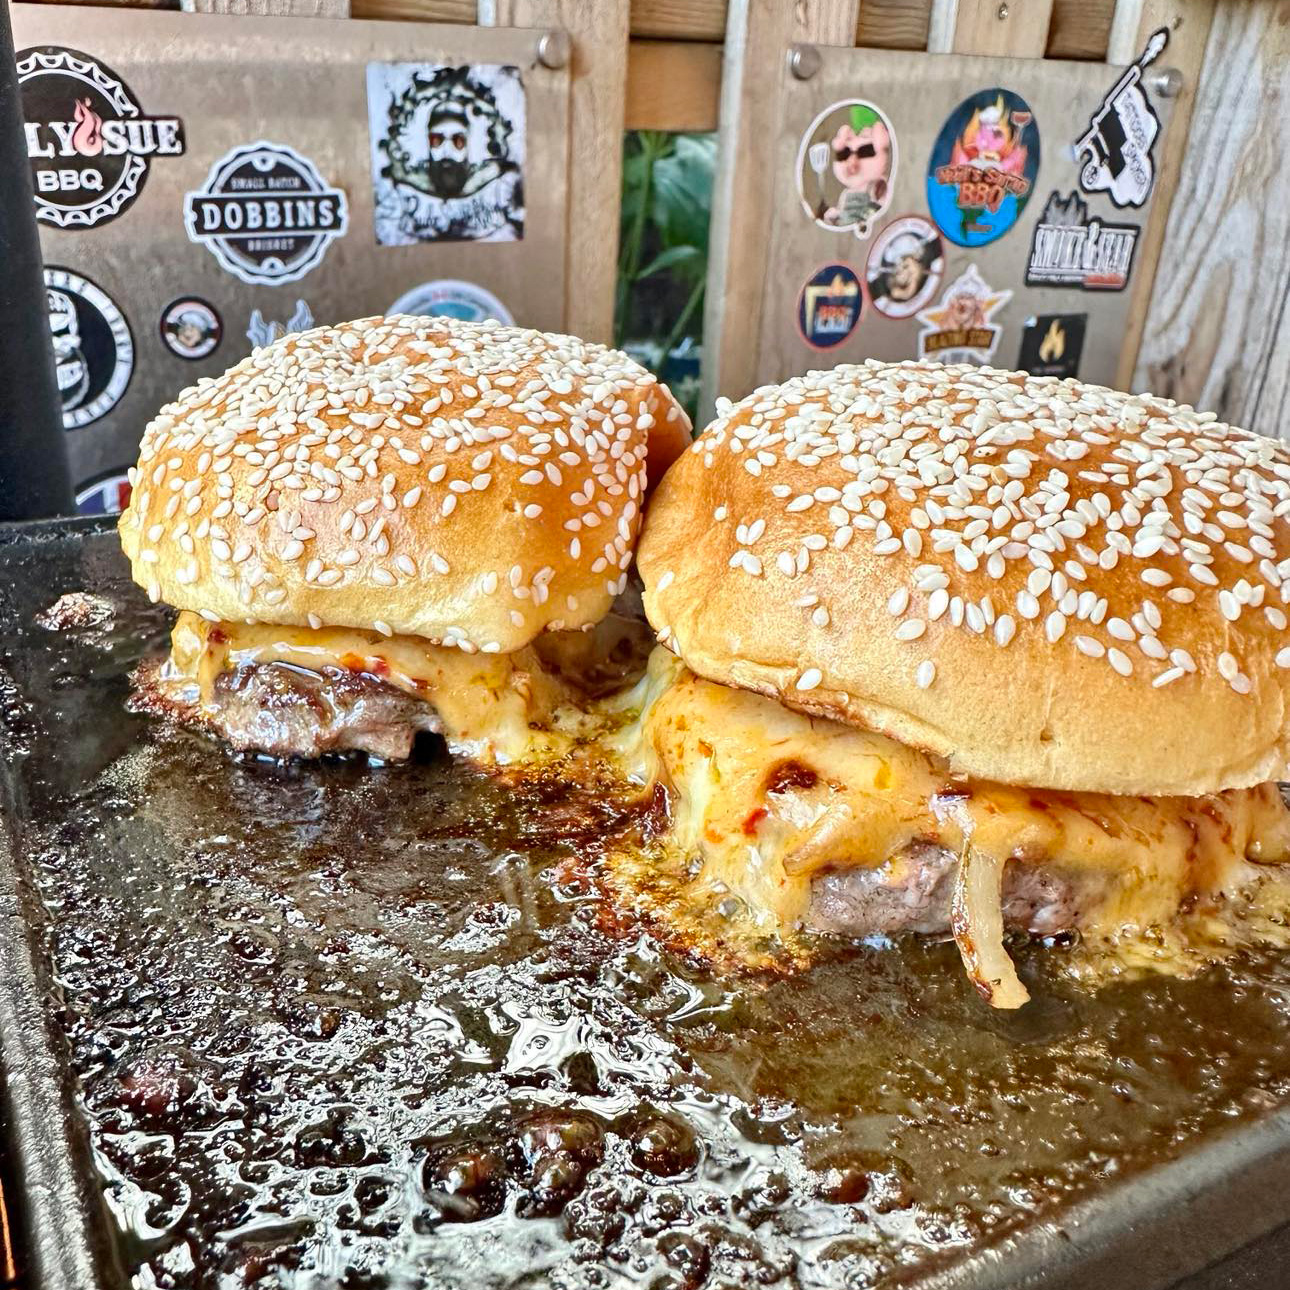
Once you’ve added your toppings, cap your burger tower with the top half of the bun. But we’re not done yet! Cover the burger with a cloche or lid for just a few seconds while it’s still on the hot plate. This warms the bun and helps all the flavours meld together.
Assembling the Burger
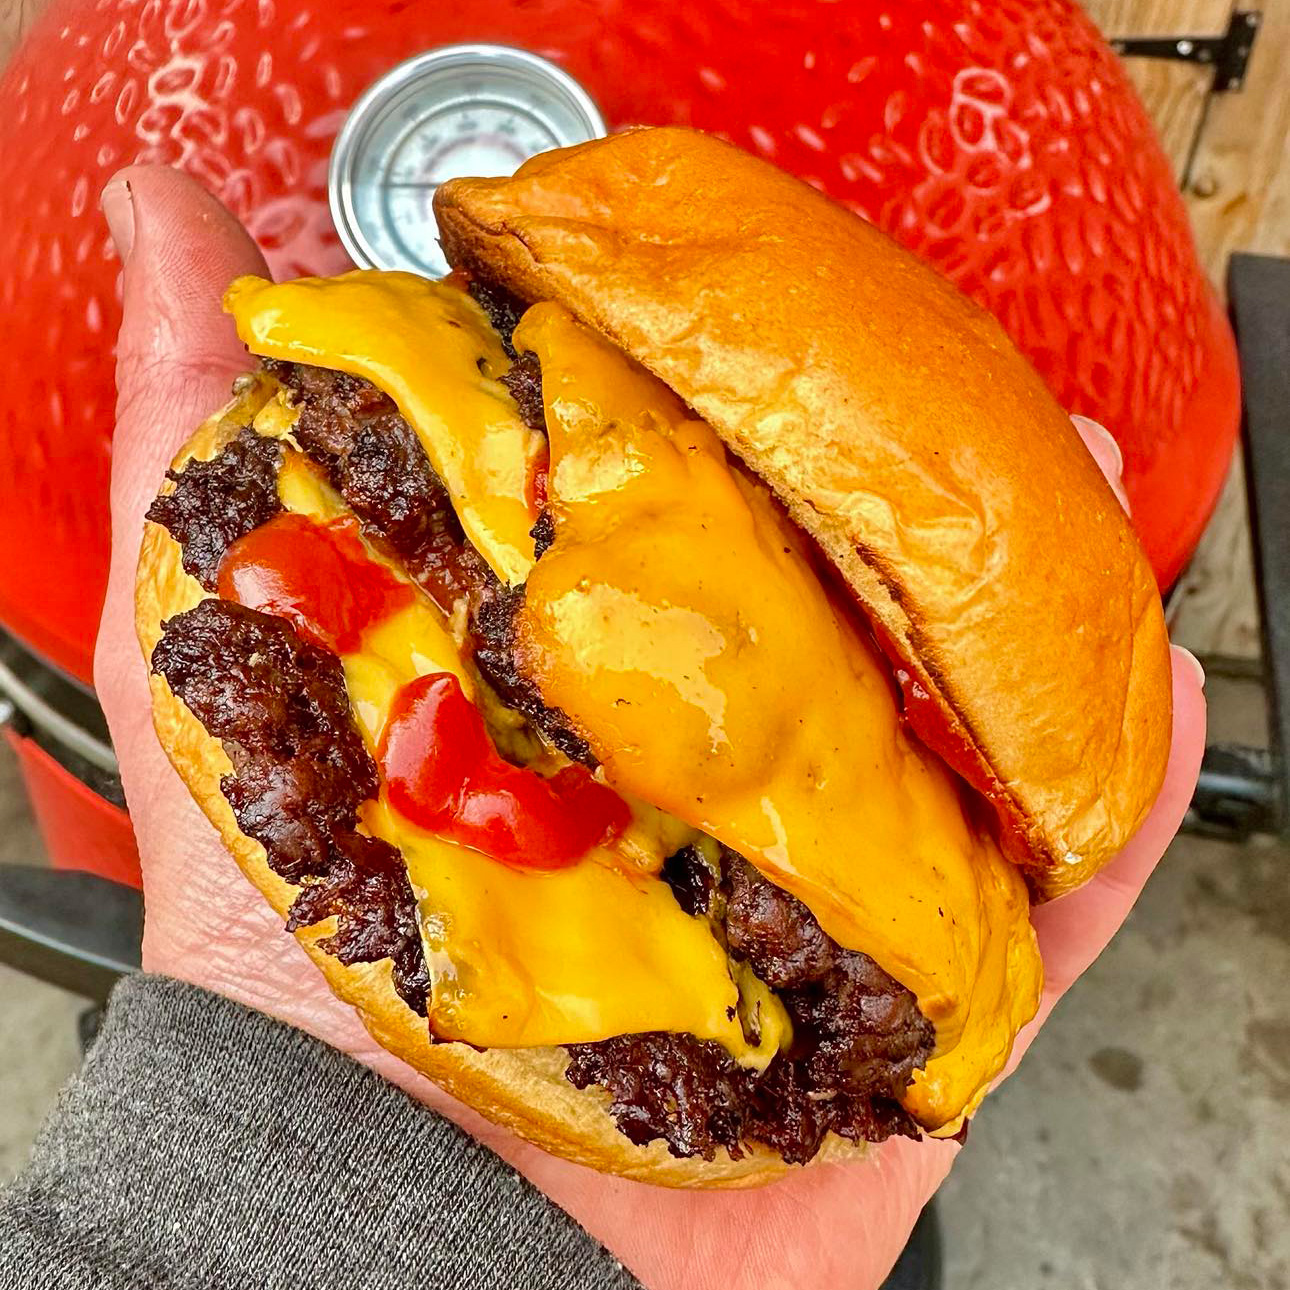
Now, it’s time for the grand finale. Using your spatula, scrape up your burger tower and place it onto the prepared bun base.
And just like that, you’ve assembled a smashburger worthy of a BBQ king or queen.
Resting the Burger
Before you dig in, we’re going to let the burger rest for a minute. But not just anywhere, oh no! We’re going to wrap it up in foil. This does two things: it allows the juices to redistribute throughout the burger, ensuring every bite is as juicy as the last, and it creates a bit of steam inside the foil packet which softens the bun just a touch.
This little trick is a game-changer, trust me. It’s like a mini spa treatment for your burger, allowing all those flavours to blend and the bun to reach the perfect level of softness.
Unwrapping and Serving
Finally, unwrap your burger and get ready to enjoy. You’ve just created a smashburger that’s sure to impress at any BBQ.
So, go ahead and take a bite. You’ve earned it!
Remember, these are just the foundations.
Feel free to customise the ingredients and flavour profiles to suit your taste.
Happy grilling! 🍔🔥


