Not only is this my first time cooking ‘Pork Belly – Burnt ends’, it’s also the first time I’ve attempted to write any form of recipe / guide on BBQ food . . . so bear with me . . . (that’s the disclaimers out the way).
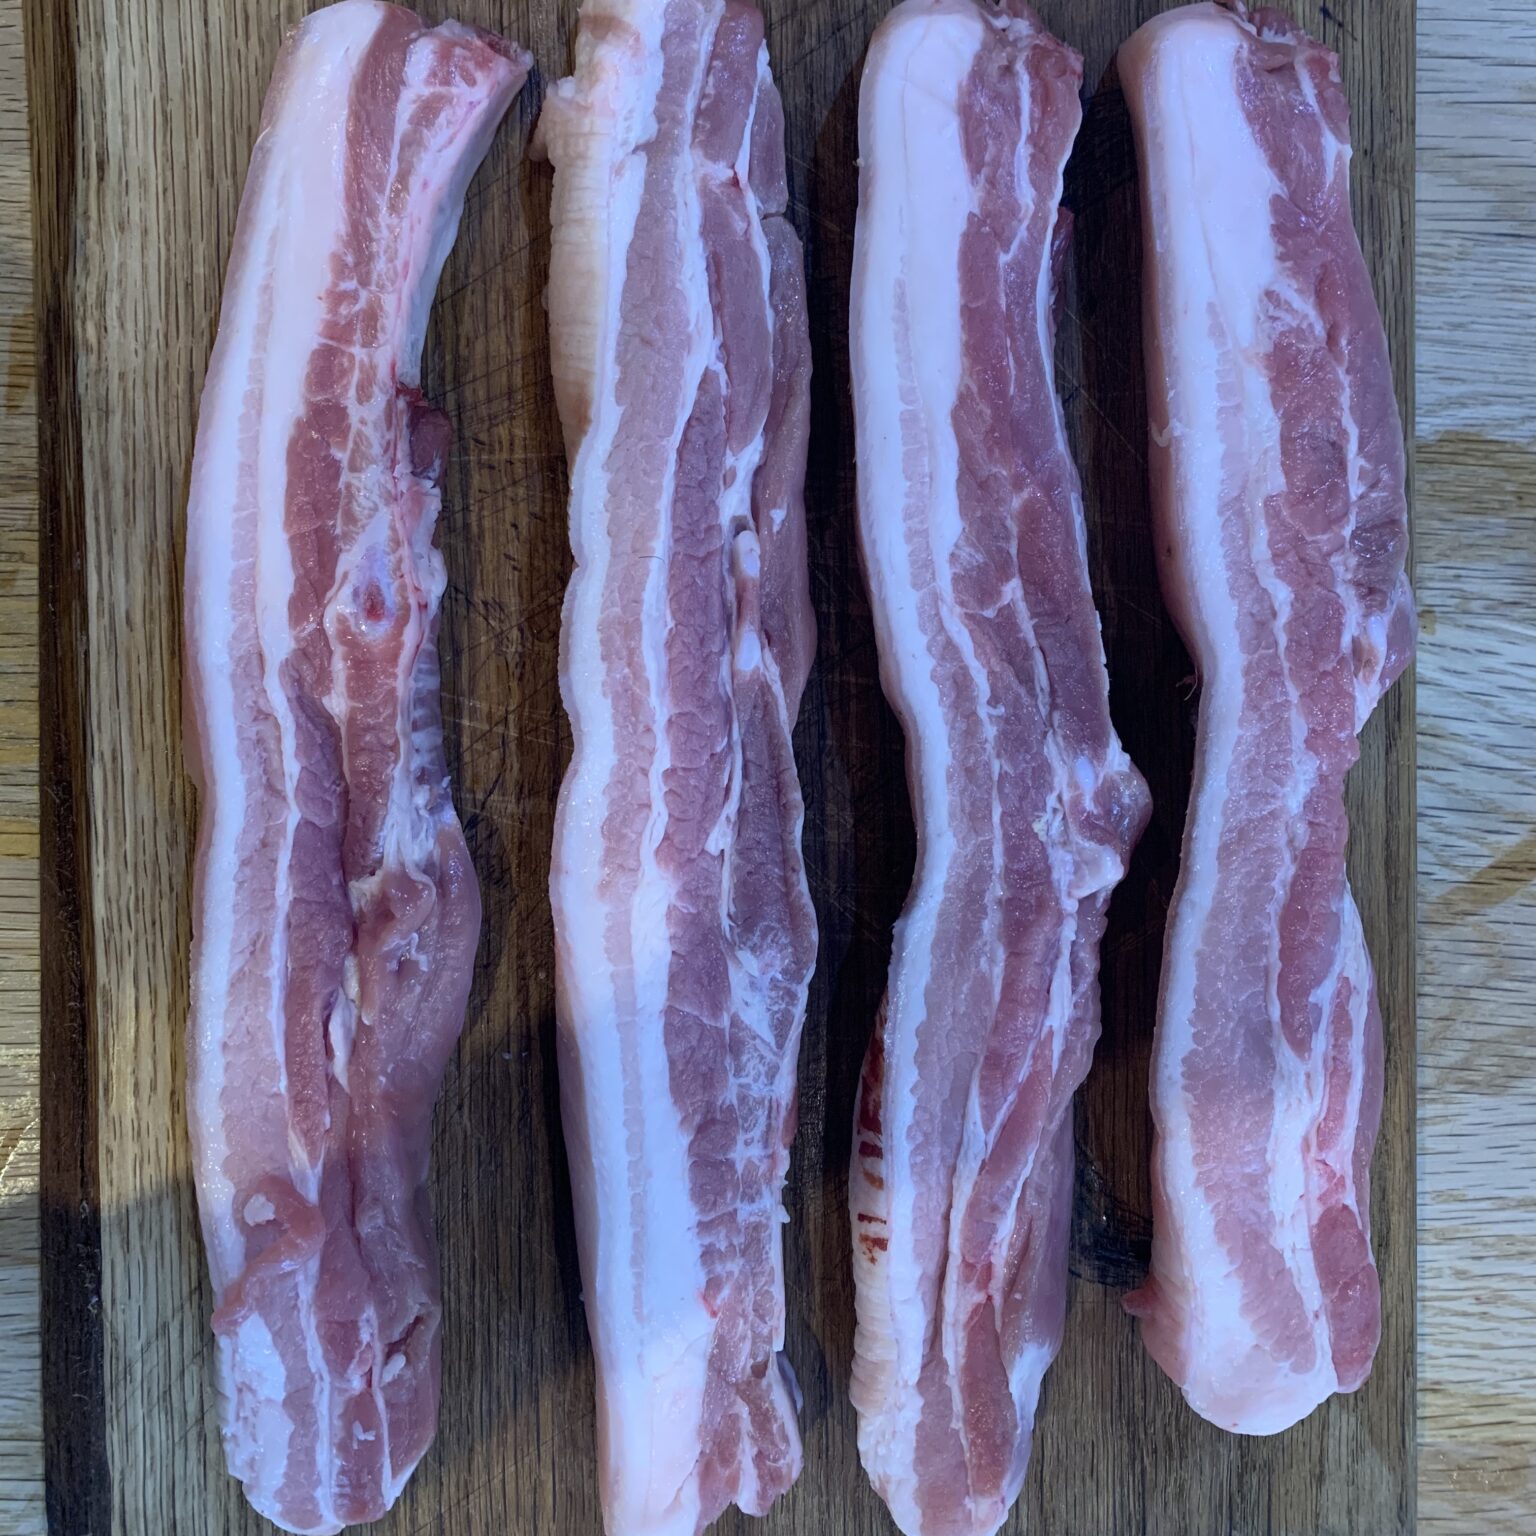
Now whilst I would have preferred a nice slab of belly pork (believe it or not, but I used to keep pigs as a hobby too . . . perhaps a story for another day), what I had to work with was just 4 strips of belly that my good wife picked up when she popped to the butcher.
Not one to pass up an opportunity to use the smoker, I scrambled to the cupboard to see what rubs and sauces we had in stock . . . slim pickings!
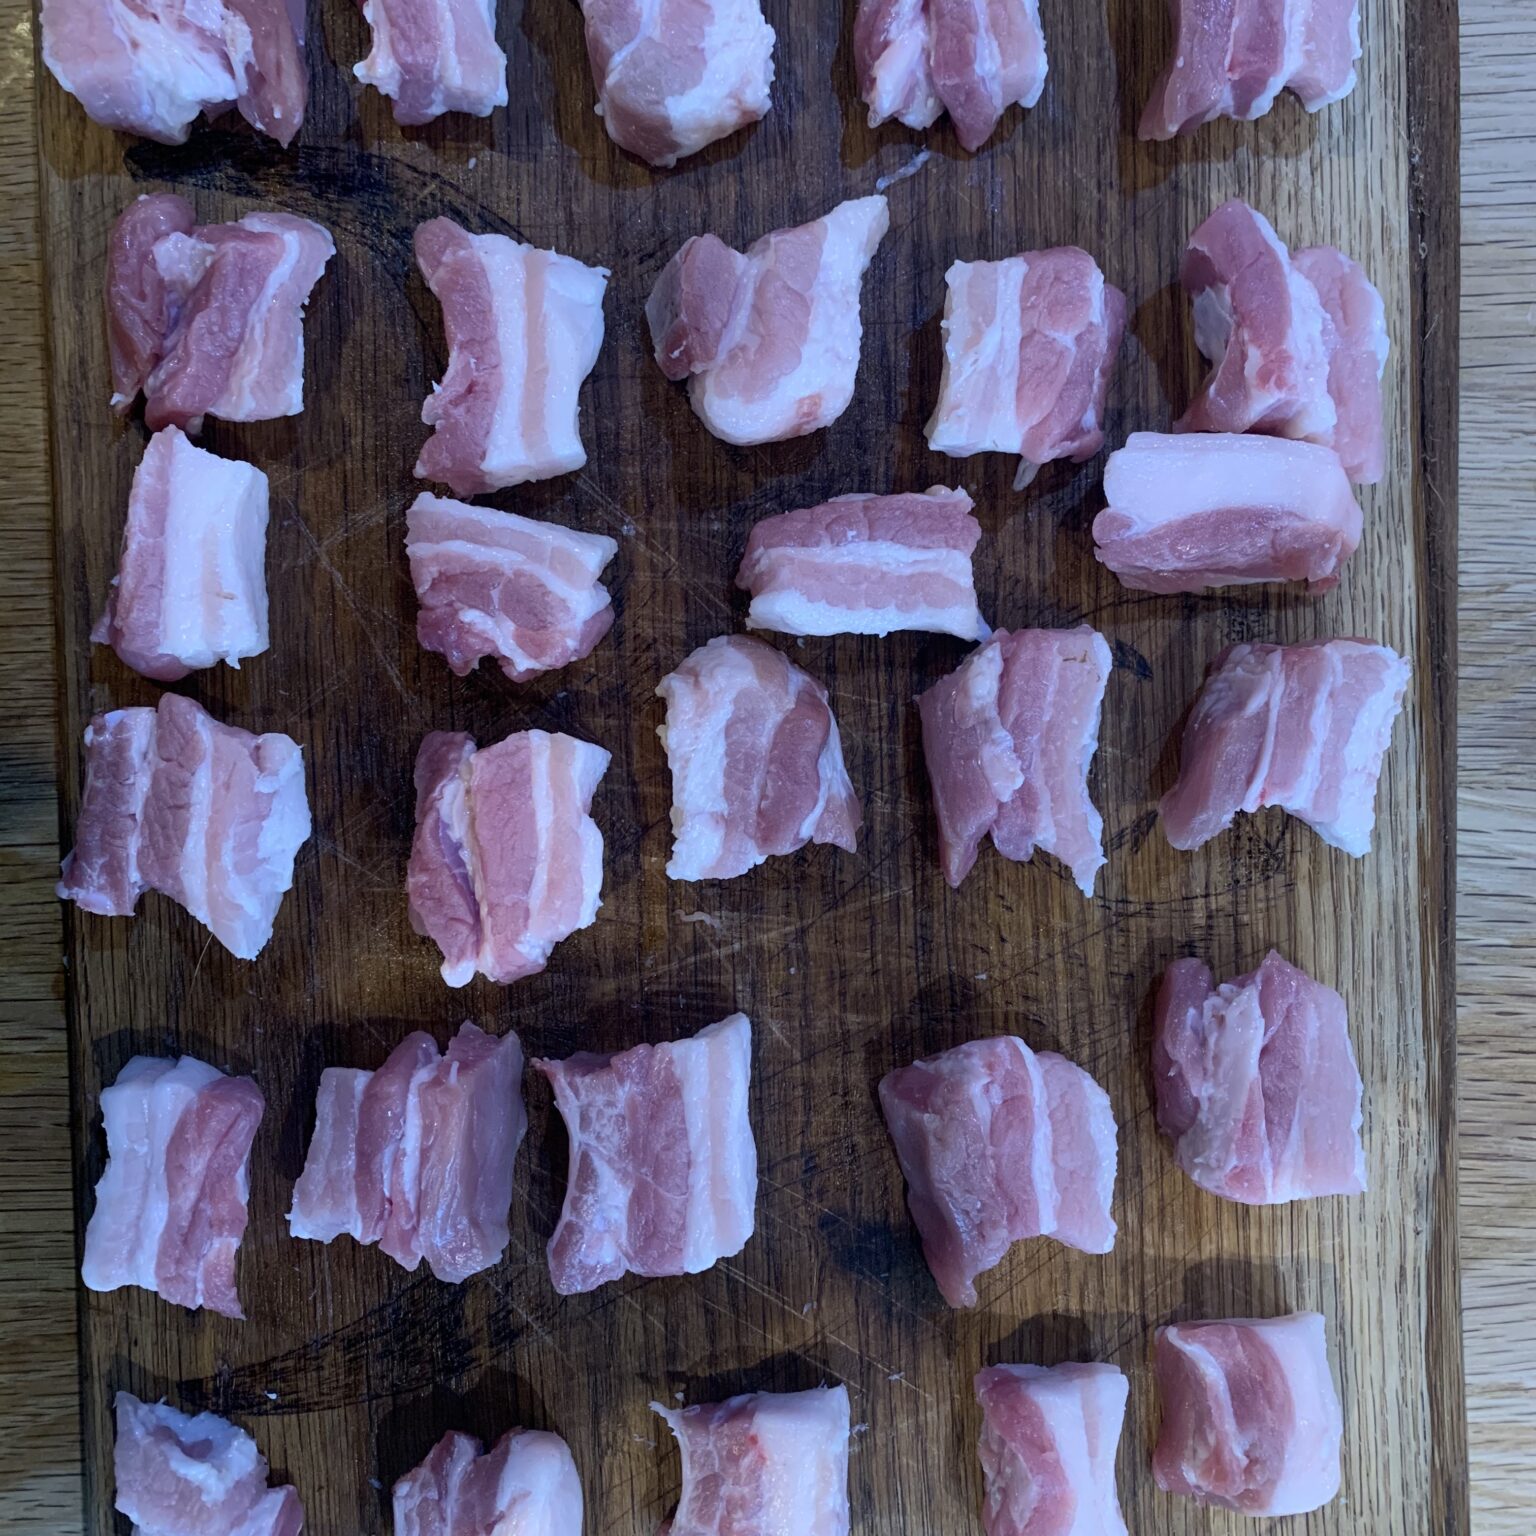
First job was to remove the skin that was on each strip . . . preserving as much fatty goodness as was humanly possible. This was a slow process as it was this exact point I realised that my knifes were about as sharp as a bowling ball, oh well, I got there in the end.
Anyway, once this job was out of the way I cut the strips into squares and displayed nicely on a board to take this lovely photo for you (obviously taking a photo at this point is an optional step).
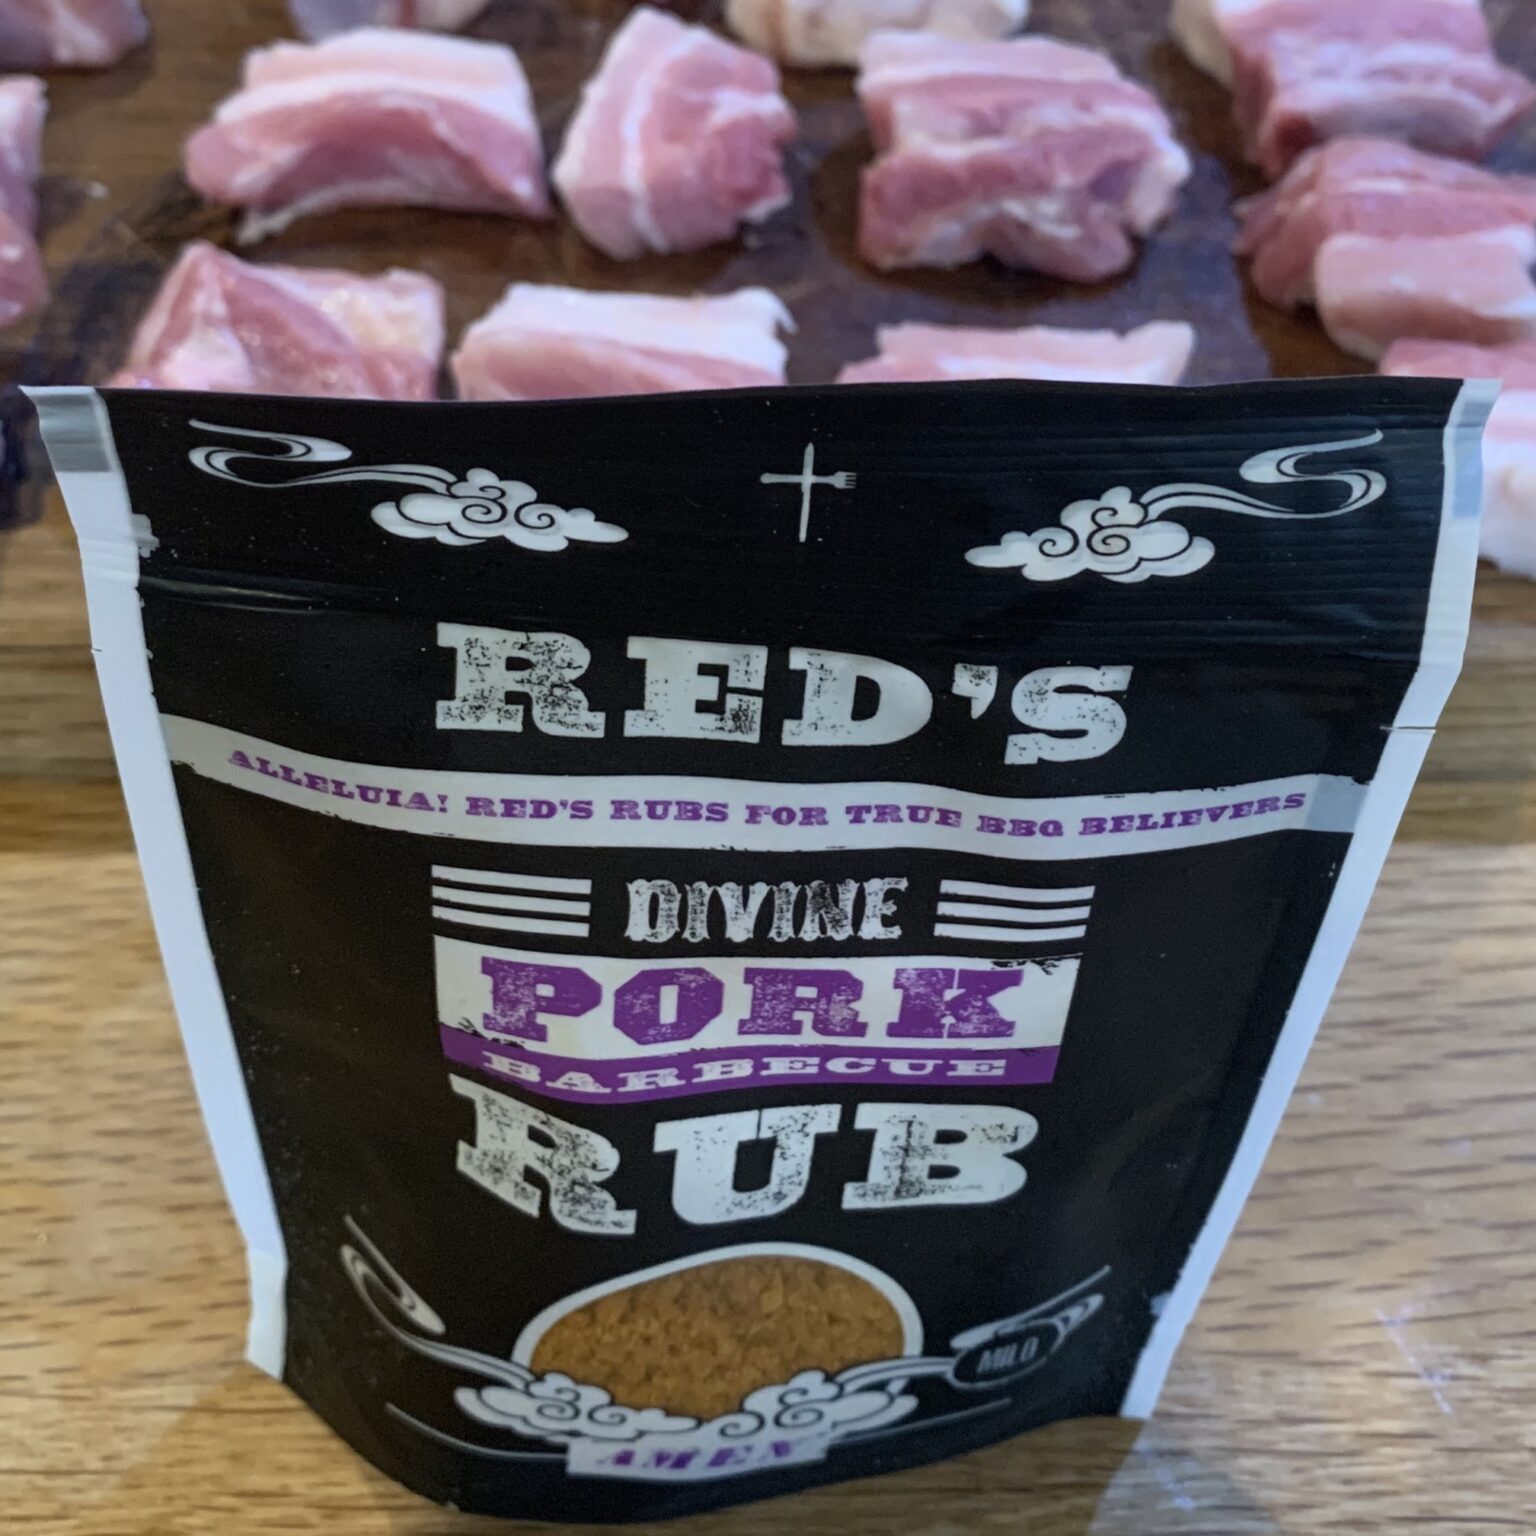
Next step . . . to season. Back the the cupboard raid . . . tucked away at the back behind random out of date pots of items I don’t recall purchasing, I found a packet of ‘Red’s Divine Pork Barbecue Rub‘.
Quick read and this was seemed to tick all the boxes.
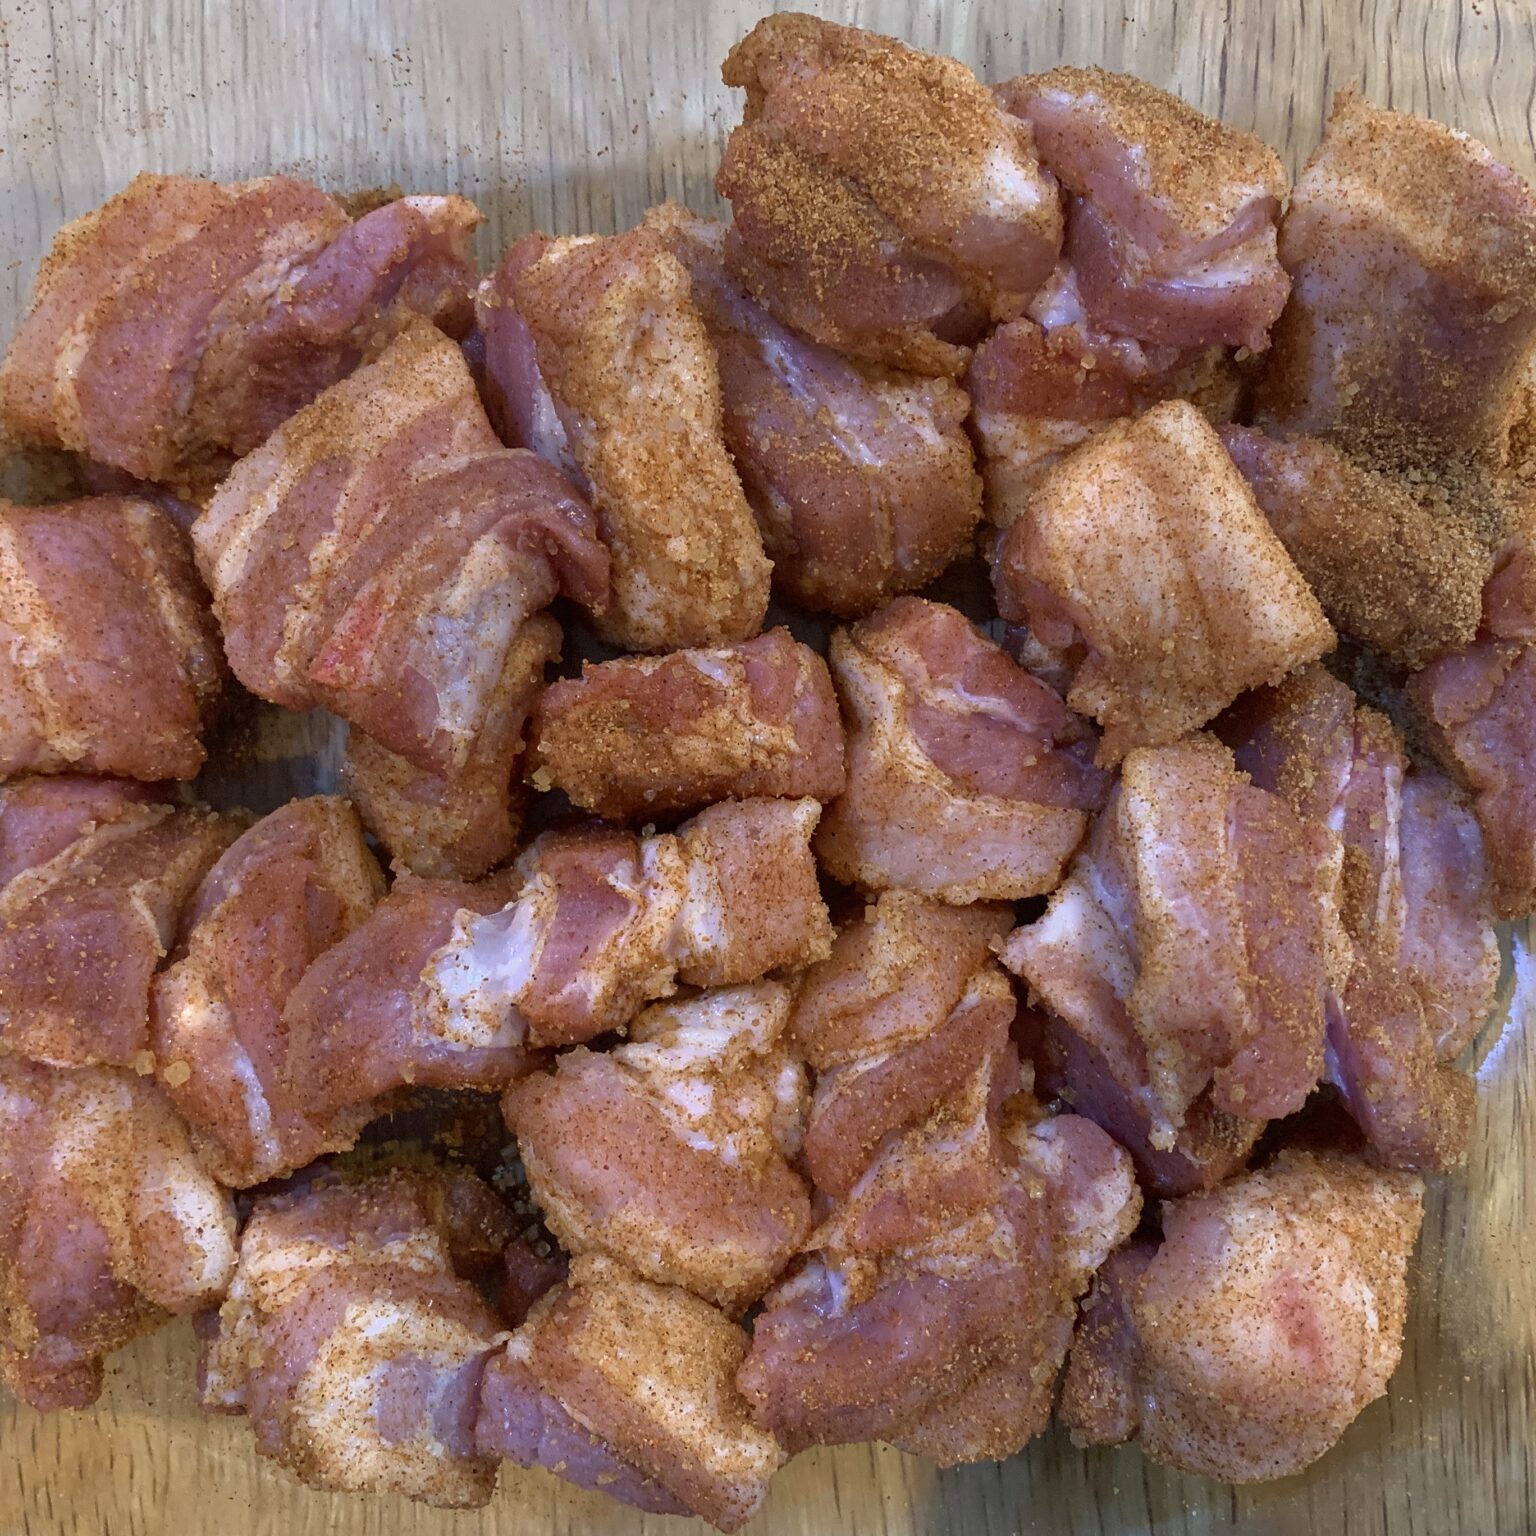
I chucked the pork squares into a glass bowl, splashed a little bit of good ‘ol olive oil over them and proceeded to pour over about half the packet on top.
Not keen to get my geeky hands dirty at this stage I reached for a wooden spoon and mixed it all up.
Then a quick wrap in cling film and into the fridge for a couple of hours.
. . . now let’s start the cooking!
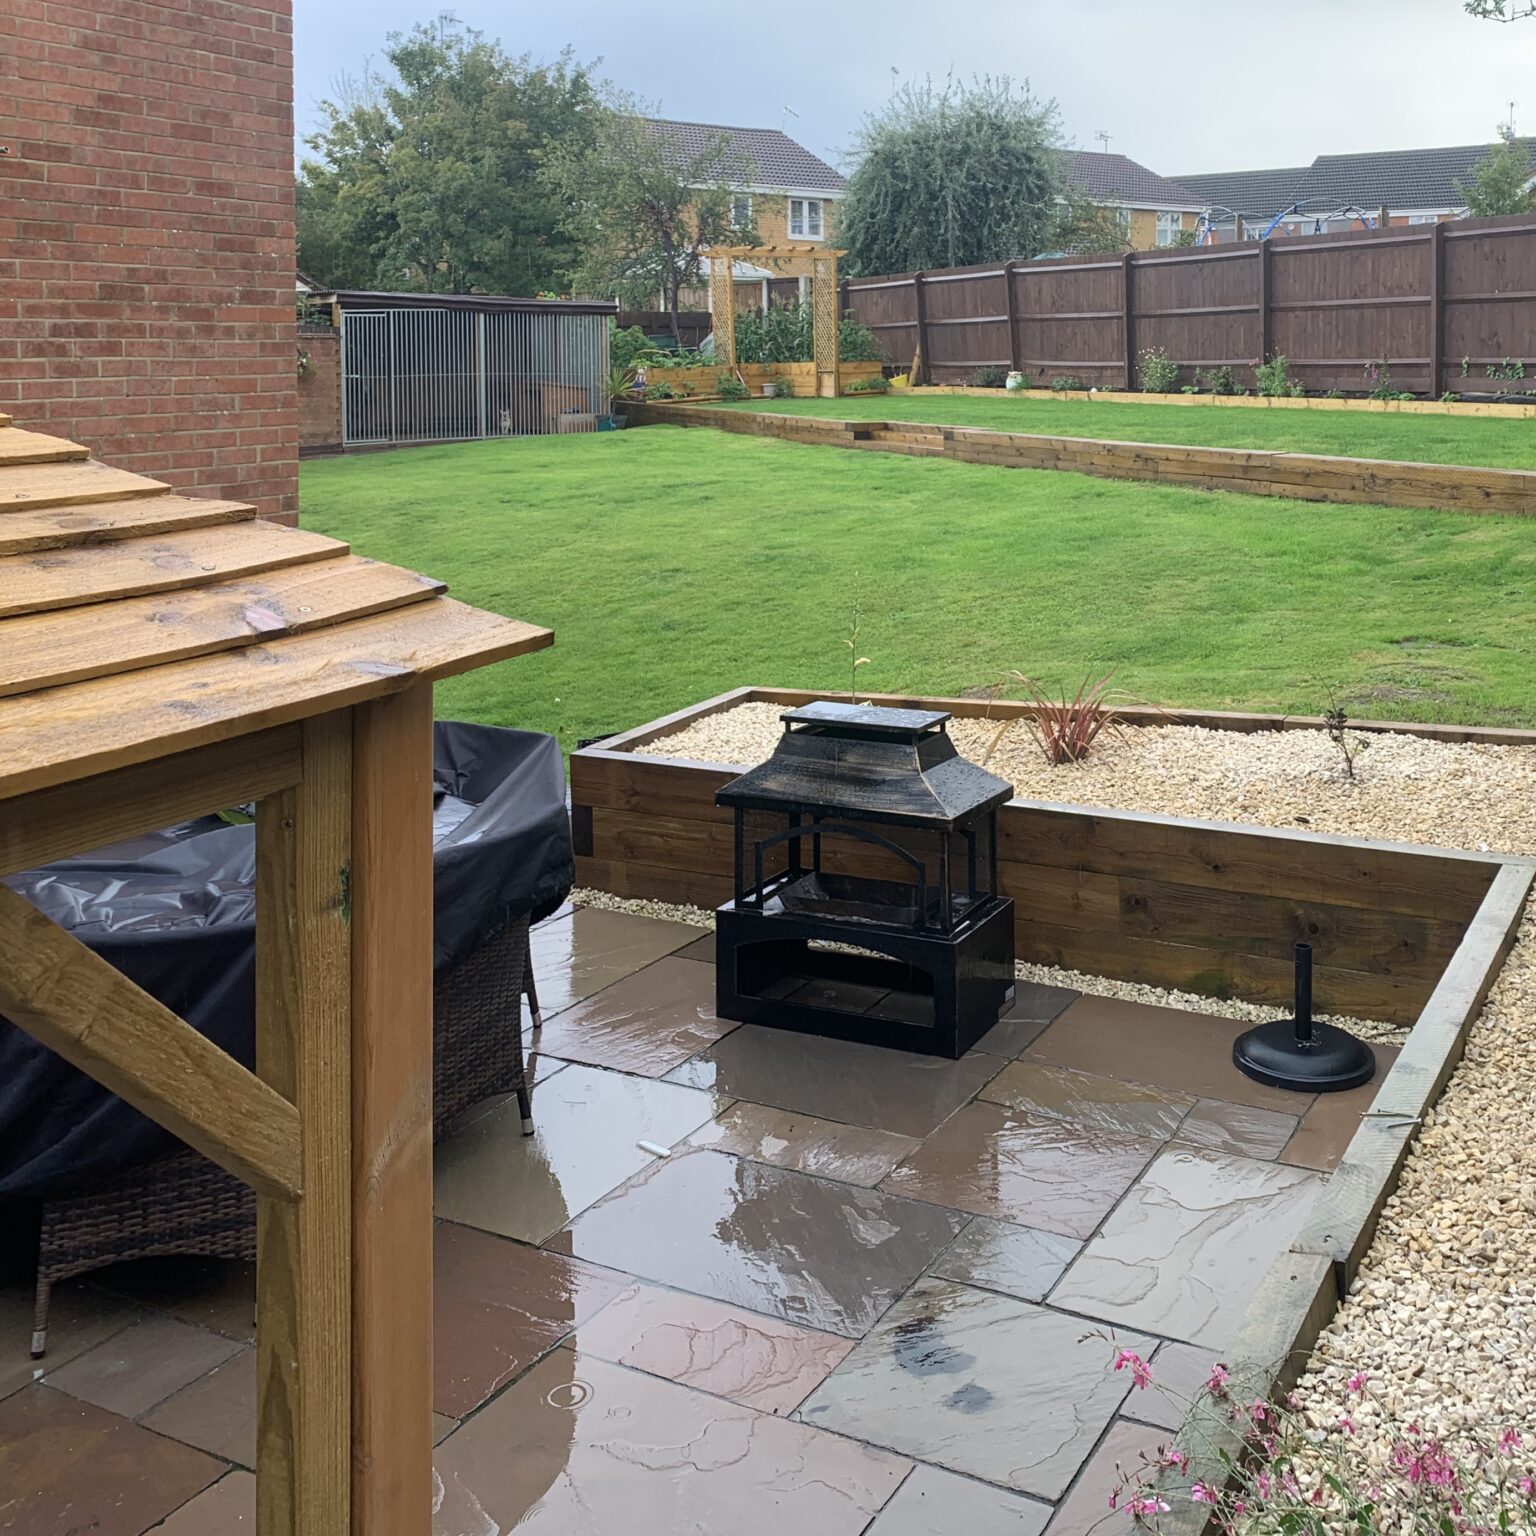
Yep, you guessed it . . . at this point the heavens opened and it absolutely chucked it down.
This seems to happen each and every time I step outside to set up the ProQ, but hey-ho, it’s all part of the fun trying to BBQ food in the UK.
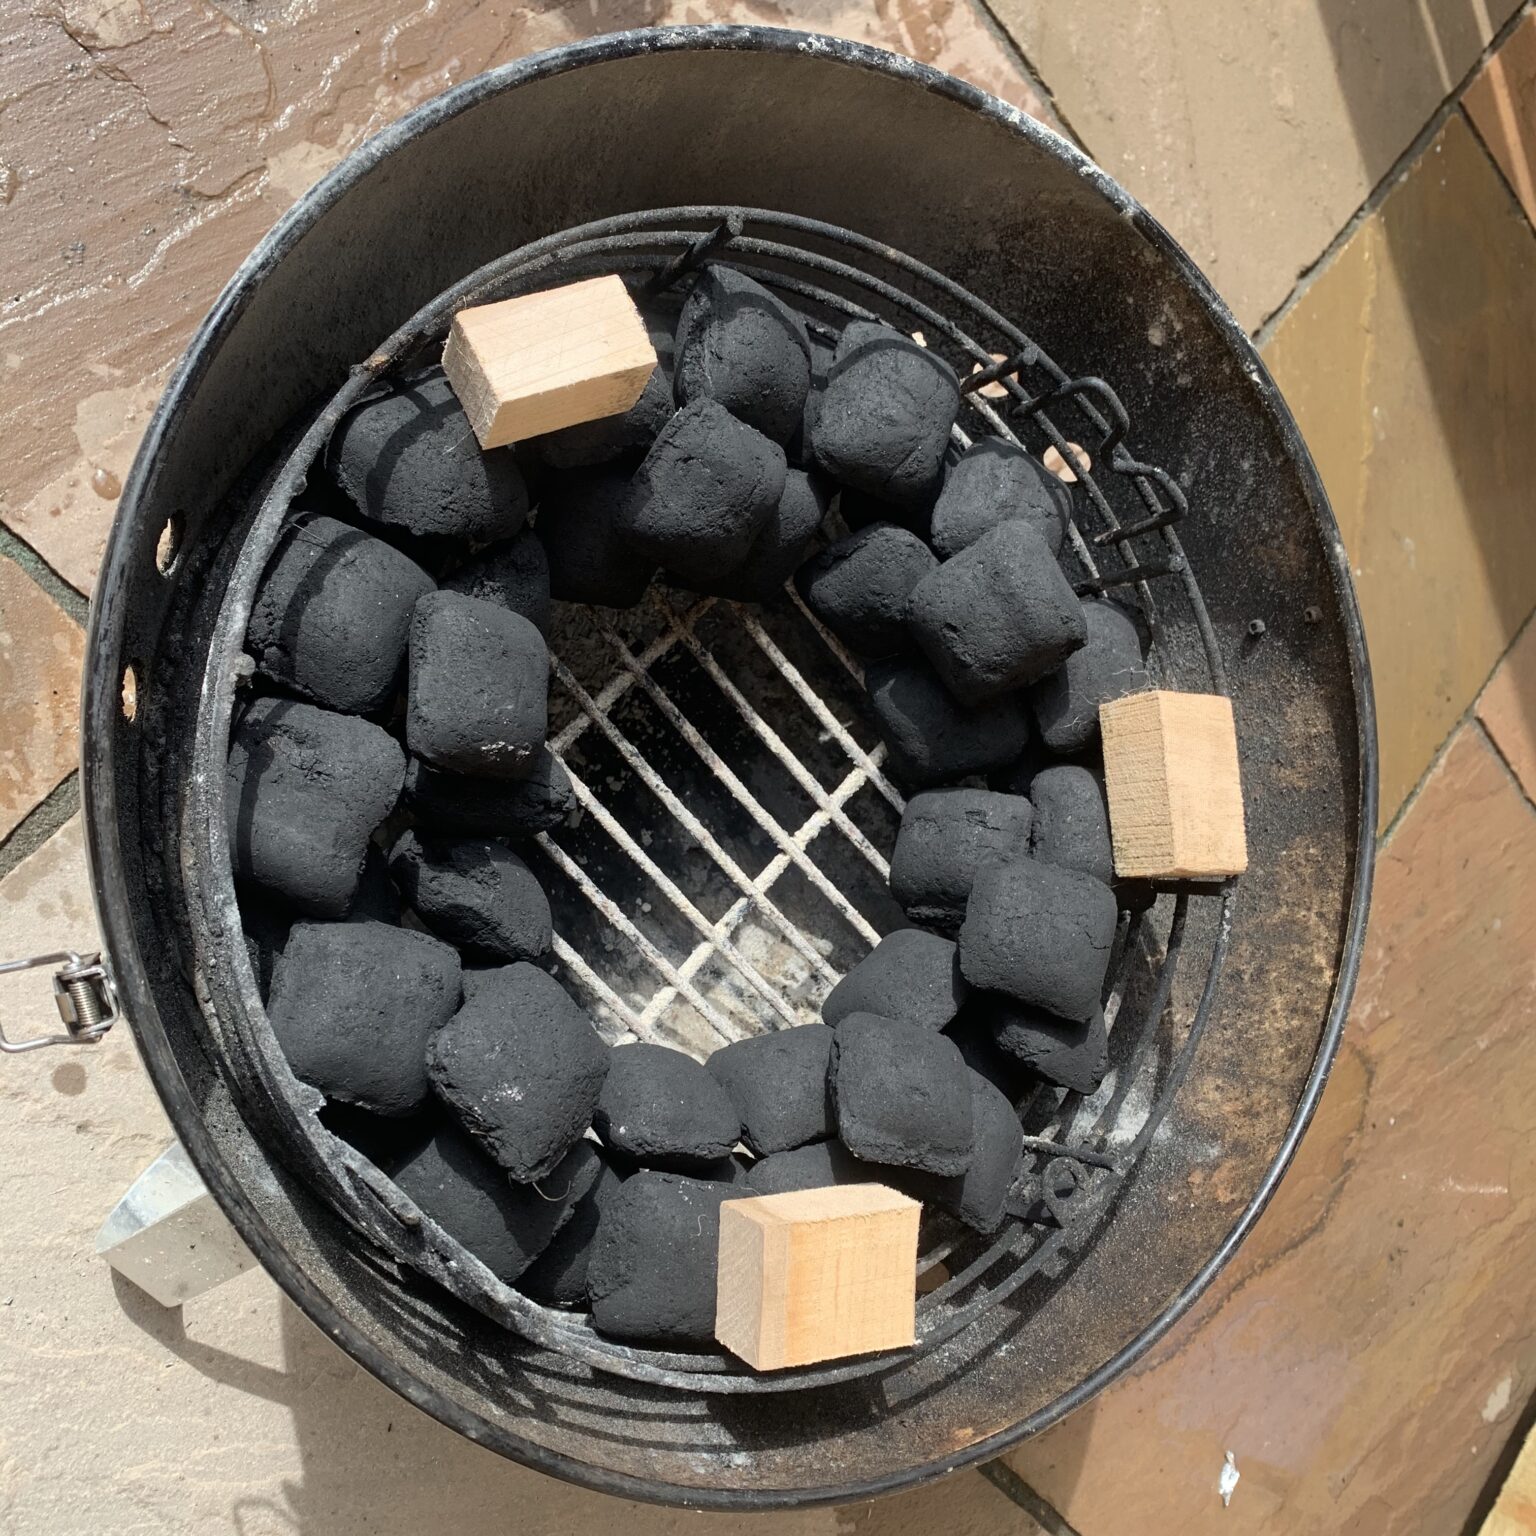
For this cook I was hoping for a temperature of around 250f, and I only planned on the cook taking around 4 hours so I decided to go for the good ‘ol Minion method.
Using my current go-to fuel ‘Cococabana Grillbrikettes‘ I set things up and added a couple of blocks of Hickory from ProQ.
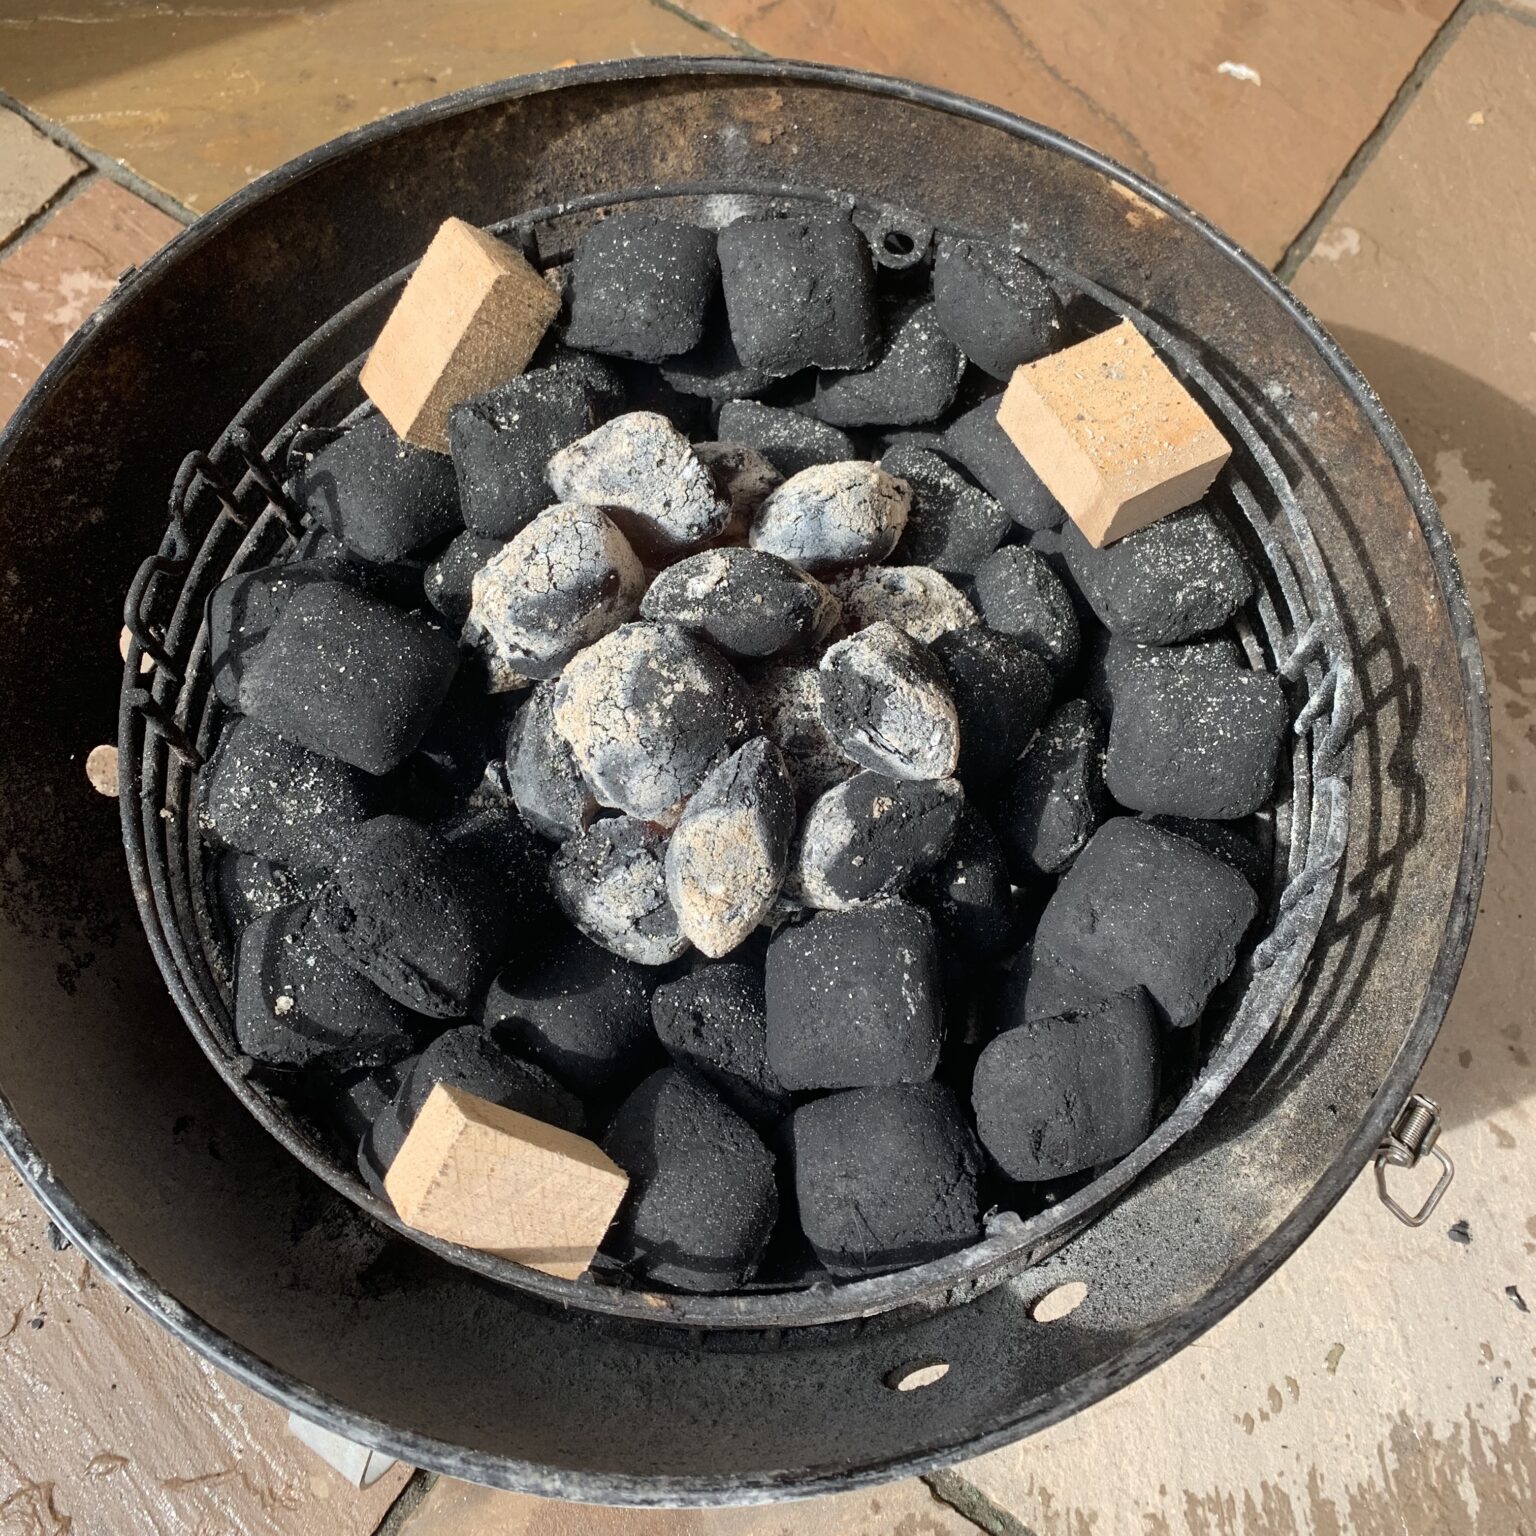
In total for this cook I used 3kg of fuel . . . so based on this I would say I added 2kg to the basket to form the ring and then 1kg in the chimney starter to get things going.
Once the fuel was burning well I simply poured into the central void and proceeded to stack all elements of the smoker together.
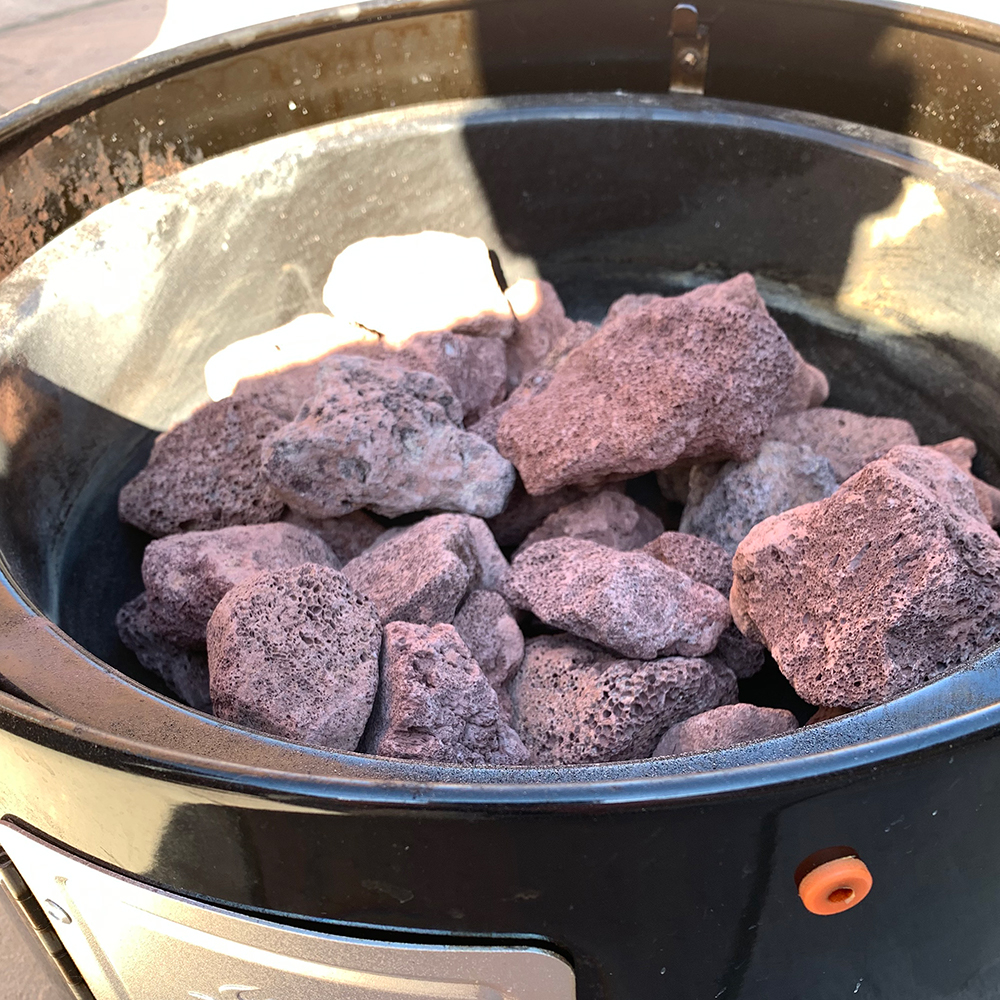
This seems like the perfect opportunity to explain something again . . . the water pan.
For this cook I needed to use the ‘indirect method’ of cooking, so I needed a barrier between the coal / flames and the food.
The water pan is the obvious choice . . . but please . . . I beg you . . . adding water is NOT THE KEY – Putting water in the water pan are you crazy.
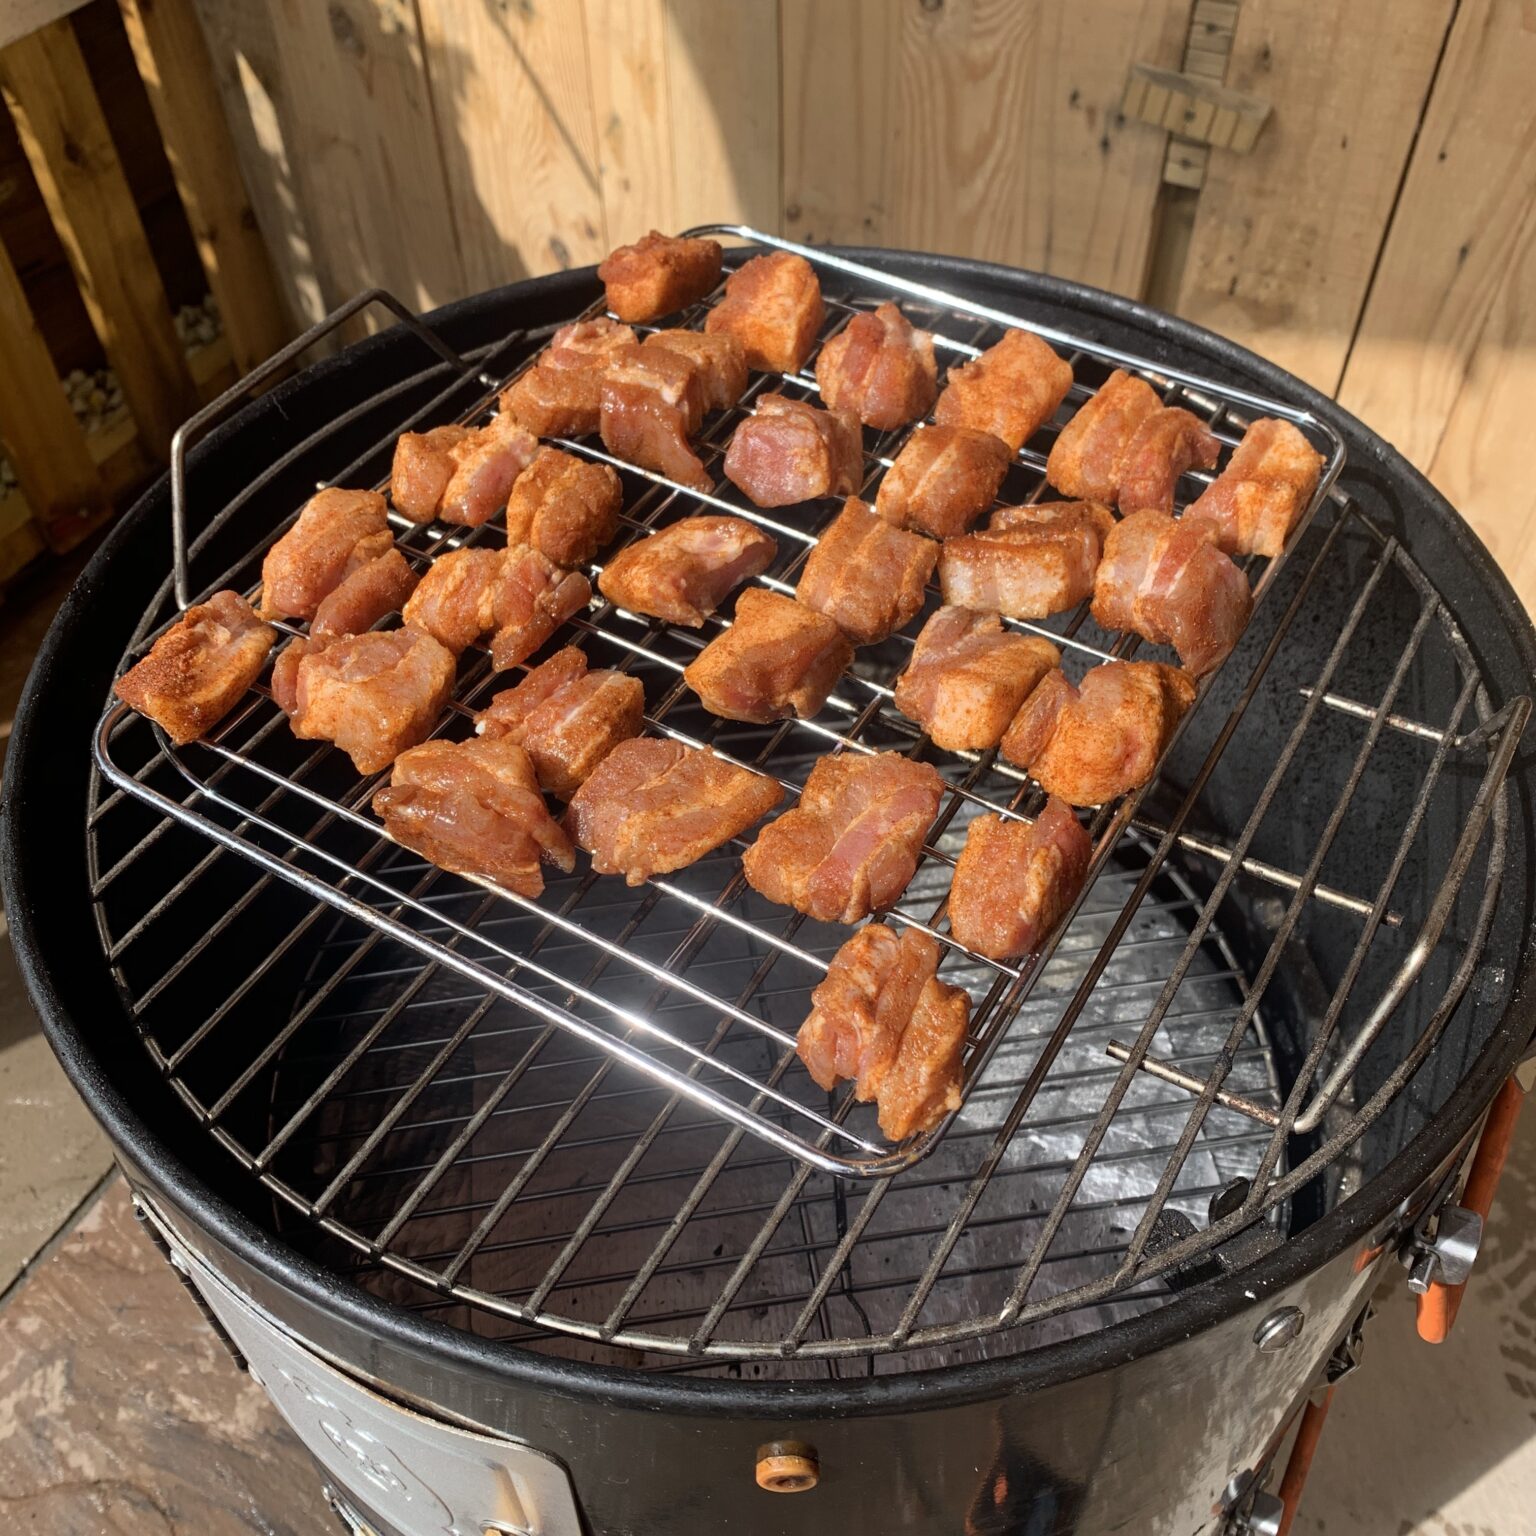
Everything built, happy with the fuel, the water pan . . . now just need to put the pork squares on the top shelf . . . using an additional rack of ease of transportation.
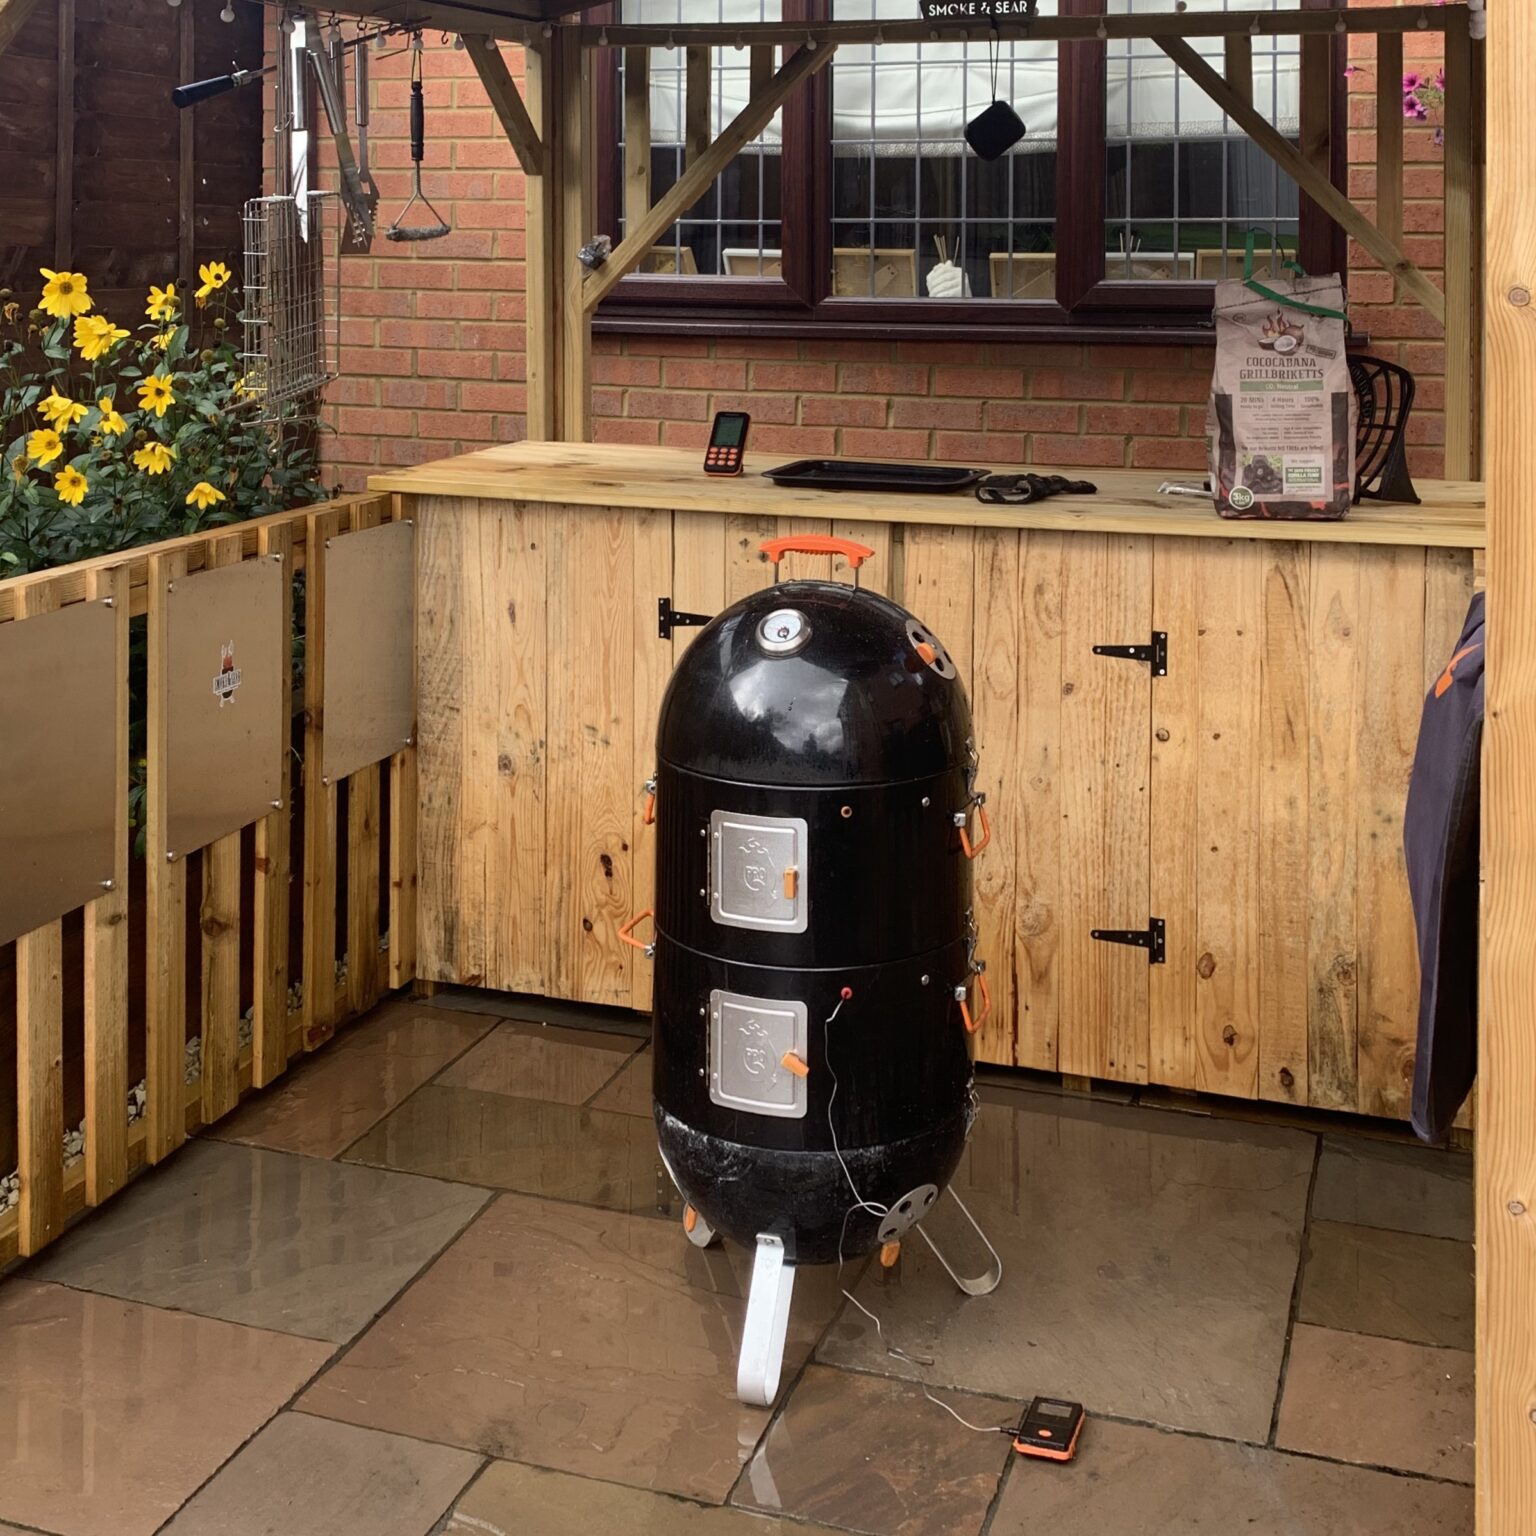
That’s everything’s doing what’s needed . . . now time to head back inside and do a little more work (well, can’t BBQ all day . . . i’ve got a day job to do).
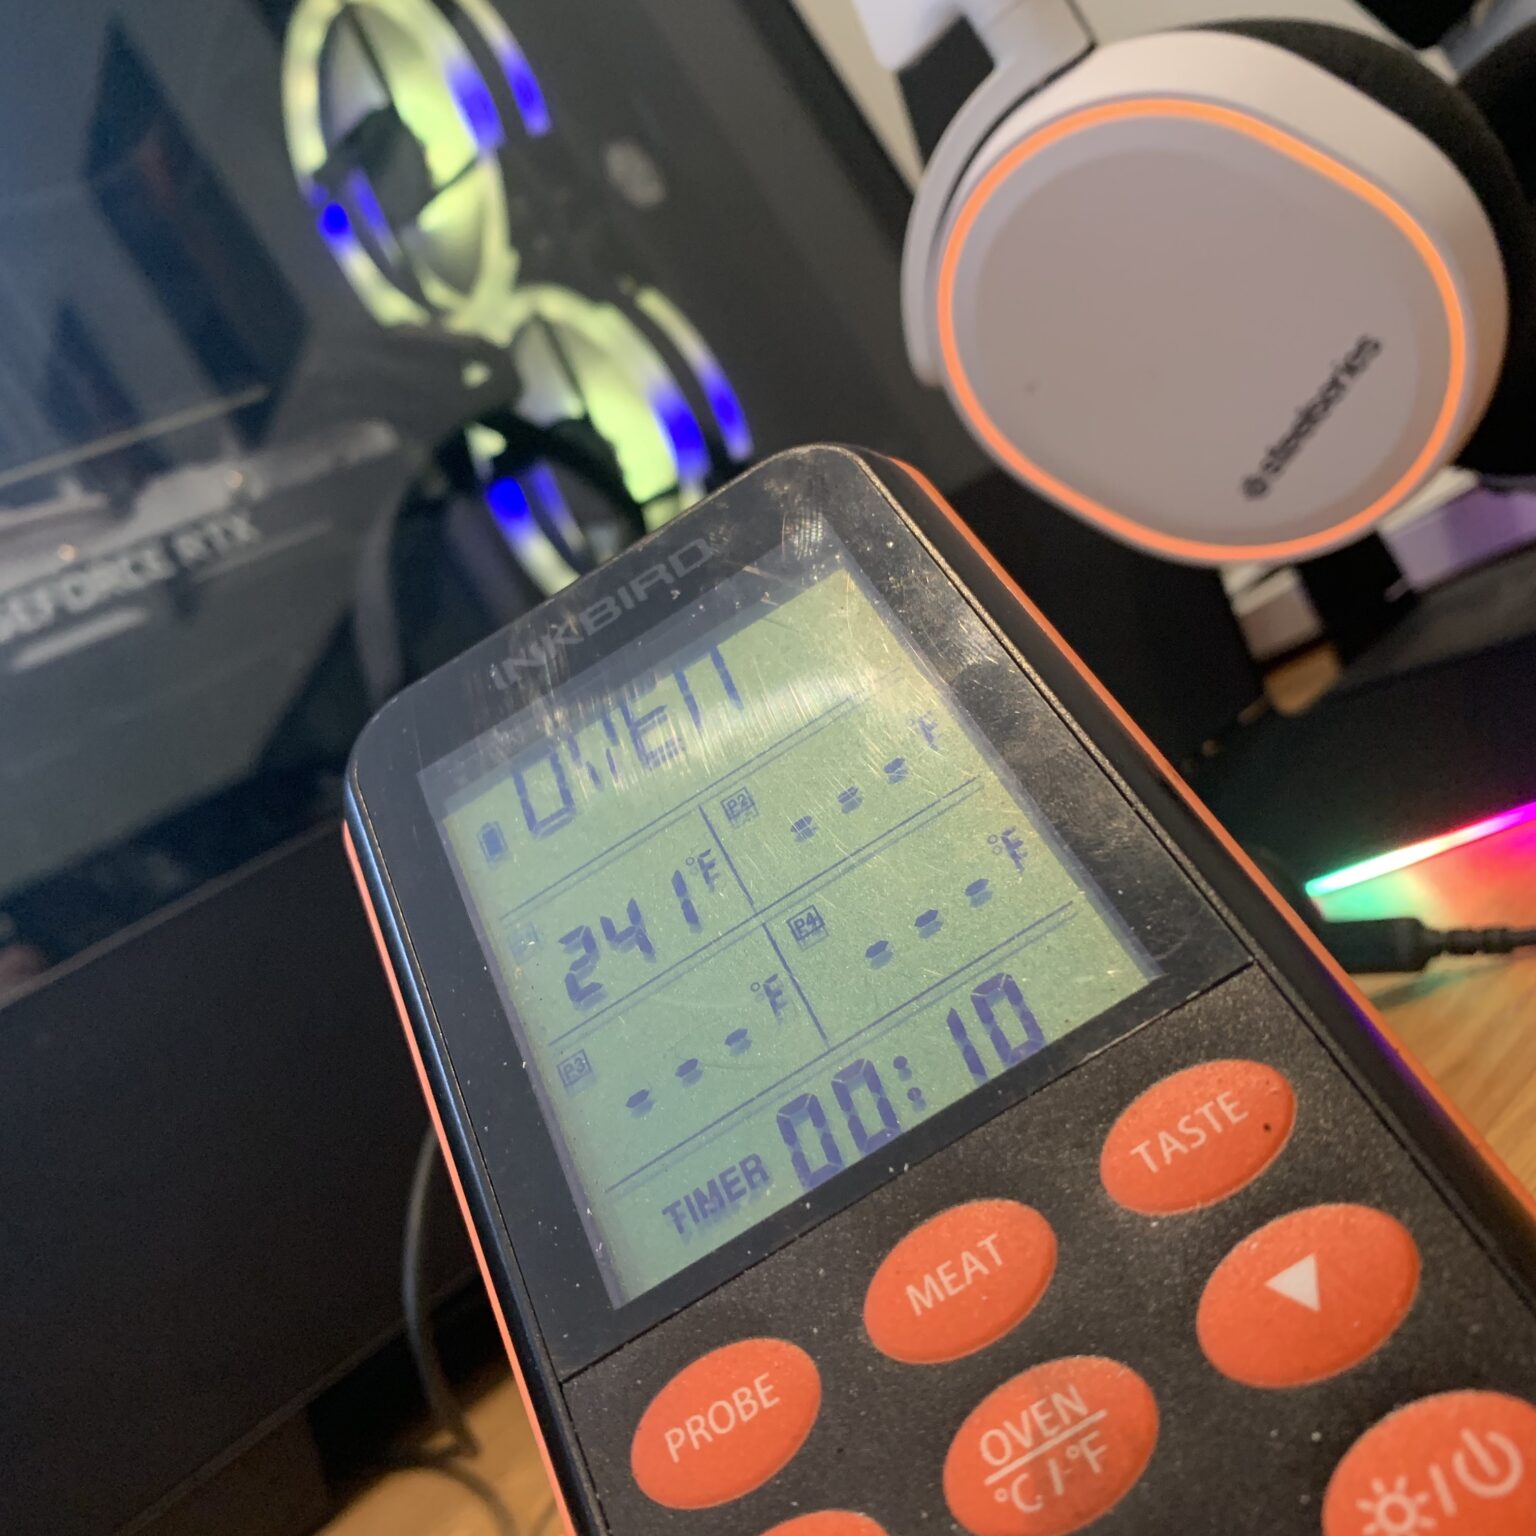
Back inside I keep an eye on the temperature and brag to everyone on ‘Microsoft Teams’ calls that my lunch is going to be far superior to theirs!
For those that are interested, for monitoring the temperatures when I’m back in the office at home ‘pretending’ to work I rely on the Inkbird IRF-4S
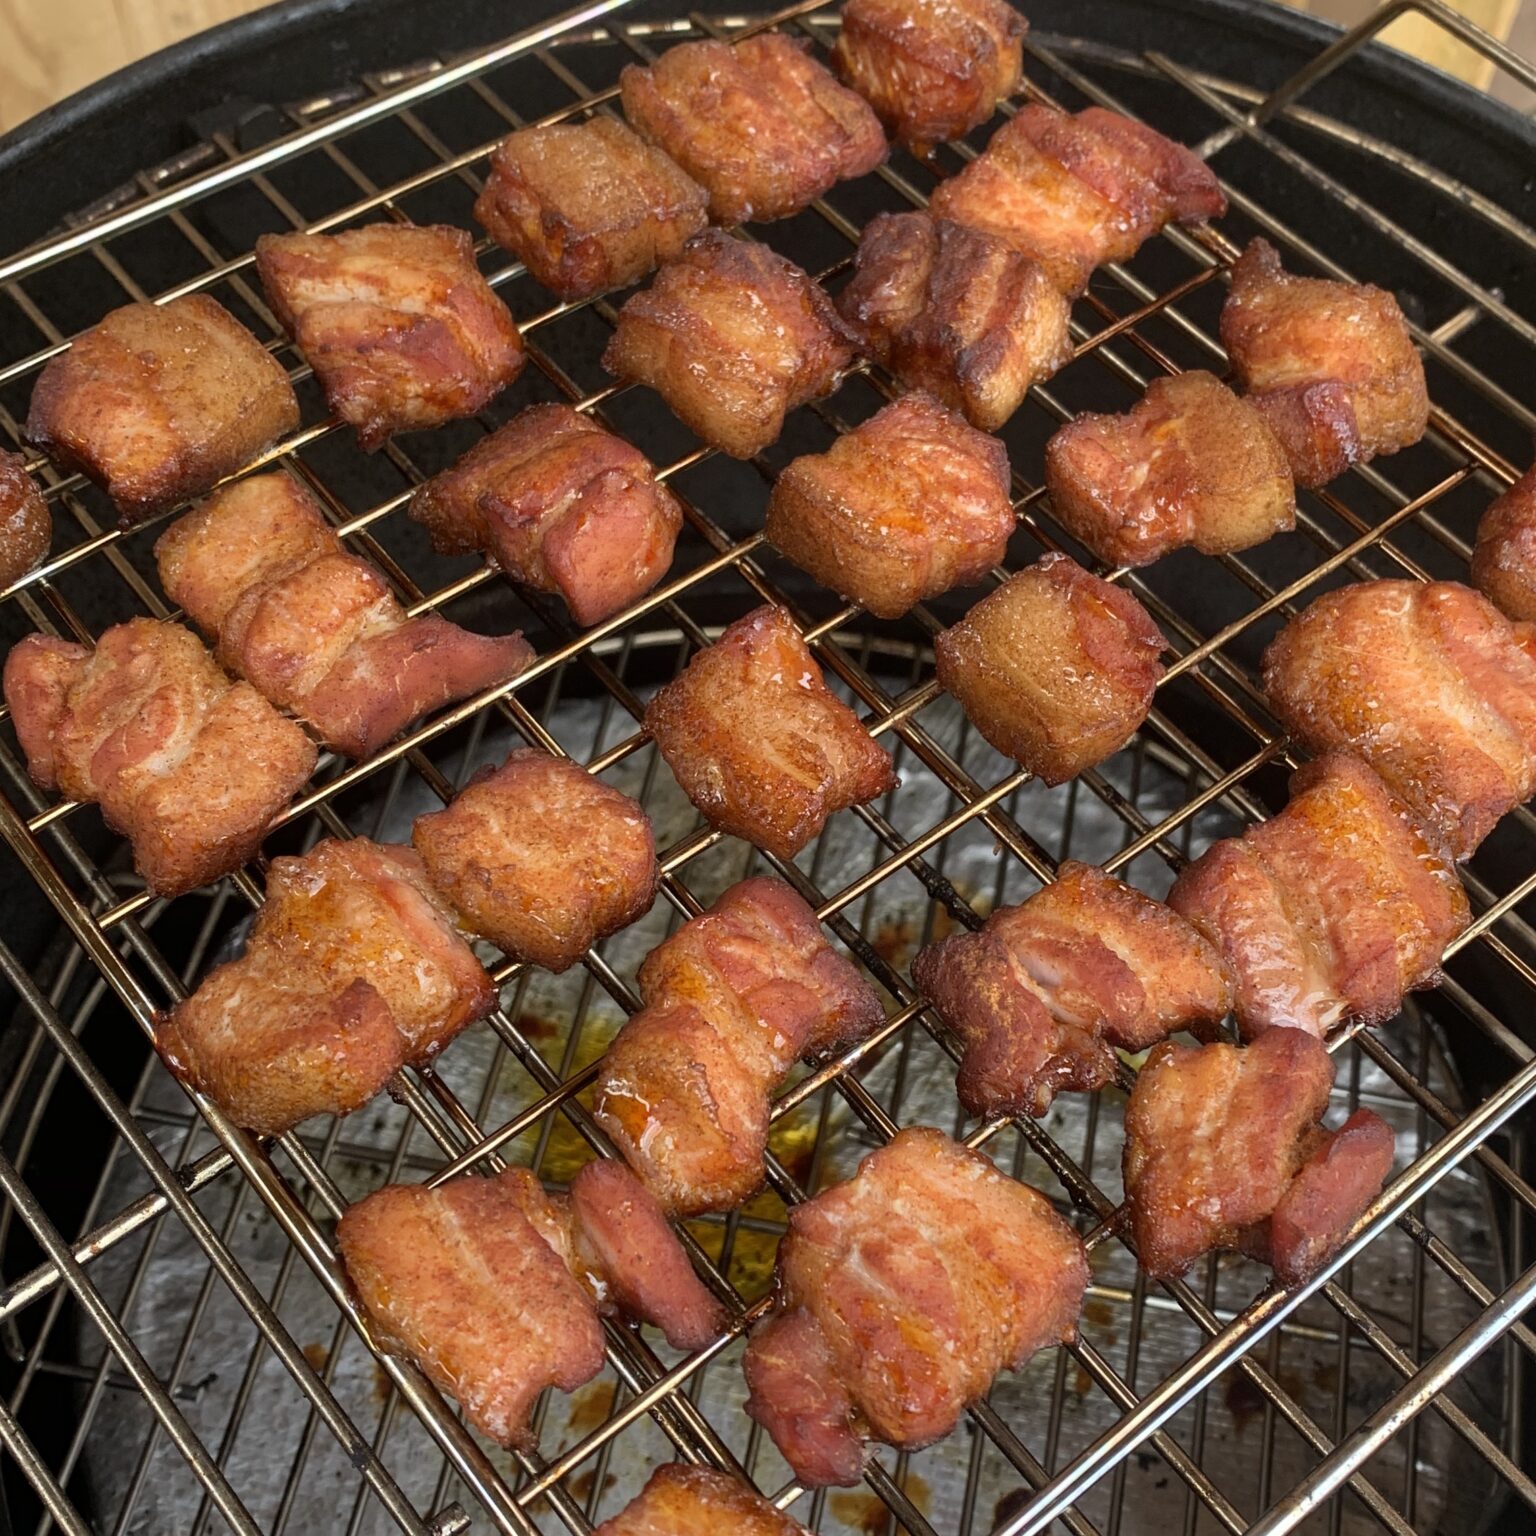
1 hour in . . . and time for a cheeky little look at the progress.
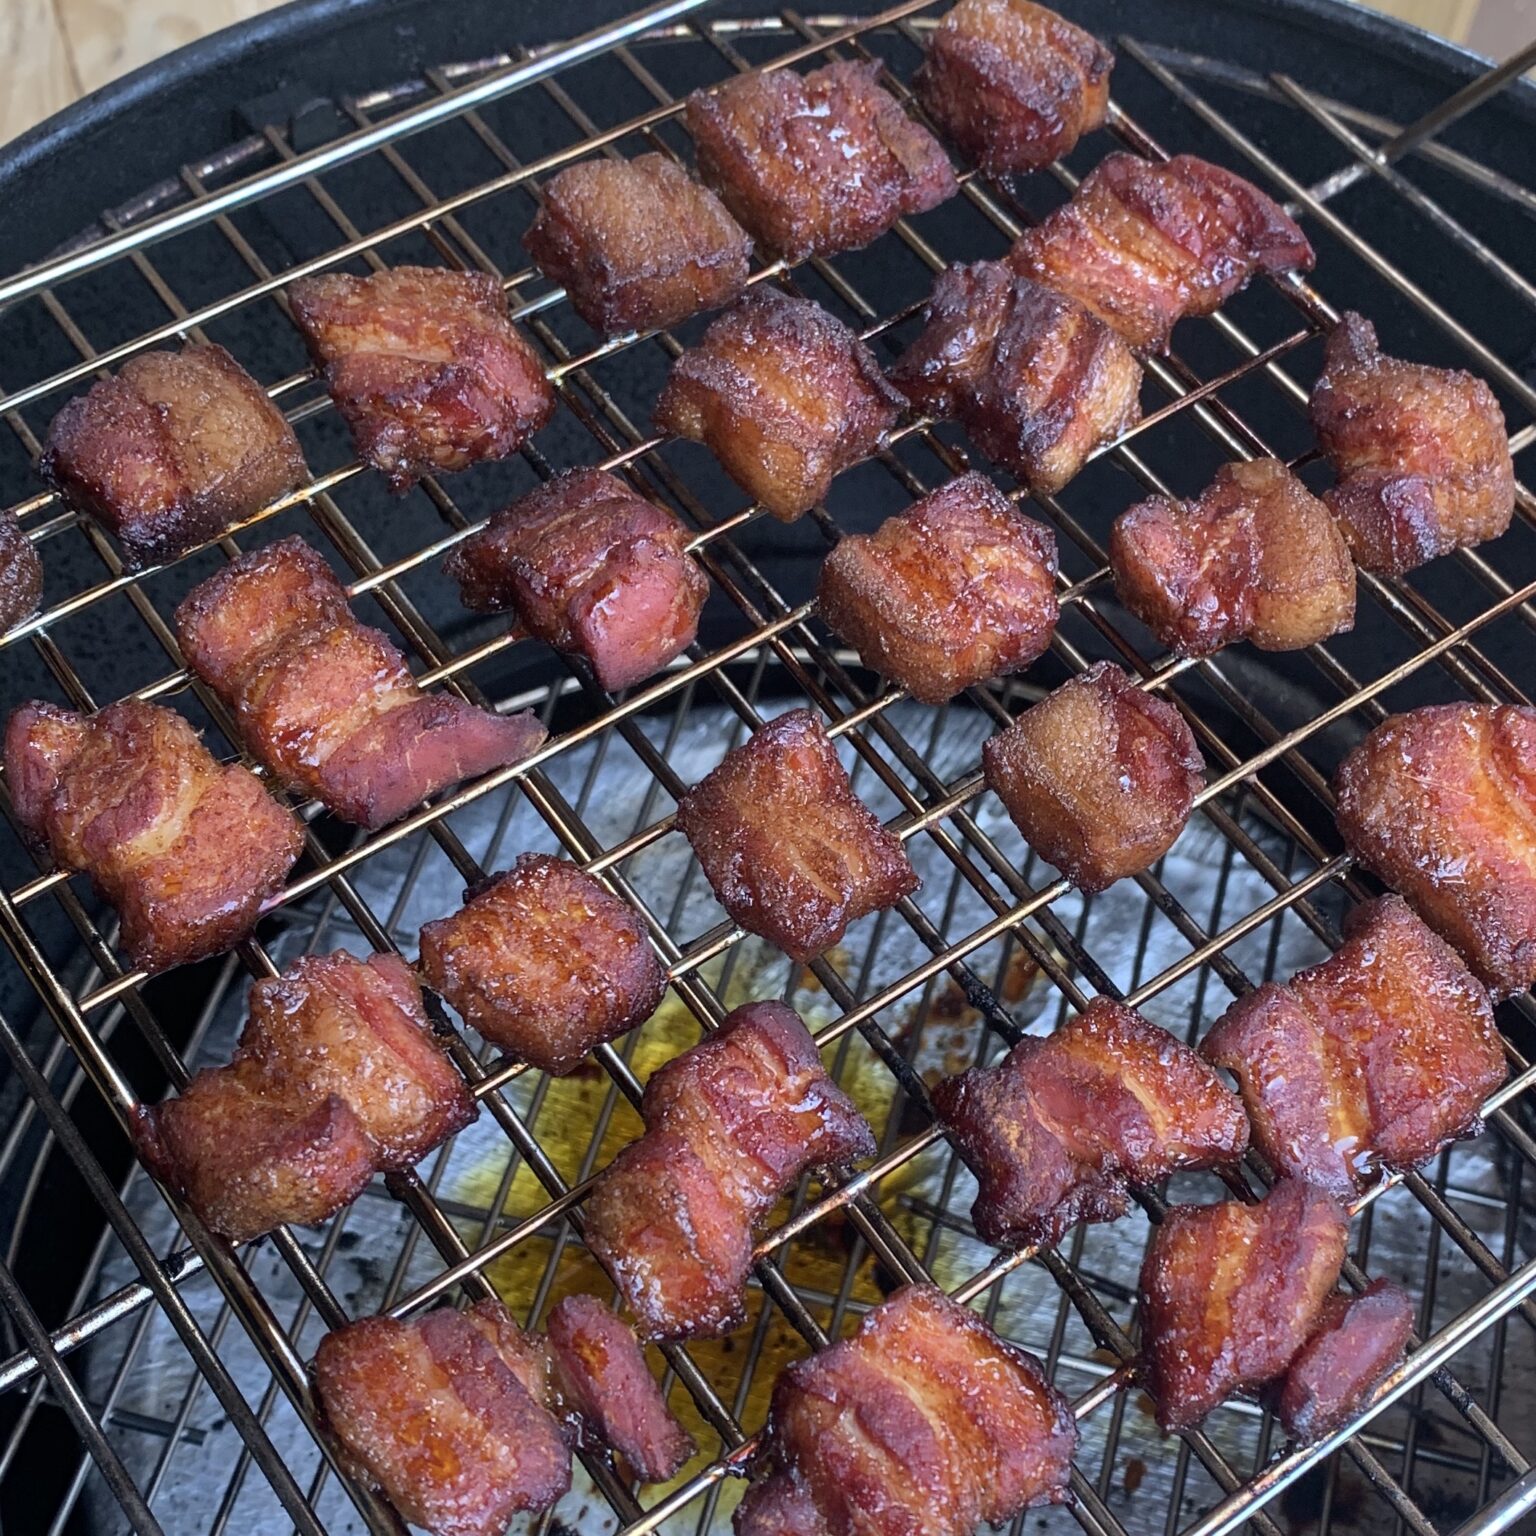
2 hours in and I’m happy to move inside for the next phase.
Why am I happy? Well, just look at that colour . . .now it’s time to tenderise.
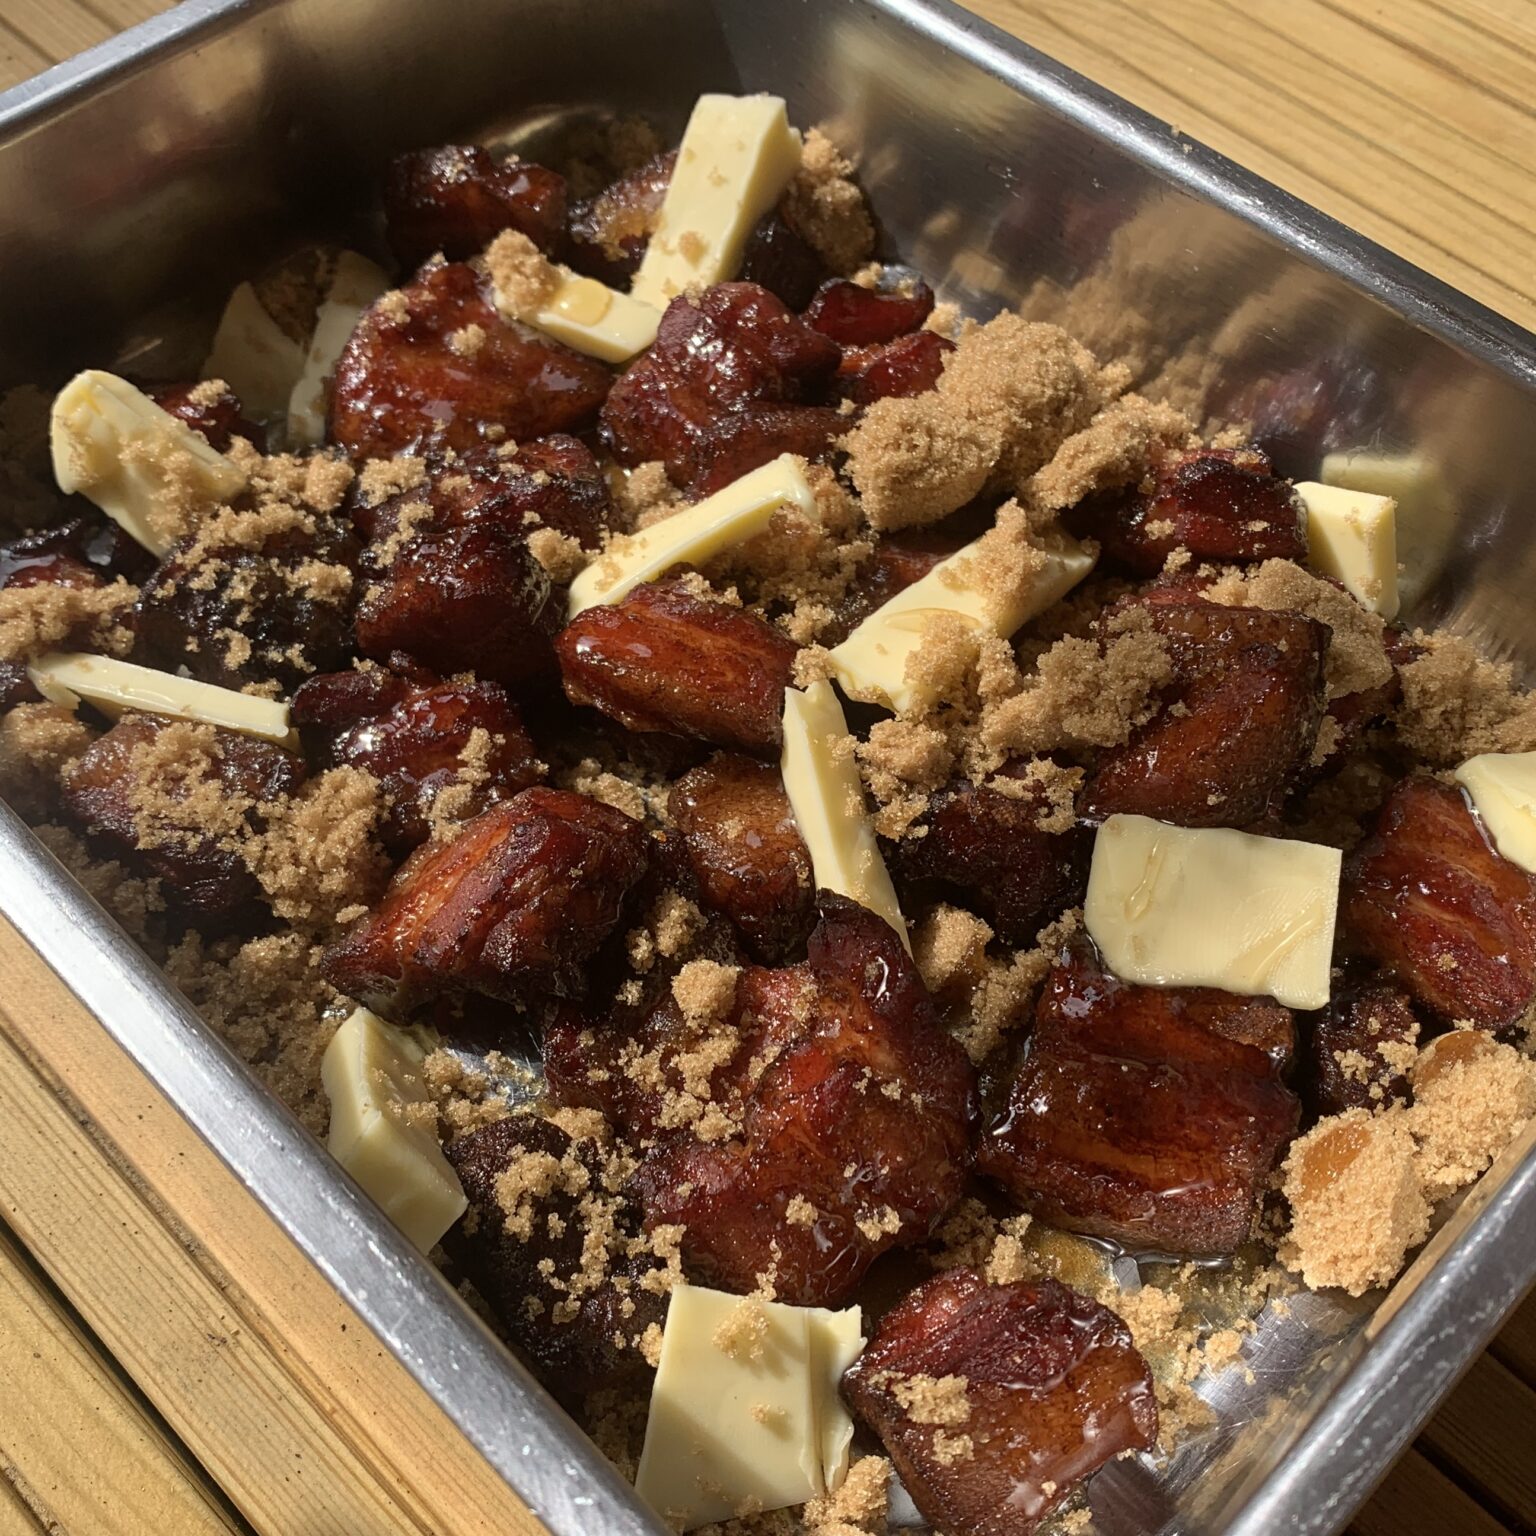
Back inside is where things get interesting.
I carefully move each ‘burnt end’ to a aluminium dish and then add the following:
- 1/2 cup brown sugar
- Decent squirt (or two) of honey
- Scattering of butter around the dish
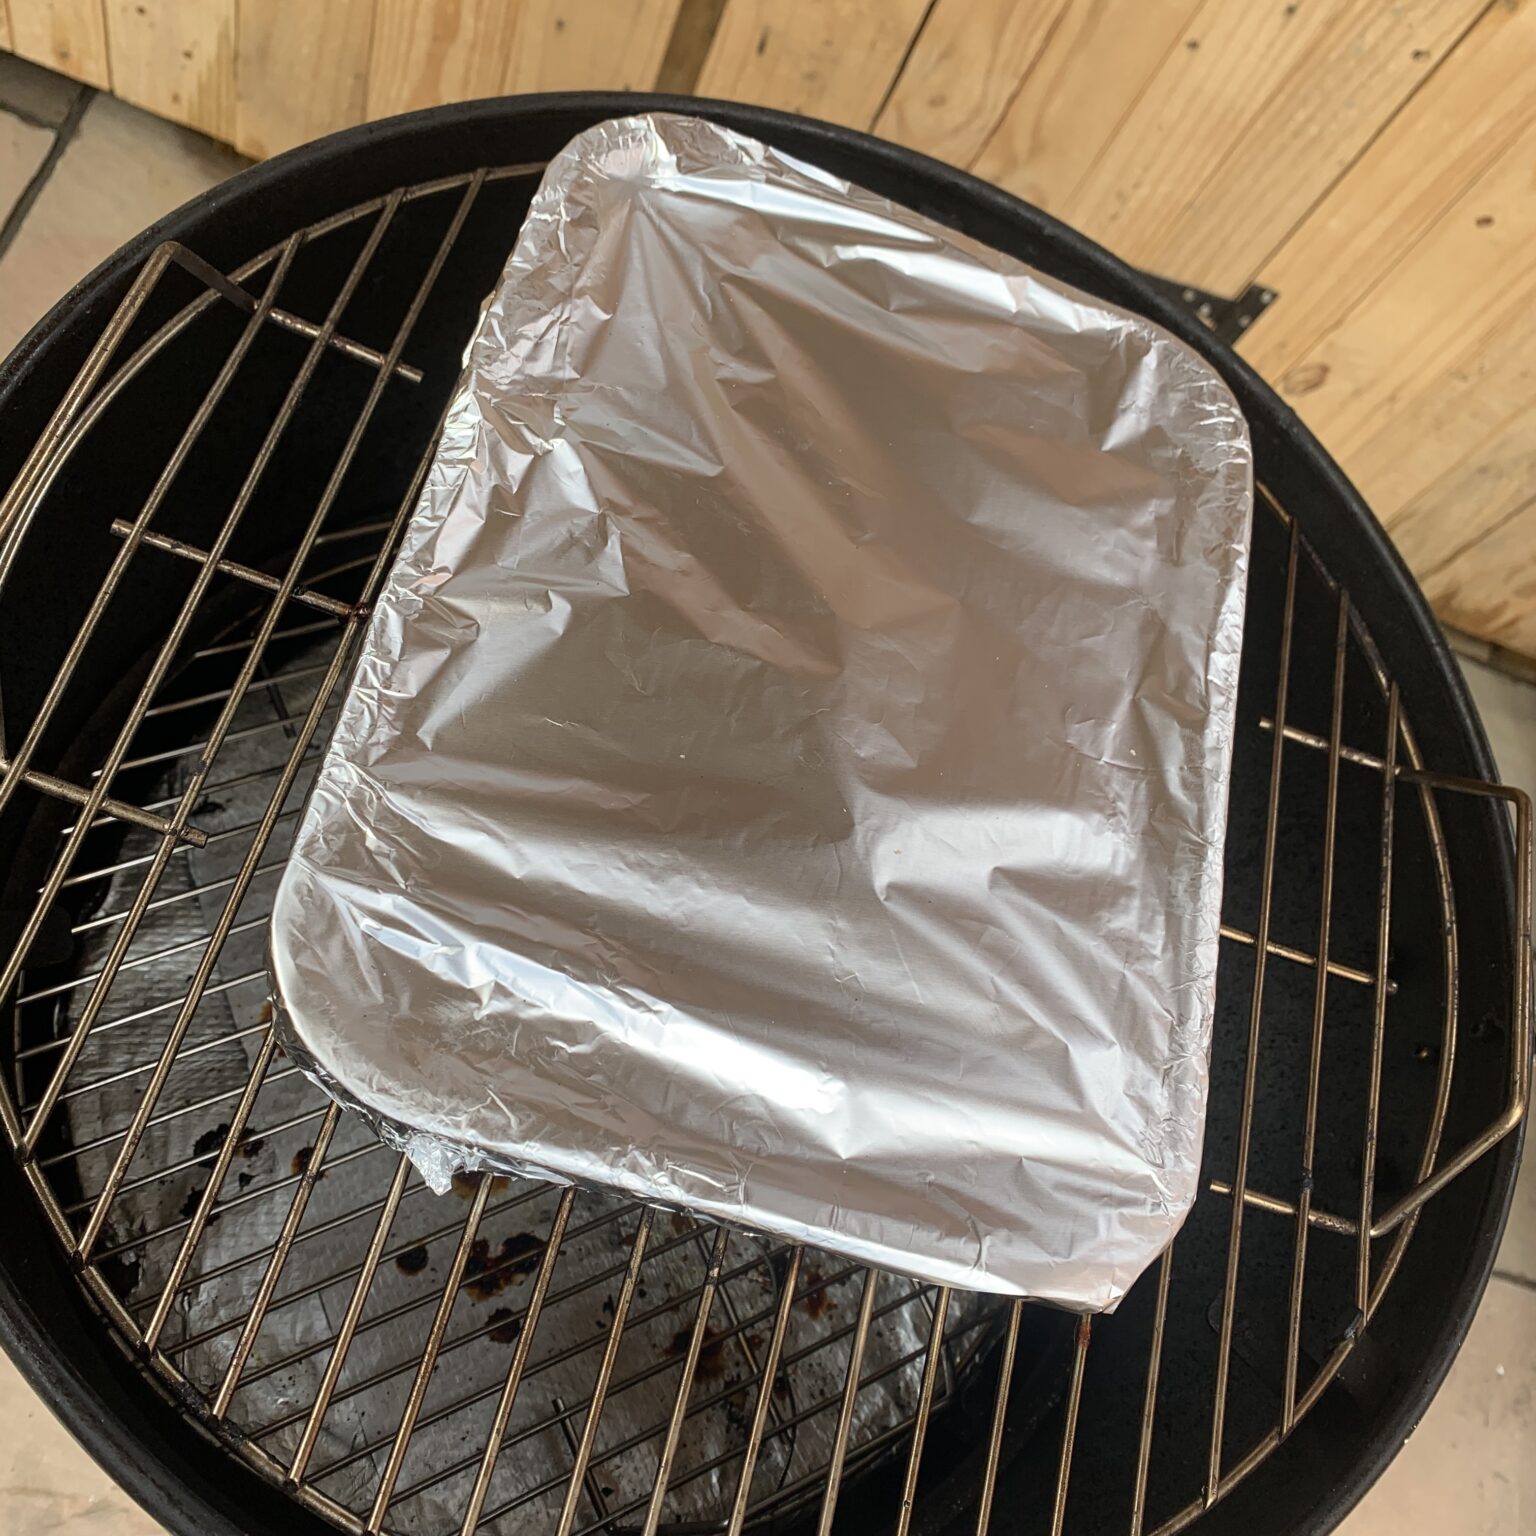
Now to foil and return back to the smoker for about another 1.5 hours.
During this time the fat is melting and the sugars are caramelising.
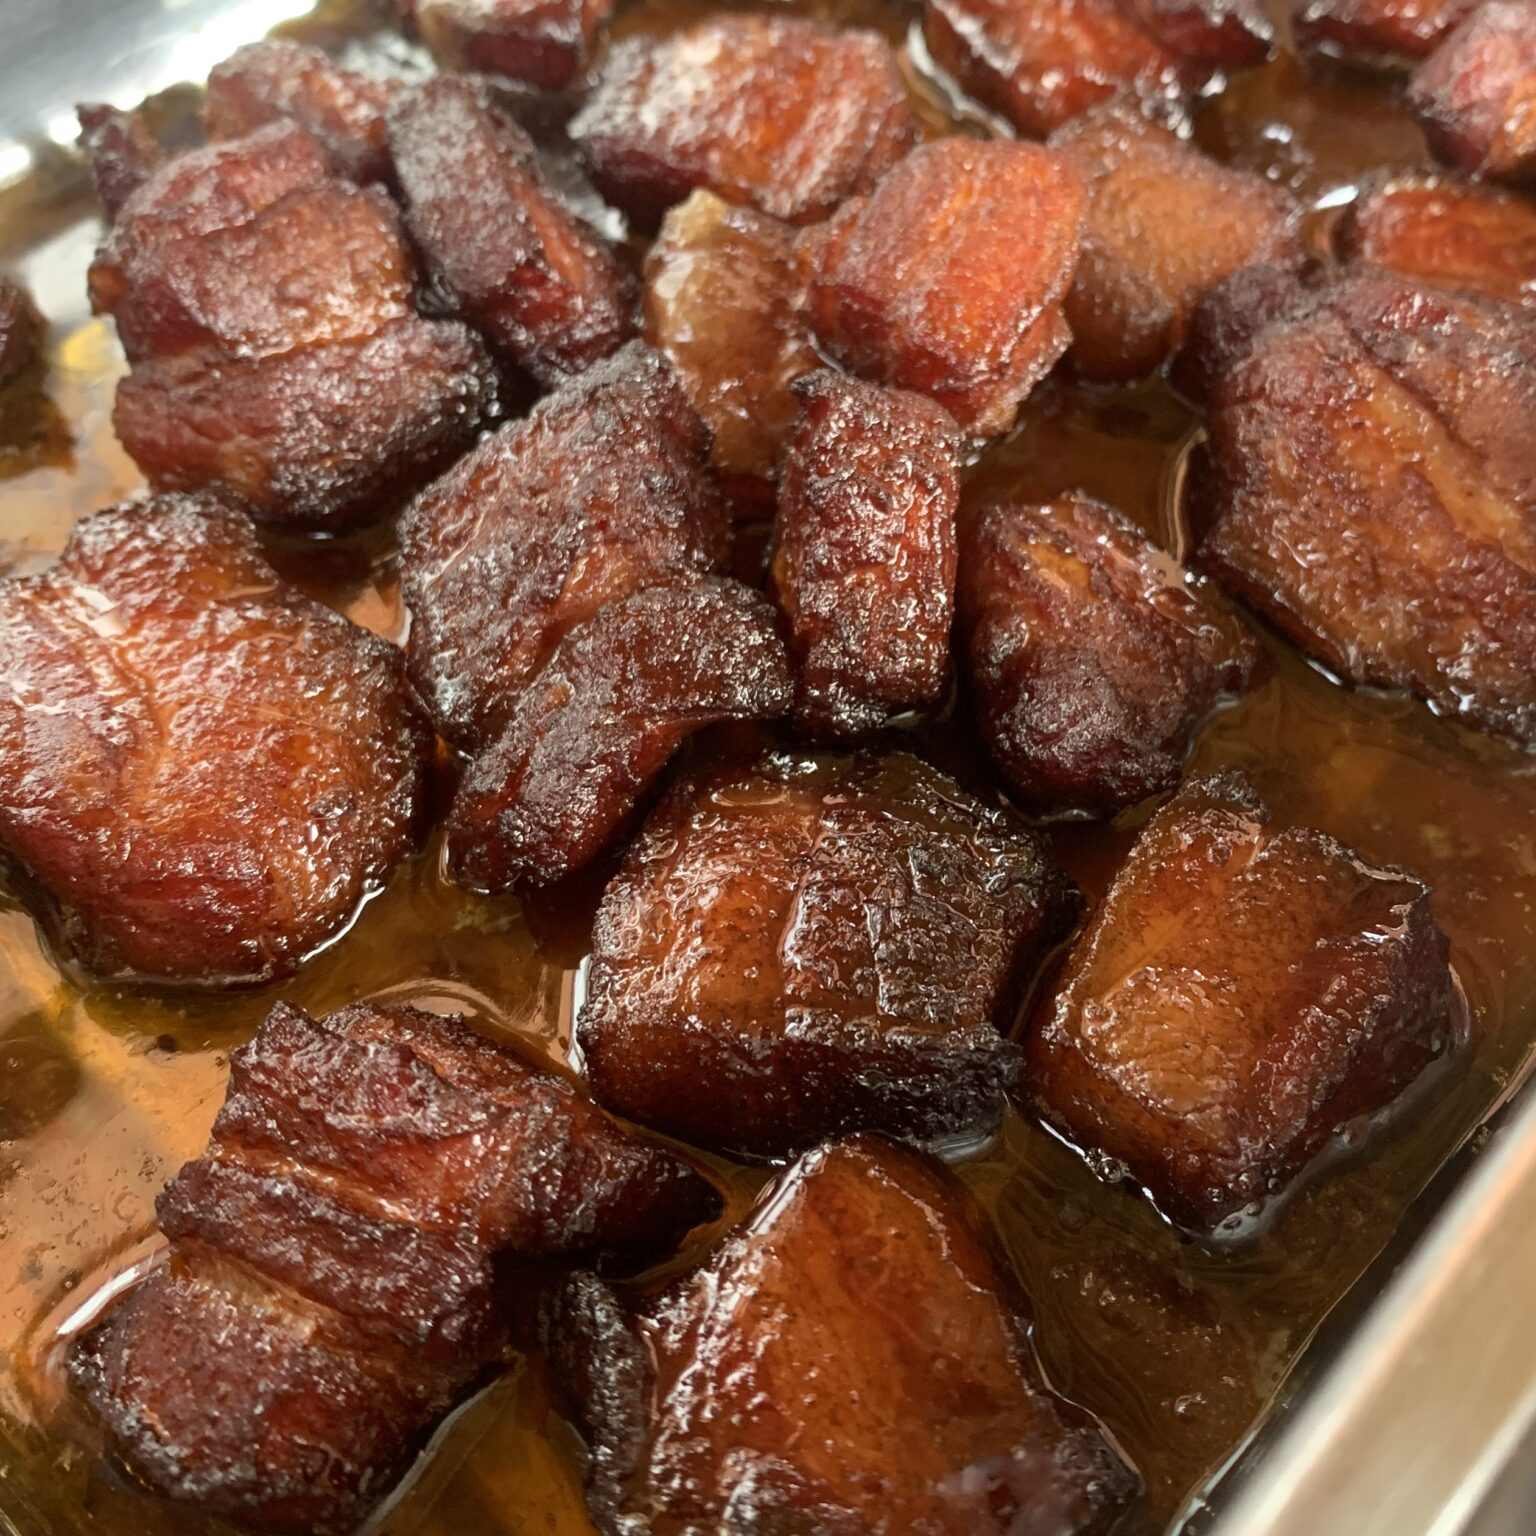
1.5 hours later and I’m just checking progress.
It hurts my teeth just looking in the dish . . . I do hope these taste as good as they look!
. . . they look good to go . . . and at an internal temperature of 200f I’m happy.
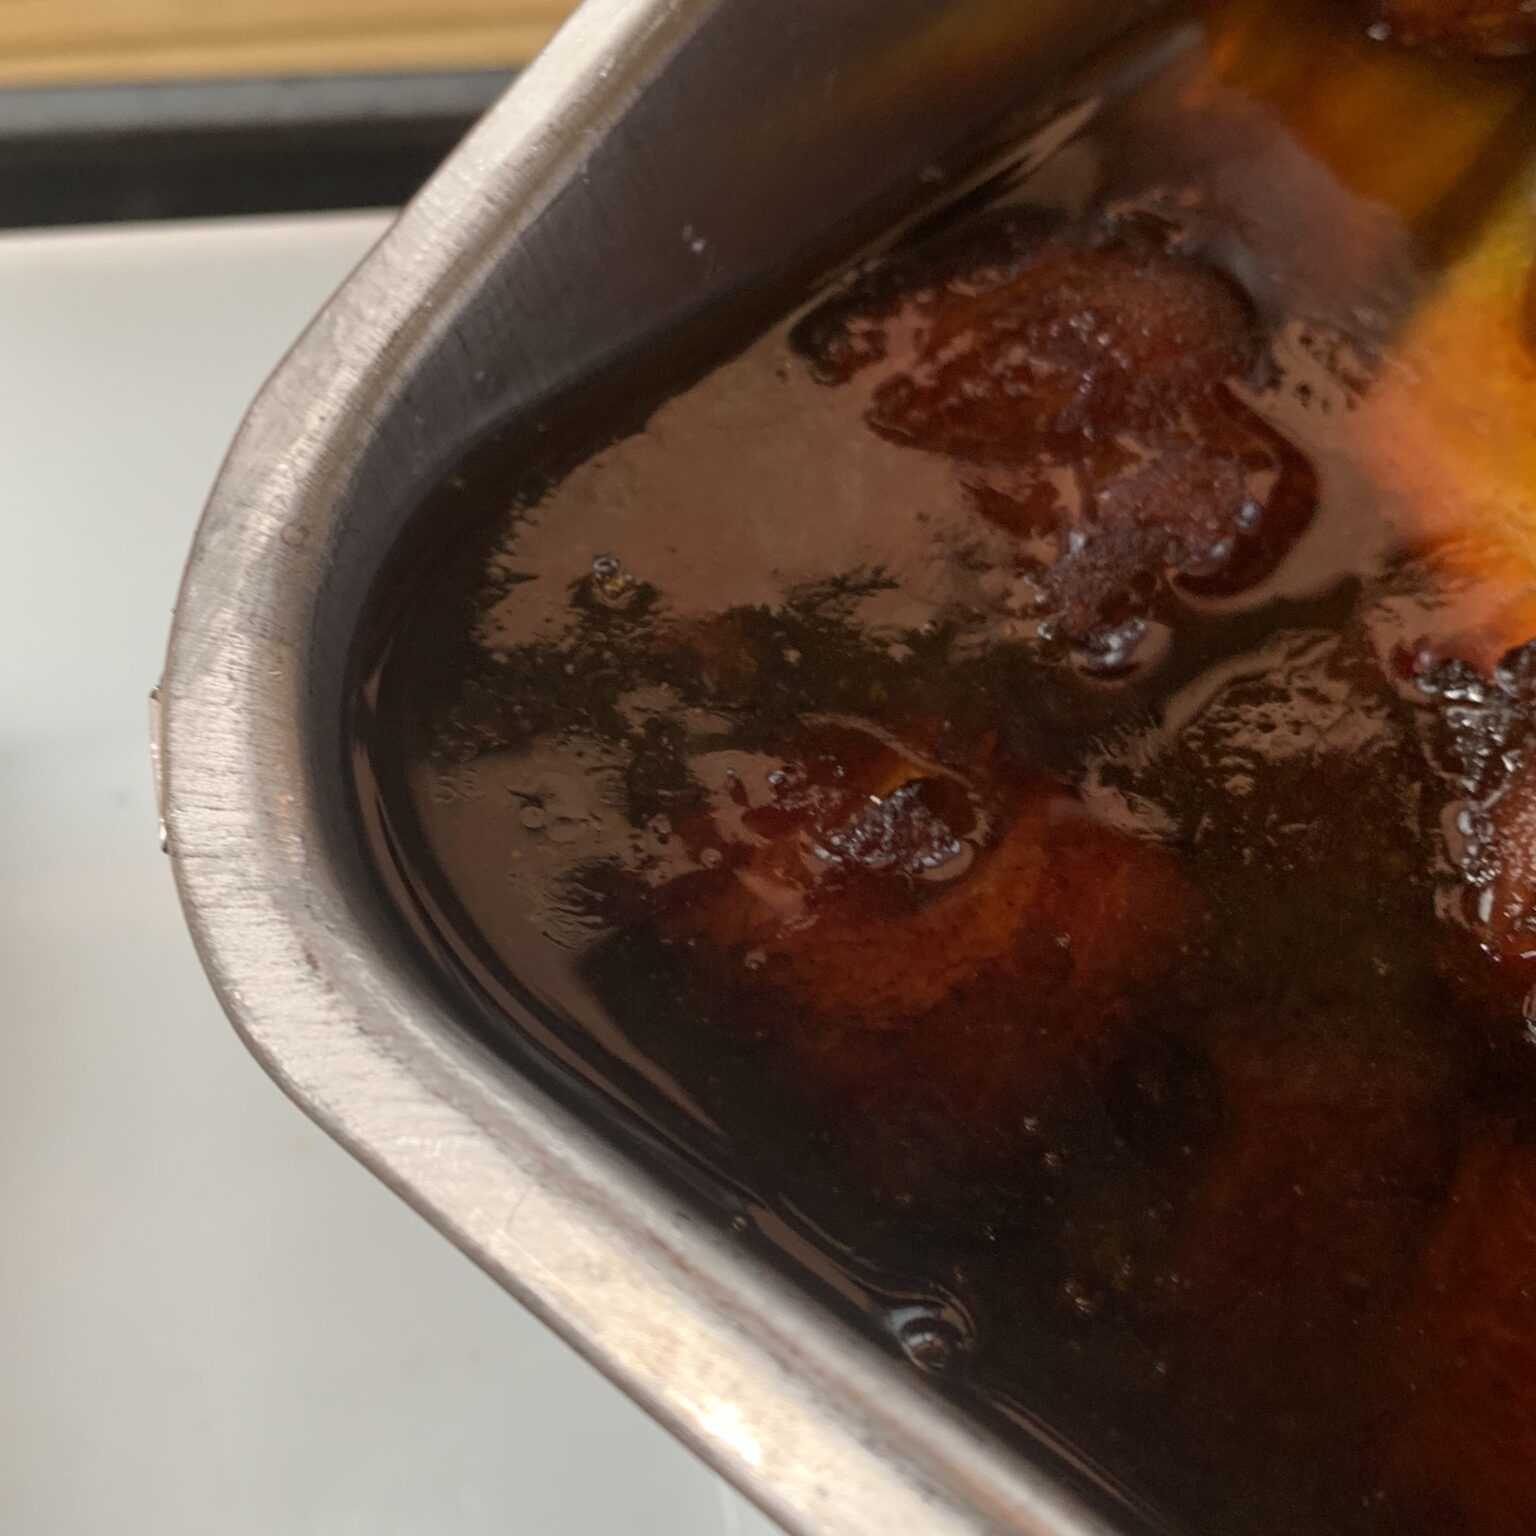
The next step still makes me shudder a little . . . draining all that liquid you can see!
Inside a little voice is screaming to me “Why! Why! You crazy fool!”, but, I need to part with this liquid so I can move to the final stage . . . the glaze.
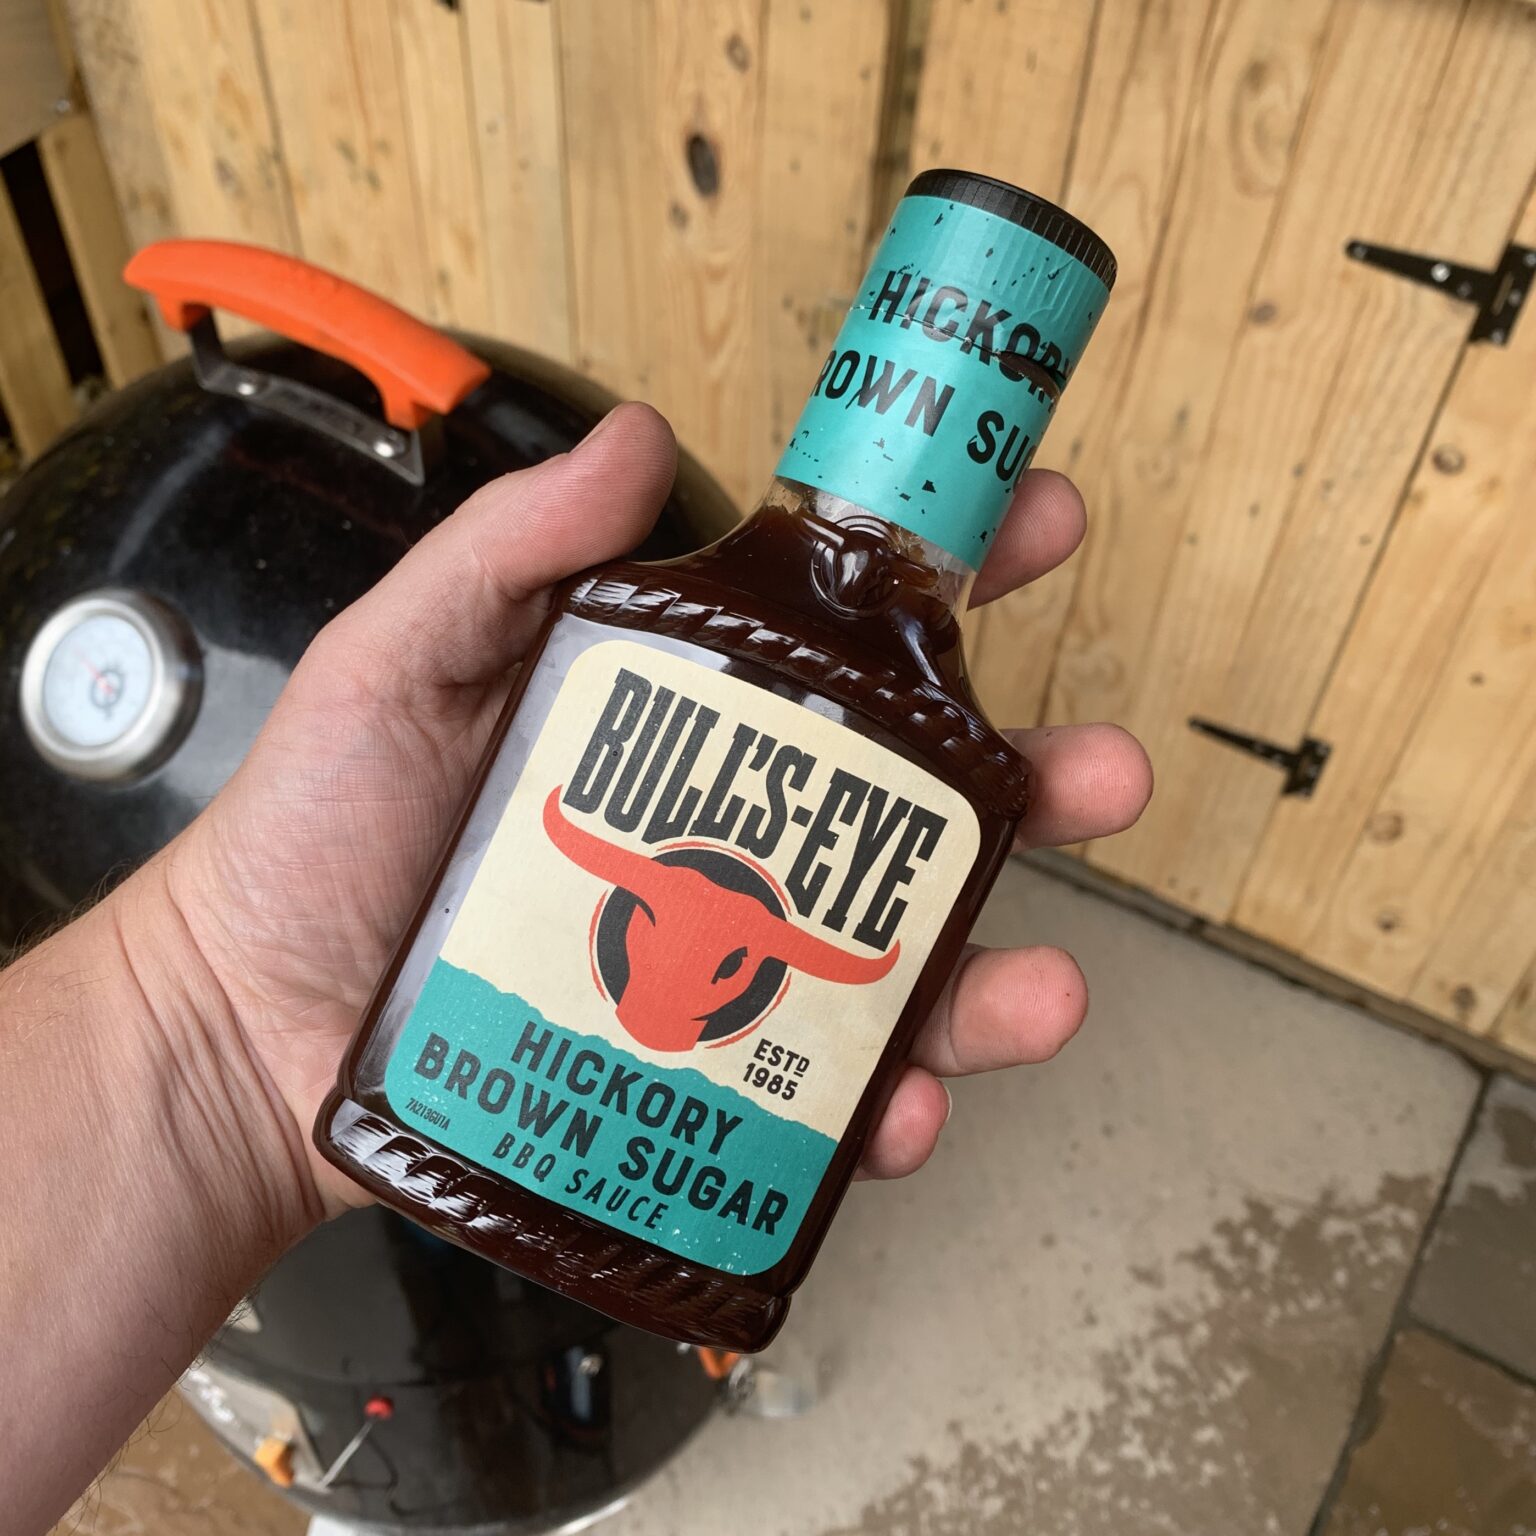
Going back to the cupboard raid one final time . . . my choice in sauces were fairly limited, but not to worry.
Bull’s-Eye Brown Sugar and Hickory BBQ sauce was found! I try to have this sauce always in supply, I struggle to find something better!
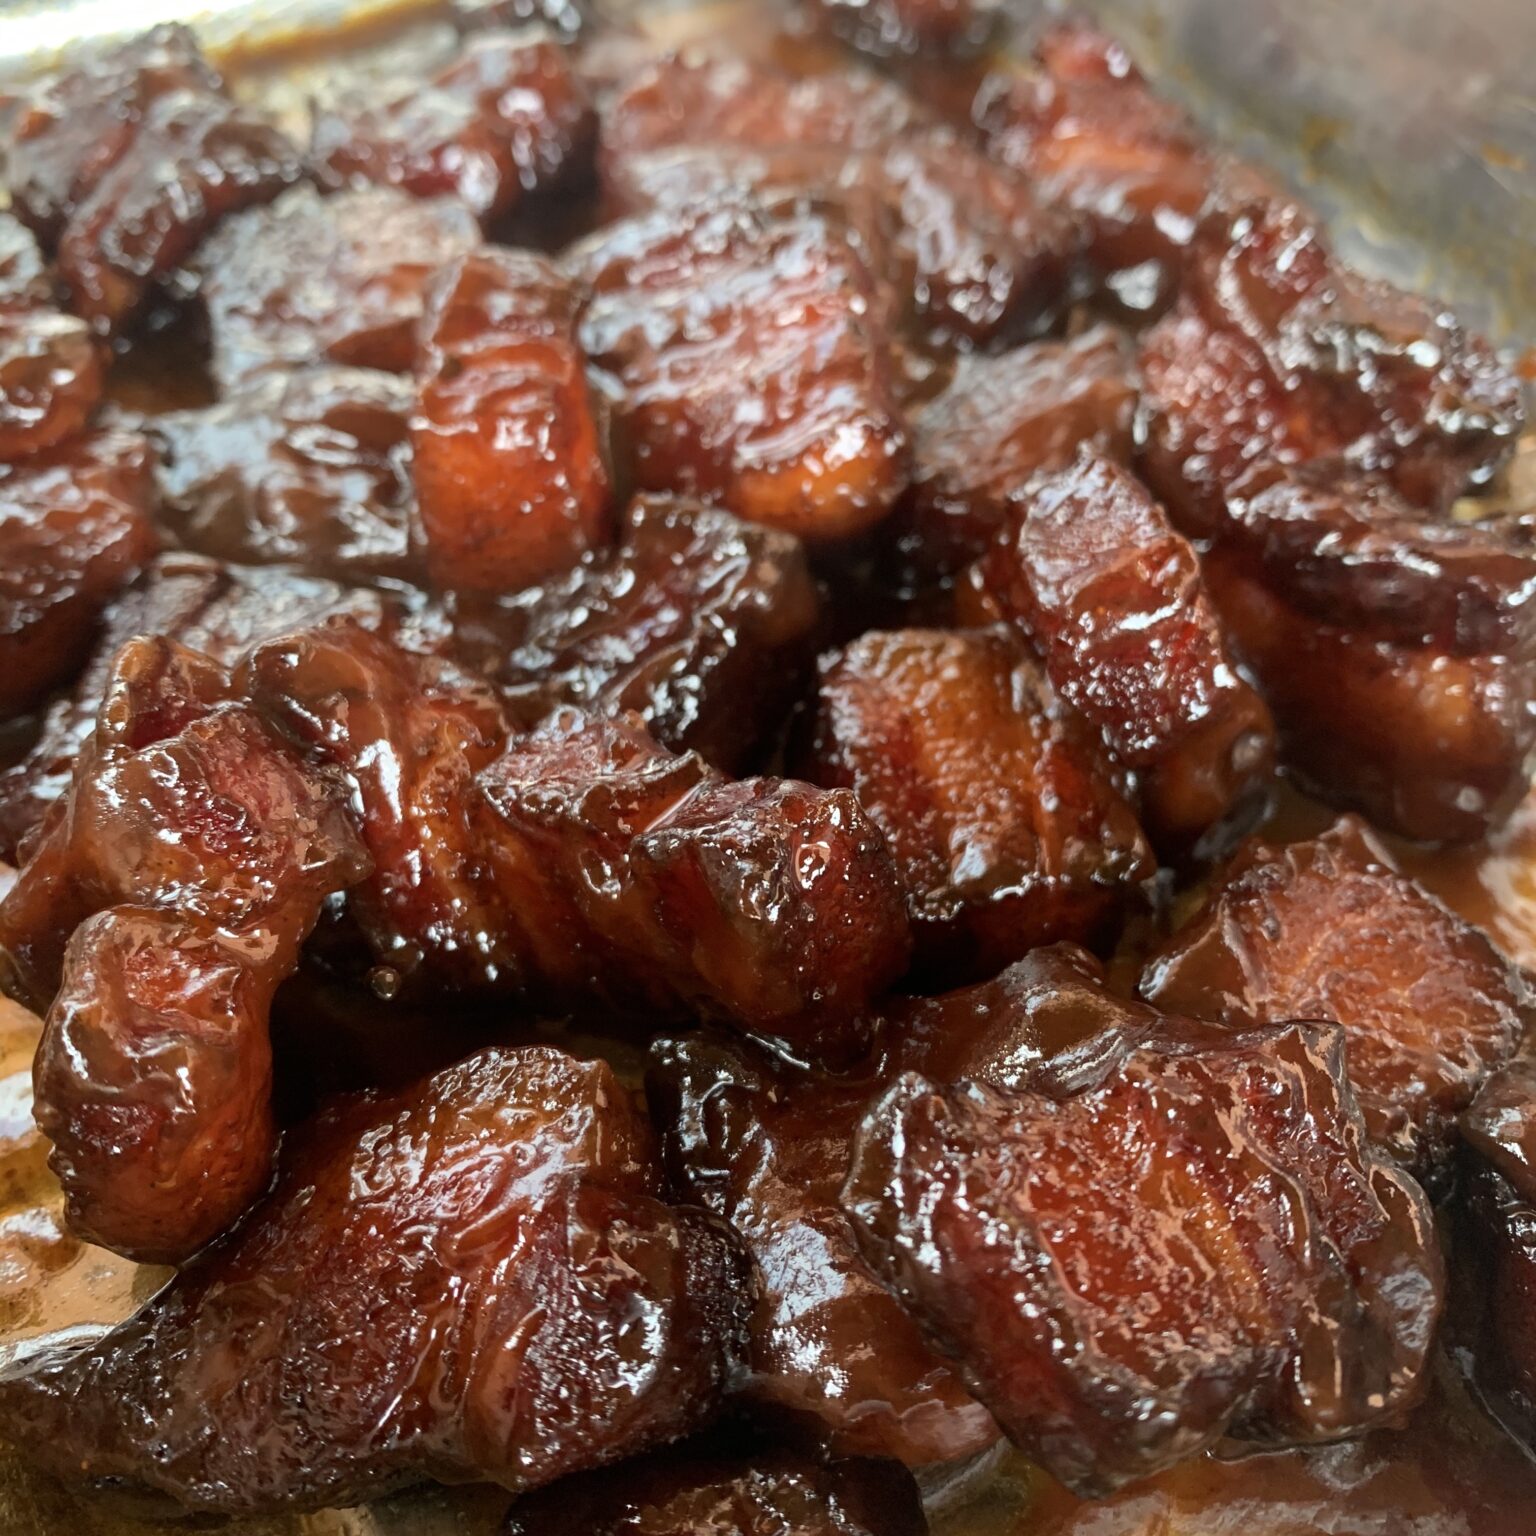
I drizzled the sauce over the burnt ends, mixed things around a little and returned back to the ProQ one final time . . . uncovered and just for 10 minutes.
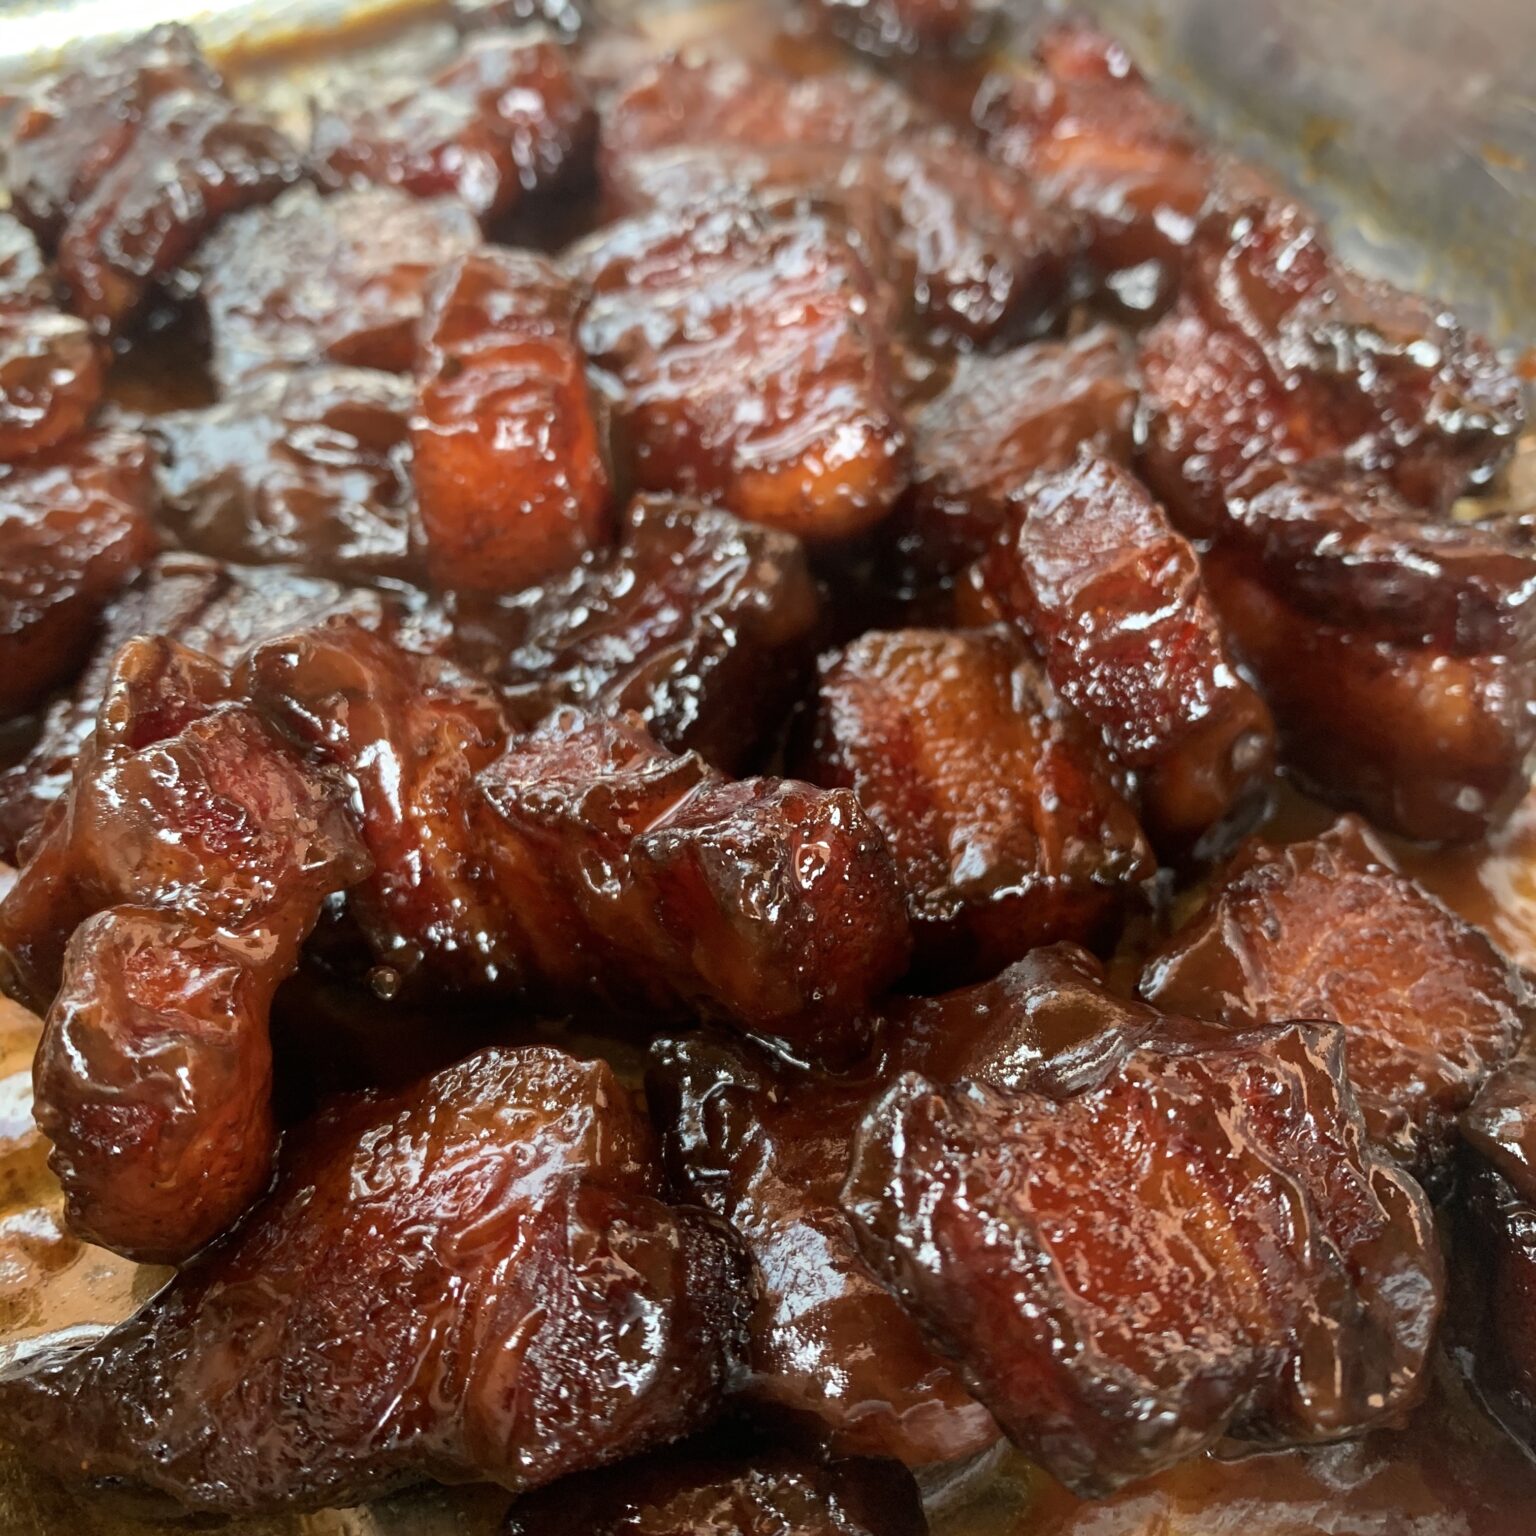
And that’s me done! Pretty happy with my first attempt . . .

Now time for a little bit of reflection . . . what would I change if I was doing these again?
Here goes:
- Buy a slab of belly pork and cut myself
- Use the snake method instead of the minion (definitely more stable)
- Make LOADS more! Oh they are good!


