Today, I’m rustling up something that’s sure to make your taste buds do a little happy dance. We’re talking a hefty reverse-seared Tomahawk steak, some beautifully grilled asparagus, and a knock-your-socks-off homemade chimichurri sauce with a smoky twist.
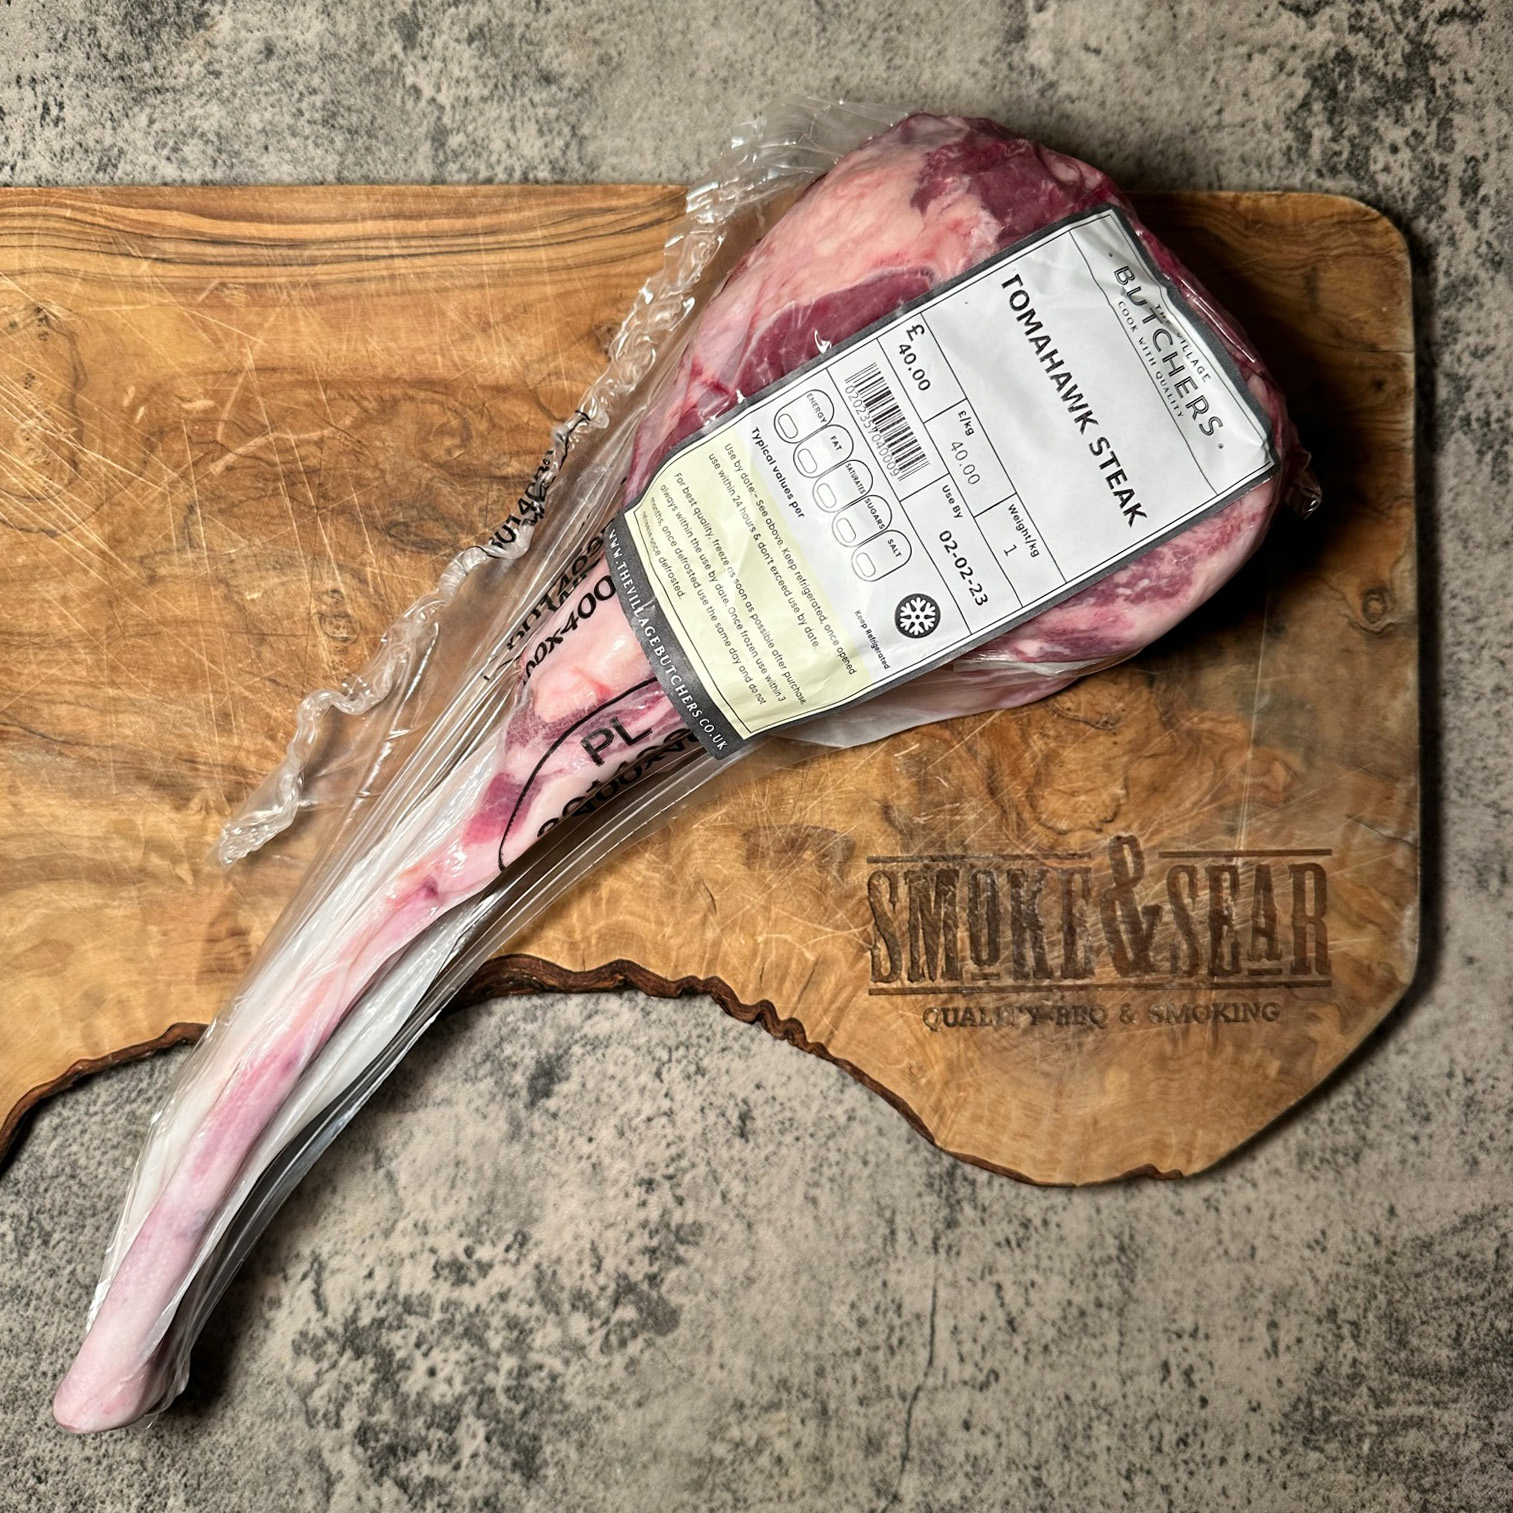
And this isn’t just any steak – we’re tackling a Tomahawk. For those of you who haven’t had the pleasure, it’s a ribeye that’s been left on the bone, making it look a bit like a, well, tomahawk axe. It’s a showstopper of a cut that’s perfect for a special occasion, or just for when you fancy treating yourself because, let’s face it, we all deserve a treat now and then!
I’ll be cooking on my trusty Everdure Hub II, but don’t worry if you’ve got a different setup. As long as you’ve got a rotisserie, you’re good to go. So, grab your apron, fire up that grill, and let’s get cracking!
Prep Time: 30 minutes
Feeds: 2 people
Ingredients:
For the Reverse-Seared Tomahawk Steak:
1 Tomahawk steak (1 – 1.5kg)
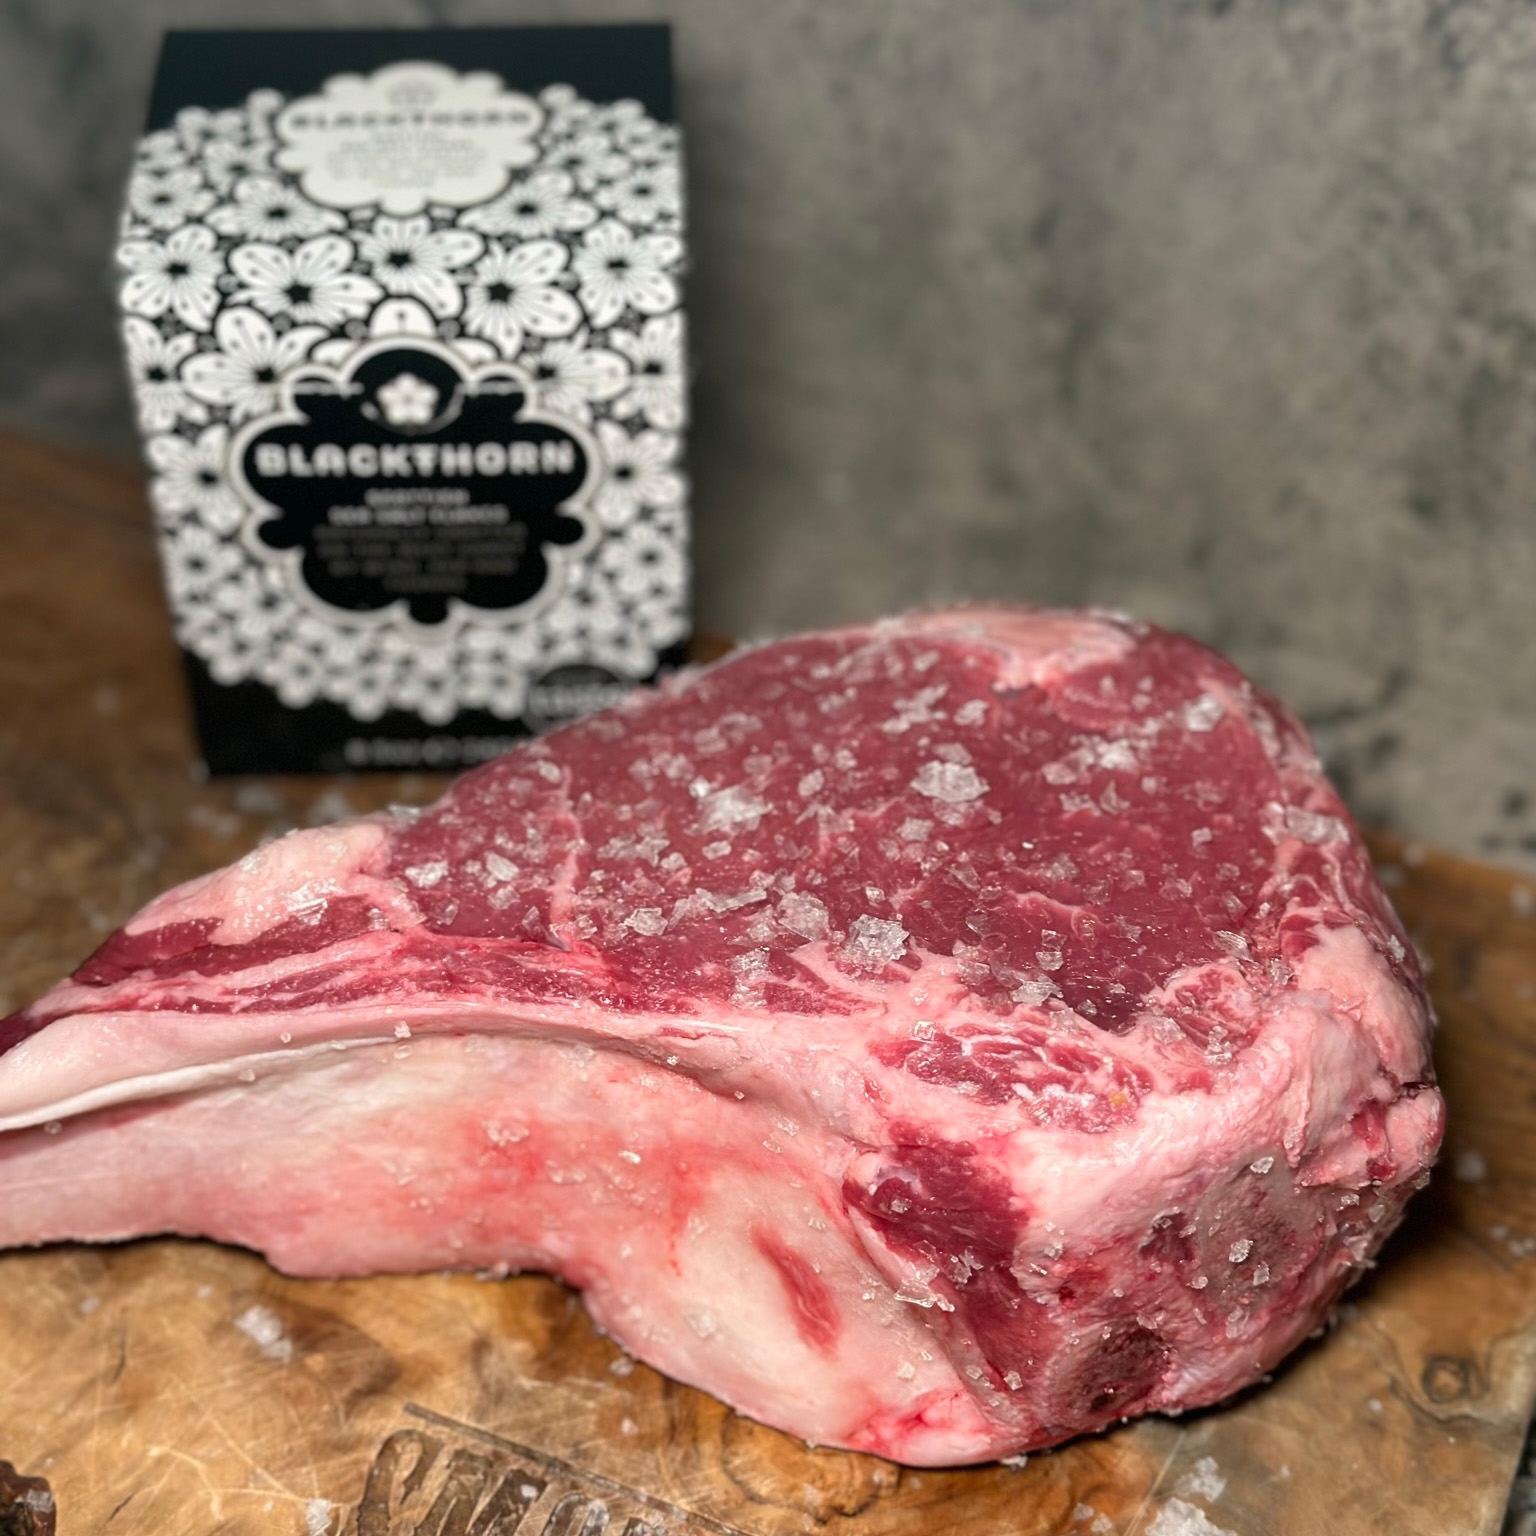
Salt for dry brining
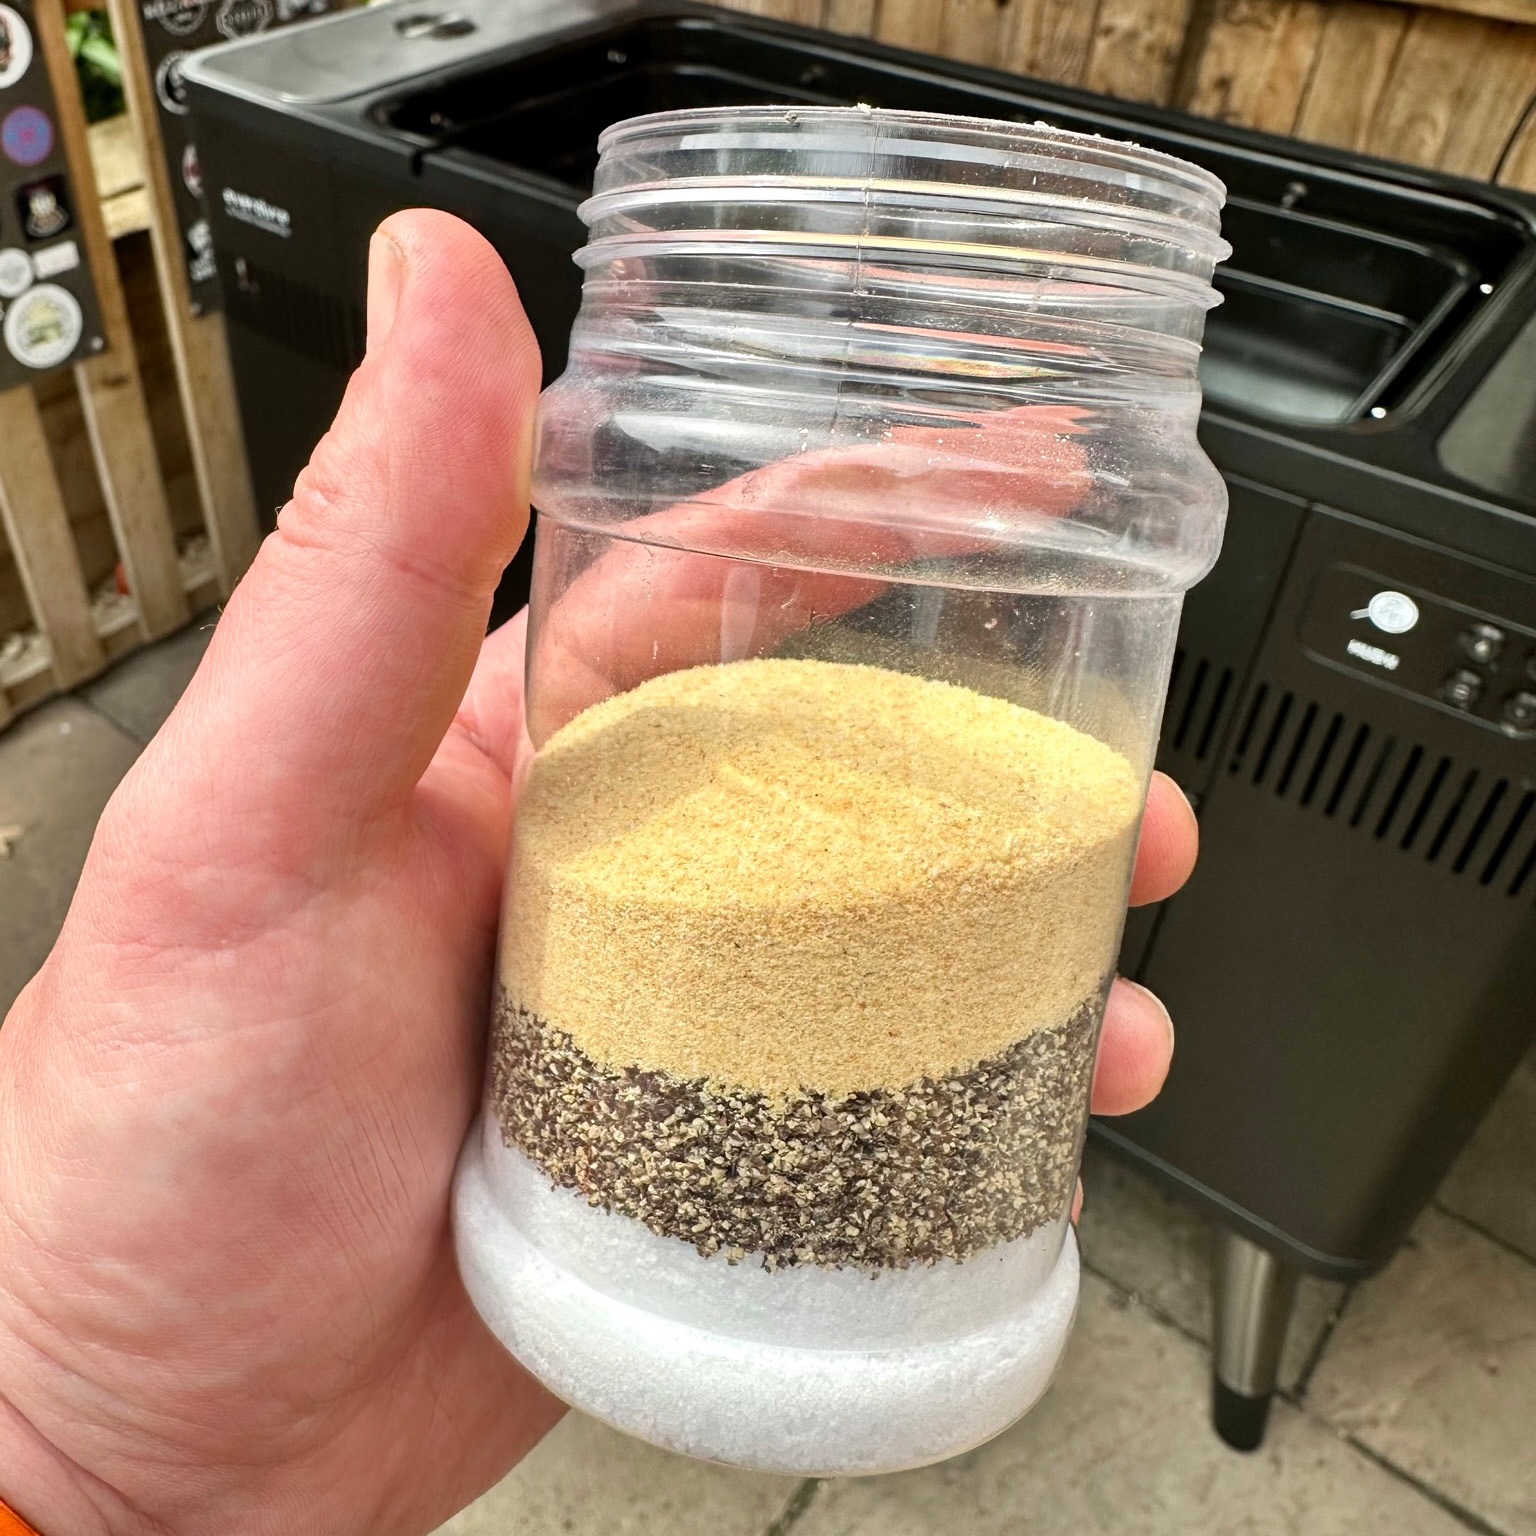
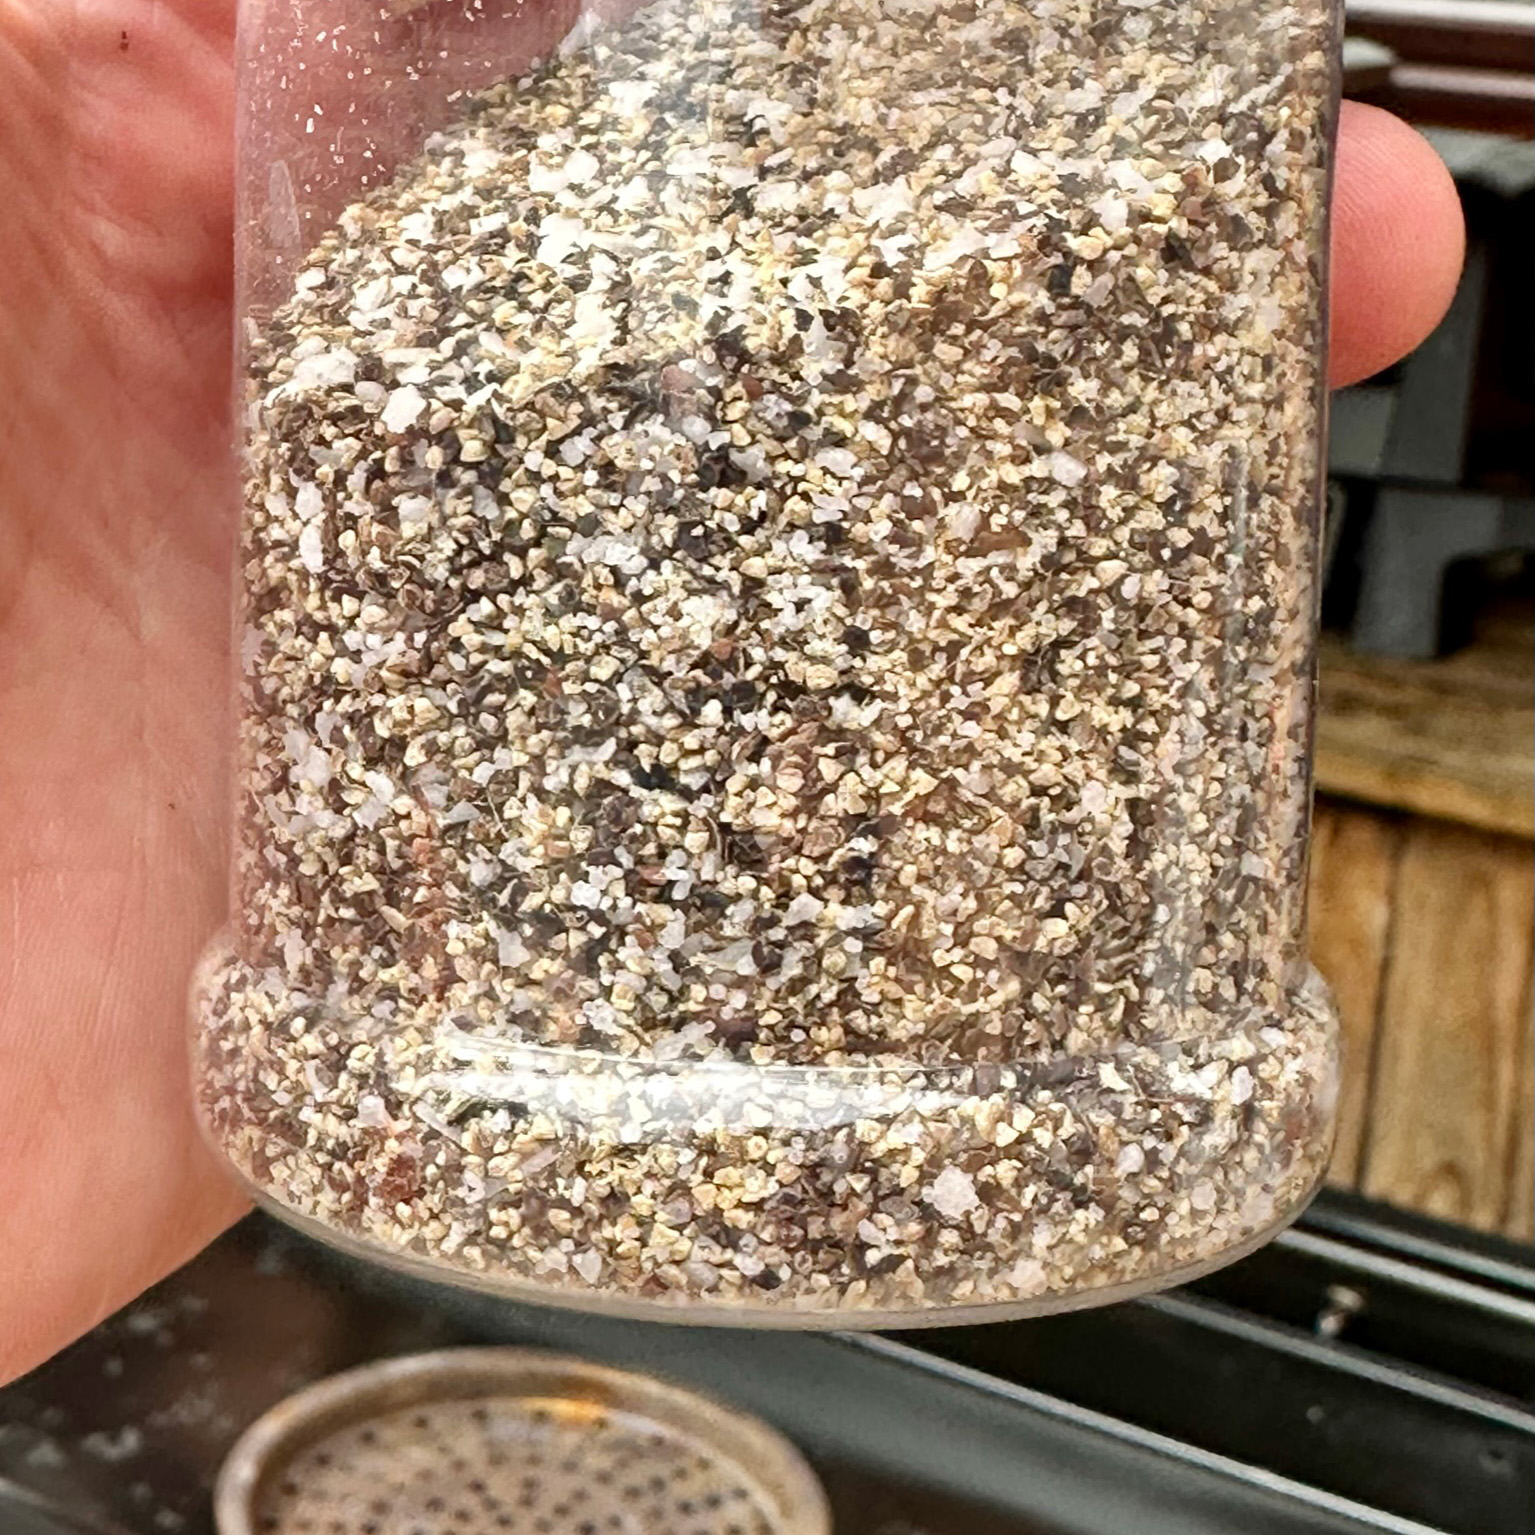
Homemade SPG Rub (equal parts Salt / Pepper / Garlic)
For the Grilled Asparagus:
1 bunch of asparagus
Olive oil for brushing
Salt to taste
Pepper to taste
For the Roasted Red Pepper, Tomato, and Roasted Garlic Chimichurri:
1 red pepper
1 orange pepper
3 medium tomatoes
1 whole garlic bulb
1/2 cup fresh flat-leaf parsley, trimmed of thick stems
1/4 cup fresh oregano leaves
1/2 cup olive oil
3 tablespoons red wine vinegar
1 teaspoon salt
1/4 teaspoon red pepper flakes
Dry Brining the Tomahawk Steak
First, pat your tomahawk steak dry and place it on a wire rack over a baking tray. Next, generously sprinkle high-quality salt all over the steak and leave it uncovered in the fridge overnight.
This process, known as dry brining, enhances the steak’s flavour and tenderness. The salt draws out and then reabsorbs the meat’s juices, breaking down muscle proteins. Also, allowing the steak to air-dry will help achieve a deliciously caramelised crust when searing. So, salt it, fridge it, and let the brining magic happen!
Preparing the Everdure Hub II
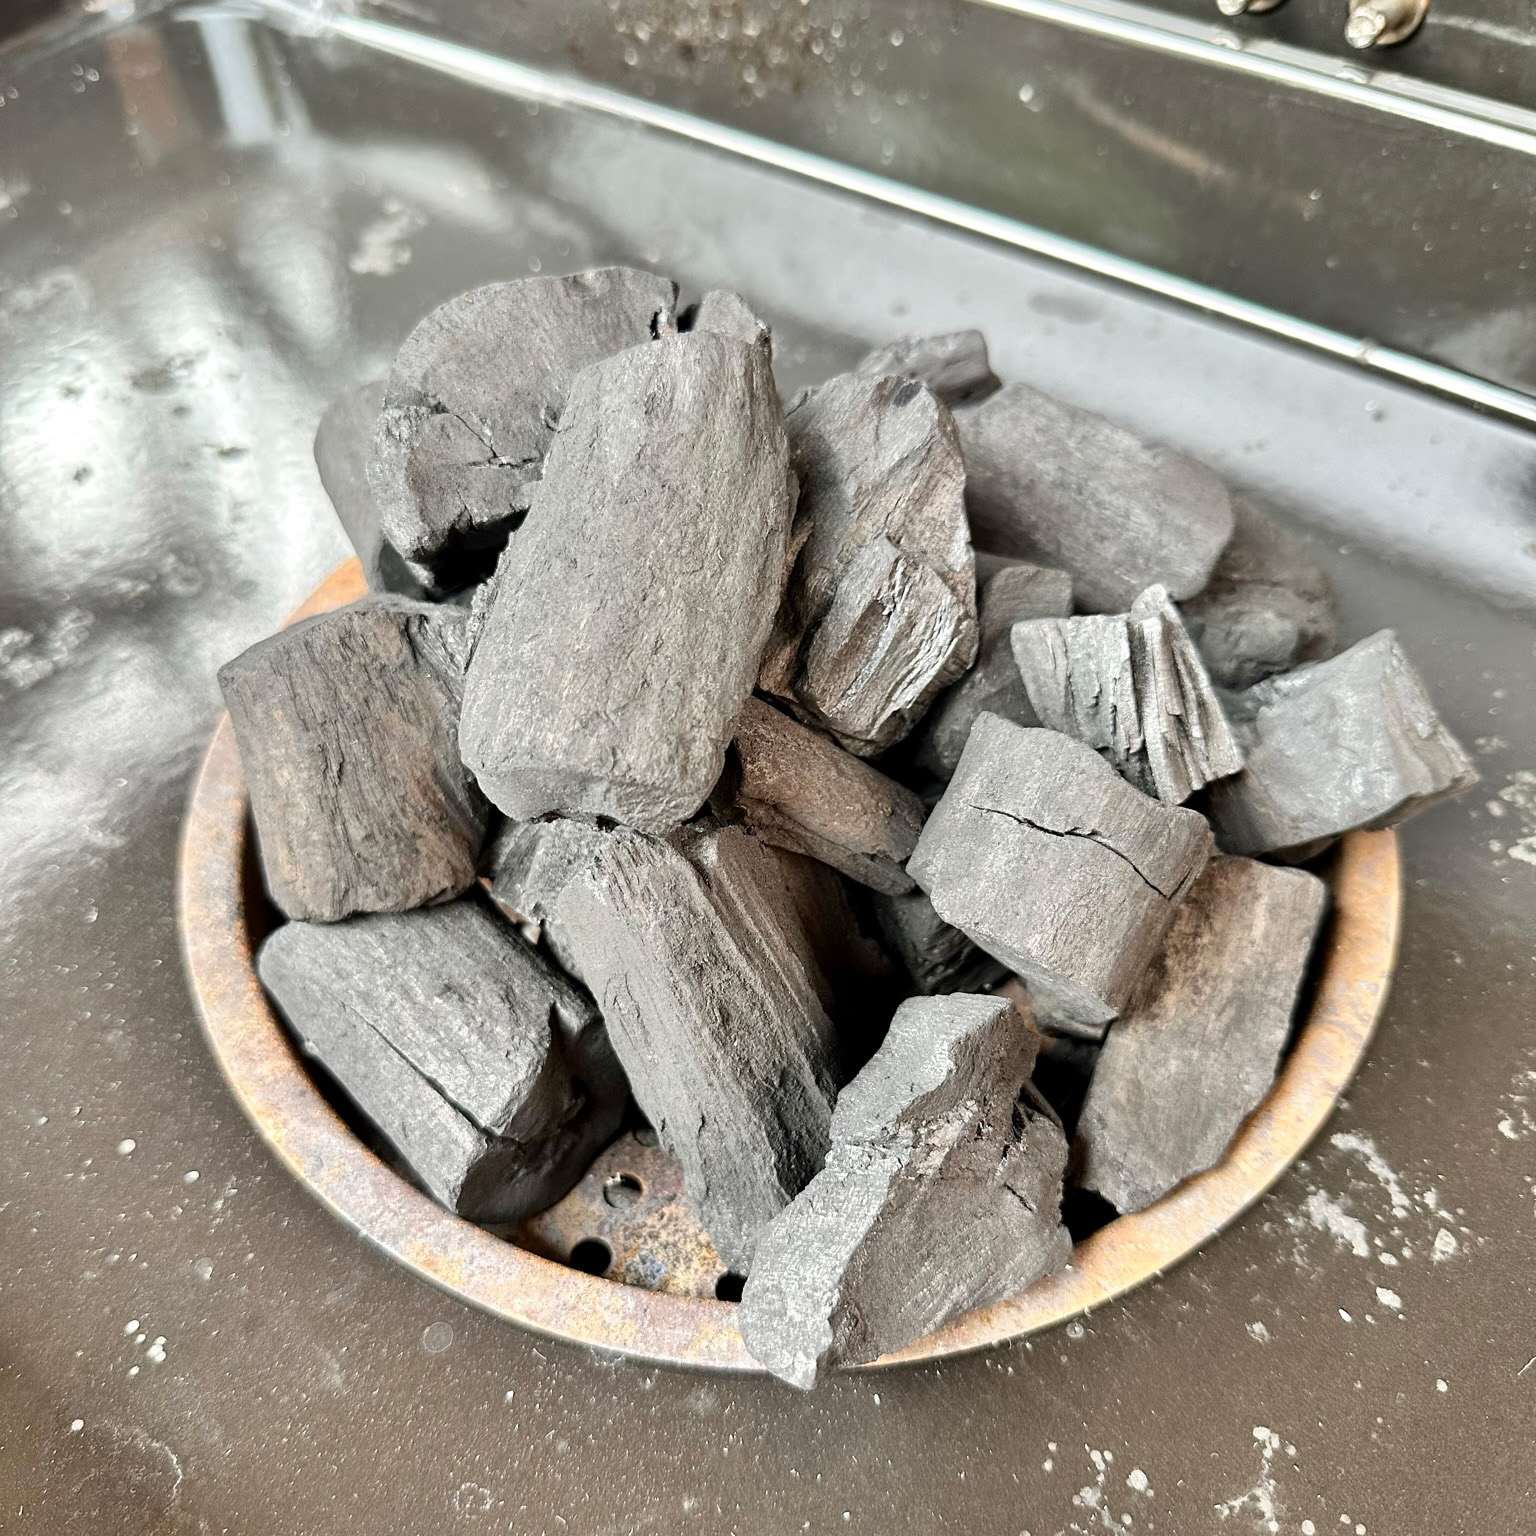
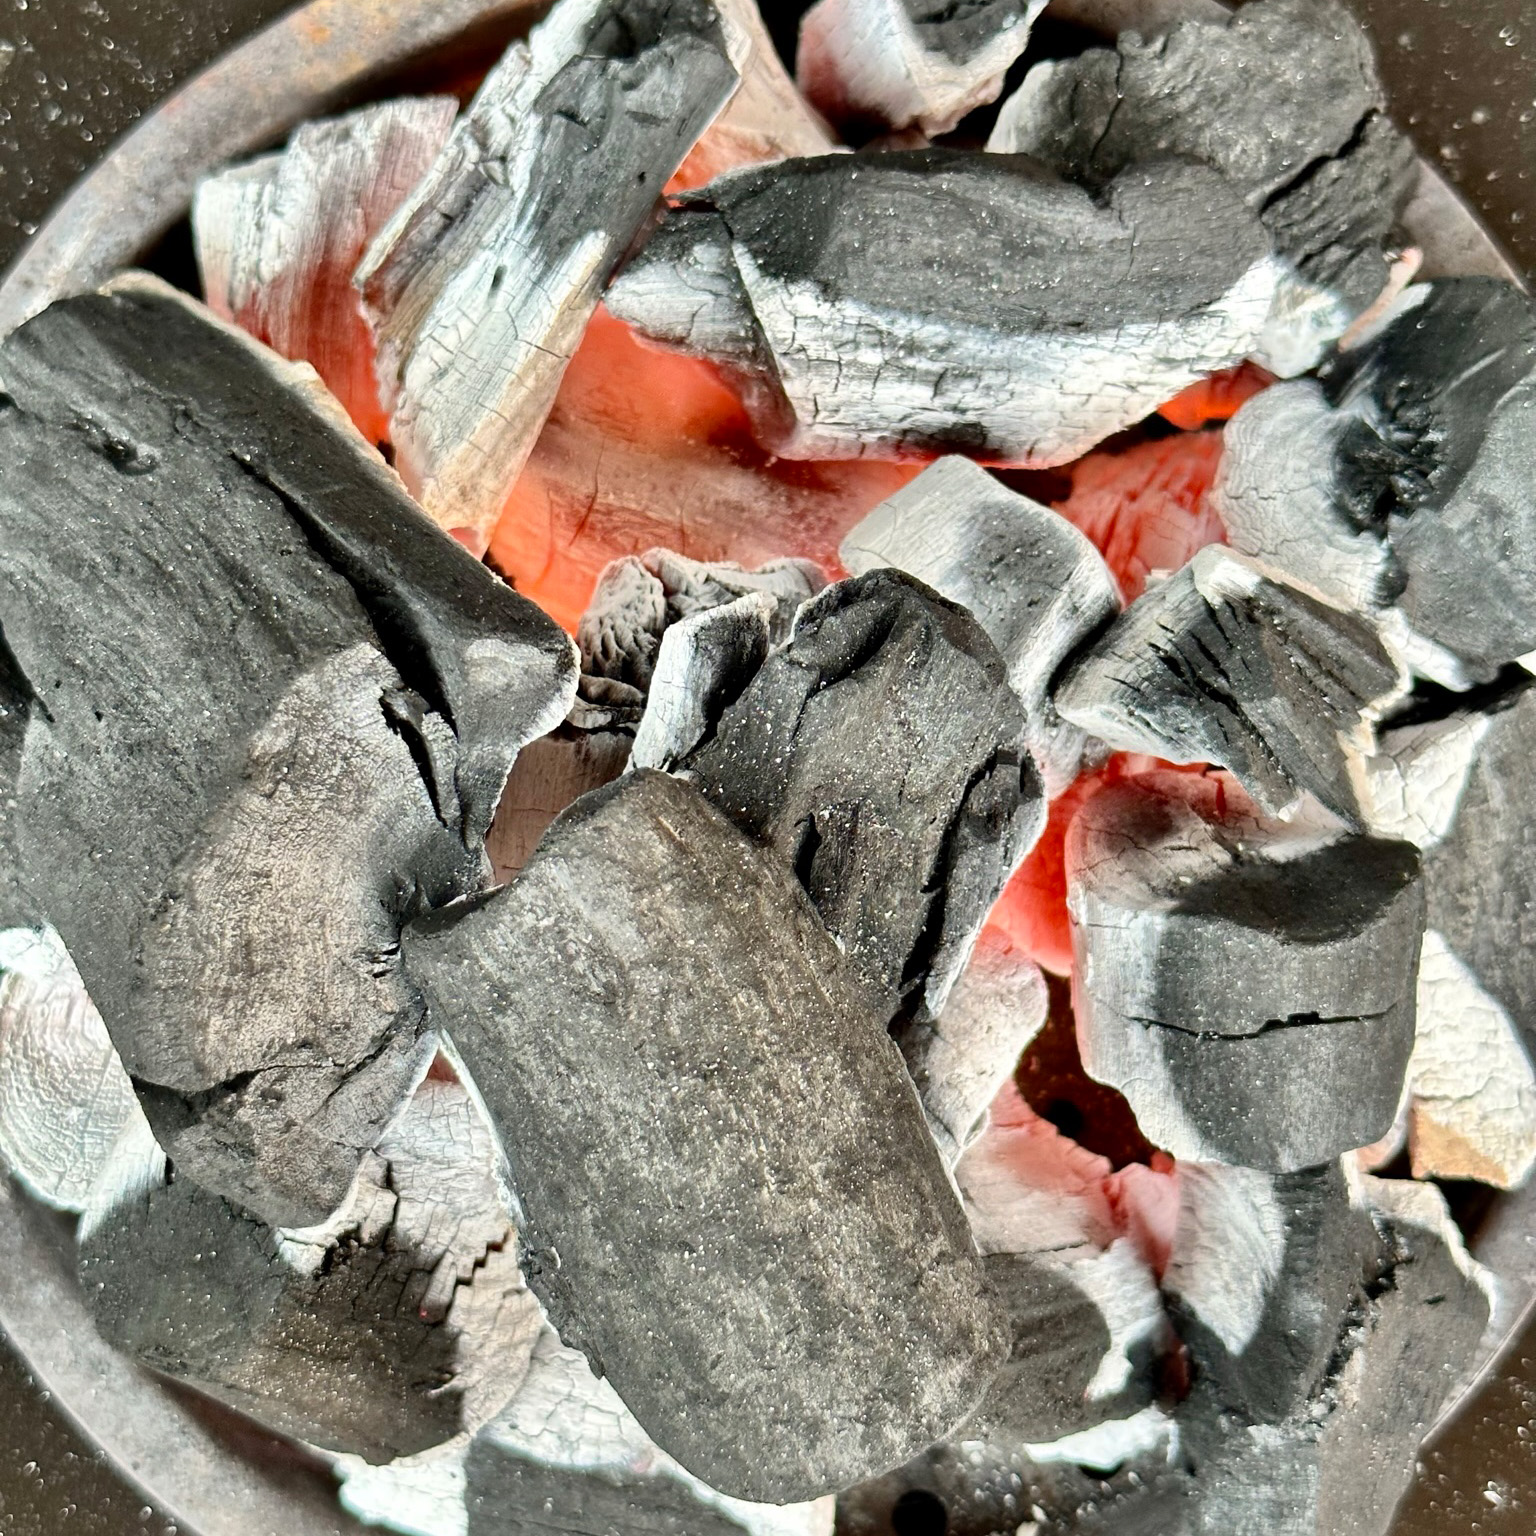
When you’re ready to fire things up, place your charcoal on the stainless steel insert and hit the ignition button. In about 10 minutes, your coals should be glowing hot and starting to get that classic ash cover. Once they’re fully dressed in white, it’s time to get strategic: push the coals to one side, directly under where you’ll be cooking your tomahawk.
Now, this isn’t a set-it-and-forget-it kind of deal. Keep your eye on the fuel level, topping up around the edges and moving the fresh coals inward as the ones underneath burn down. This method keeps a steady heat under your steak and ensures you’ve got a good ember base for the duration of the cook. So remember, keep the coals under the steak and keep topping up the perimeter.
Attaching the Steak to the Rotisserie
Before you even think about firing up the rotisserie, take your tomahawk steak out of the fridge at least 30 minutes before cooking. This lets the steak come to room temperature, ensuring a more even cook.
While it’s warming up, take this opportunity to coat the steak in that delicious SPG rub you’ve prepared. Rub it all over, making sure you get into all the nooks and crannies
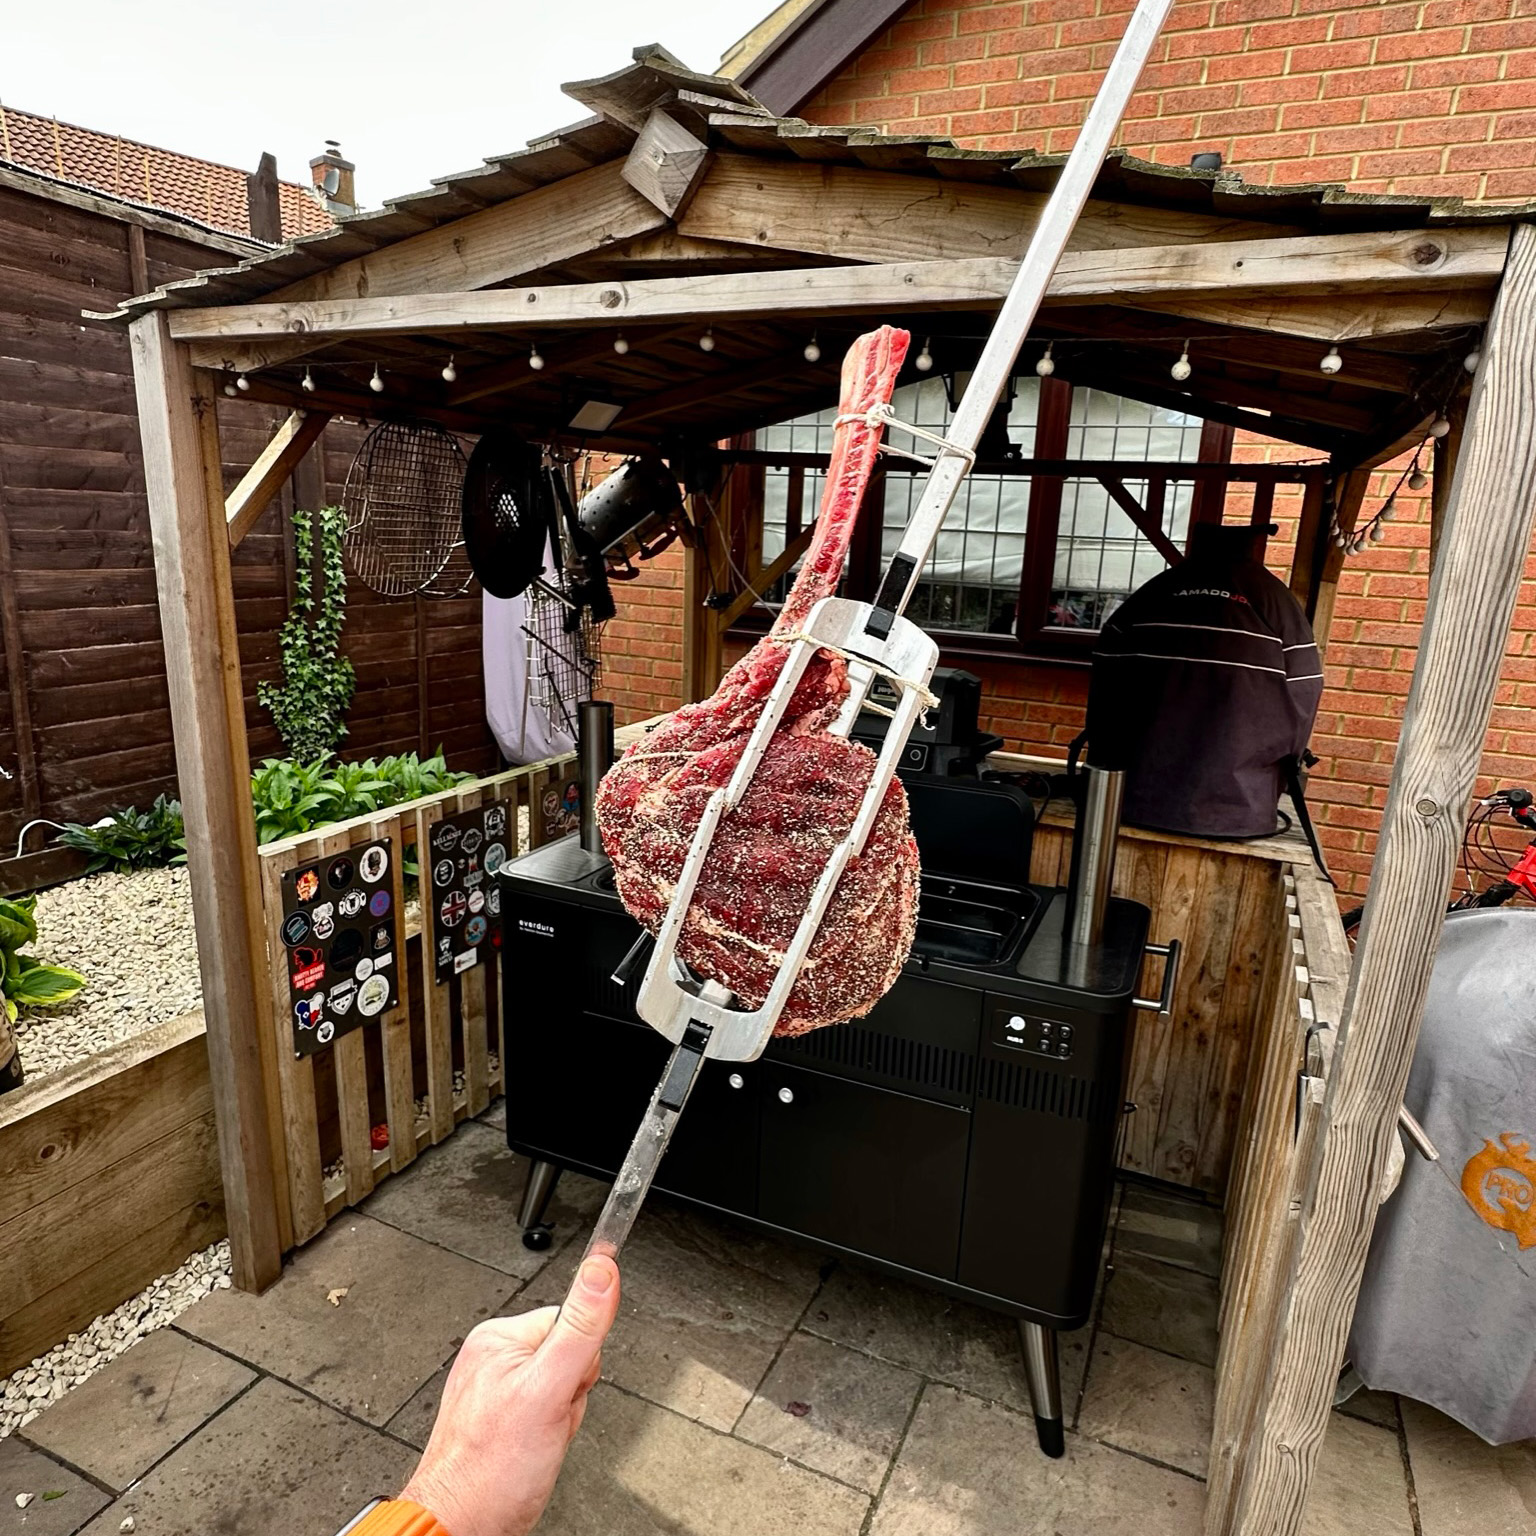
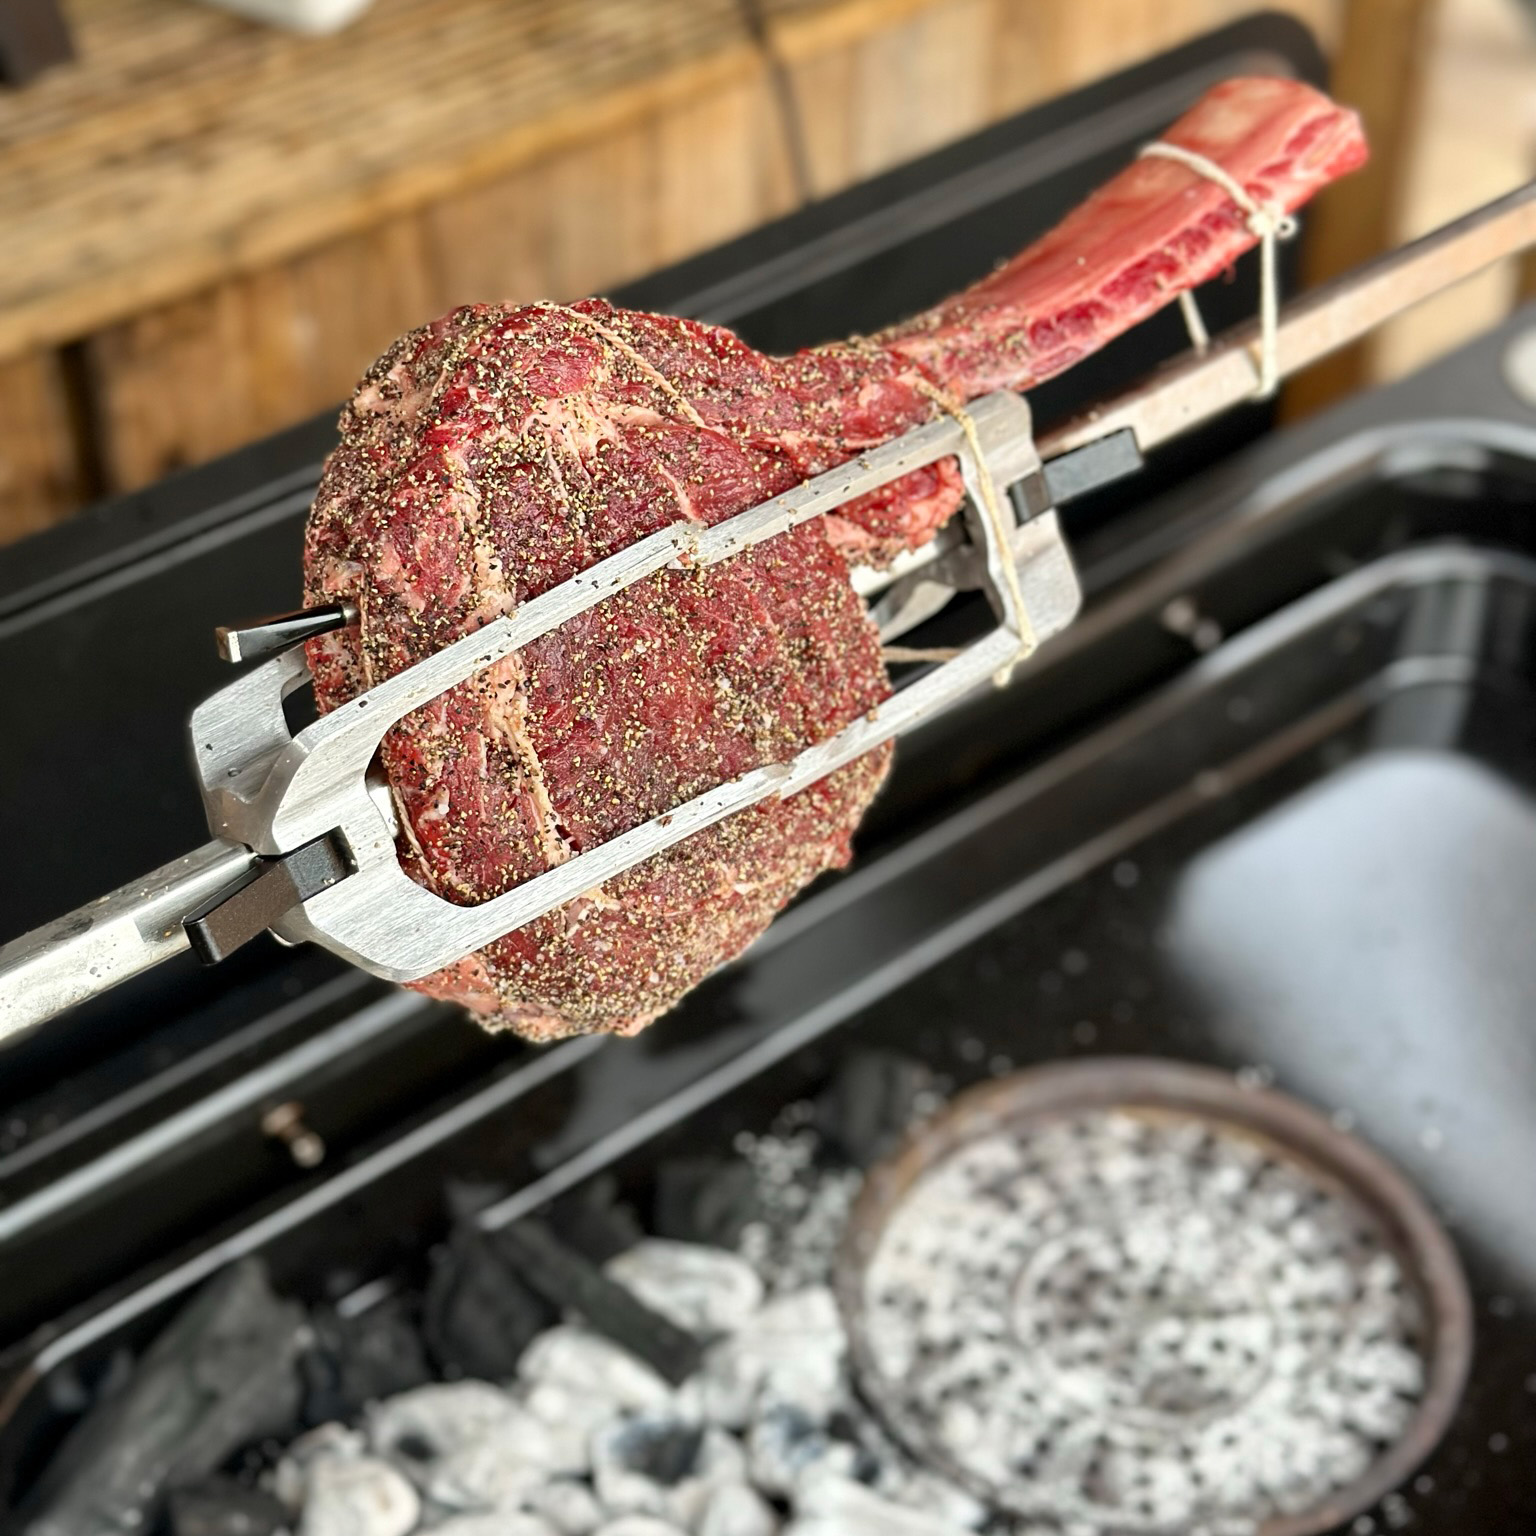
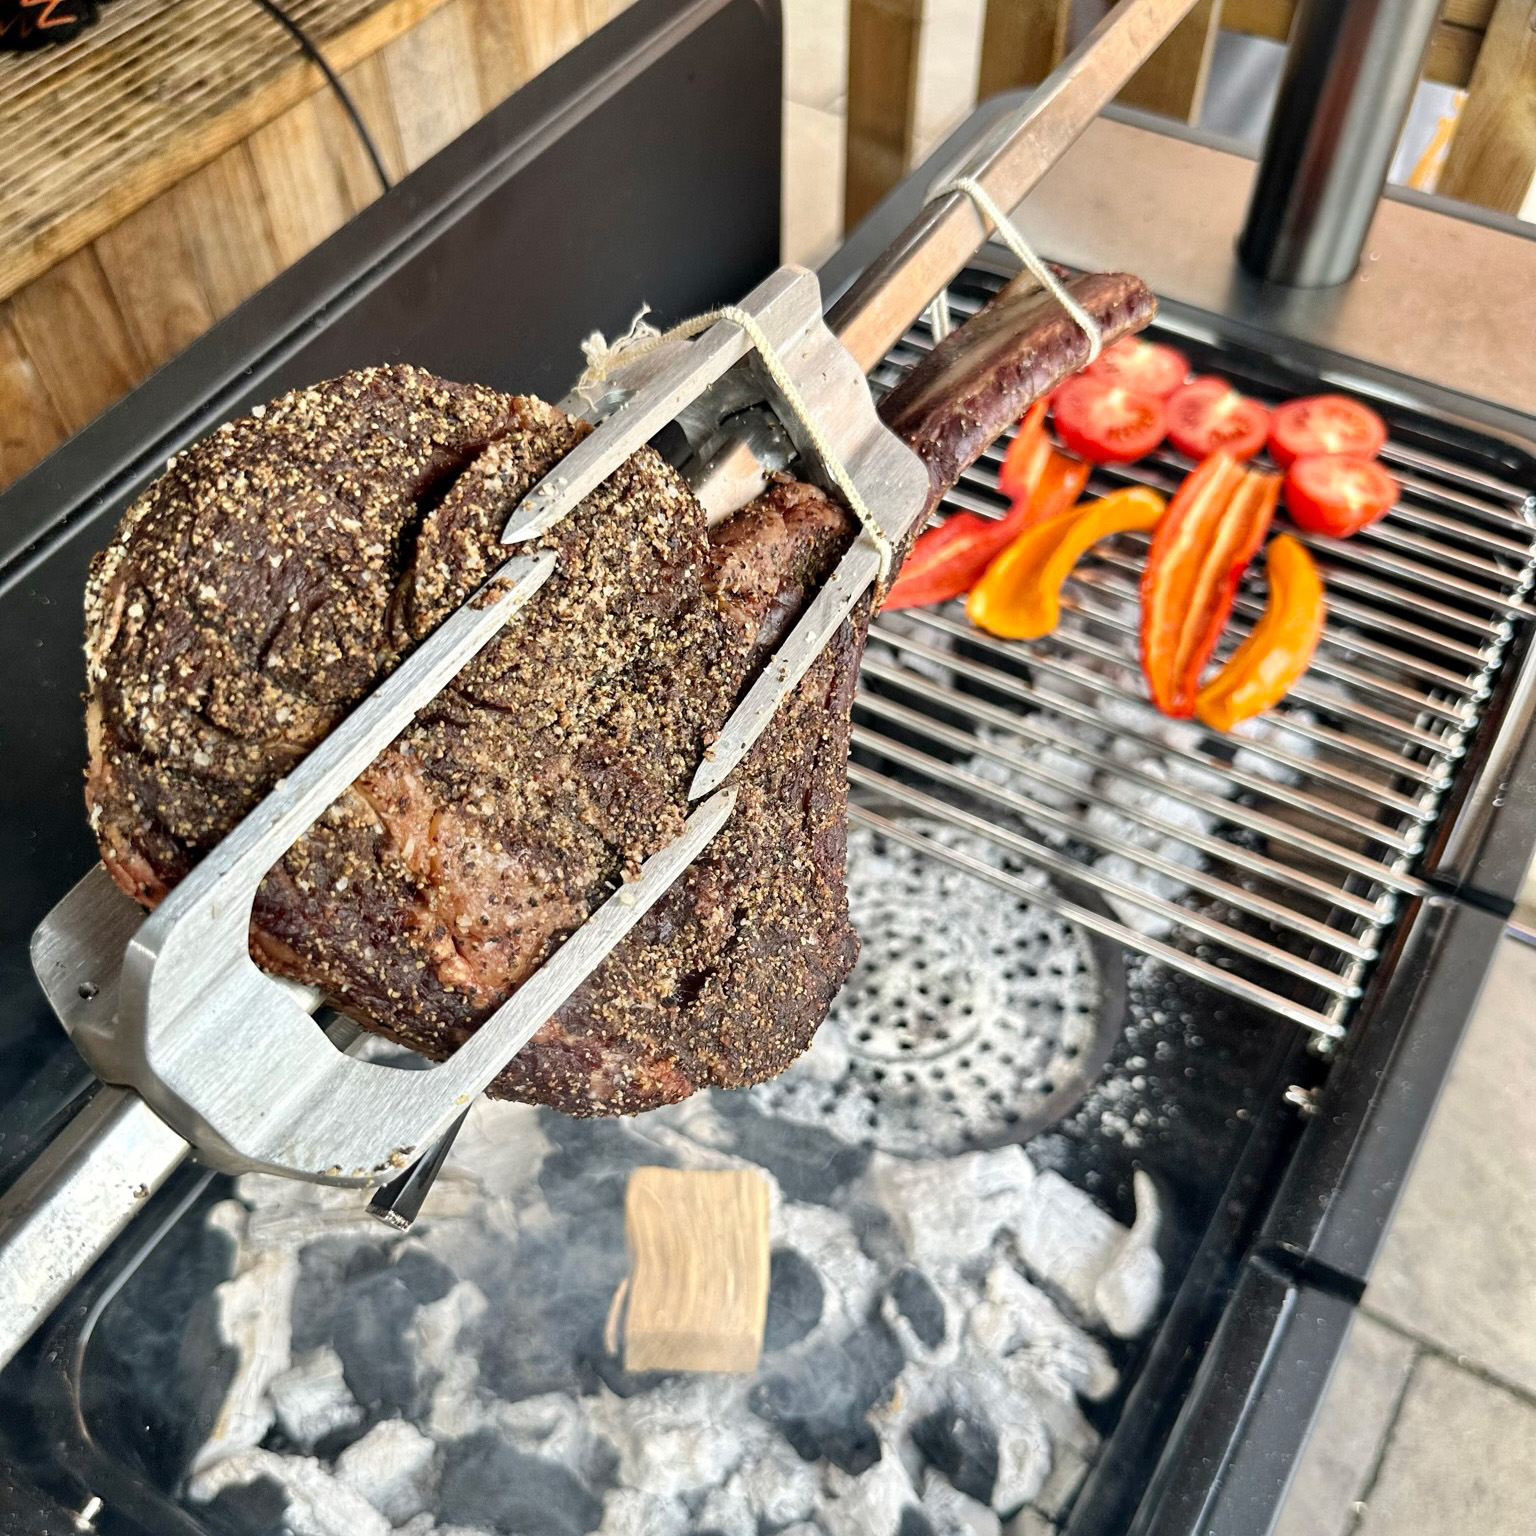
Now, once your steak is at room temperature, it’s time to secure it onto the rotisserie rod. Start by sliding the rod through at the back of the bone and then through the centre of the meaty part of the steak.
To prevent any wobbling or flapping while the steak is rotating, use ‘Butcher’s Code Rotisserie Elastic and Cotton Blend‘. This food-grade, stretchy twine will help you secure the bone to the rod, ensuring a smooth and even cook on the rotisserie.
Now, your steak is ready for the low and slow phase of our reverse sear. Let’s roll!
Slow Cooking the Steak
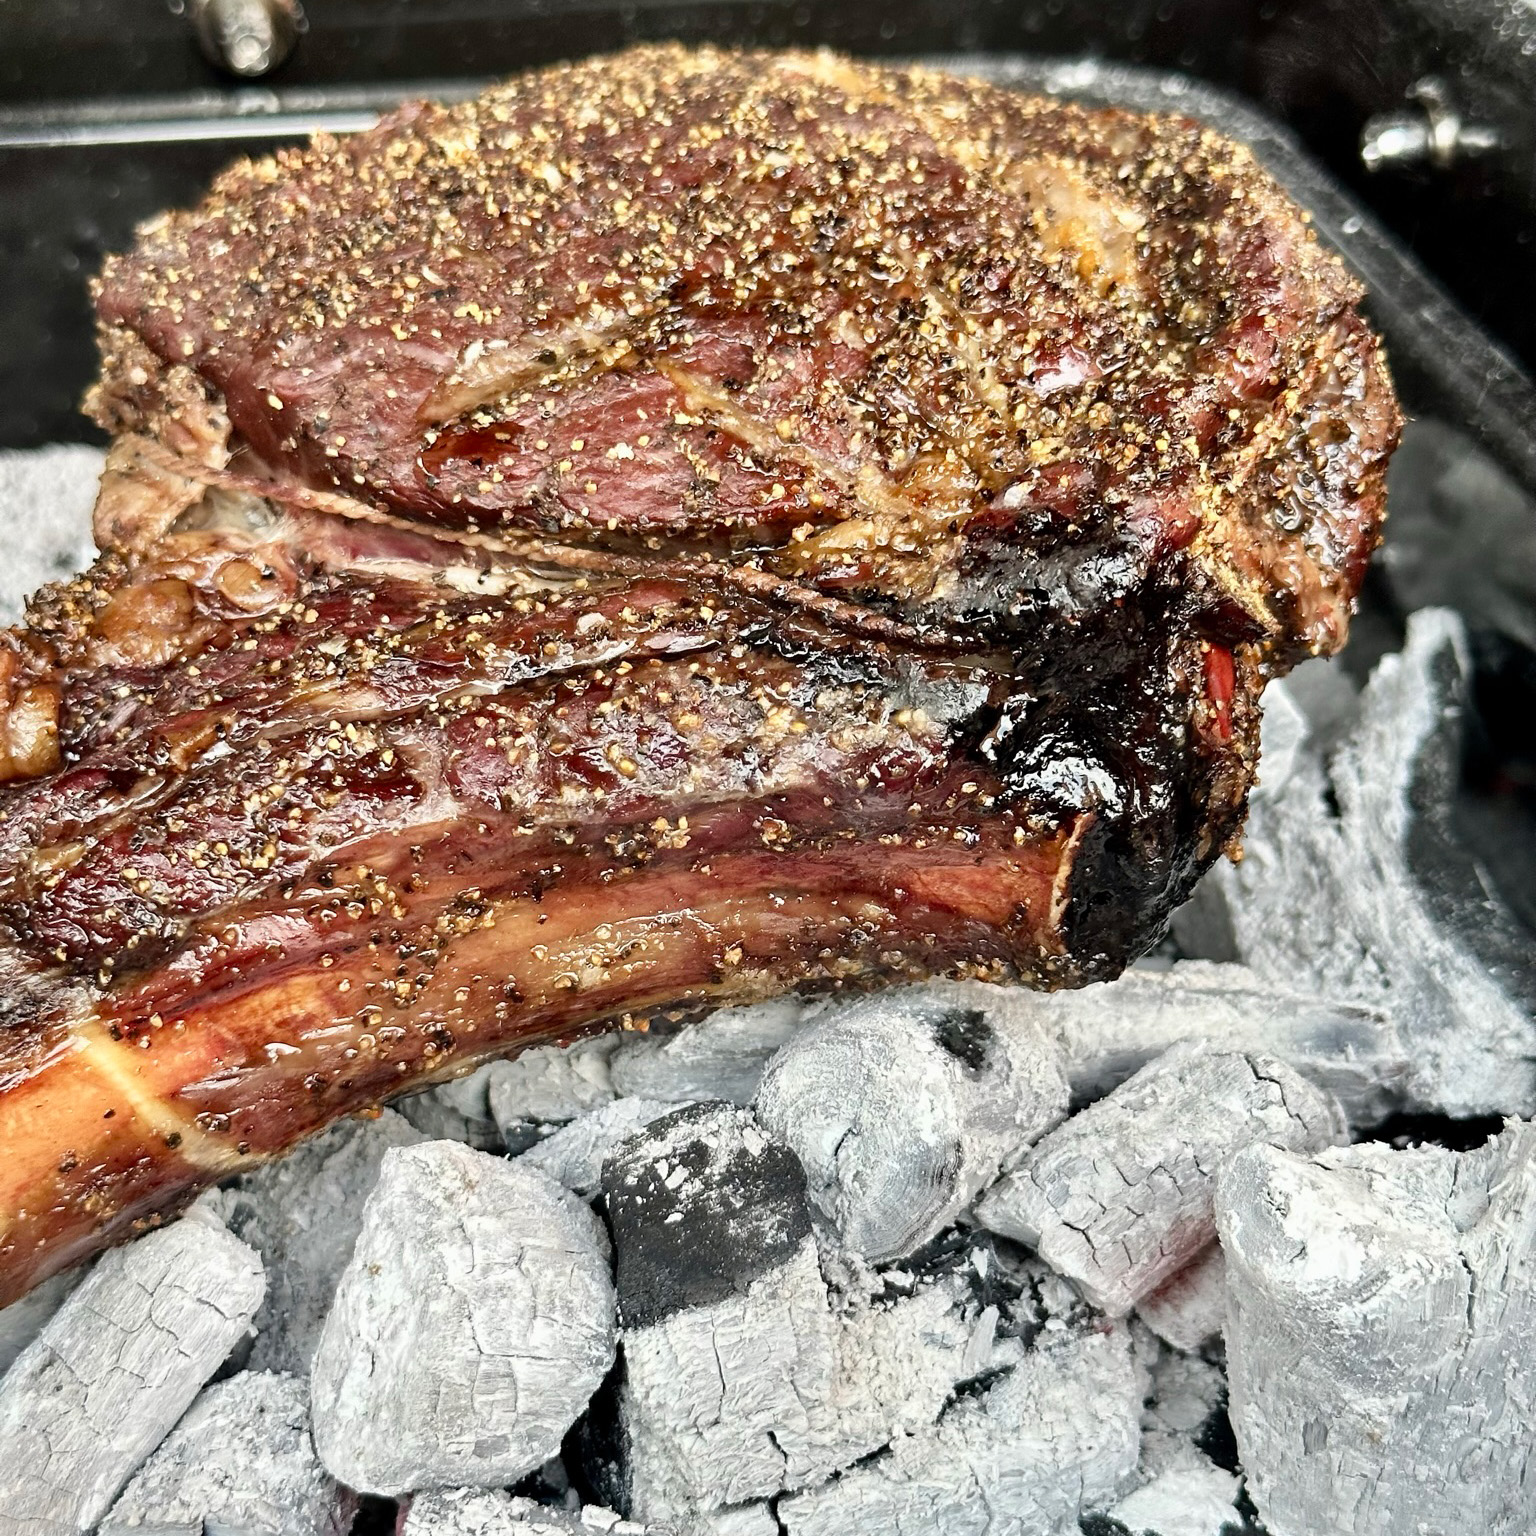
Now that your tomahawk is securely attached to the rotisserie, it’s time to let the slow cooking magic happen. One of the best parts about cooking with the ‘Everdure Hub II‘ is the adjustable rotisserie height. If you’ve got time to spare, like I did today, set it to the highest setting and let that beauty spin for hours, soaking up the smoke and heat.
While your steak is doing its thing, you can keep an eye on its internal temperature without having to hover around the grill. With a MEATER, you can monitor the steak’s temperature right from your phone or Apple Watch. Handy, right?
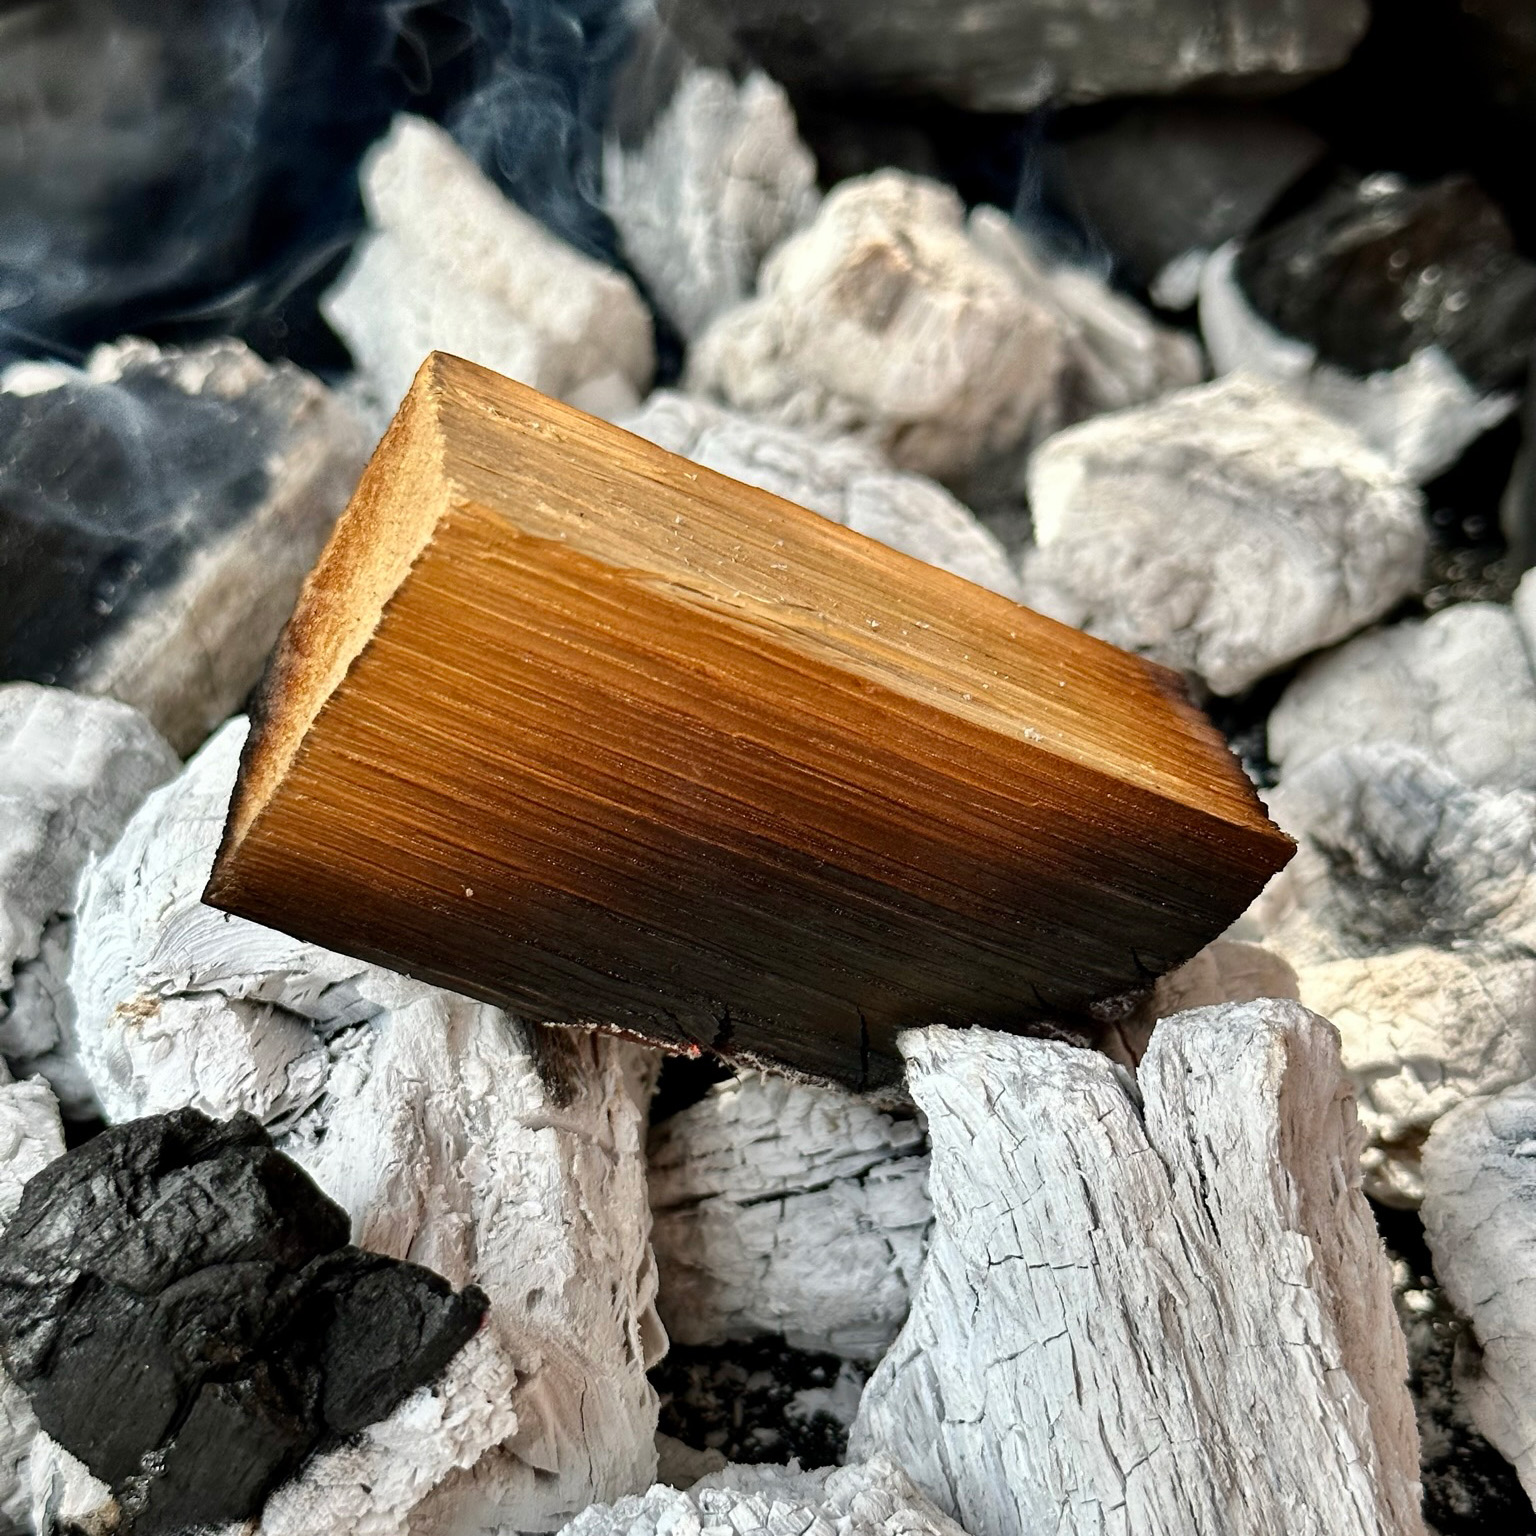
To enhance the flavour, I tossed a chunk of Oak from ‘Love Logs‘ directly onto the burning embers under the steak every now and then. It adds a lovely smoky note to the steak. And remember to keep an eye on your coals, topping them up as needed for a steady heat.
So, when is it time to take your steak off the rotisserie and move on to the searing stage? That depends on how you like your steak. Here’s a handy guide to help you out:
| Steak Doneness | Temp to remove from rotisserie (°C/°F) | Temp to remove whilst searing (°C/°F) | Final Internal Temp (°F) |
|---|---|---|---|
| Rare | 45°C / 113°F | 49°C / 120°F | 51°C / 125°F |
| Medium Rare | 49°C / 120°F | 53°C / 127°F | 54°C / 130°F |
| Medium | 55°C / 131°F | 58°C / 136°F | 60°C / 140°F |
| Medium Well | 60°C / 140°F | 63°C / 145°F | 65°C / 150°F |
| Well Done | 65°C / 149°F | 71°C / 160°F | 74°C / 165°F |
Once your steak hits the desired temperature for your preferred doneness, it’s time to get that steak off the rotisserie and move on to the final searing stage.
Whipping Up the Roasted Red Pepper, Tomato, and Garlic Chimichurri
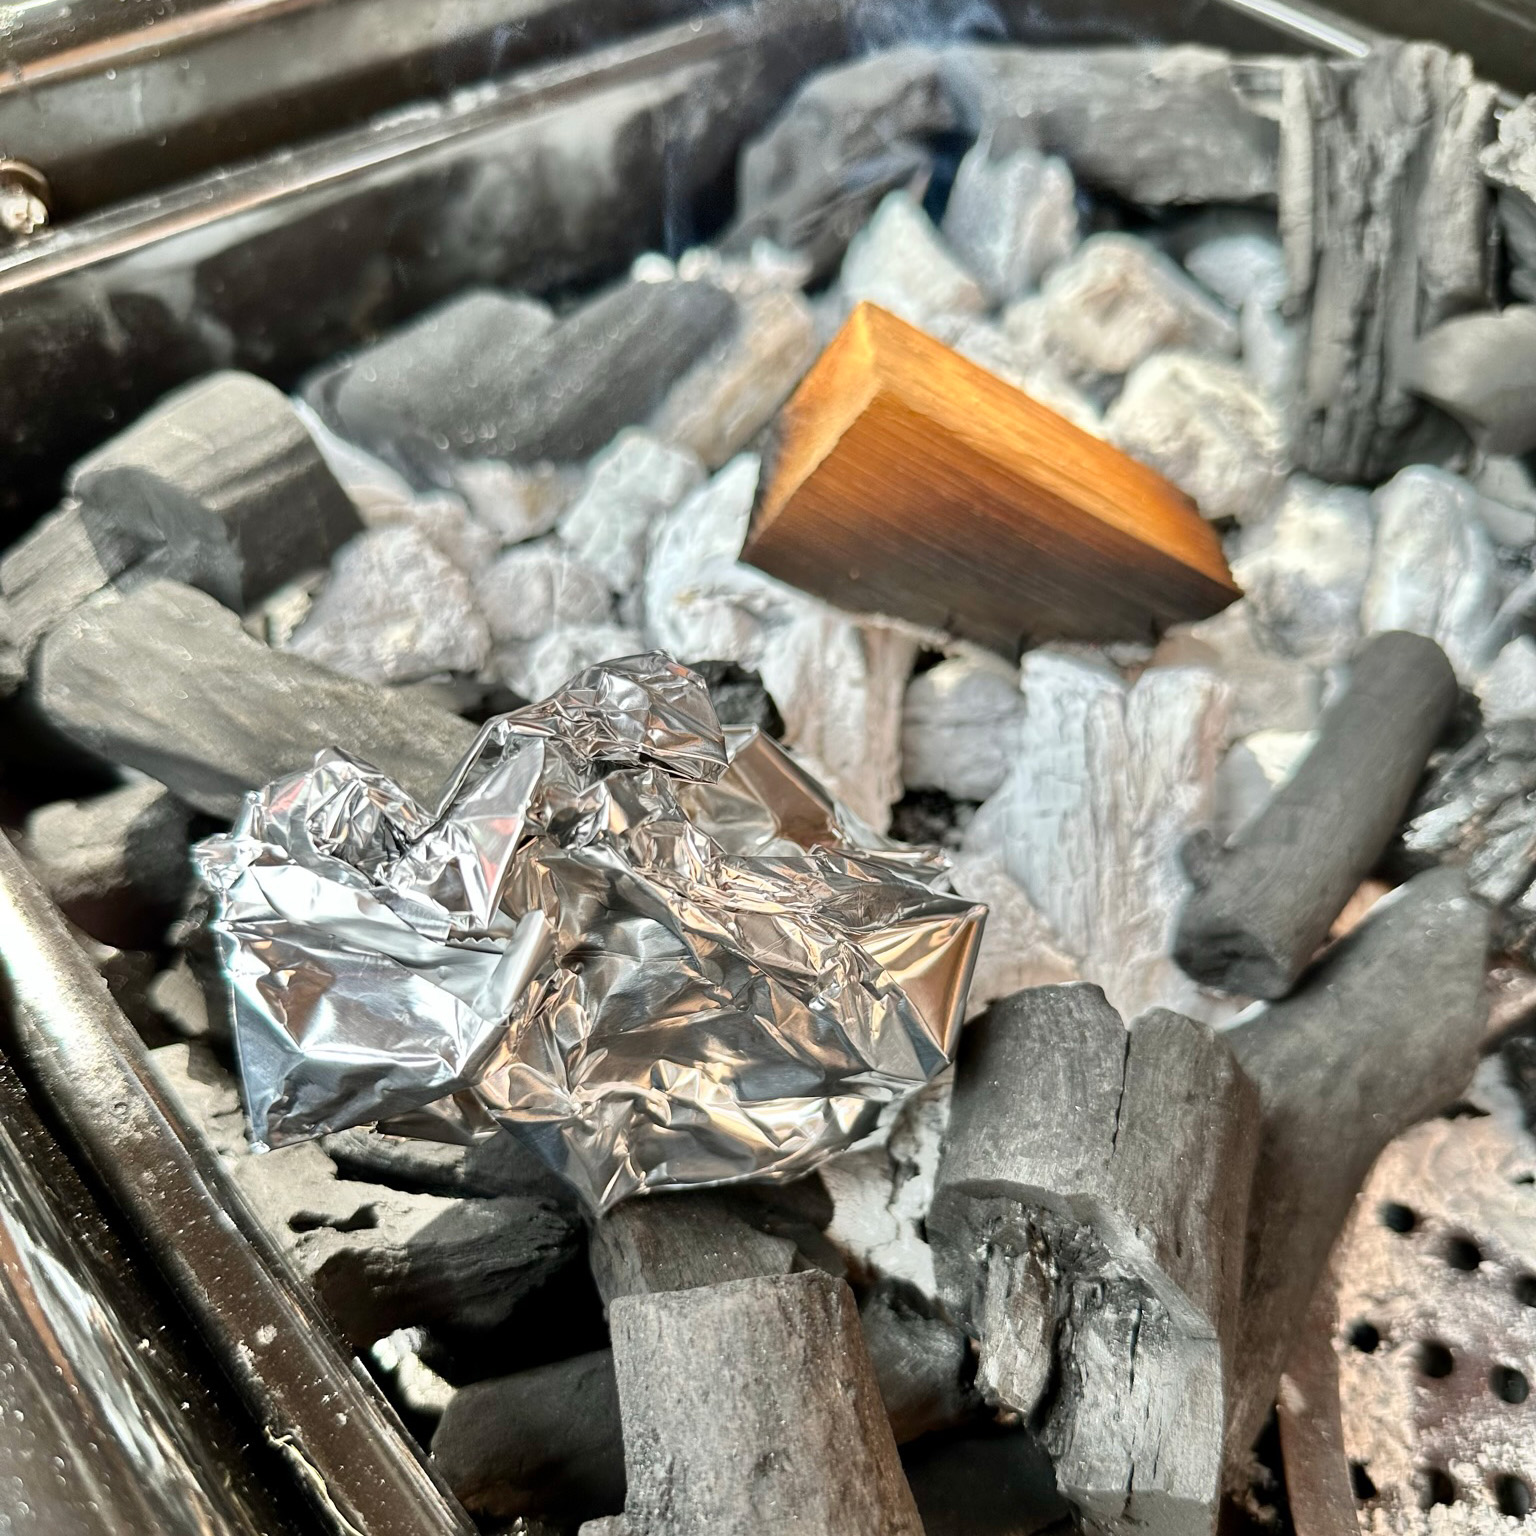
Start with the garlic, as it needs the most time. Slice off the top of a whole bulb, drizzle it with olive oil, sprinkle with salt, then wrap it in foil. Snuggle it in the embers for about 40-45 minutes, giving it a turn every so often.
While your garlic is doing its thing, shuffle some of those lovely hot embers to the other side of your ‘Hub II’ to create a cosy roasting spot for your peppers and tomatoes. The peppers will take about 15-20 minutes to char up nicely, and the tomatoes will soften up in around 10-15 minutes. Once they’re done, let the peppers steam in a covered bowl to make their skins easier to peel.
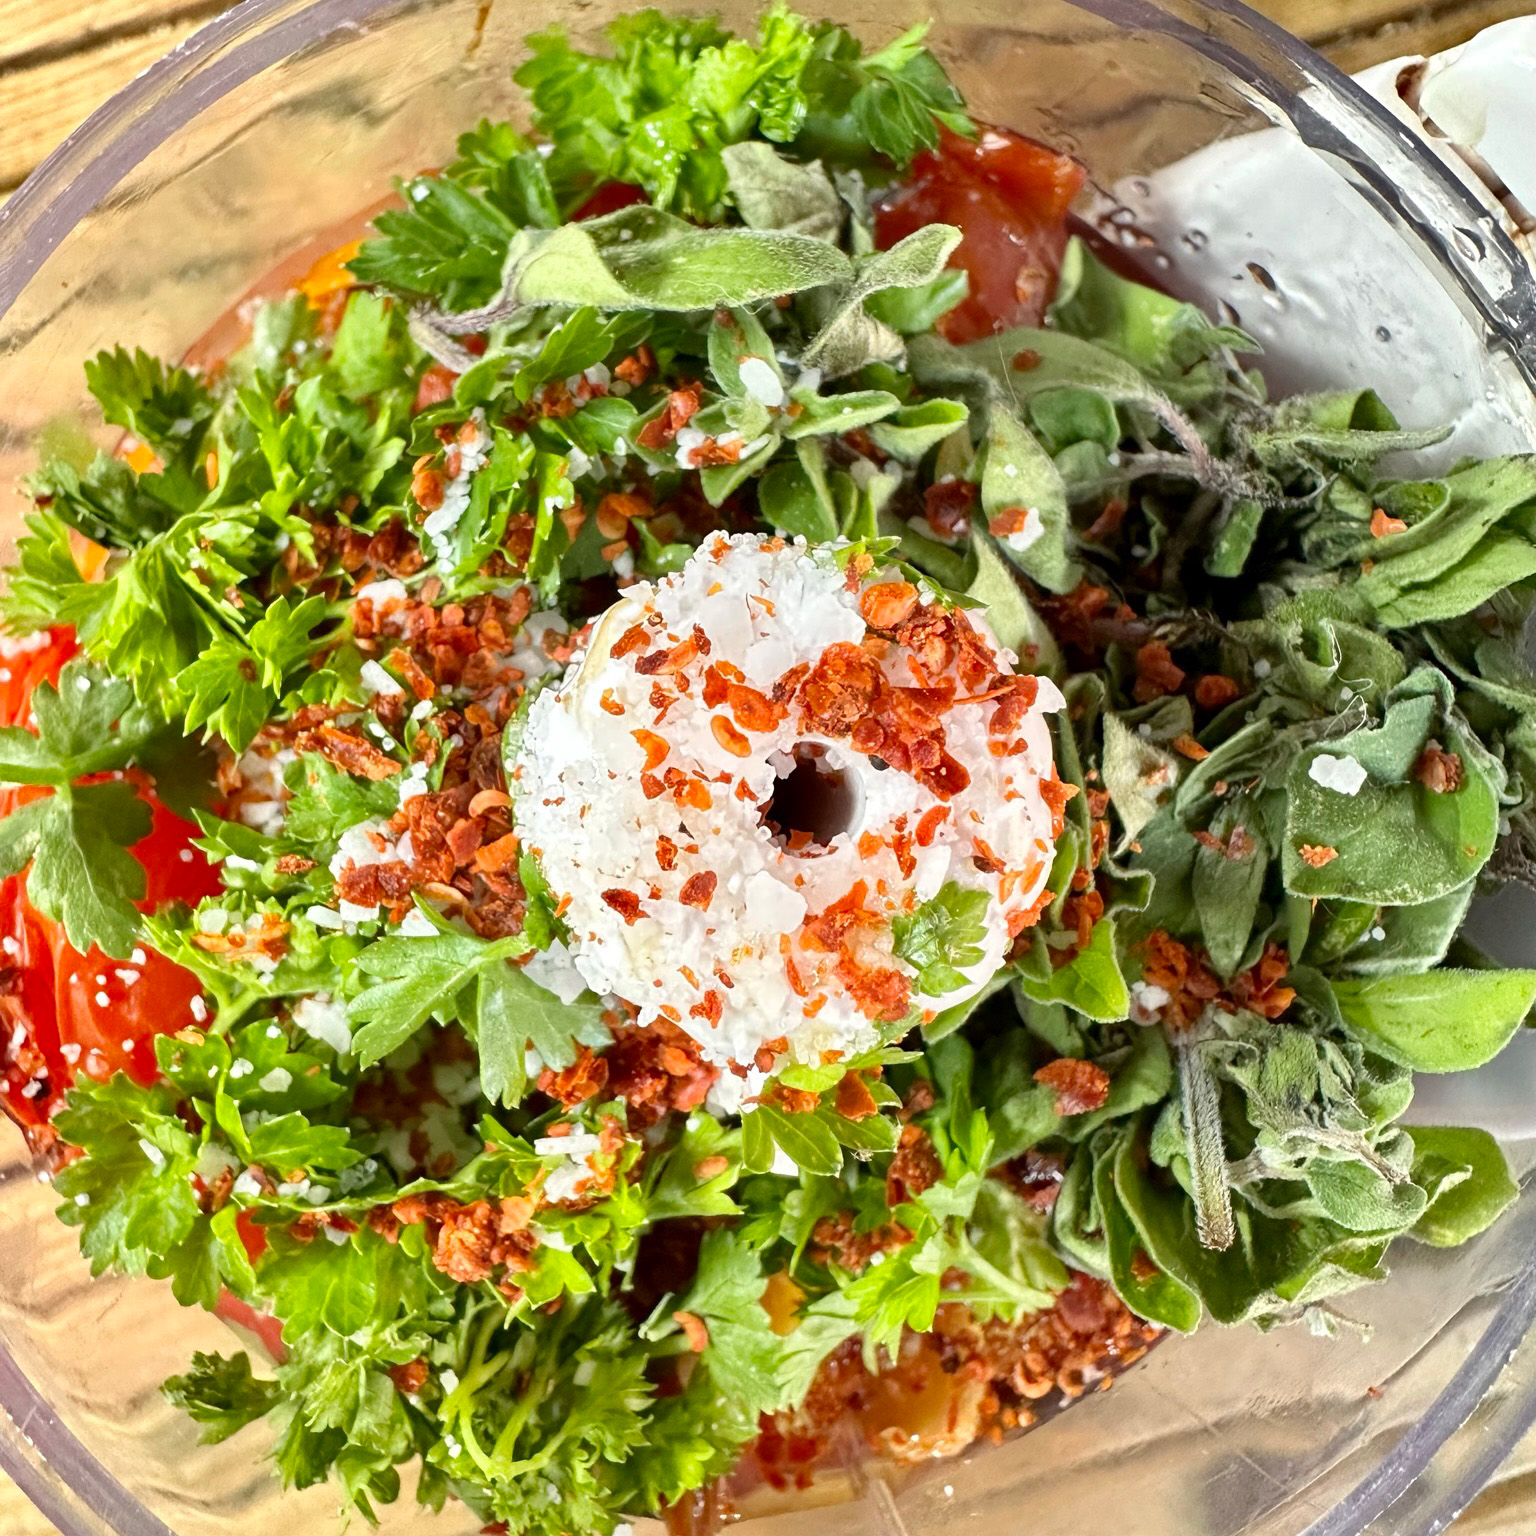
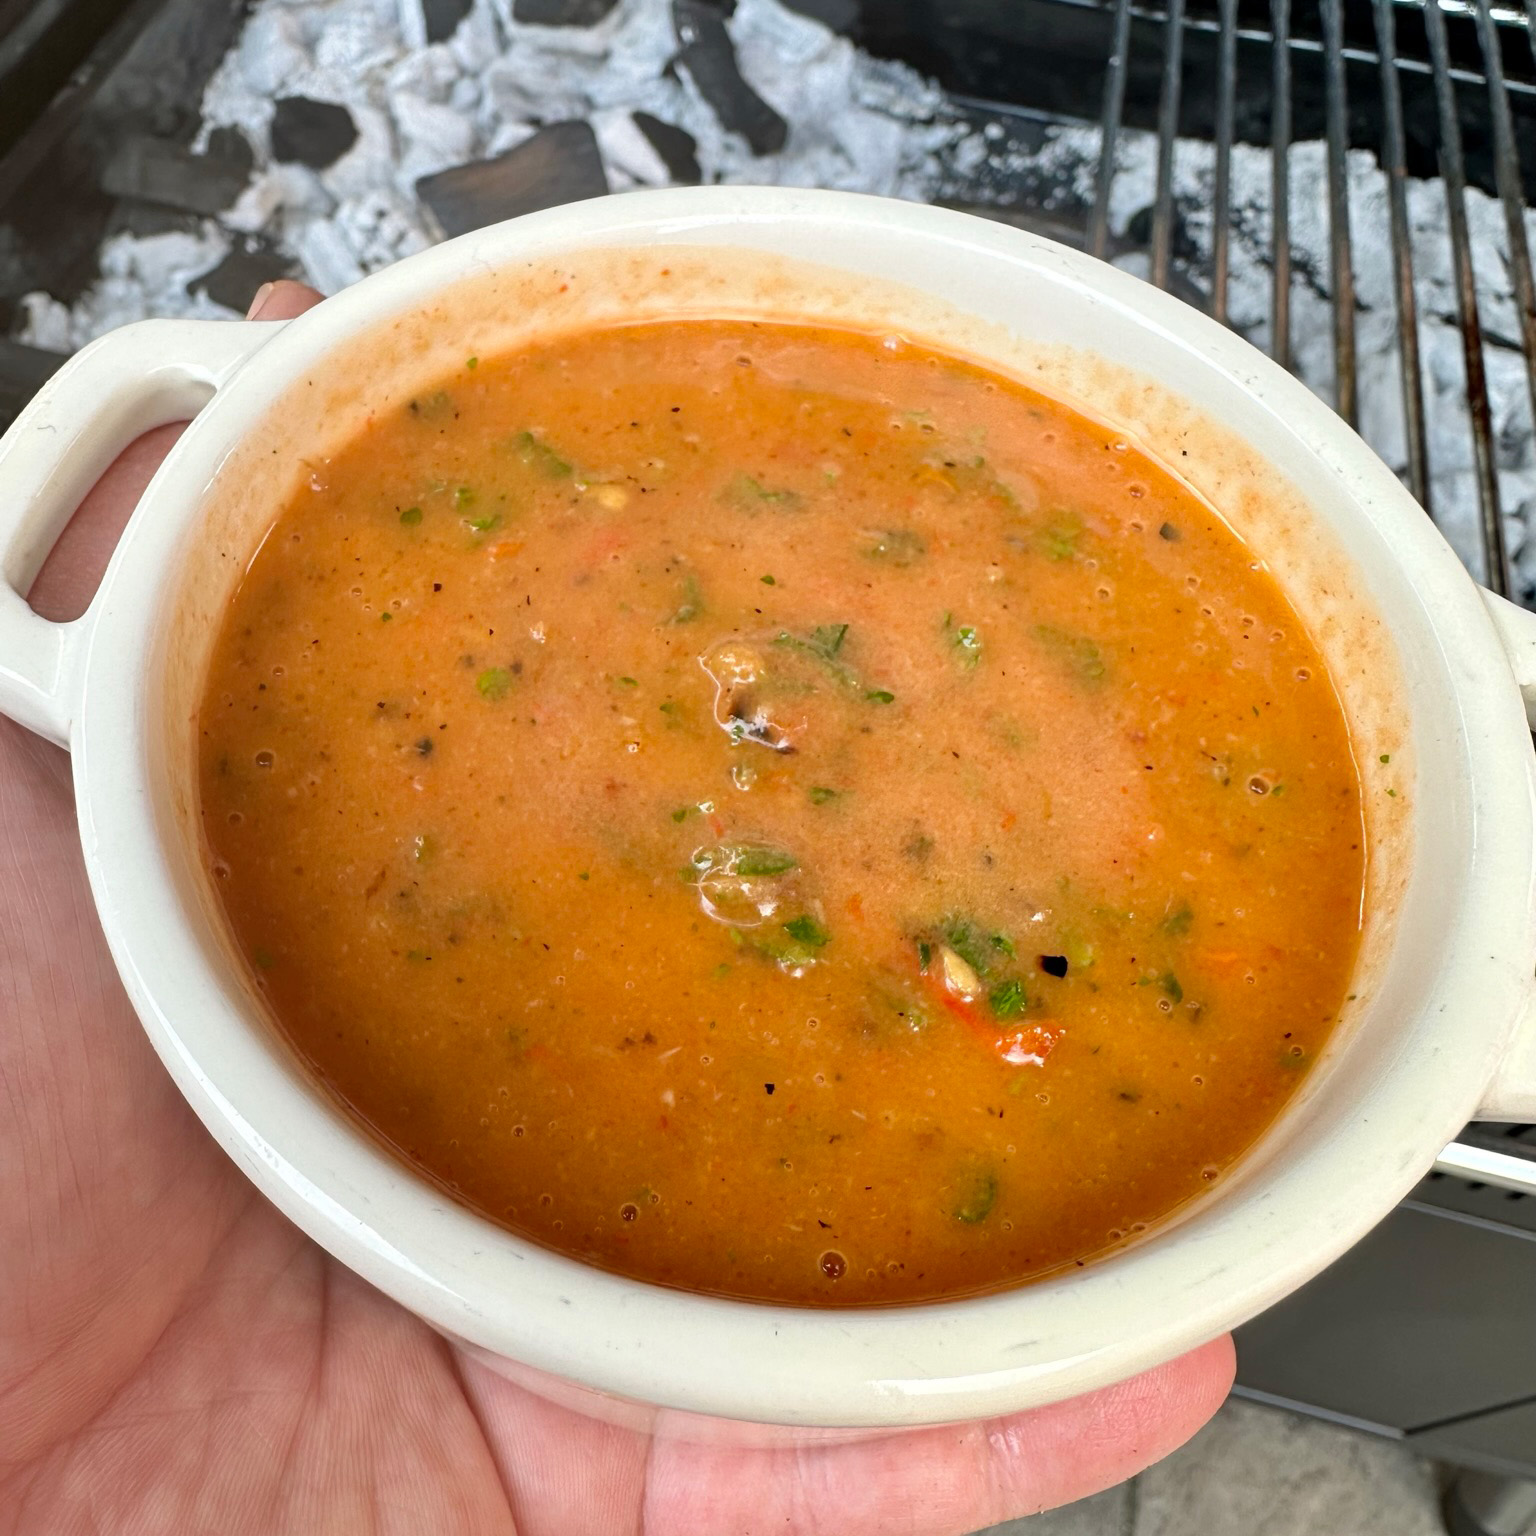
When everything’s roasted, cooled, and ready to rock, grab your food processor. Toss in the garlic (just give it a squeeze), peeled peppers, tomatoes, fresh parsley, oregano, olive oil, red wine vinegar, salt, and red pepper flakes. Pulse until it’s all mixed into a beautifully rustic chimichurri, packed with smoky, tangy flavours. It’s the perfect drizzle for that mouth-watering steak of yours.
The Searing Finale
Now for the pièce de résistance – the sear. Make sure you’ve got a hot bed of coals ready. Give them a little shuffle to clear any ash and ensure they’re glowing nice and hot. This is where the magic happens.
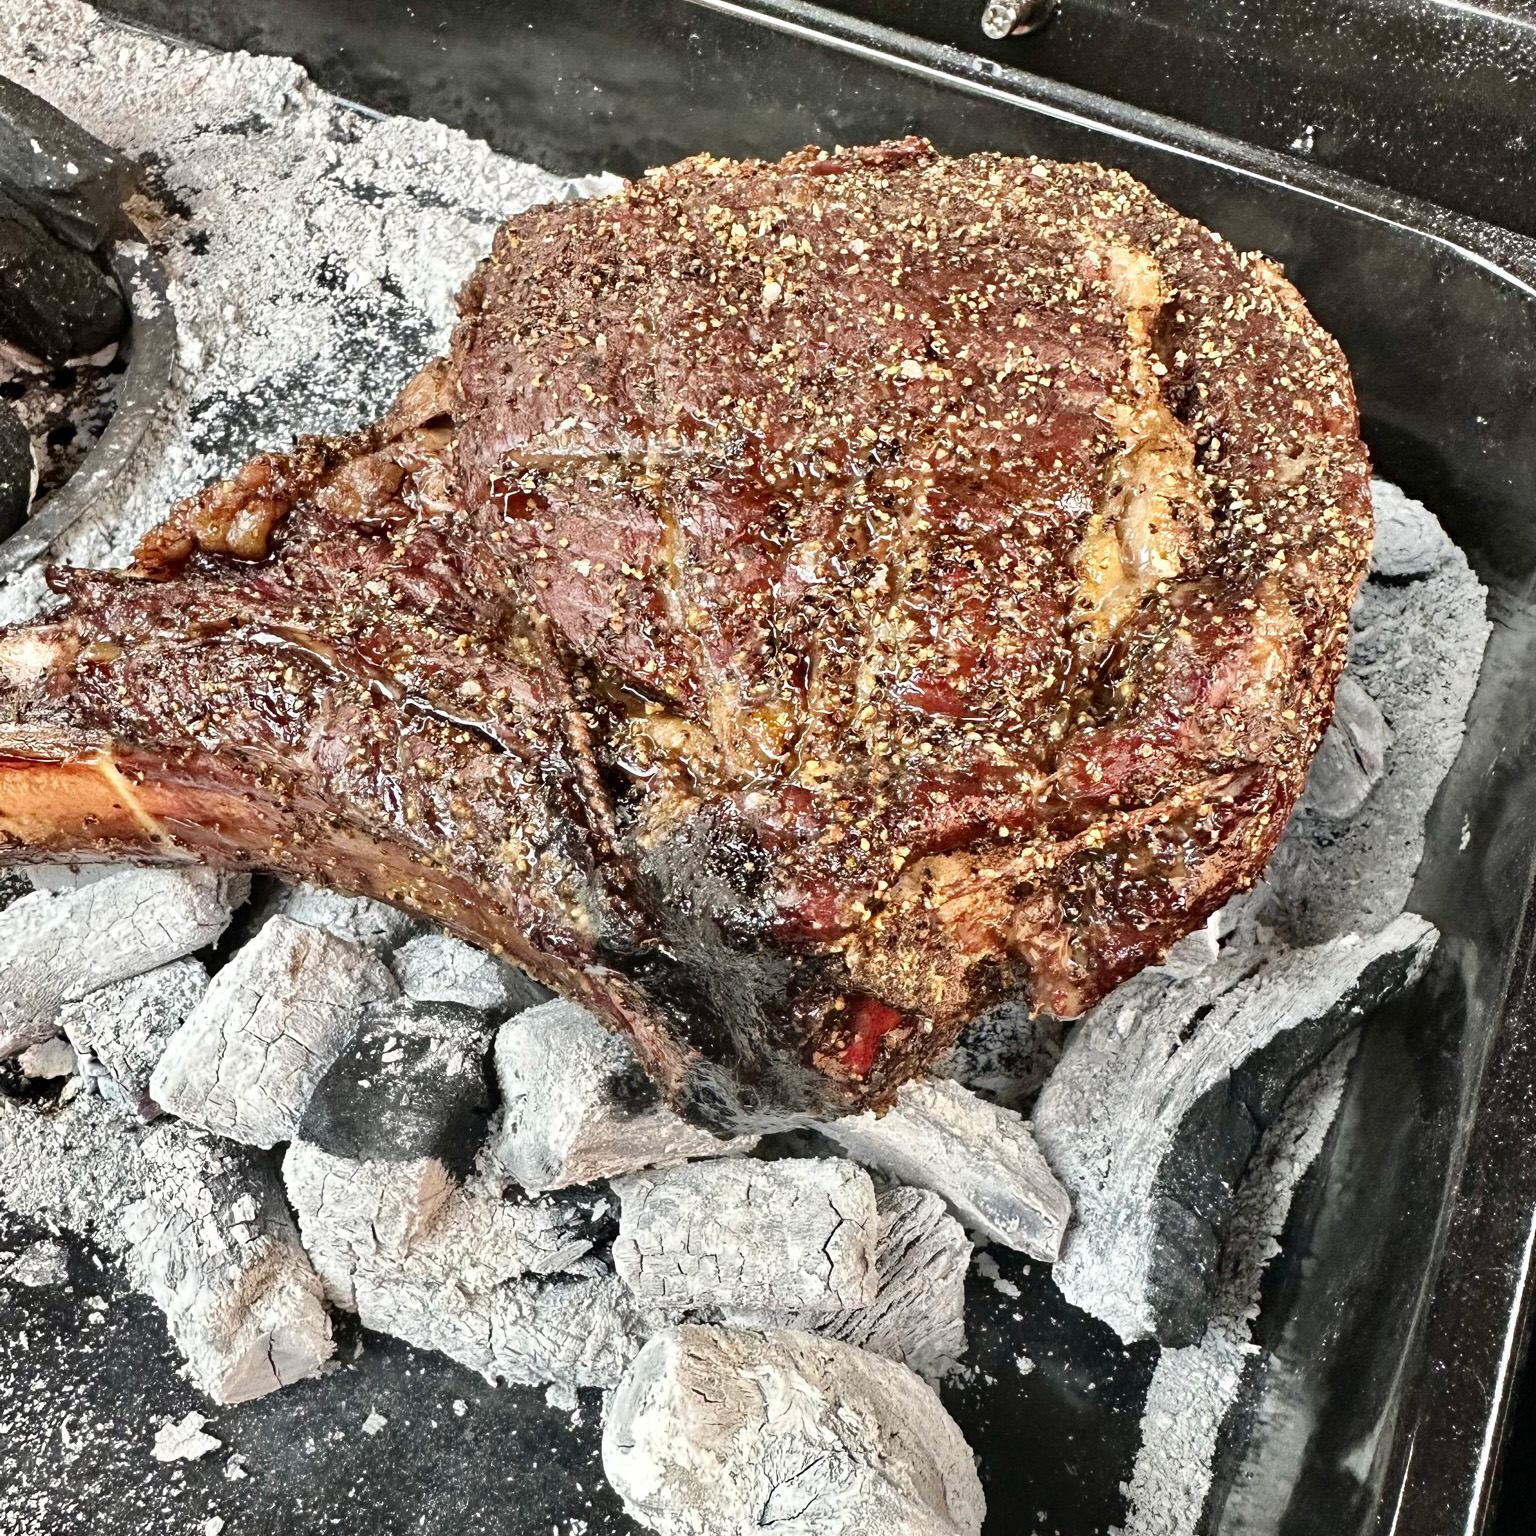
With confidence, slap that tomahawk right down on the coals – yes, you heard right, we’re doing a dirty sear. Embrace the sizzle and let it sear for a minute or two, then flip it over and repeat on the other side.
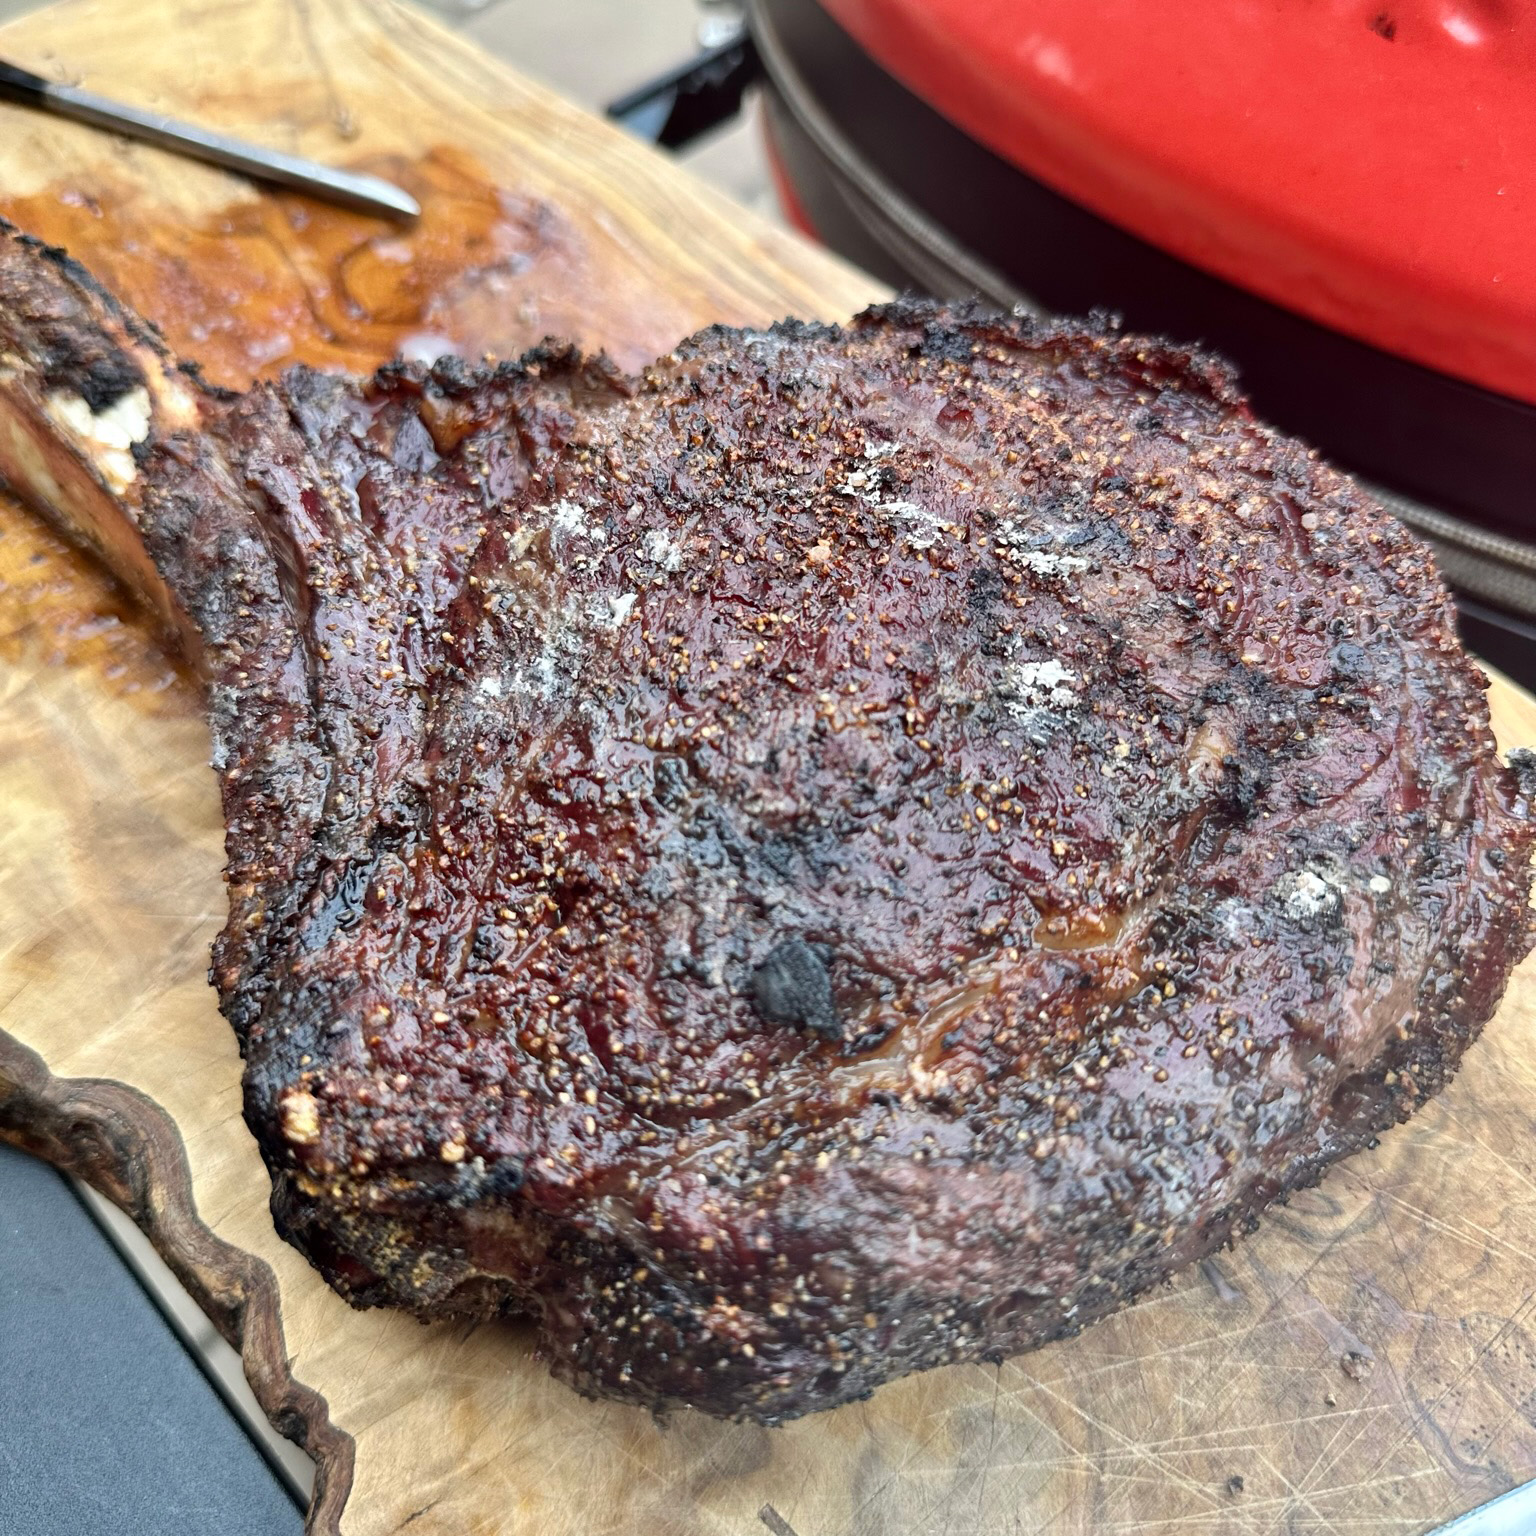
Keep a keen eye on your internal temperatures. You’ve put in too much hard work to overcook your steak now. Get it perfect, and you’re in for a real treat. Once seared to your liking, remove from the coals and put to one side to let rest.
The Grand Finale
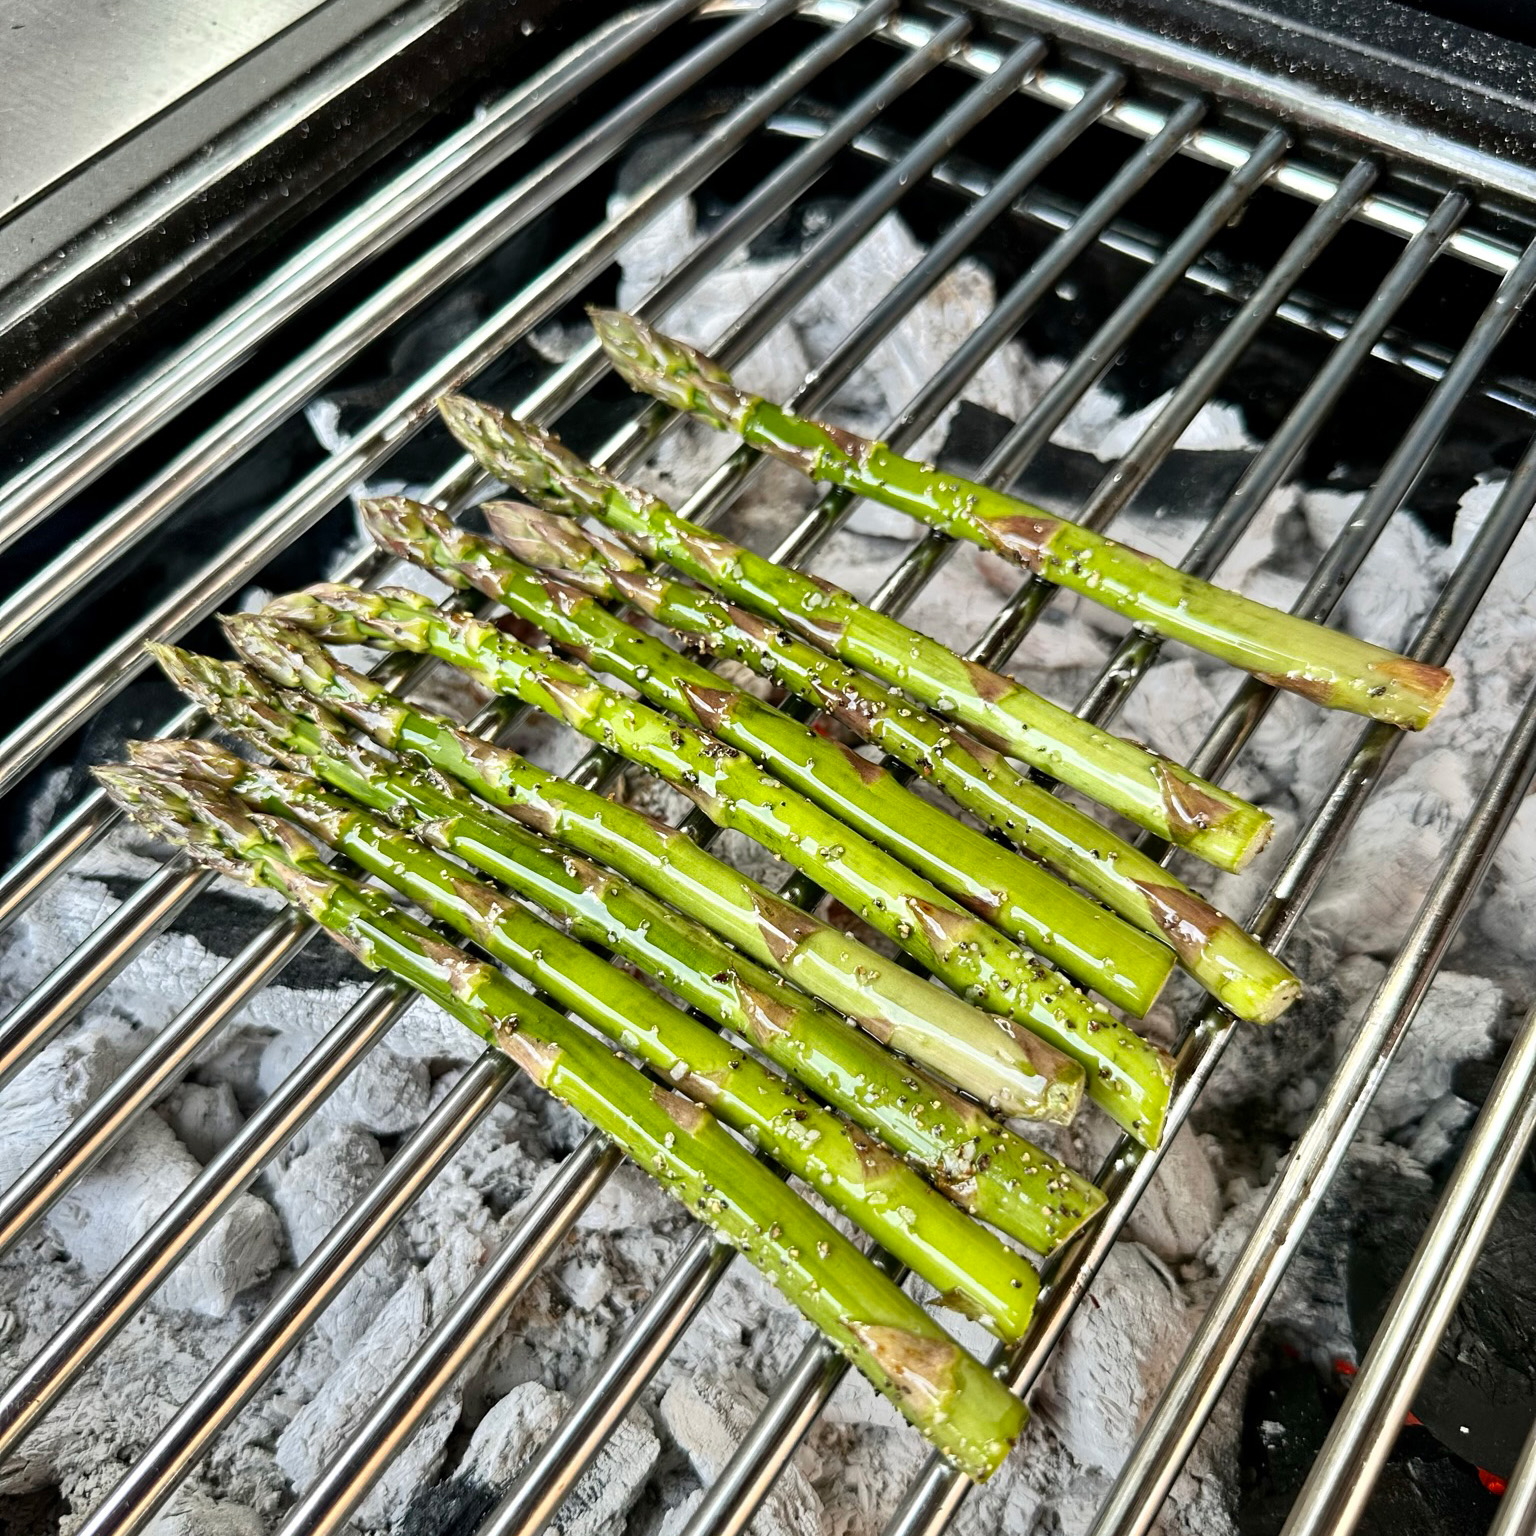
While your steak is having a well-earned rest (a good 10 minutes should do), it’s time to get your asparagus in the game. Coat them in oil, a sprinkle of salt, and pepper, then grill until tender and slightly charred.
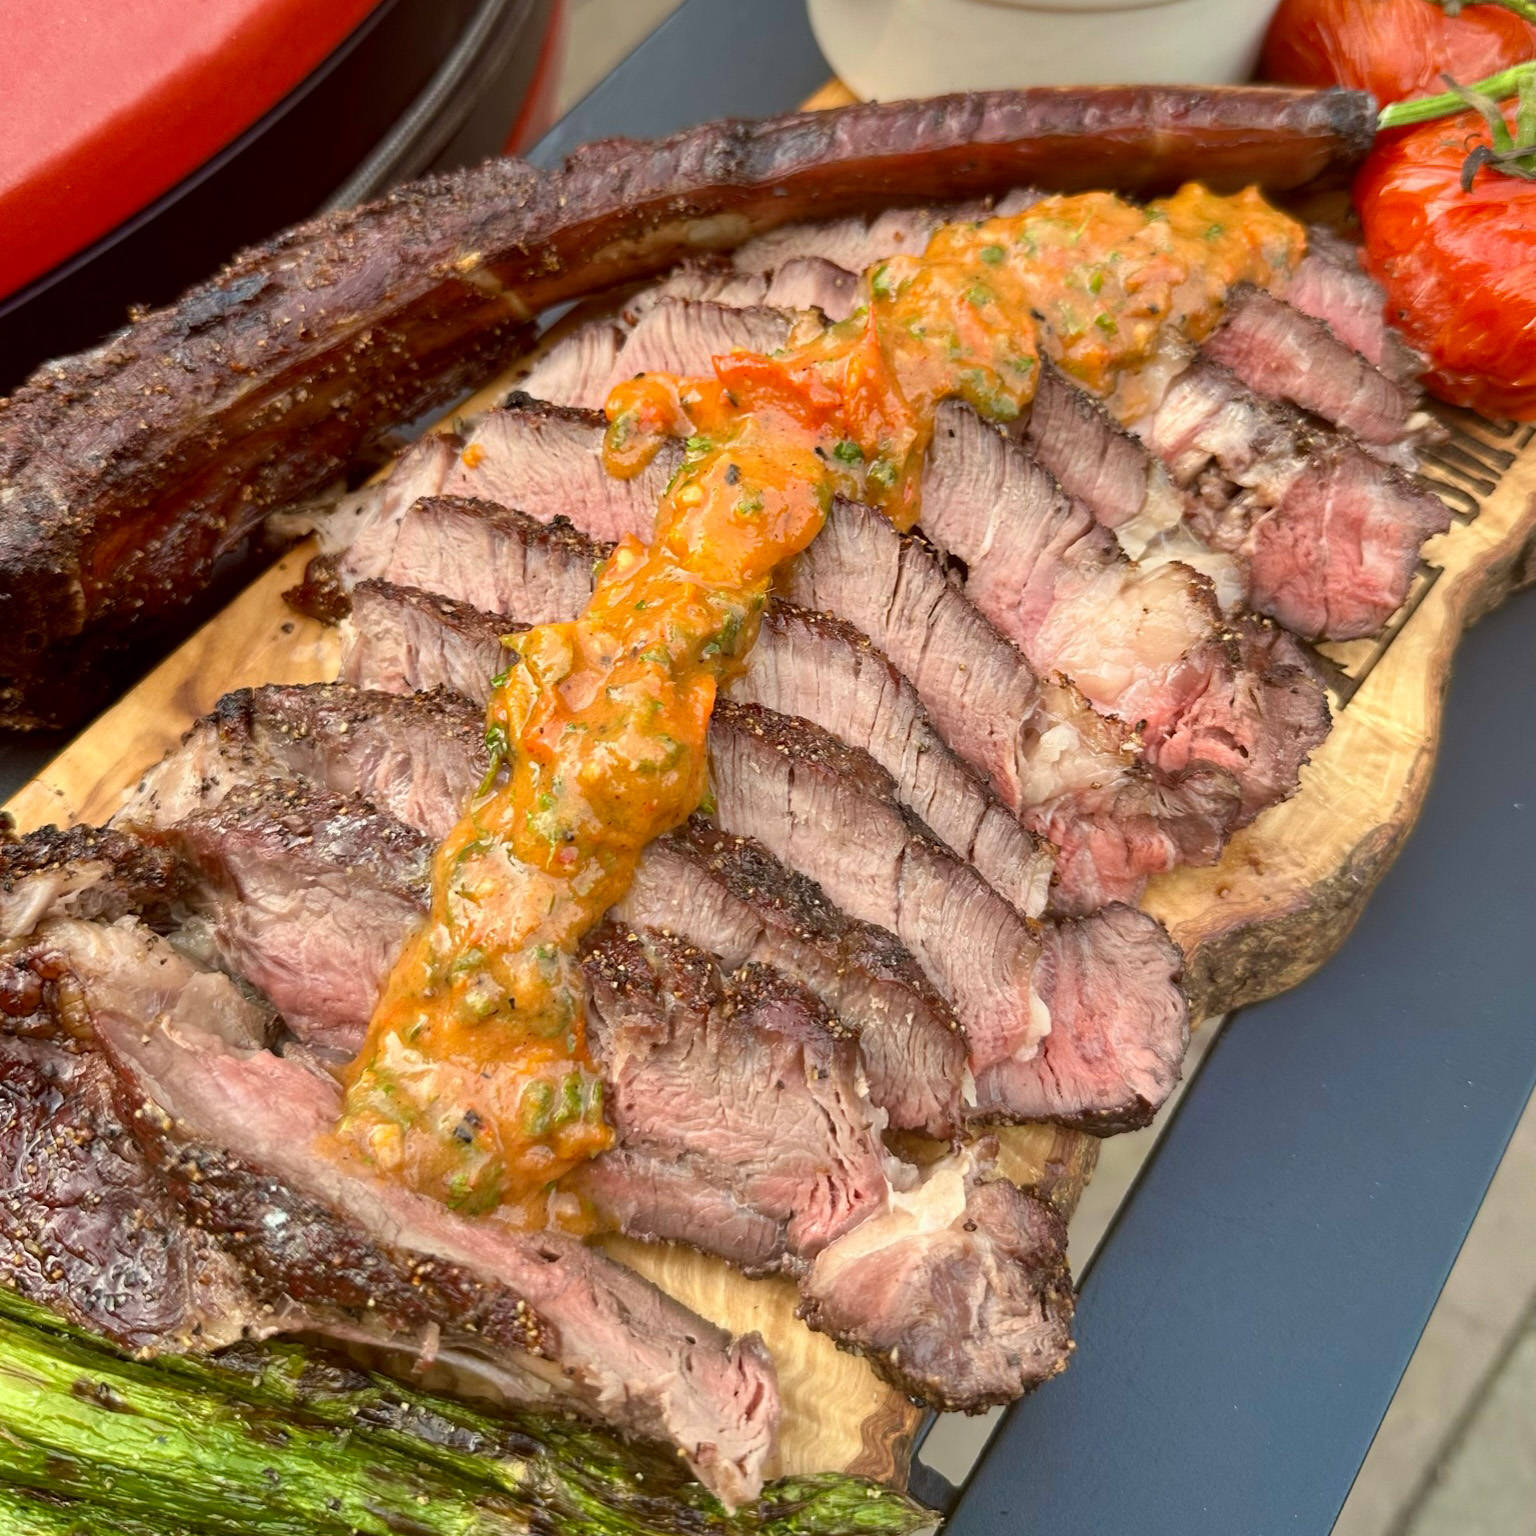
Once your steak has rested, it’s carving time. Slice off the meat by guiding your knife along the bone, then cut the steak into thin slices against the grain. This will give you the tenderest bites.
Now, plate up. Lay out your beautifully sliced steak and grilled asparagus, then drizzle that glorious chimichurri right down the centre of your steak slices. The vibrant sauce not only adds a punch of flavour but also a wonderful contrast to your plate. Now that’s what we call an epic BBQ feast!


