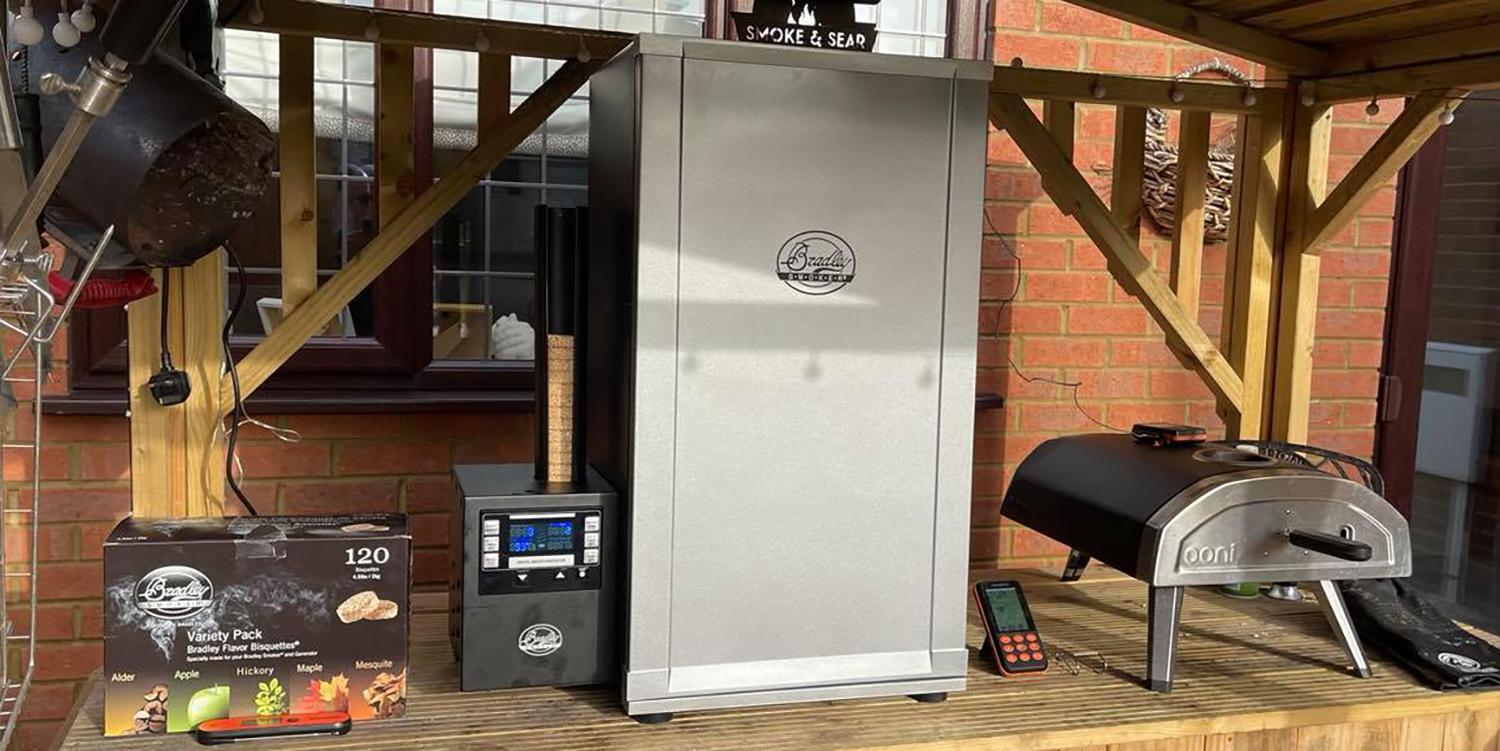
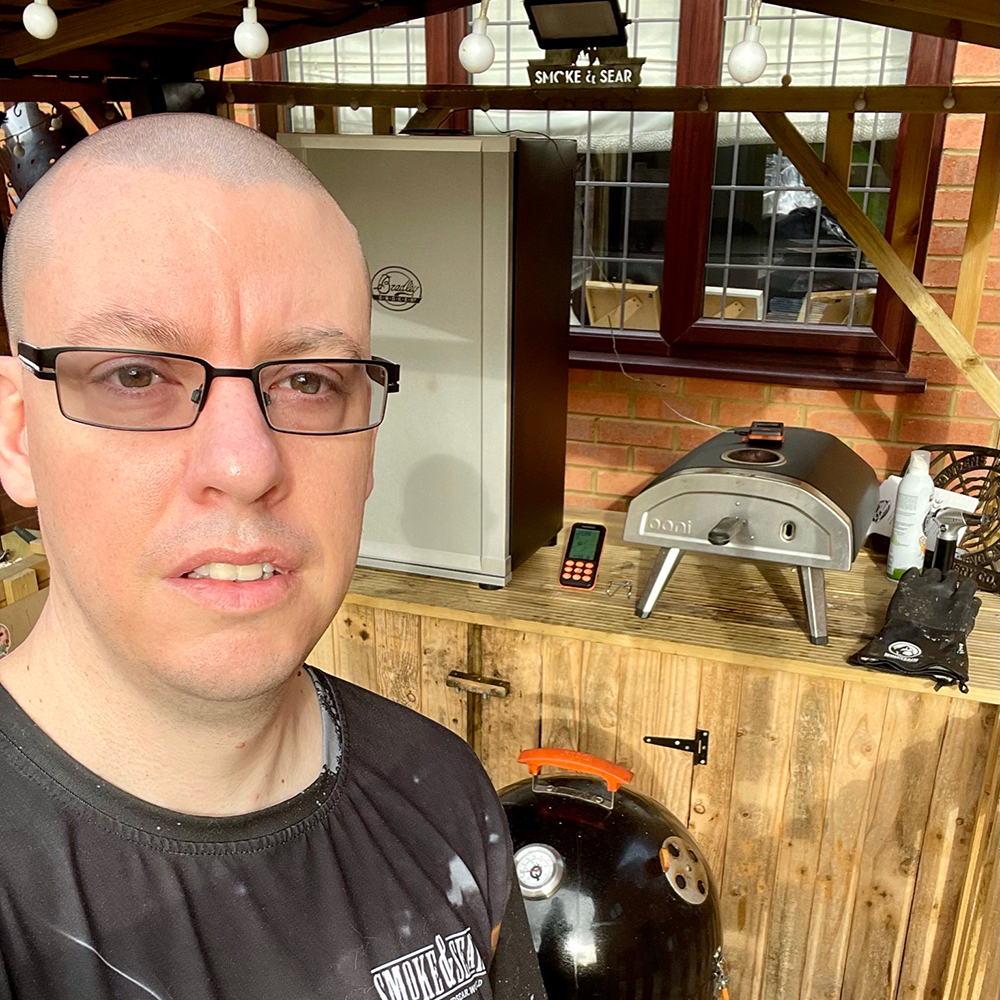
I see myself as fairly active in the ‘BBQ Community’ (online at least) and whilst I’m still learning the art of BBQ / Smoking food I also like to share my journey and help others out where I can.
Currently I only get to to cook once a week (you know how it is, day jobs / family etc) . . . I just don’t have the time to commit to tinkering with fire and wood as often as I’d like.
When the opportunity popped up to take a Bradley Smoker out for a spin myself and see what it’s capable of I jumped at the opportunity.
So here goes . . . my first, honest experience smoking food on the 4-rack digital smoker from Bradley.
Seasoning the Smoker
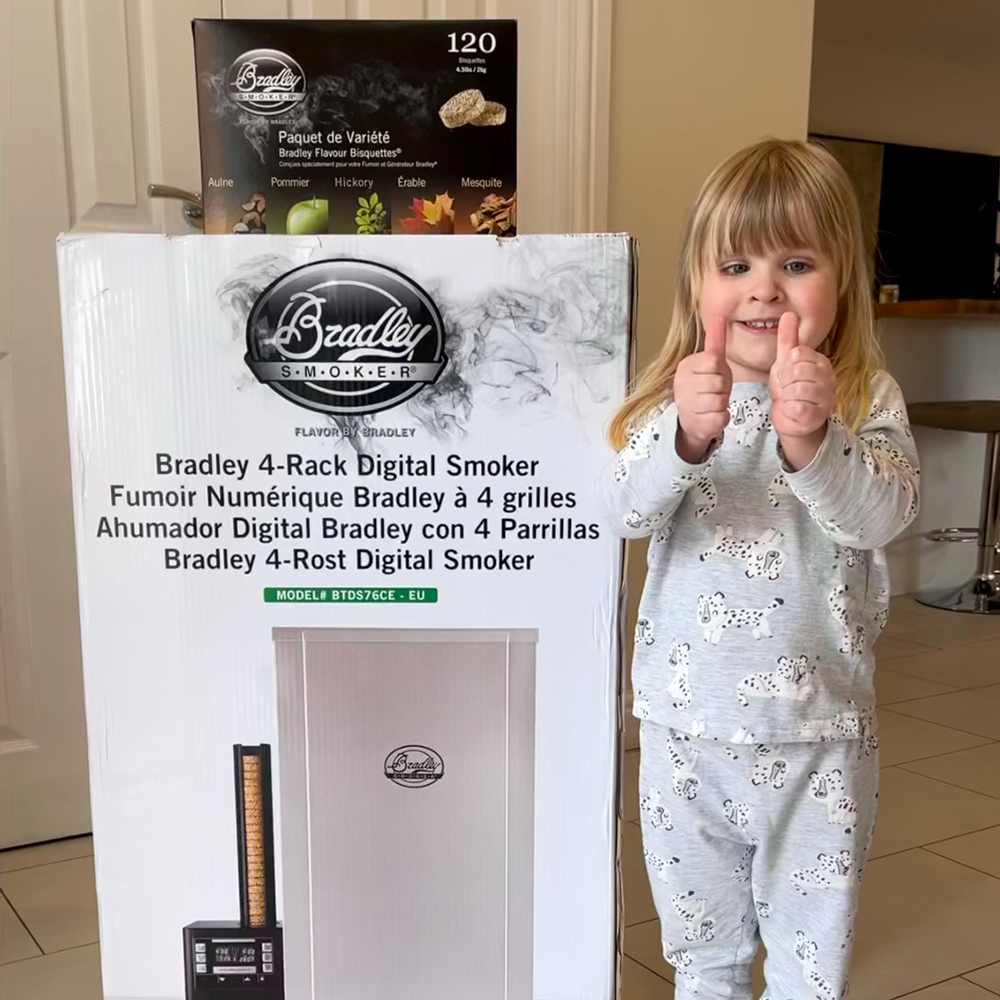
Once I got over the shock of receiving the smoker from Bradley I sat down and went through the manual (and a couple of YouTube videos) to ensure I really understood the device.
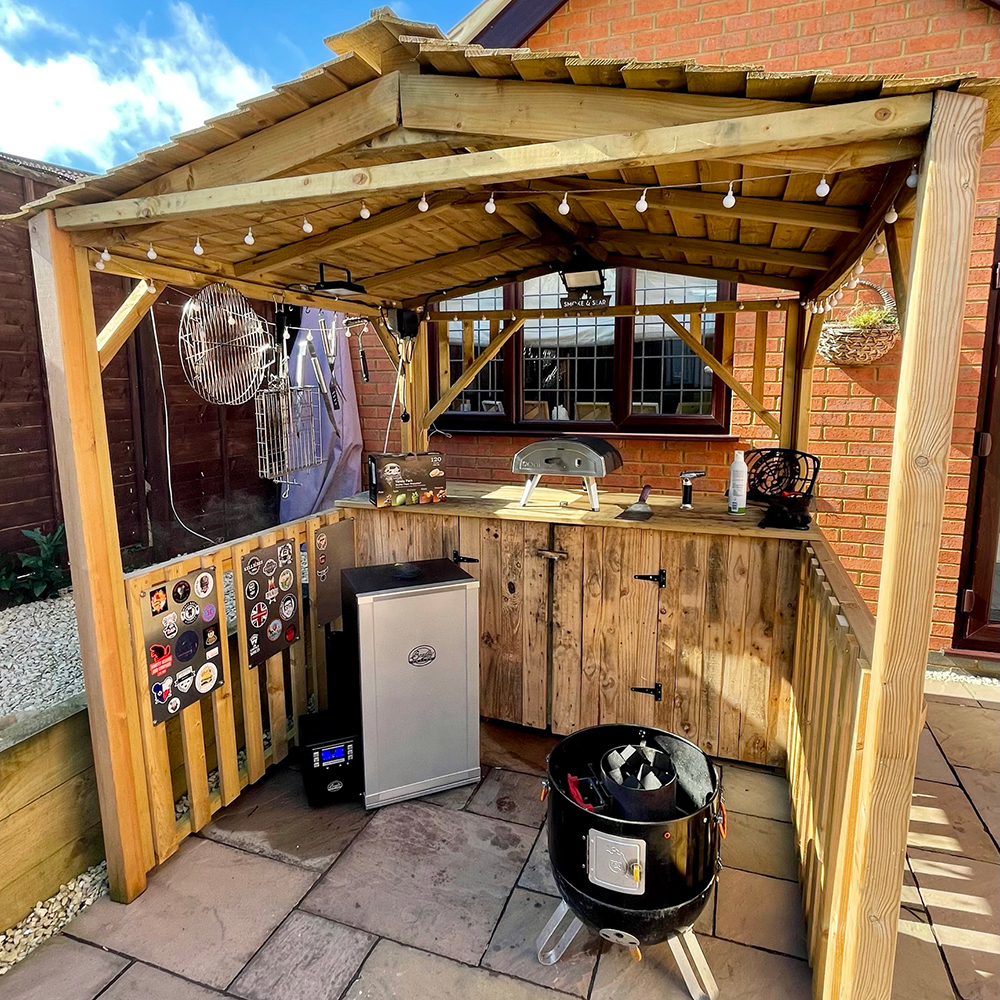
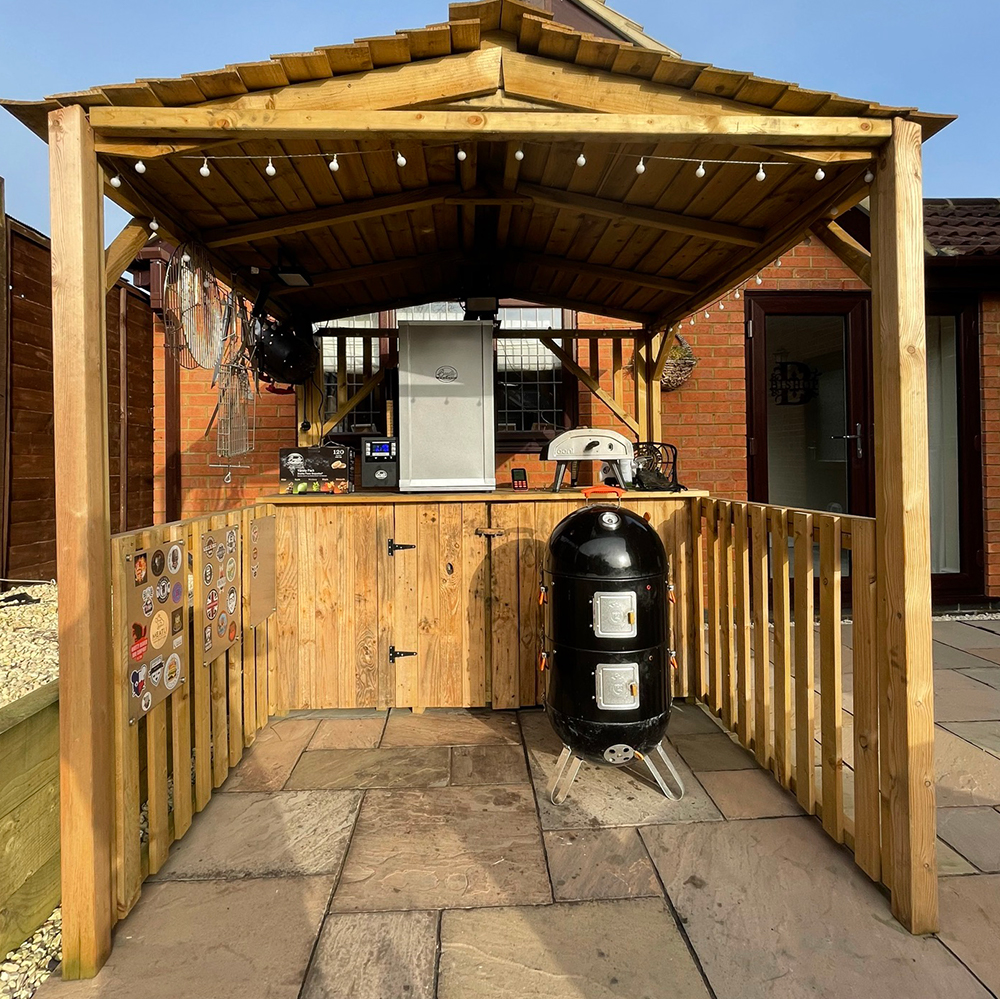
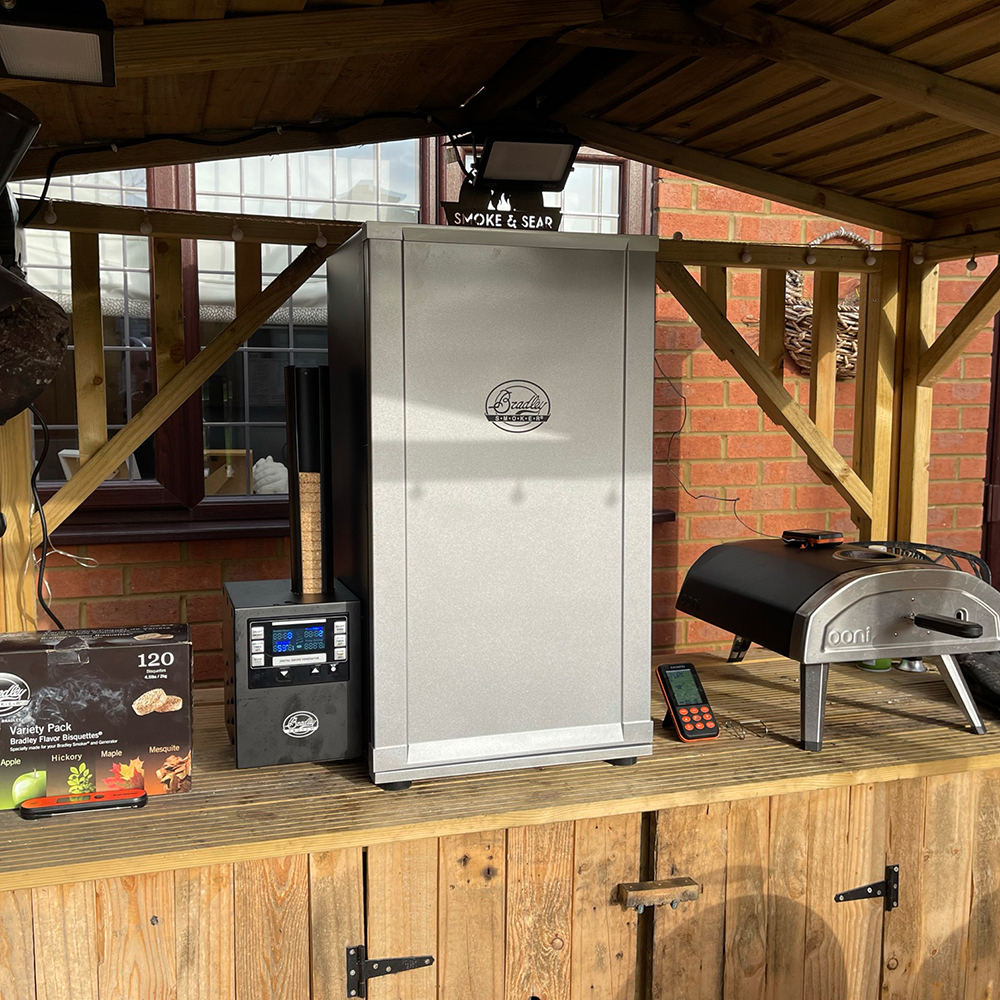
The first job was to season . . . after removing from the box it took just a few minutes to set things up outside, turn on and smoke away for 2 hours at 150f to burn off any oils and contaminants left over from the manufacturing process.
Initial Thoughts
Now, I’m not here to blow smoke up Bradley’s arse (see what I did there?!?). Part of me didn’t feel at ease not seeing a raw flame in all its glory . . . but already my mind was on overdrive thinking about how much more I could enjoy smoked food using an automated approach at times . . . I didn’t have to do anything.
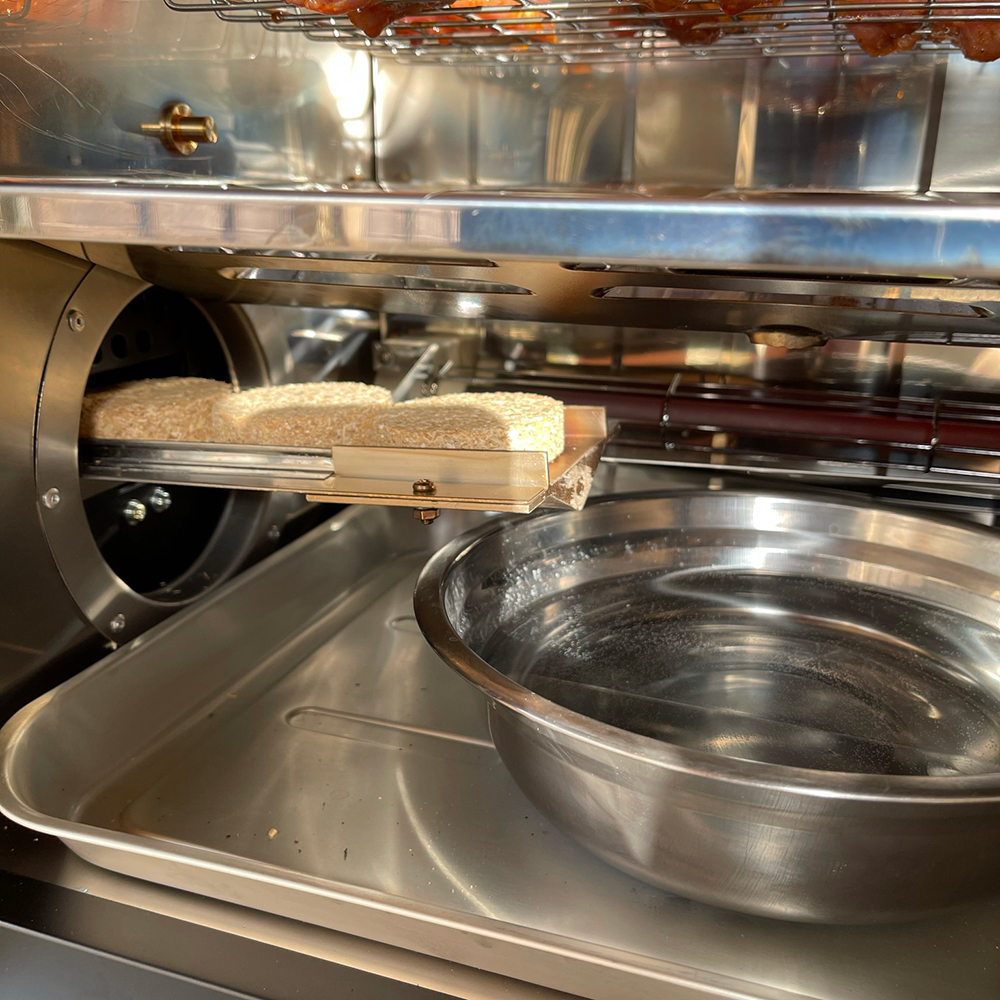
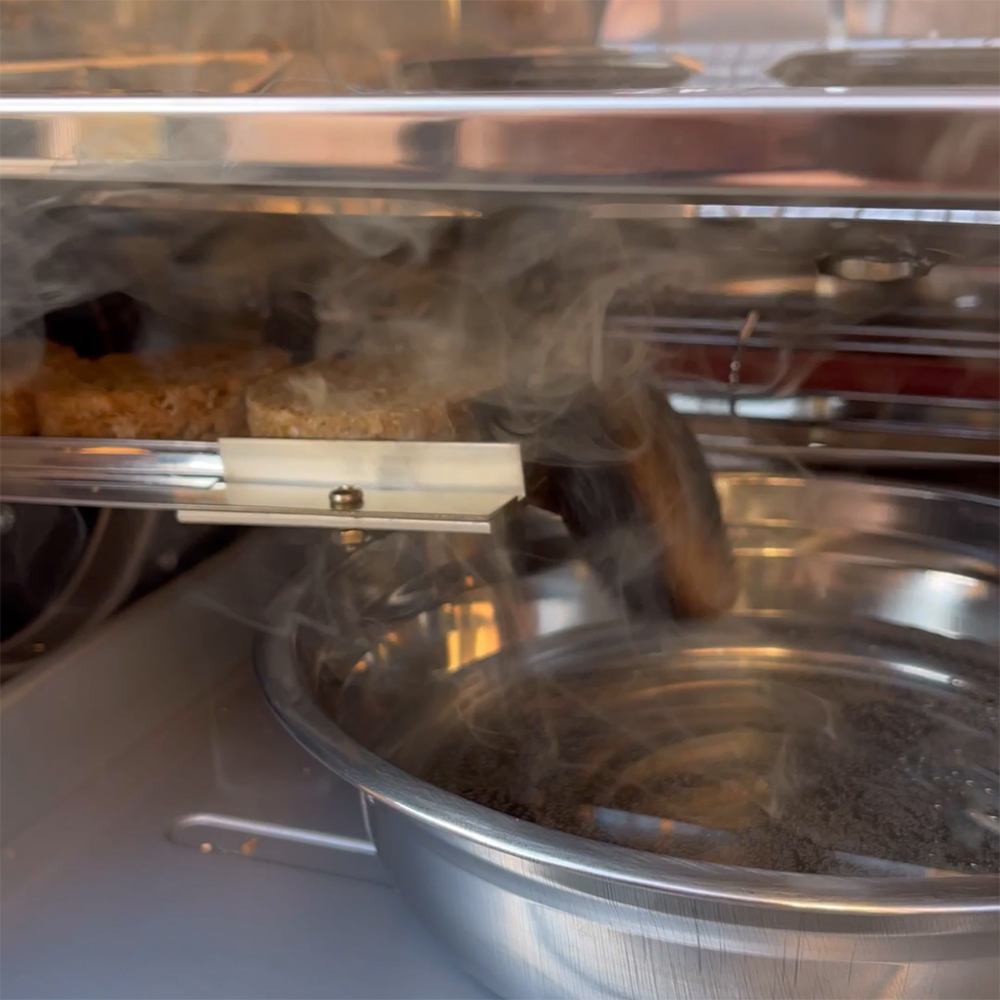
Note: Watching the bisquettes drop into the water bath to extinguish is something I enjoyed a little too much . . . I’m sure it will get boring after a while . . . but such a genius idea I thought.
What I Discovered During Seasoning
A few things I discovered after my ‘seasoning’ and doing a little more research:
- Each bisquette generates 20 minutes of smoke . . . you don’t need smoke for the entire cook
- Don’t open the door to take a sneaky look . . . the temp WILL drop
- Plug your Bradley directly into the mains or a short, heavy-duty, extension lead
- Don’t open the door to take a sneaky look . . . the temp WILL drop
- The actual internal temperature can vary + / – 10f degrees from the display
- Don’t open the door to take a sneaky look . . . the temp WILL drop
. . . anyway . . . let’s get on to the first actual cook!
The Pork Belly
As you’ve already read . . . the plan for the first smoke was to make some ‘Pork Belly Burnt Ends’.
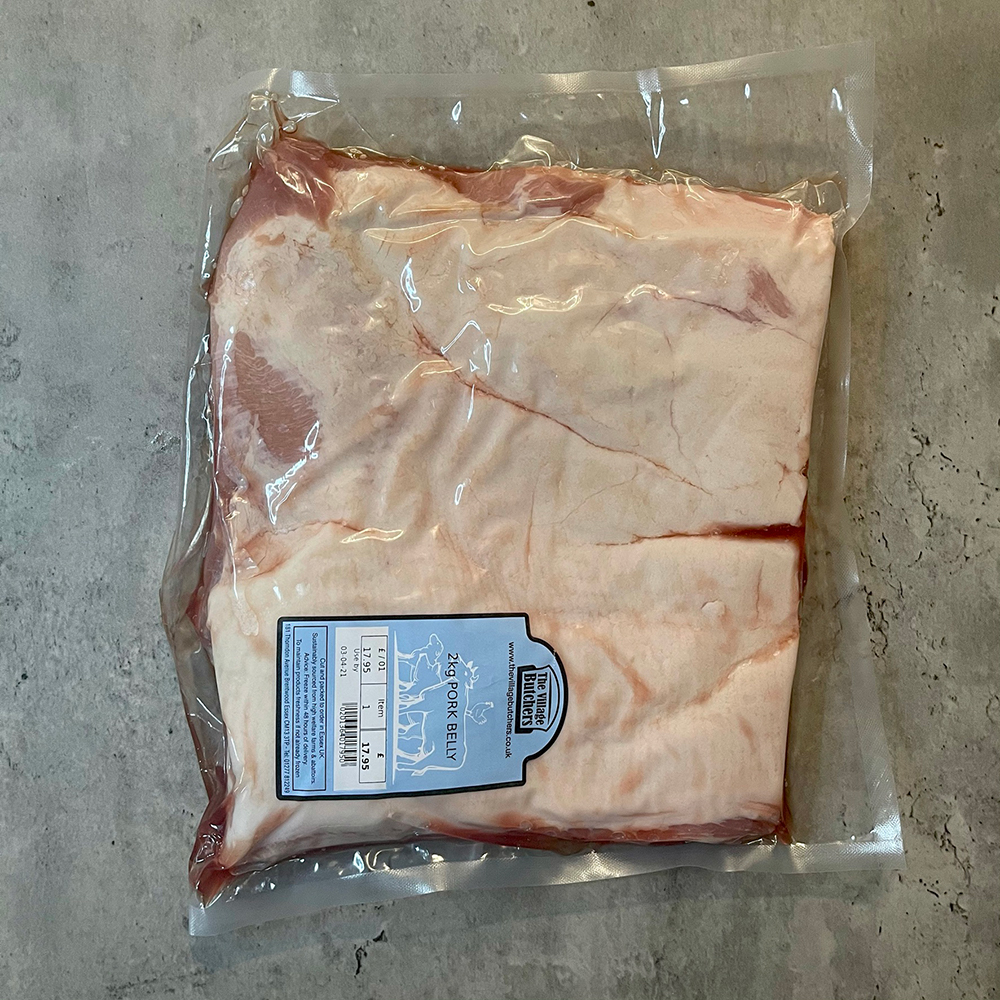
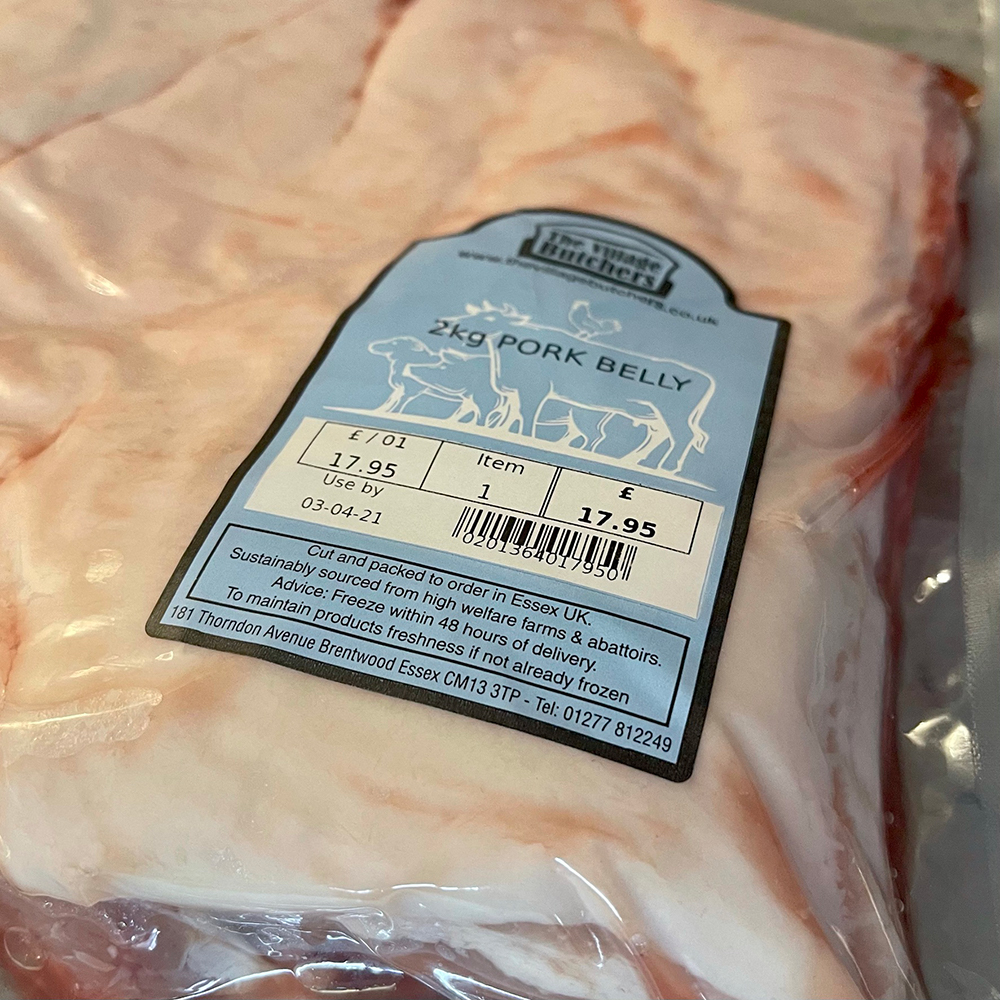
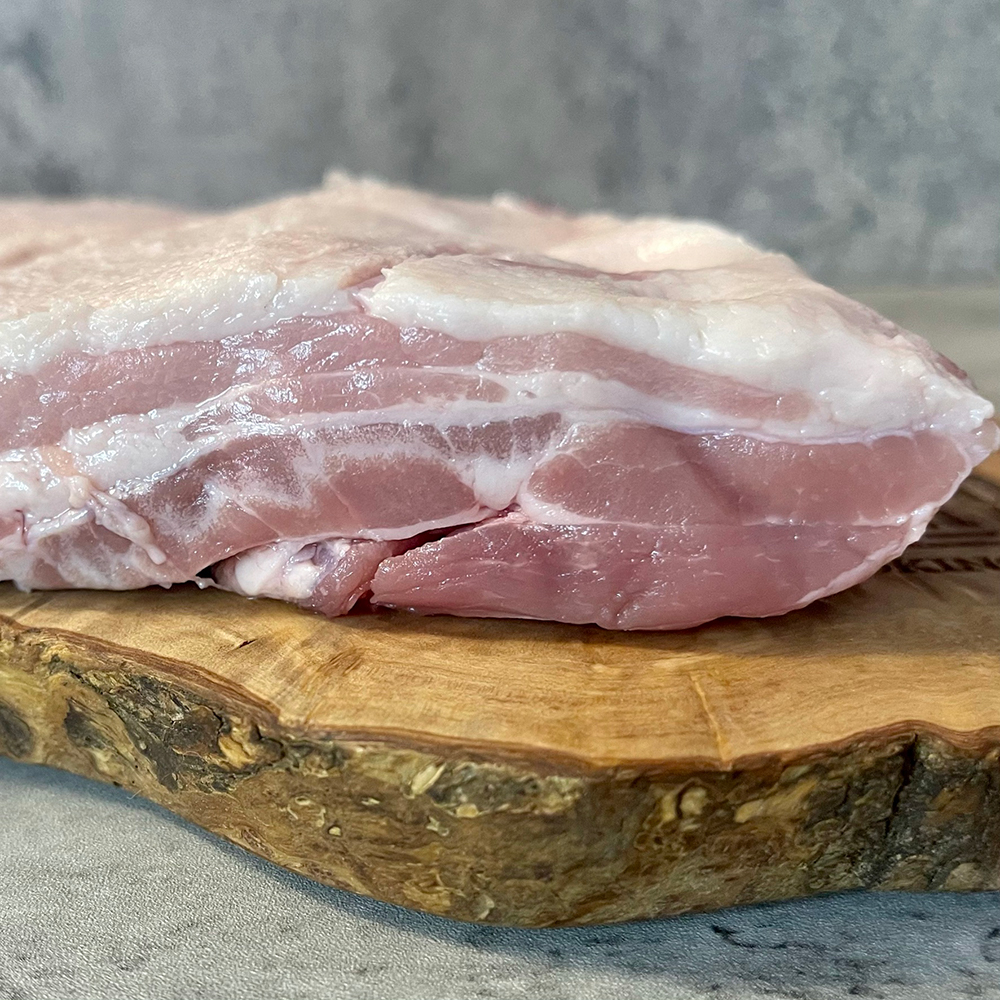
I decided to go back to ‘The Village Butchers‘ online and order 2kg of ‘BBQ Ready Pork Belly‘ at just £17.95.
Pretty happy with what turned up . . . here’s a little look.
The Prep
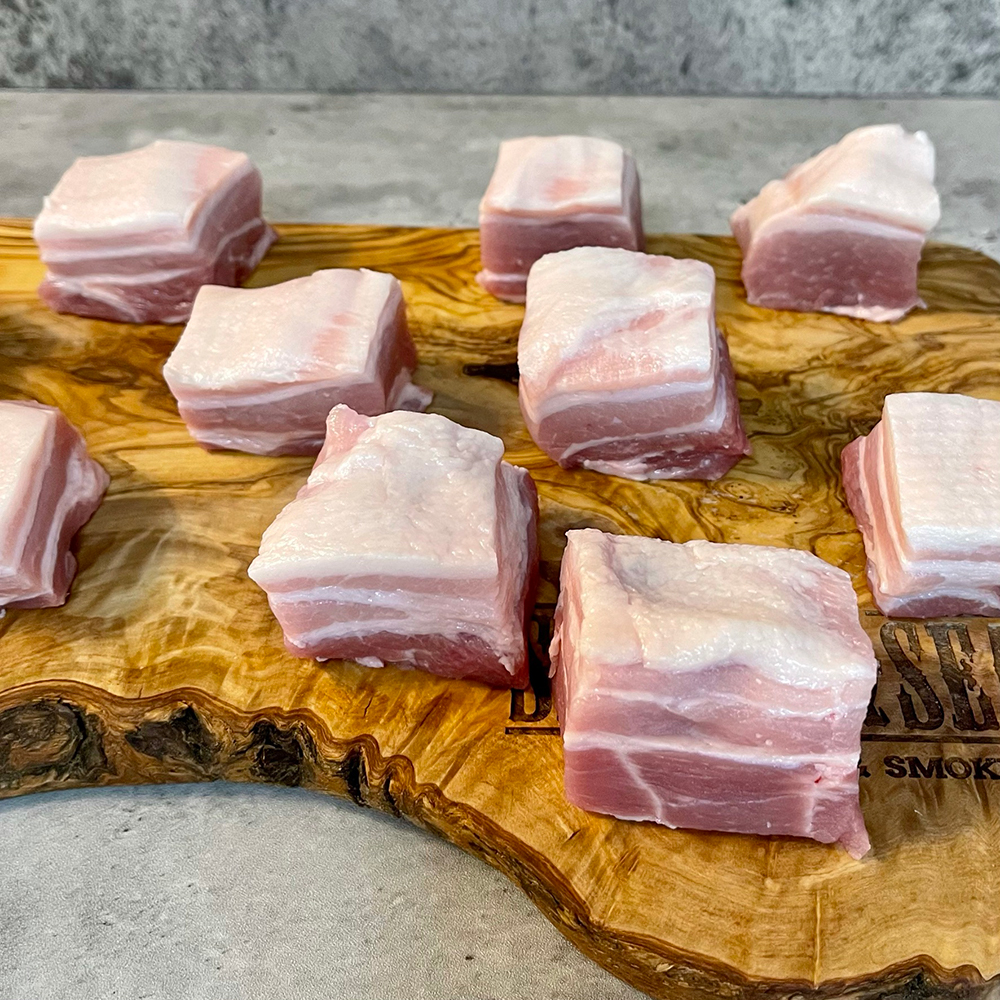
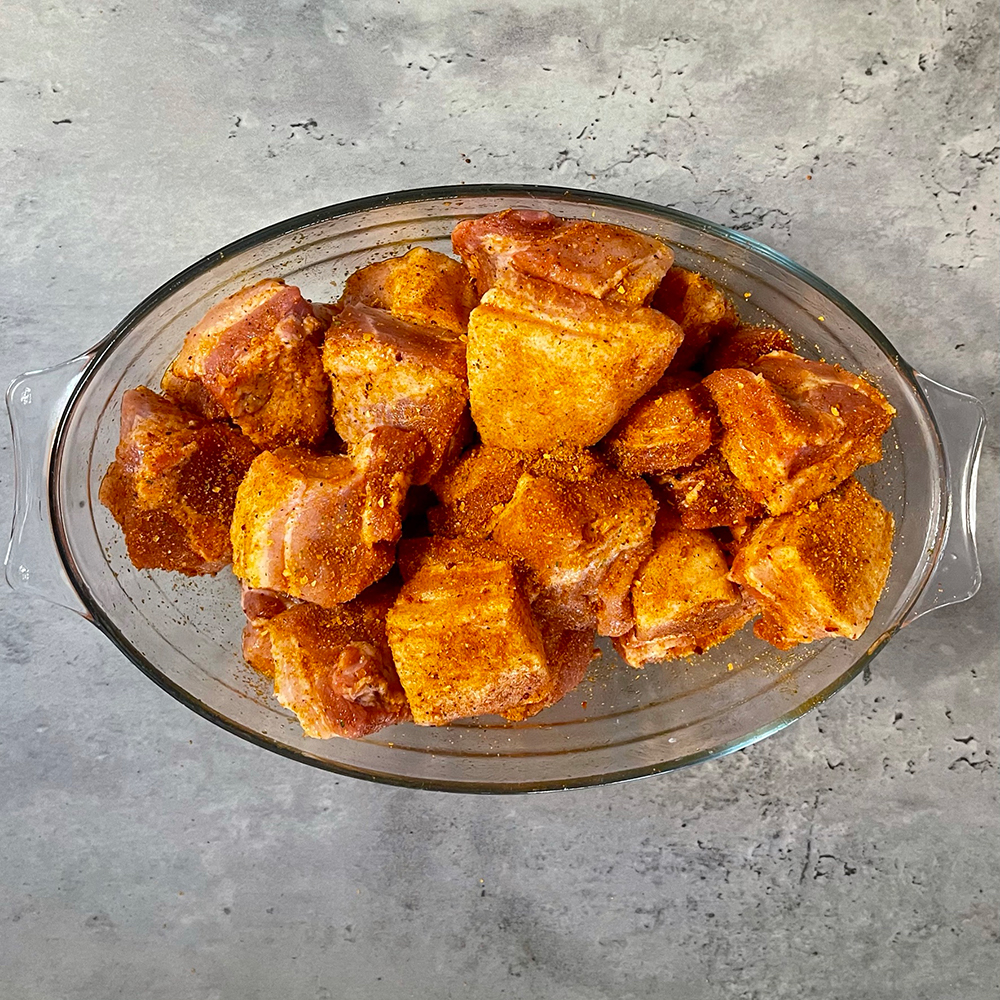
I cut the pork belly into 3.5cm – 4cm squares and placed into a large bowl.
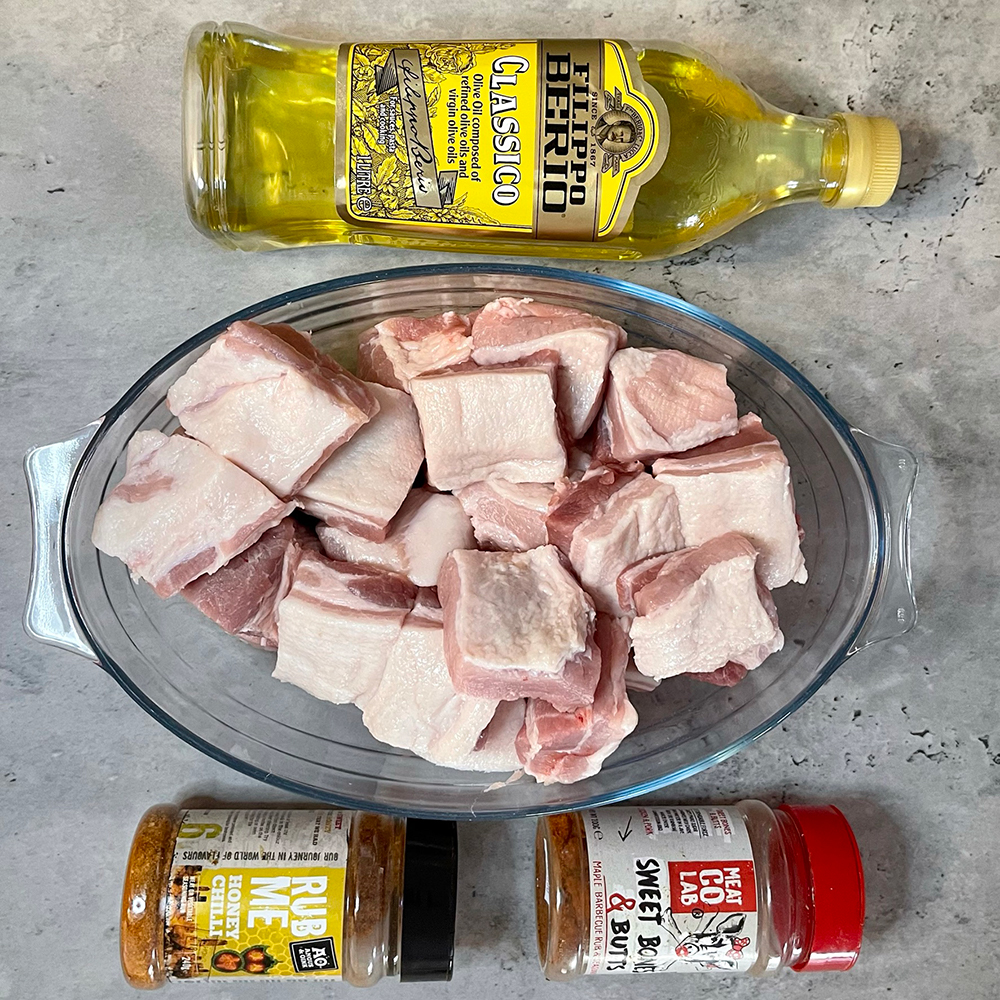
The cubes were then treated to a little olive oil and a generous helping of 2 rubs from good ‘ol Angus & Oink. On offer today we had:
Once I’d ensured all sides were covered I wrapped in clingfilm and placed in the fridge overnight.
The Initial Smoke
The next morning I set up the Bradley Smoker whilst the kettle was boiling. I loaded up with maple bisquettes and set to pre-heat at 250f.
10-15 minutes later it was at 160f so I decided to hit the smoke generator button, advance a bisquette and speed things up a little.
Another 5 minutes passed and I was at 210f so decided it was time to go!
Note: I placed cold water into the bowl . . . in hindsight I should have used warm / hot
Let’s Get Started
OK, now the Bradley was up to 210f I decided to start the cook whilst the heat continued to increase (after all, it was now time for me to log on to the PC and start the day job).
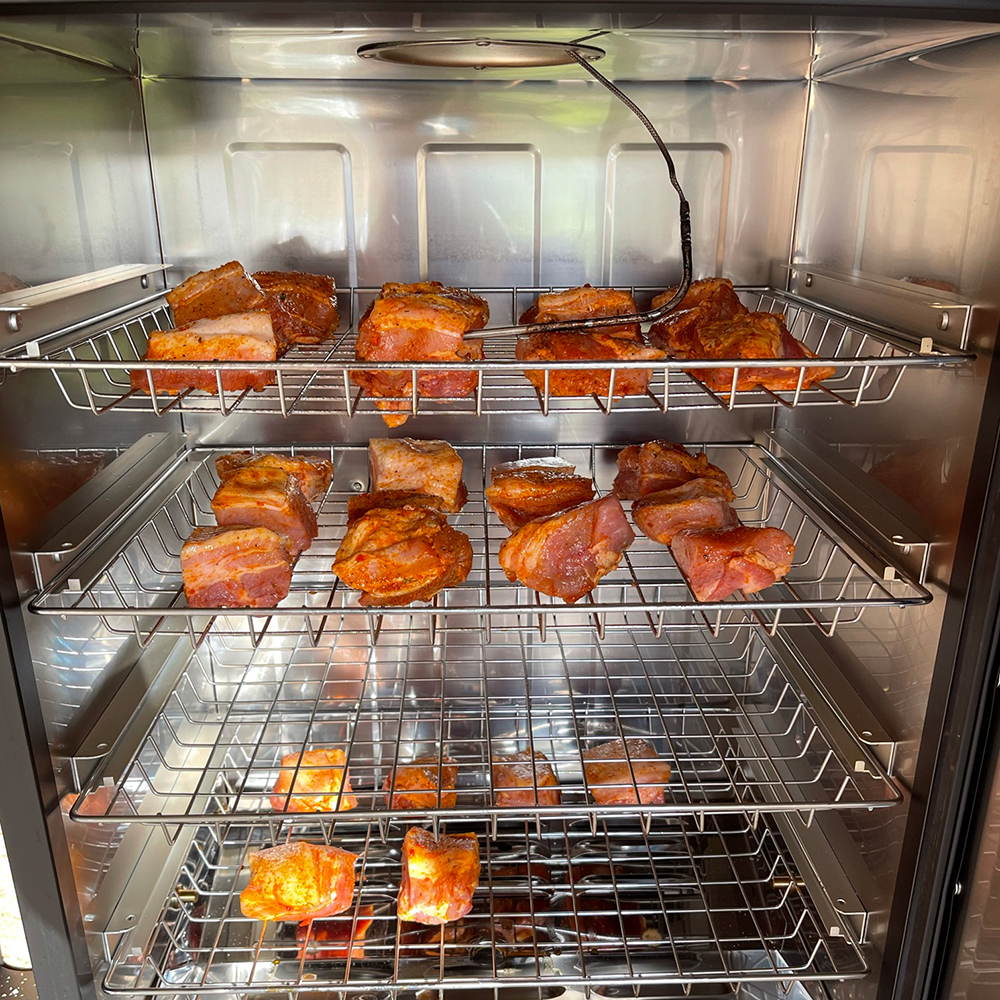
I placed the marinated pork belly cubes across 2.5 racks, placed a probe into one of them, closed the door and went inside.
Time to Sauce
Apart from quickly running outside to check the bisquettes were advancing automatically (just for peace of mind), I left the Bradley doing its ‘thing’ whilst I attended numerous Microsoft Teams calls back in the home office.
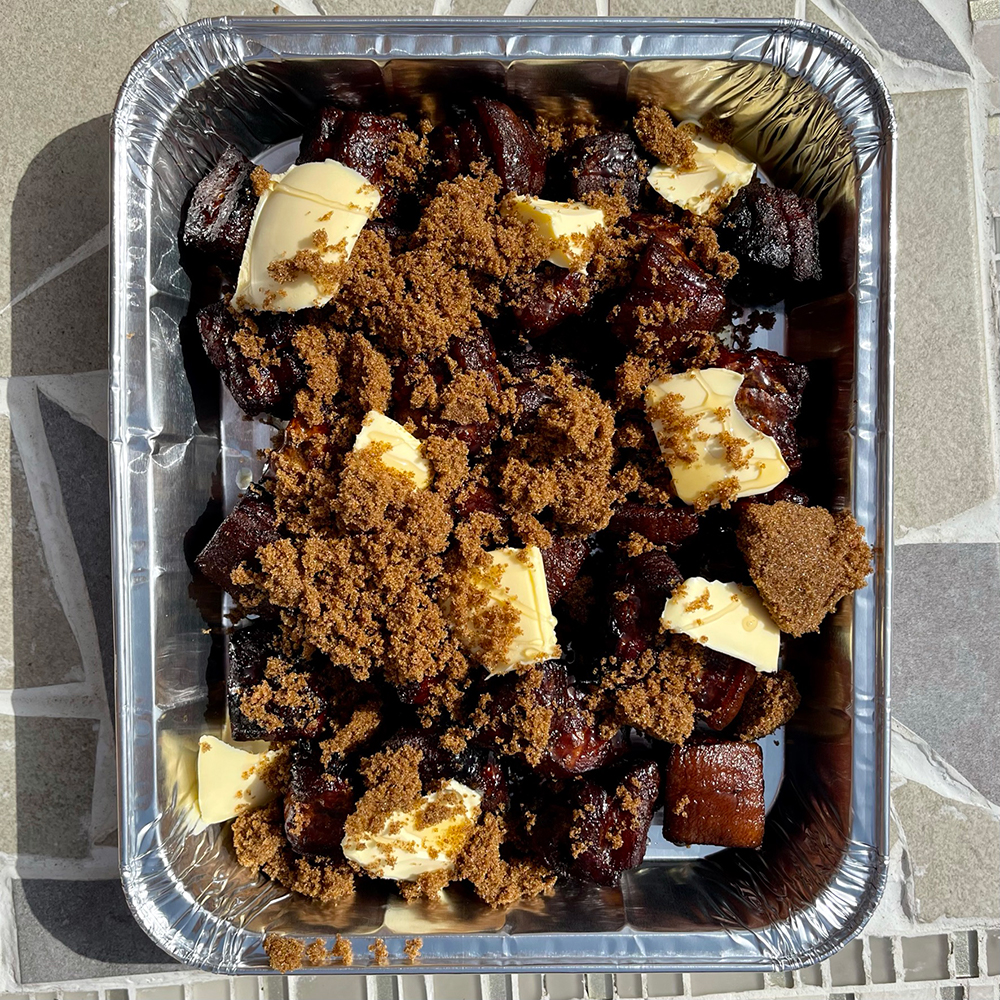
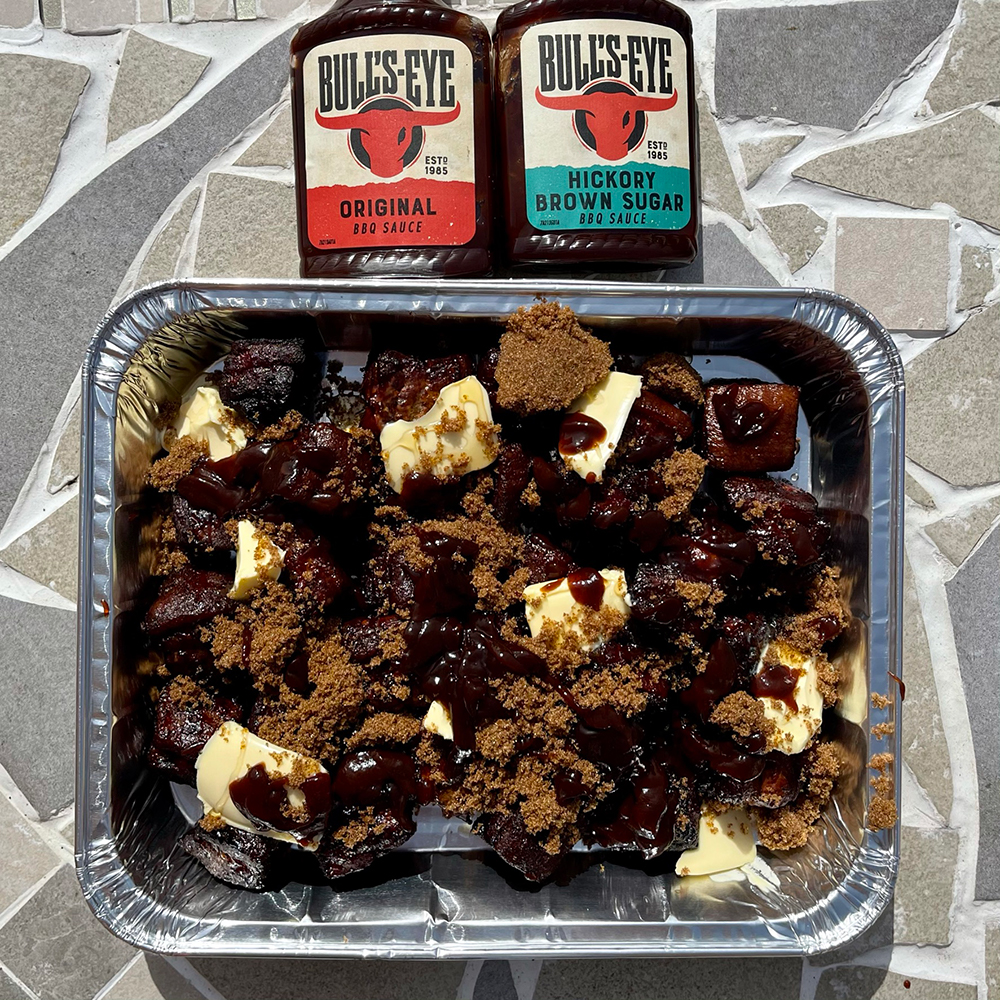
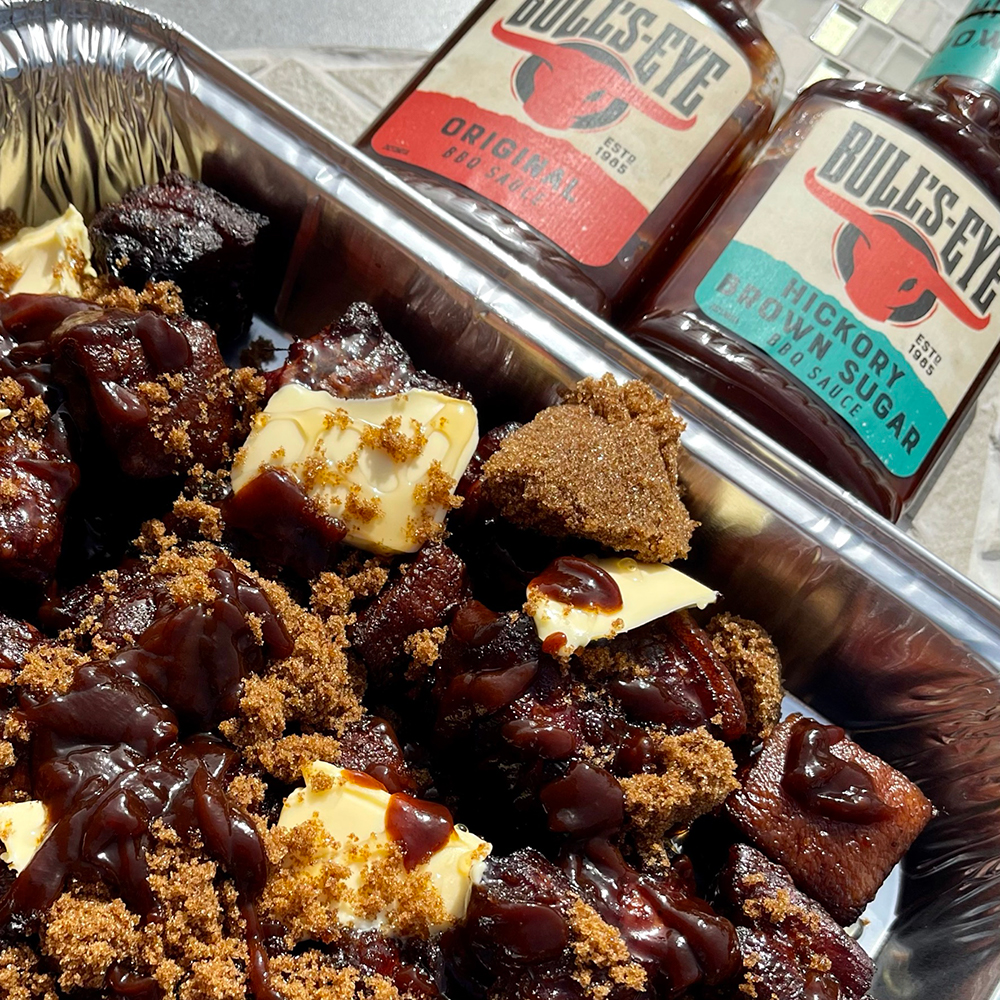
Once the Inkbird was showing that one of the cubes had hit 180f internal I headed outside and moved the pork cubes to a foil tray accompanied by butter, honey, brown sugar and some good ‘ol sauce from Bulls-eye.
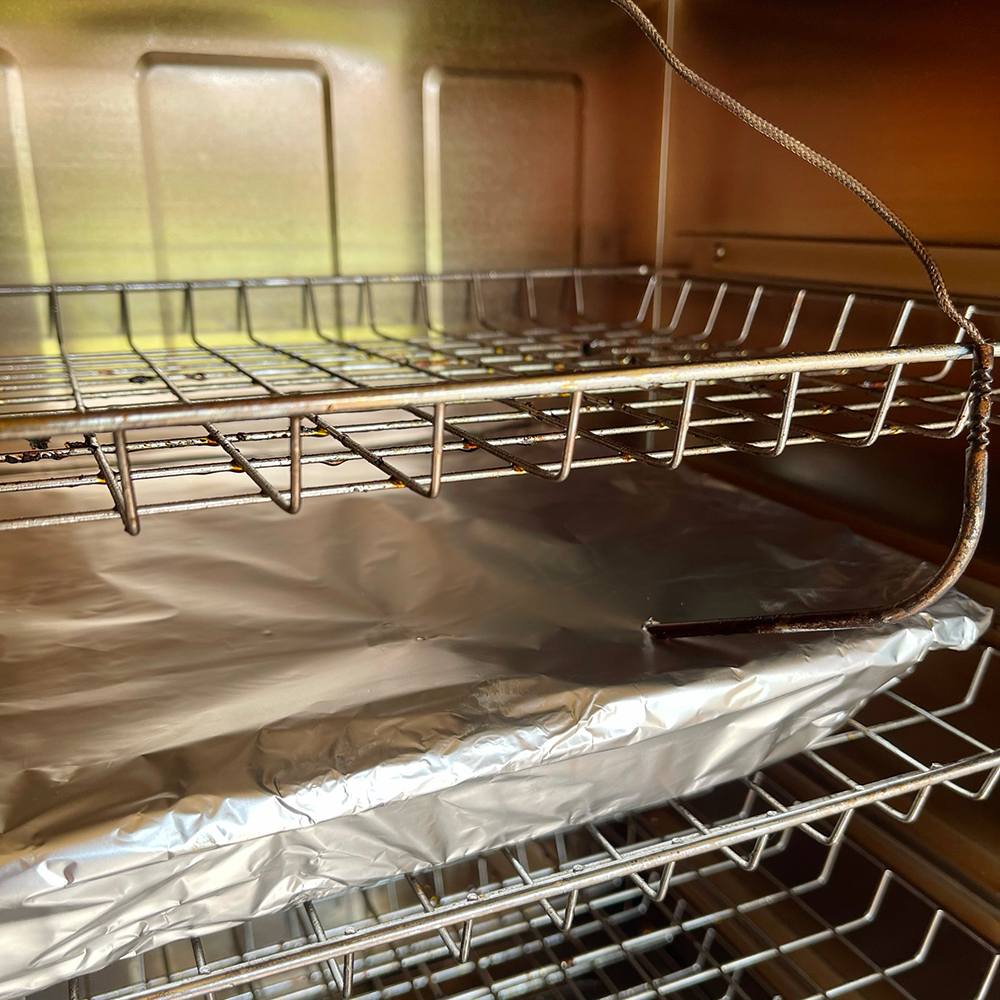
Once all was mixed around I tightly covered in foil, placed back in the Bradley . . . re-added the probe to one of the cubes and went back inside.
Note: As we were now wrapping the pork in foil there was no need to produce smoke . . . so I turned off the smoke generator and relied on the oven alone.
The Home Stretch
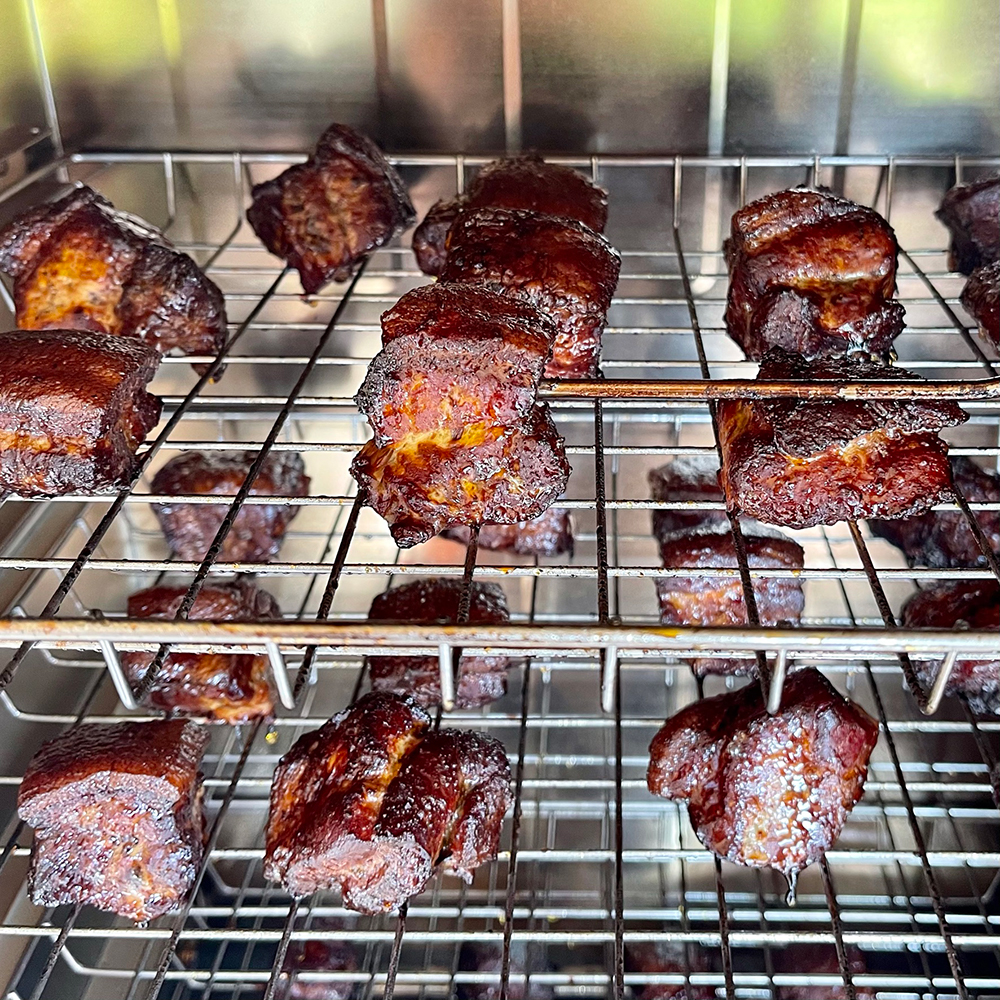
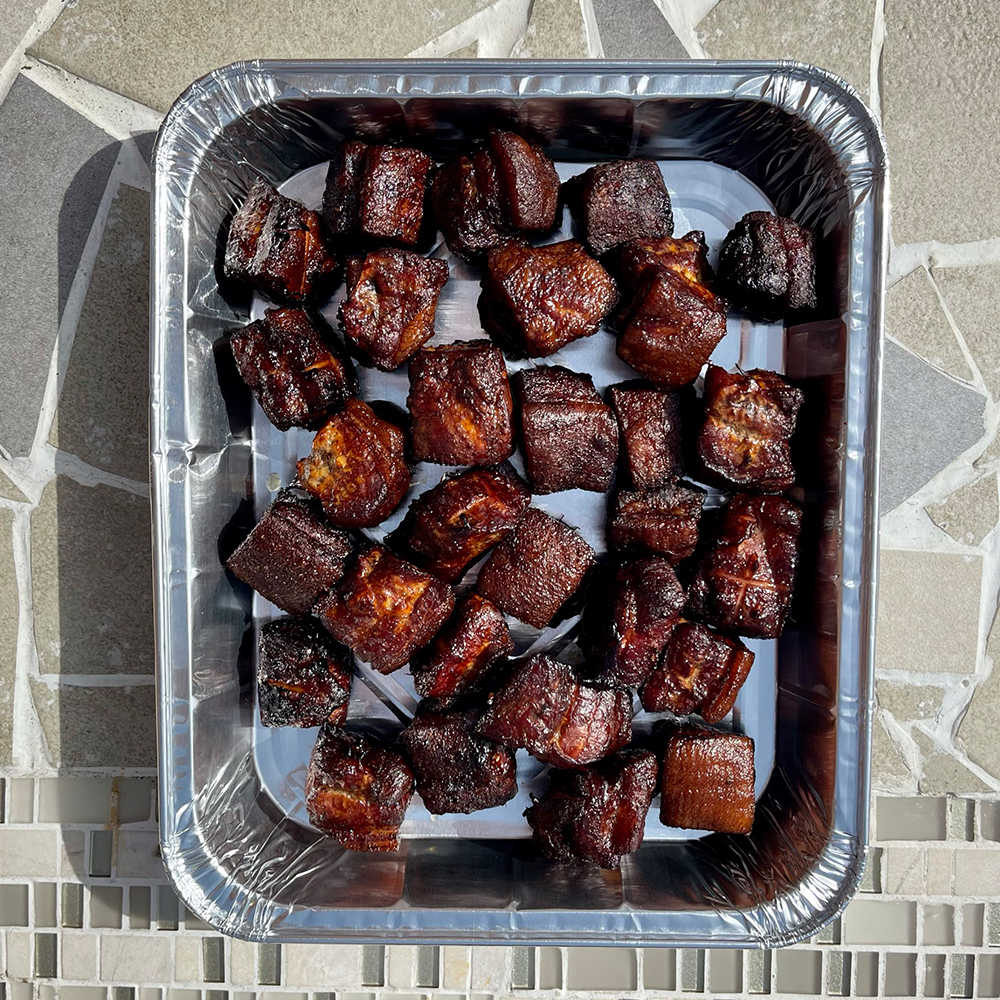
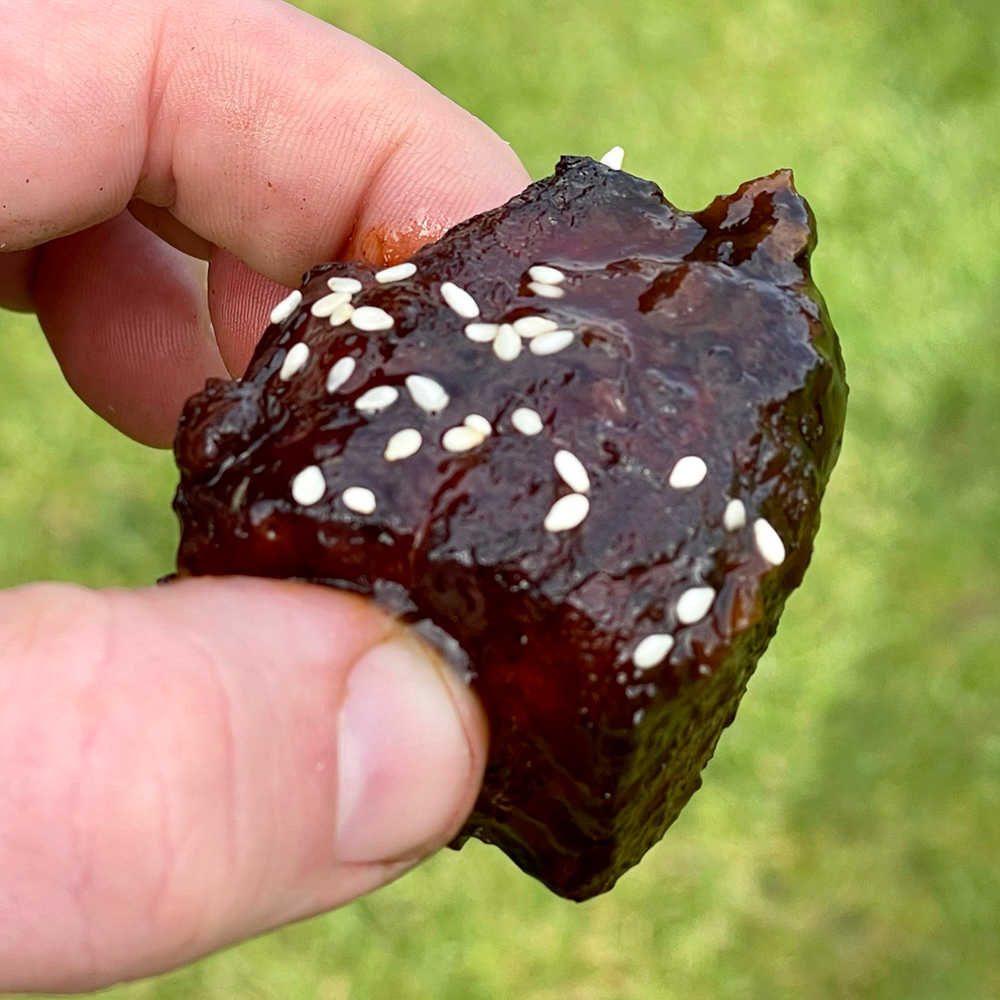
2 hours later and the Inkbird was showing 200f internal so it was time to rip off that foil, stir the sweet meat around the tray and put back in for a few minutes just to thicken the sauce a little and allow the cubes of candy to set a tad.
In terms of temperatures . . . I took the burnt ends out of the Bradley for good once the internal temperature was showing 205f.
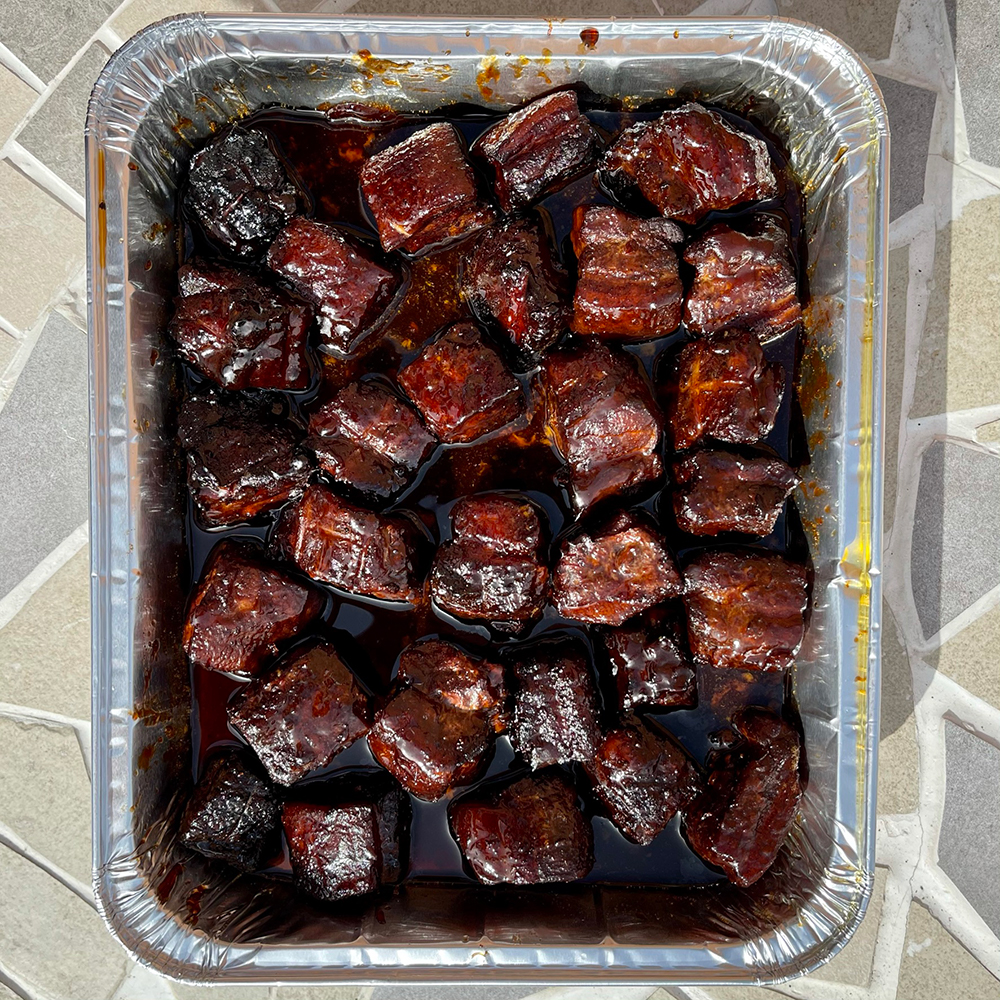
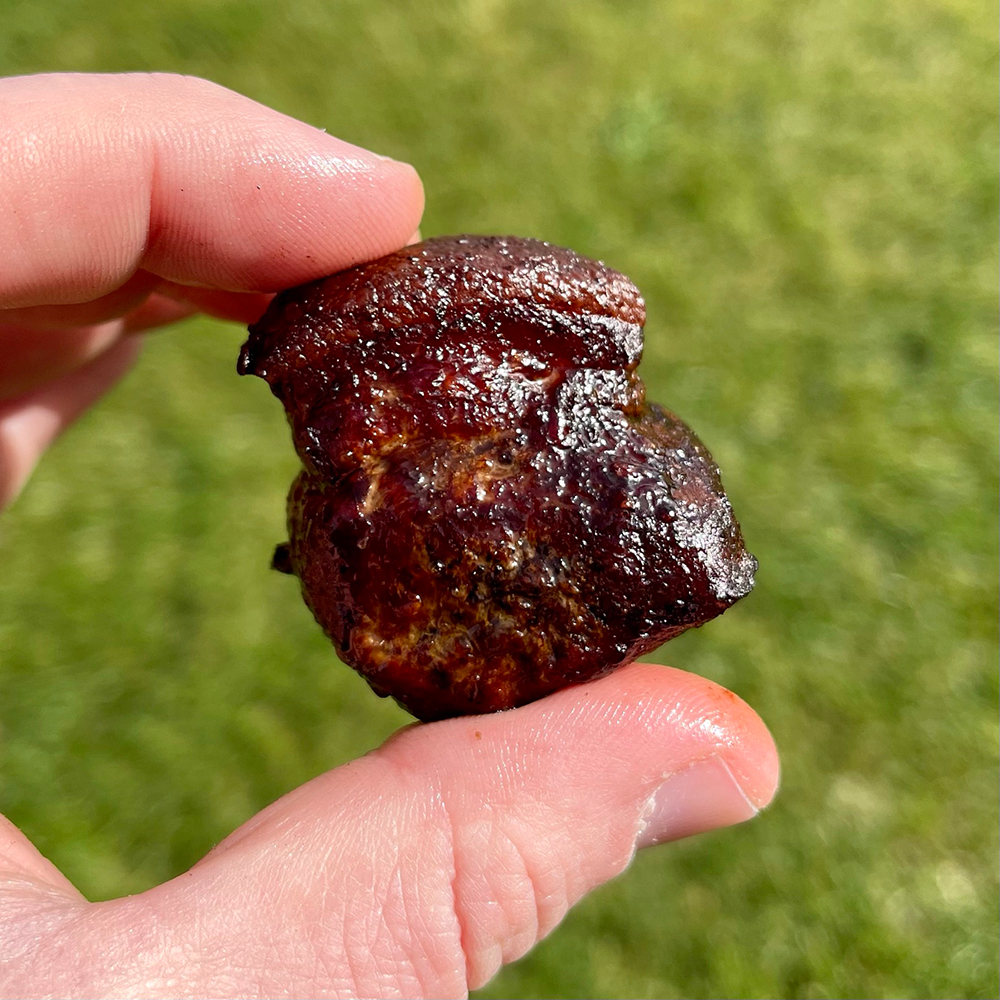
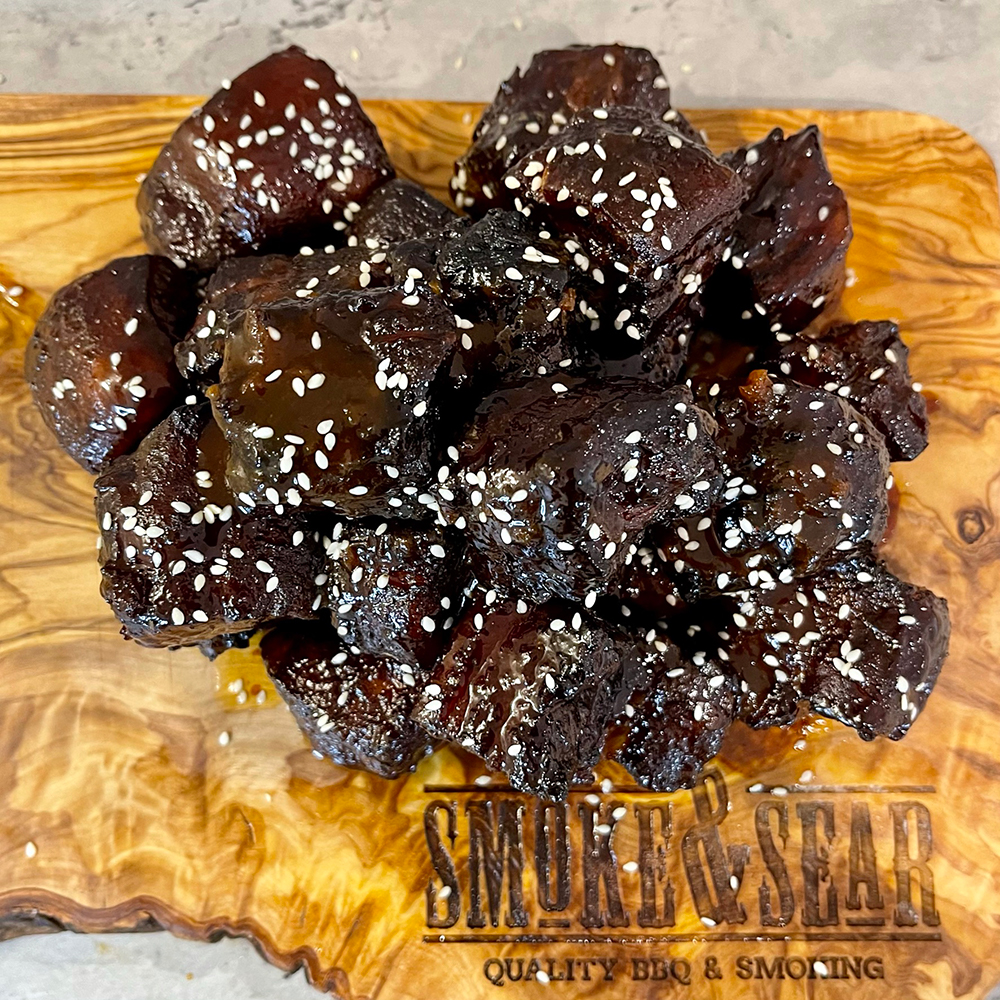
The Final Result
What do I think about the Bradley Smoker?
Honestly, I miss the battle . . . the wind . . . flames . . . charcoal . . . . for me, managing the fire is half the fun. I enjoy setting up the fuel (minion / snake / canyon etc), and seeing how long I can get out of it . . . adjusting the vents as I go along. But let’s be honest . . . we don’t always have the time.
I’ve got 2 jobs, 3 kids, 4 dogs and a wife who works tirelessly to make the entire house ‘work’ . . . there isn’t always time to sit in front of the BBQ / Smoker for a few hours (with a beer) and constantly tinker with things just to put food on the table.
Don’t get me wrong . . . the Bradley isn’t going to switch me to an automated way of cooking, however, it definitely has its place. I love smoked food . . . I really do . . . and now because I have a Bradley smoker I can now flick a few buttons, put in some meat and go enjoy life . . . spend time with the family, do some work . . . freedom!
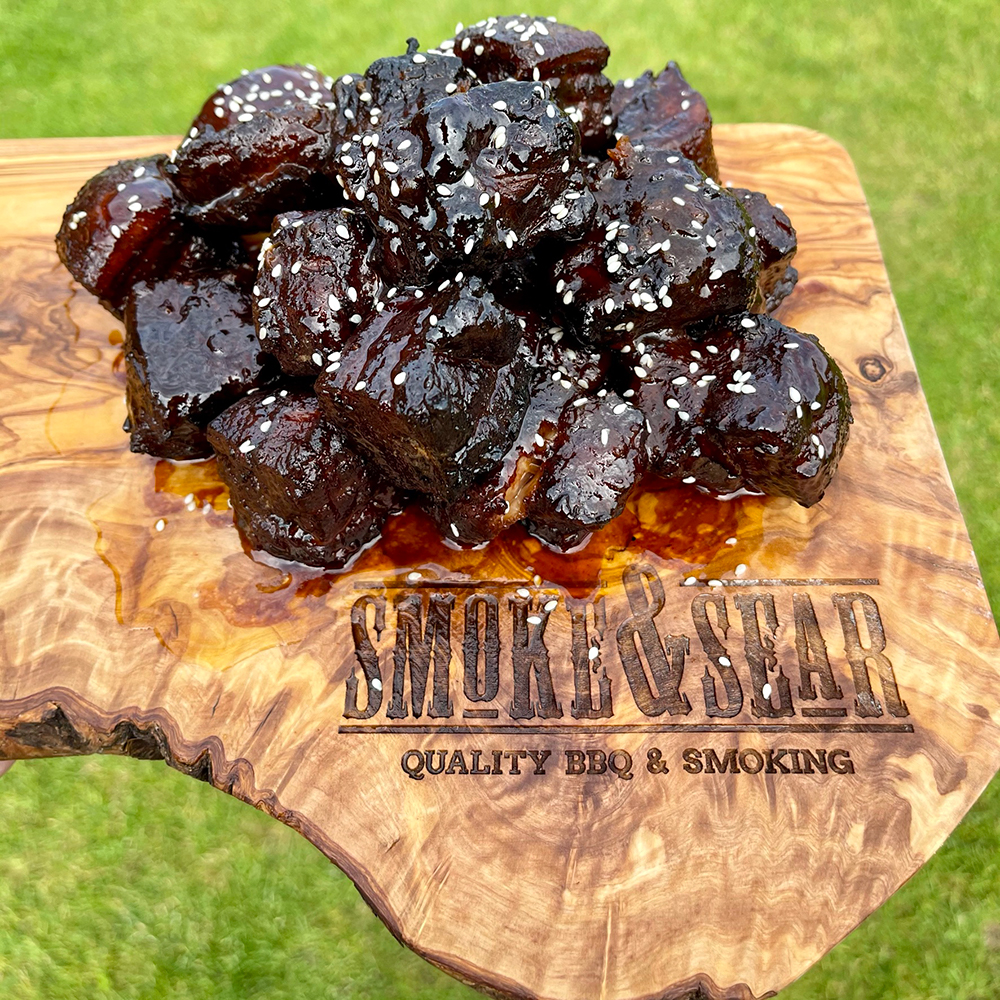
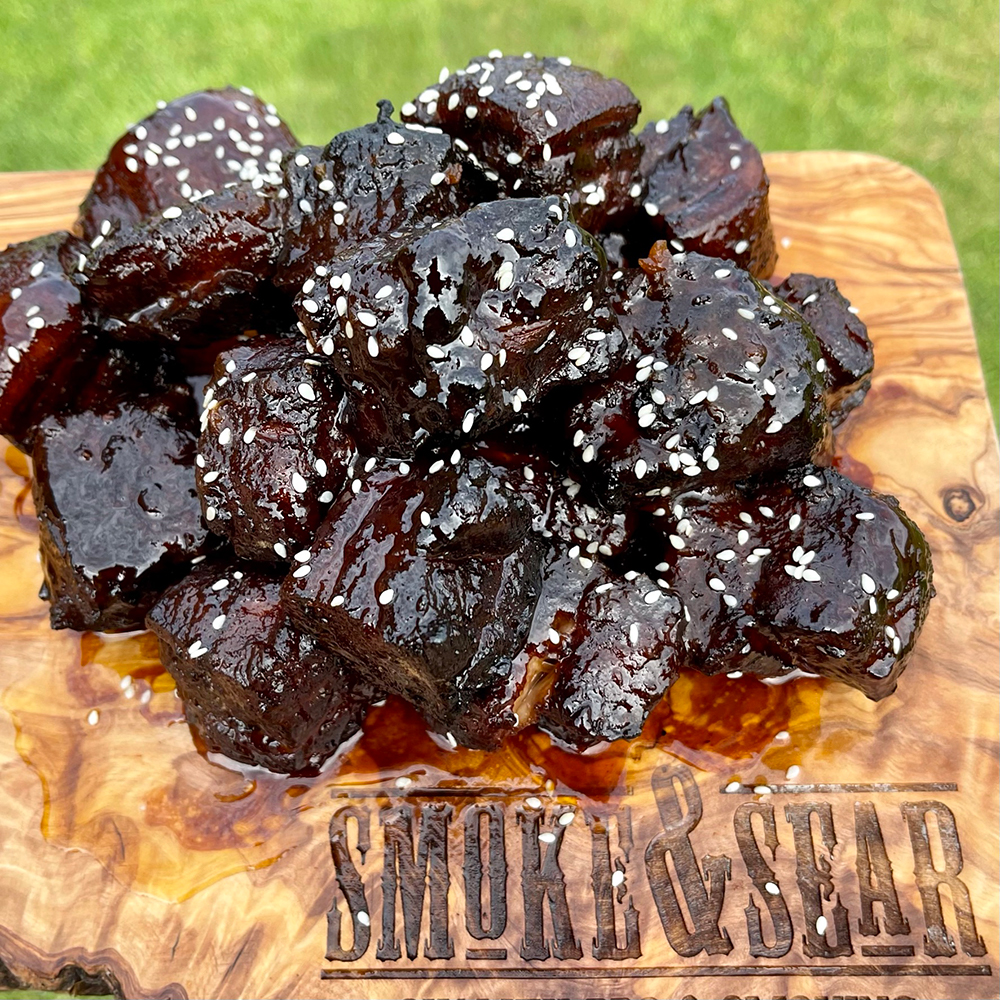
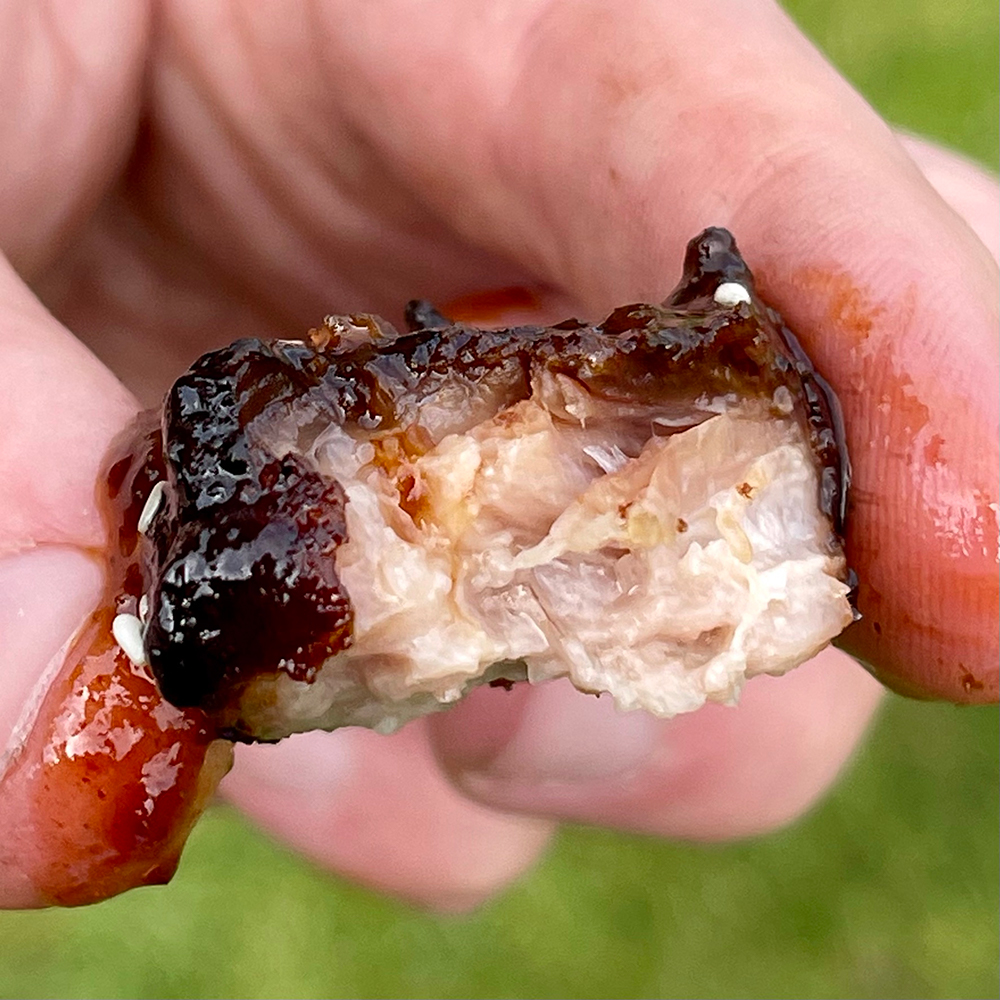
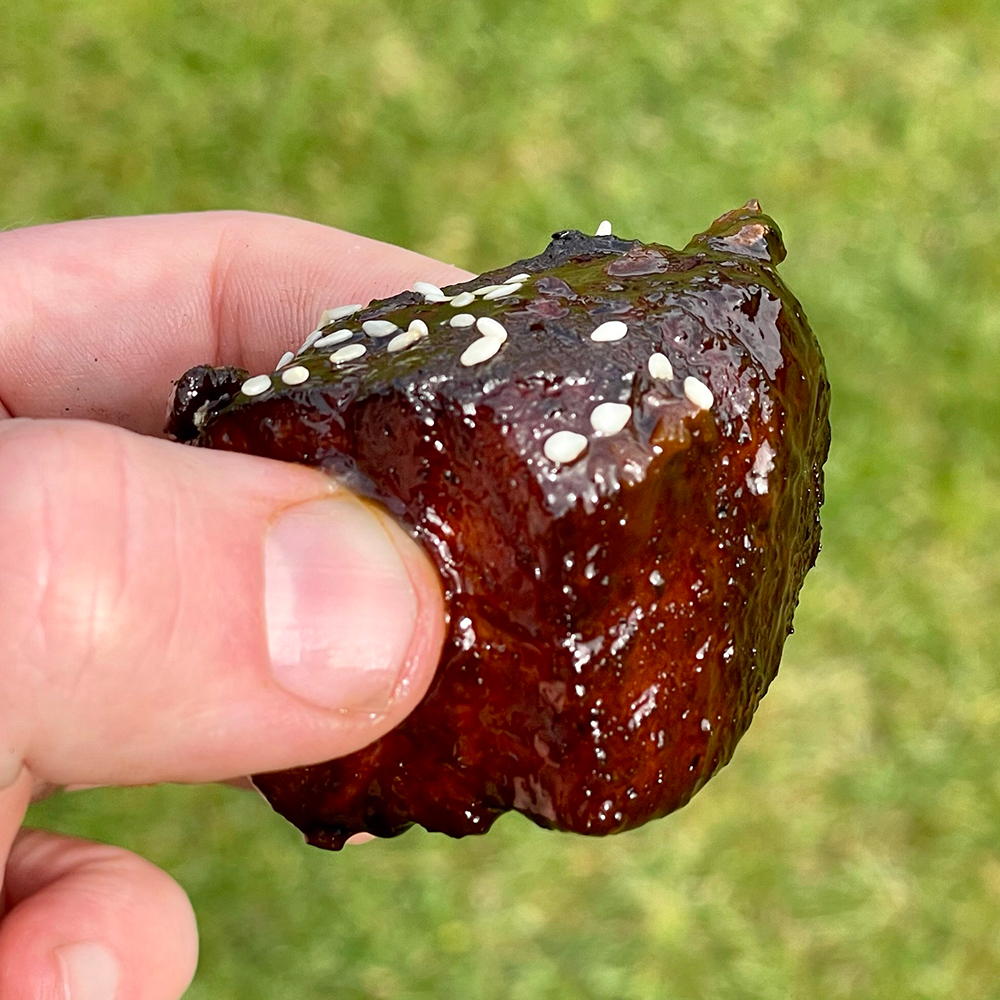
It’s early days . . . but so far I’m impressed . . . the burnt ends tasted great . . . I’m looking forward to the next cook.

