“Perfect” Pulled Pork . . . now that’s a big statement to make (even for me).
I’ve only made pulled pork a few times now, but after today’s smoke . . . well, I don’t think it could get any better!
Here is a detailed guide to the process I followed:
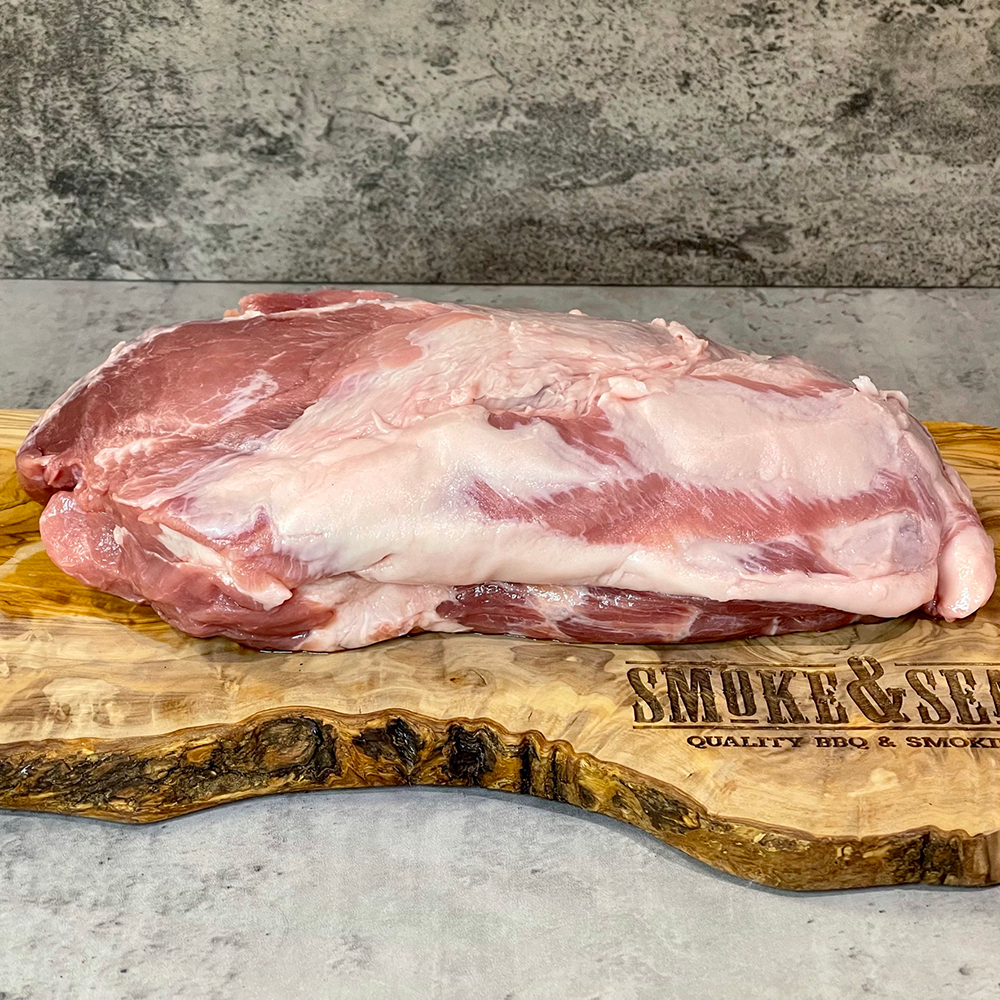
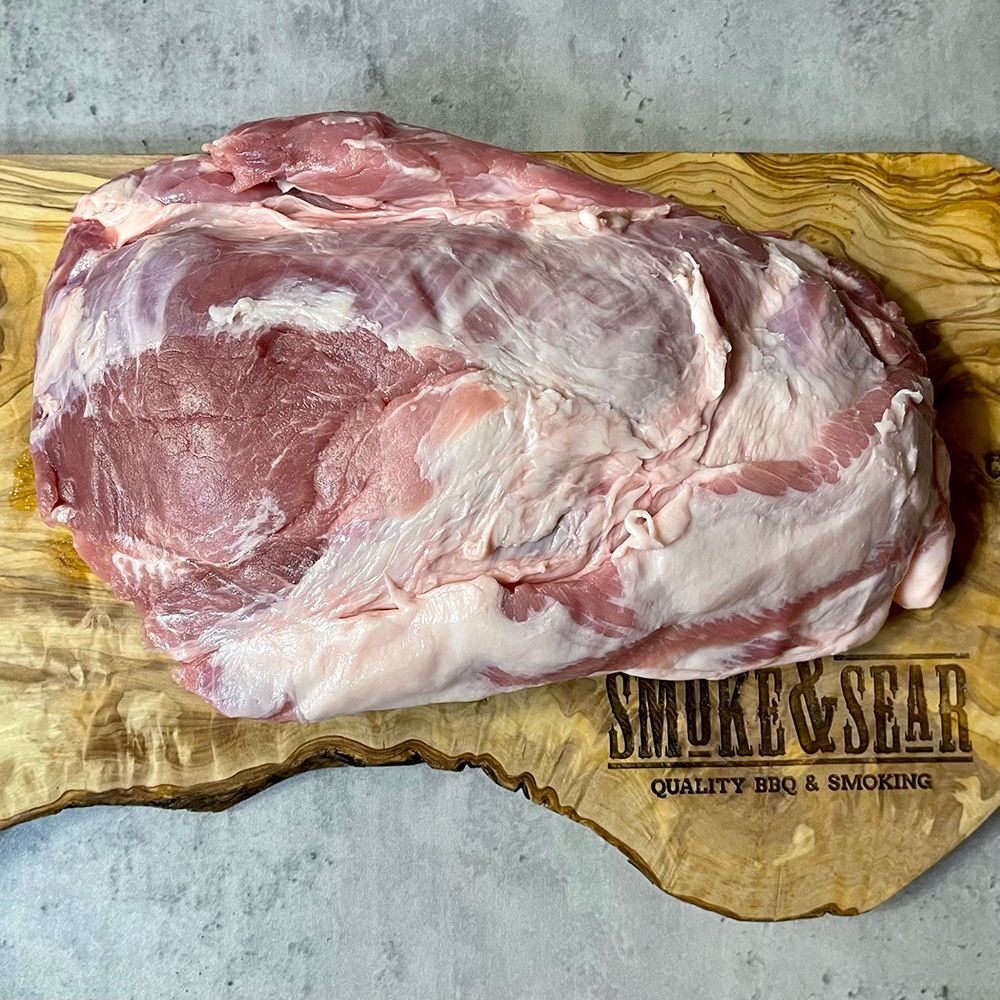
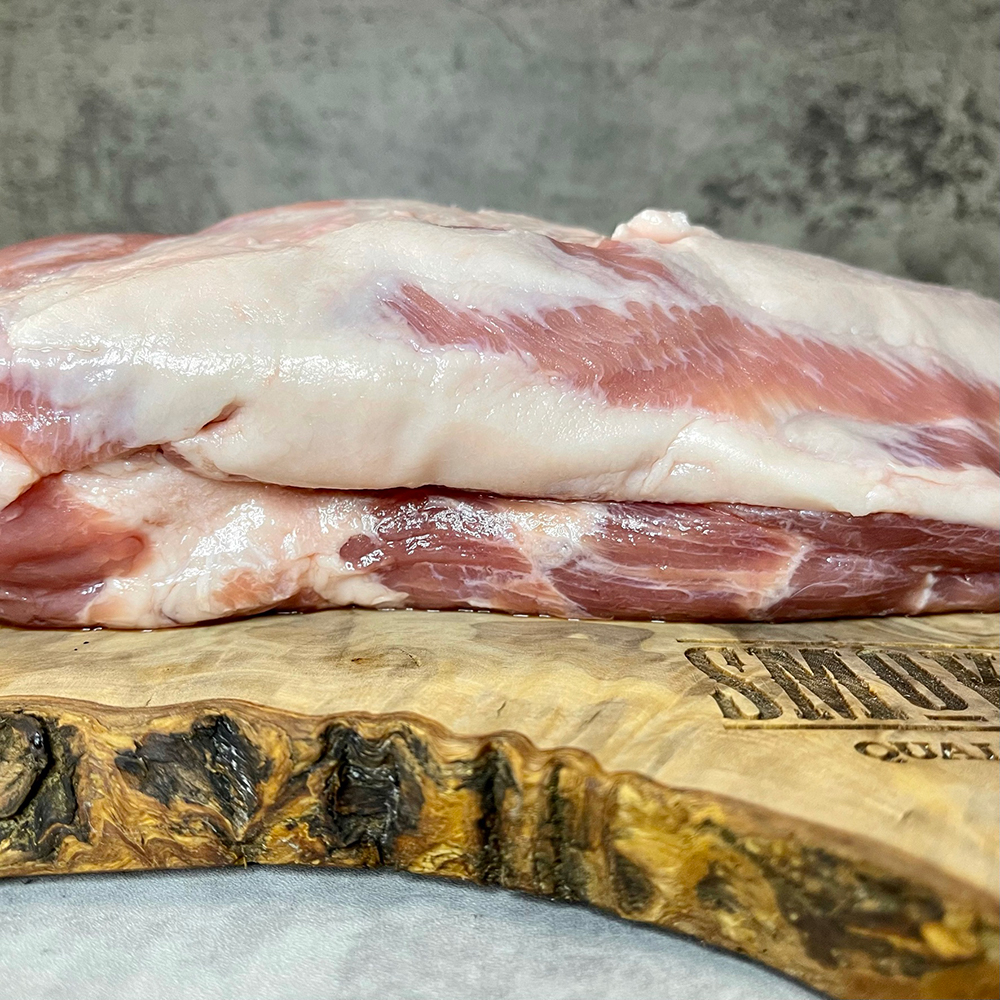
The Pork Butt
You know what they say . . . good in . . . good out. As with all my recent cooks I ordered the meat from ‘The Village Butchers‘.
I ordered a ‘Boston Butt’ weighing between 1.75kg – 2.2kg for just £17.99 which was delivered in just a couple of days direct to my door.
Just to make your life a little easier . . . here is a direct link ‘The Village Butchers – Boston Butt’.
The Injection
Thankfully ‘The Village Butchers‘ takes care of a lot of the prep for you. The joint arrives boneless, rindless and trimmed ready to go.
I’m a fan of moist, flavourful stringy pulled pork and for this reason there are a couple of steps I follow.
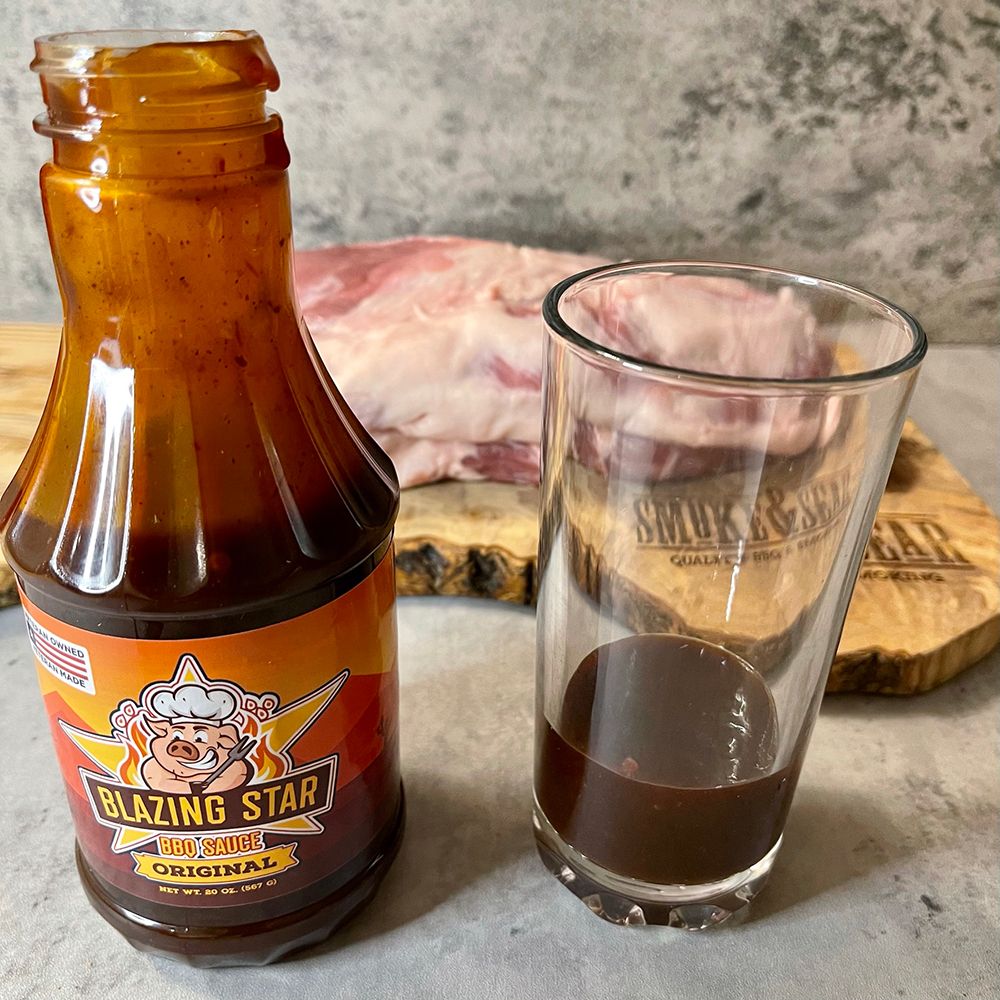
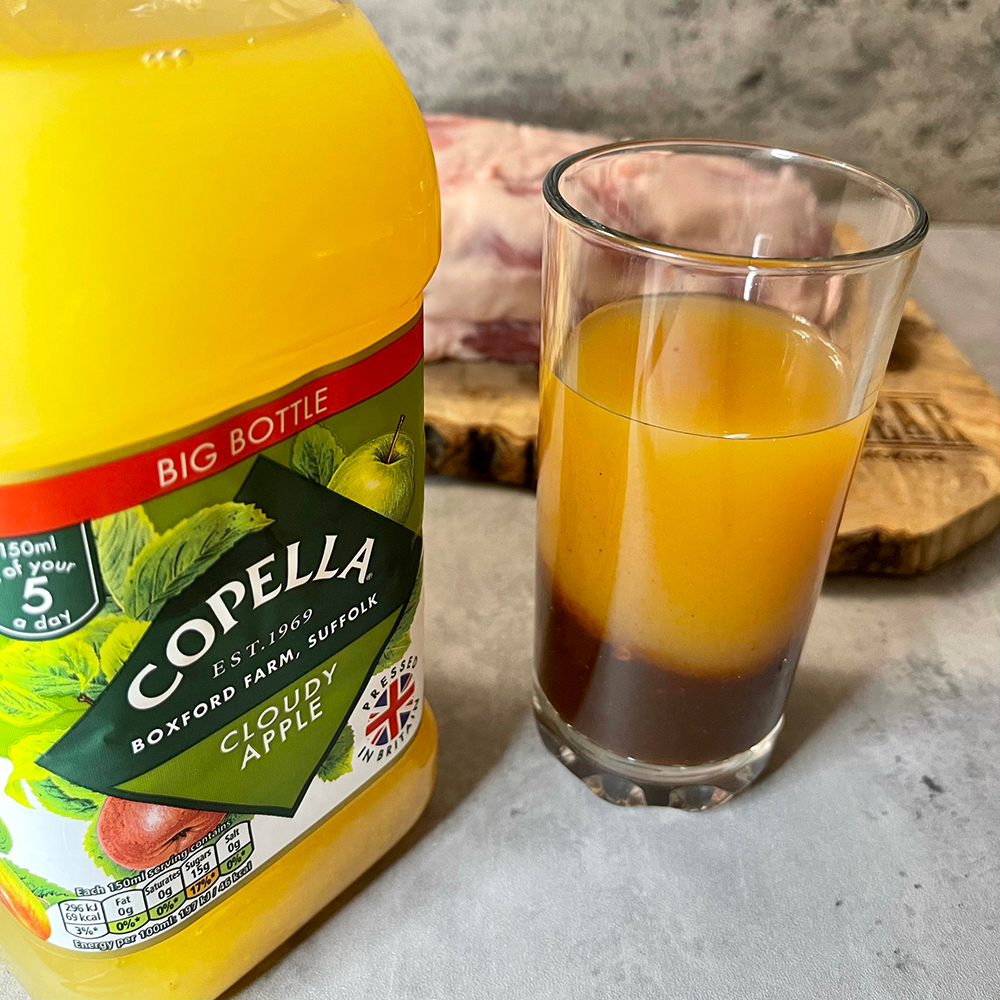
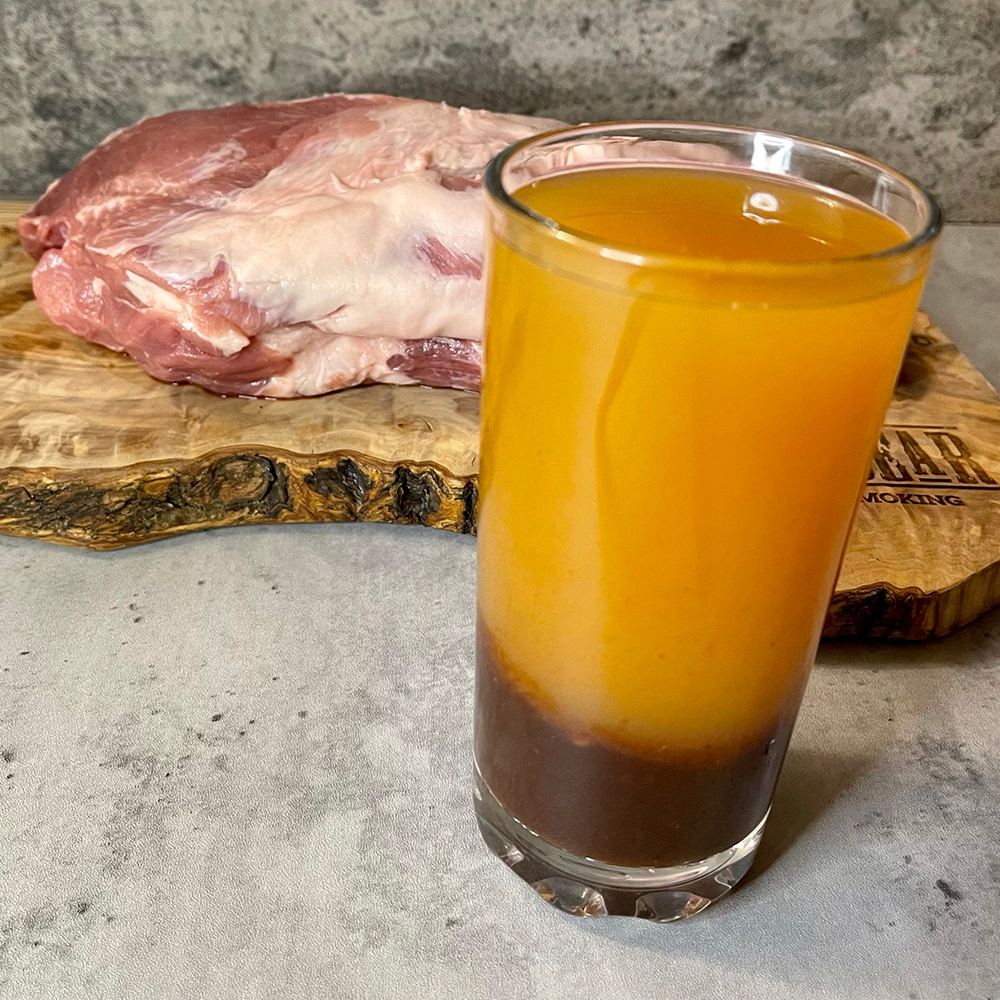
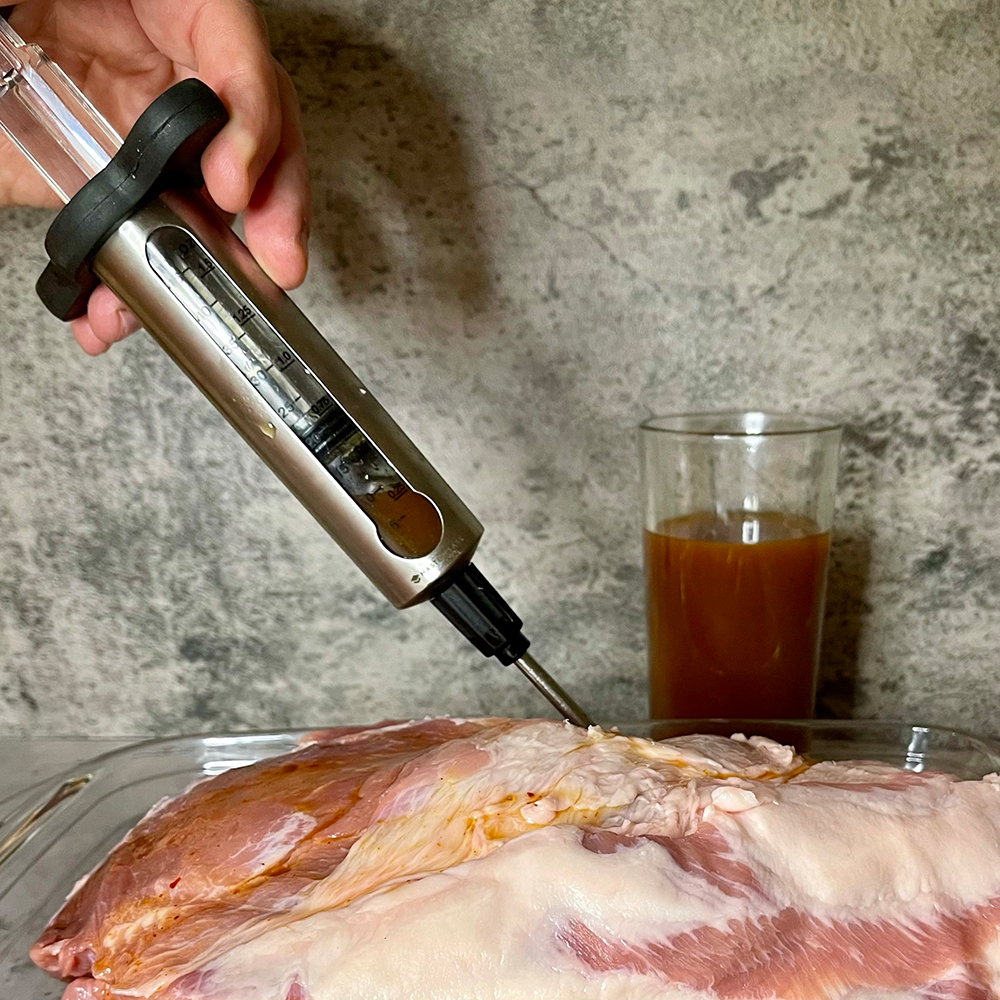
First is to inject with a mixture of BBQ sauce / Apple Juice / Water (25% / 50% / 25% ratio).
I inject the mixture at around 5cm intervals deeply into the butt.
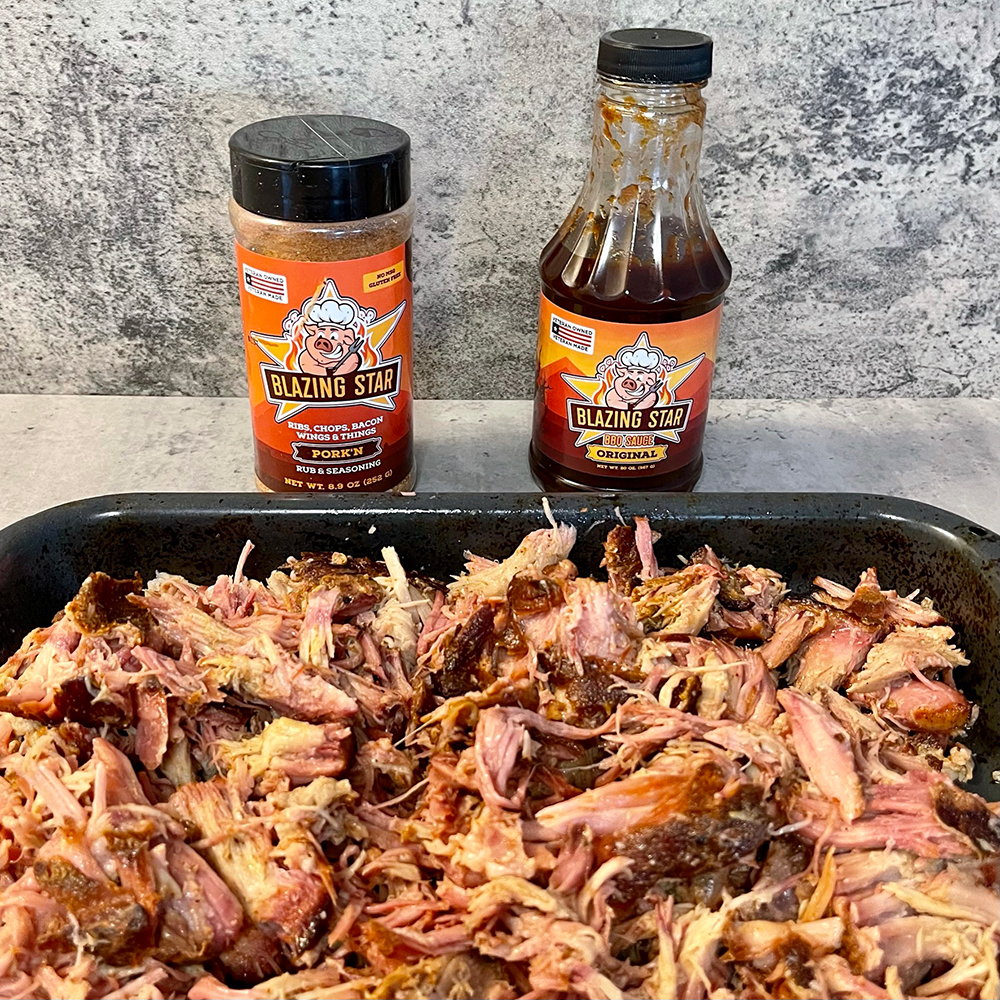
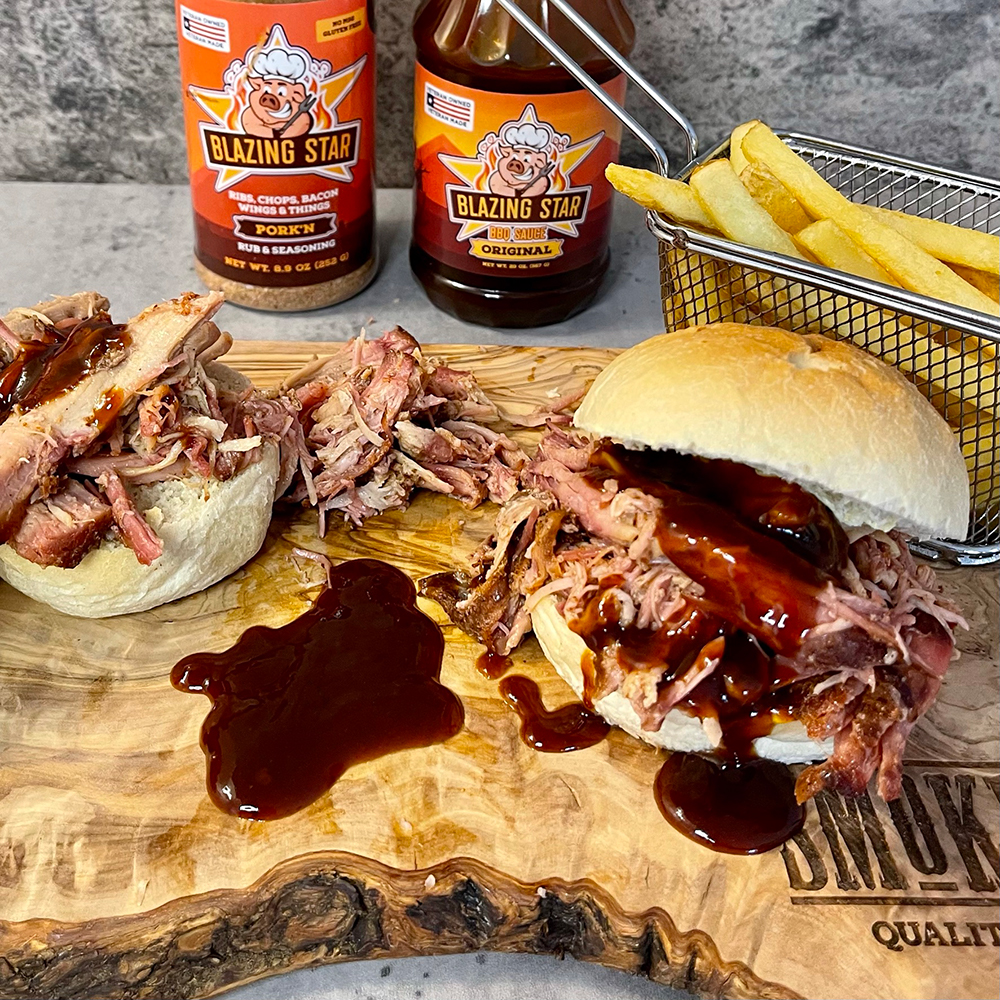
P.S The sauce I used is ‘Blazing Star‘ which can also be purchased from the UK here.
The Rub
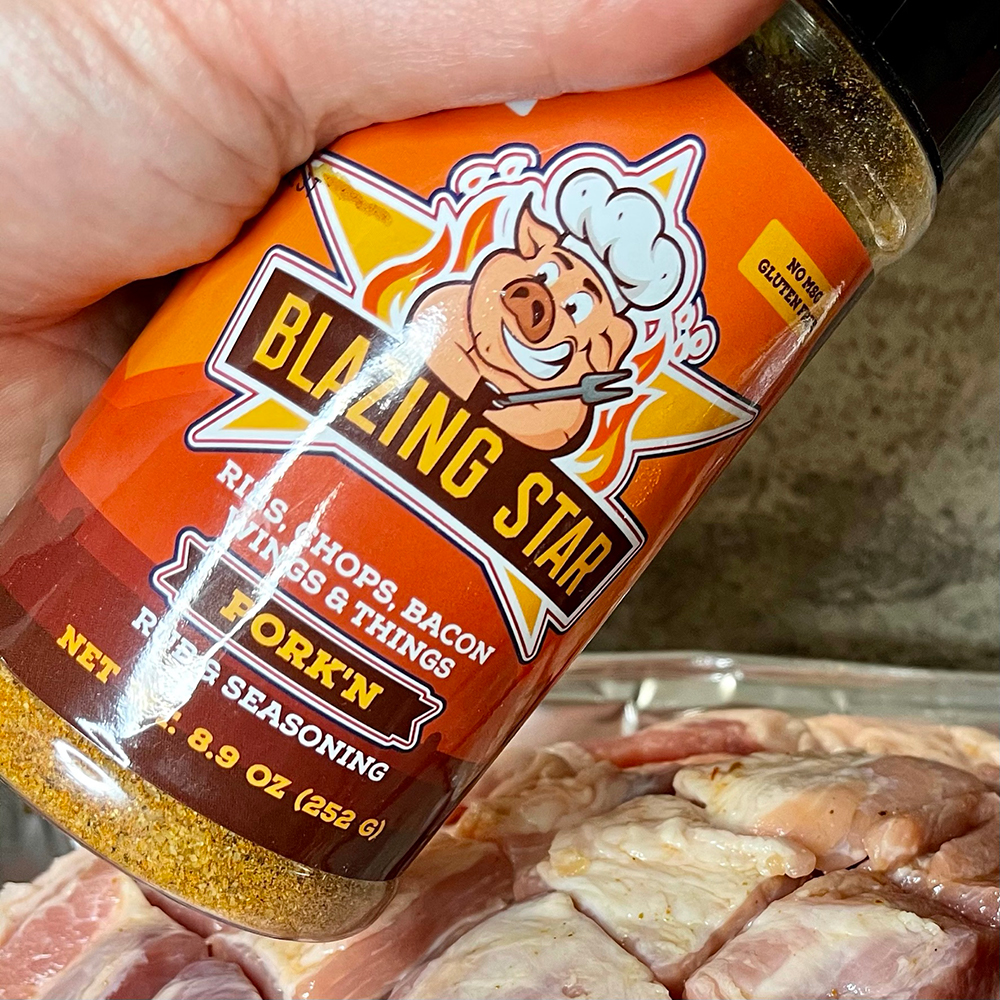
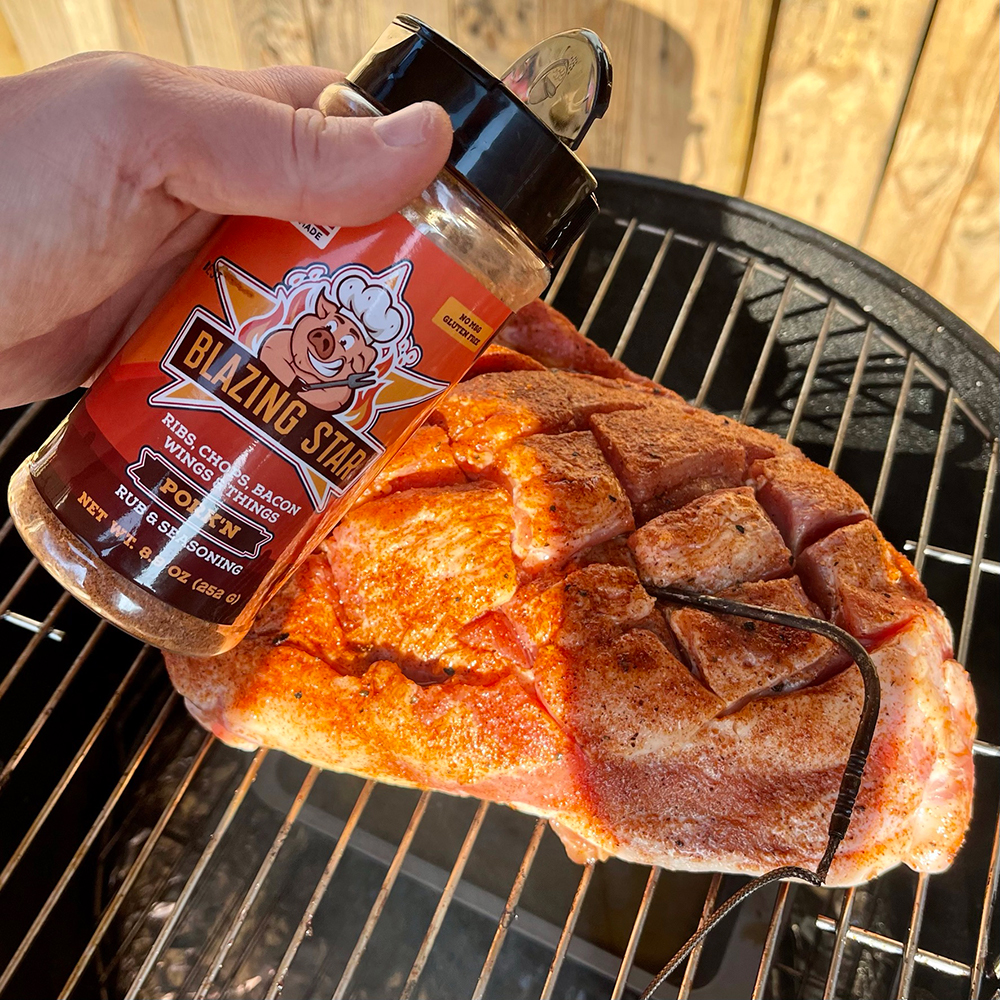
Showing full dedication to ‘Blazing Stars‘ I also decided to use their ‘Pork’n Rub and Seasoning‘.
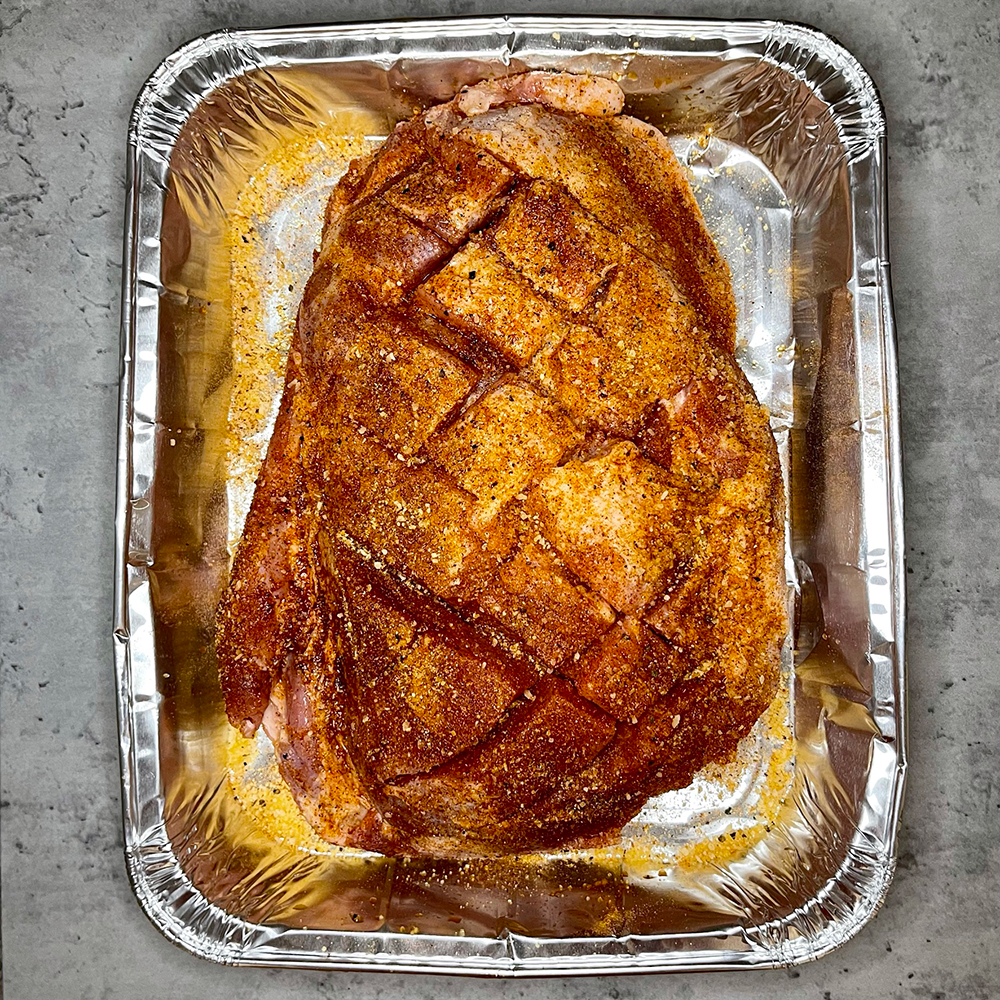
After ‘scoring’ the top of the butt (OK, OK, I admit it, a little too deep this time) I coated all sides with the rub, covered, and put in the fridge for 6 hours.
P.S I like to ‘score’ around 1cm deep to provide more surface area for the rub to work it’s magic and get some EXTRA flavour into that meat.
. . . personal preference!
The Smoker Setup
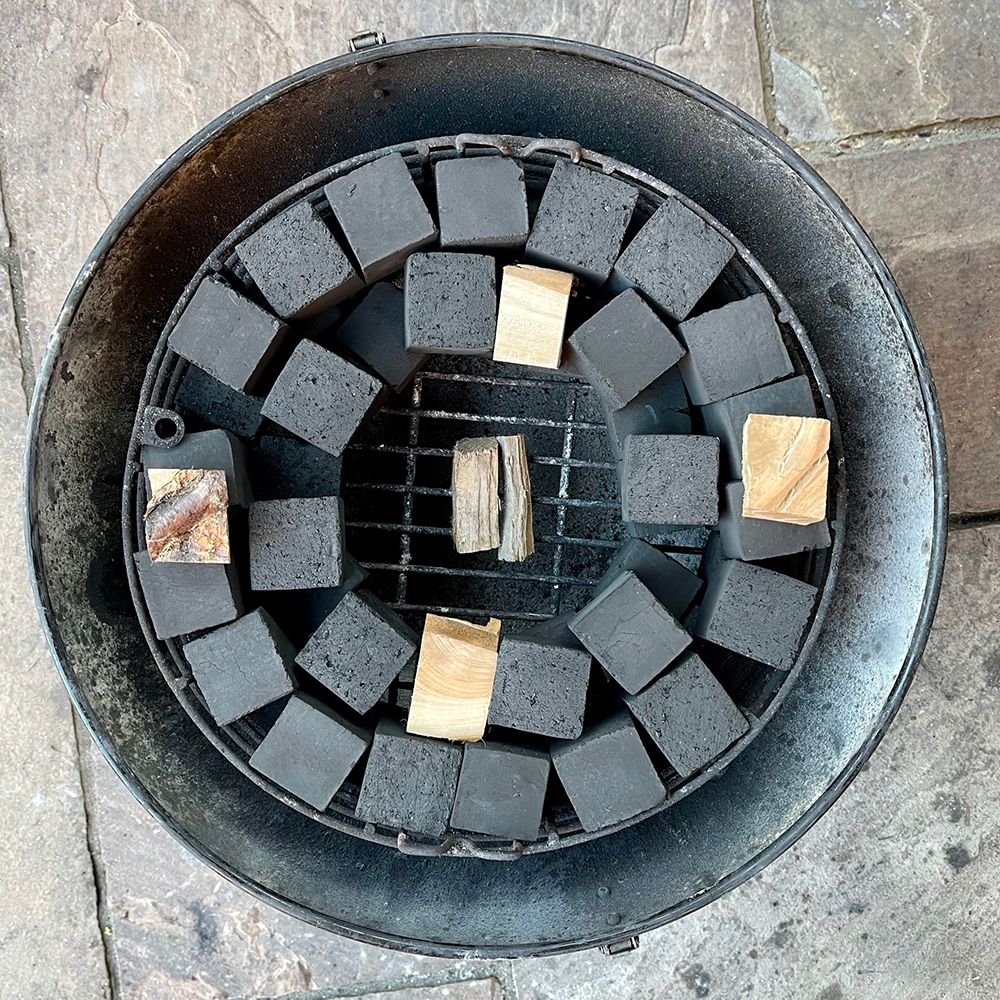
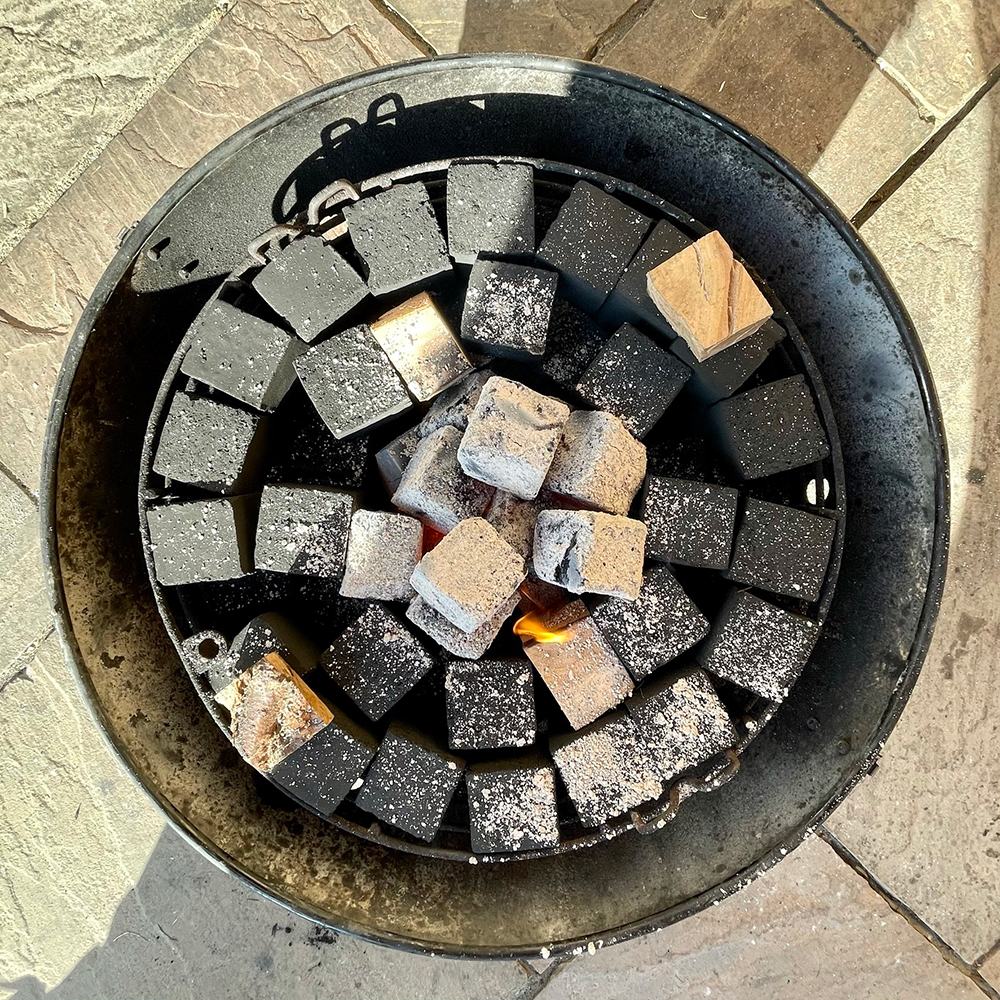
Low and slow is key to perfect pulled pork. For this reason I set up the ProQ fuel basket using the ‘Minion Method‘.
As you can tell . . . I used the ProQ coconut shell briquettes too and placed chunks of cherry wood within the basket to create the smoke.
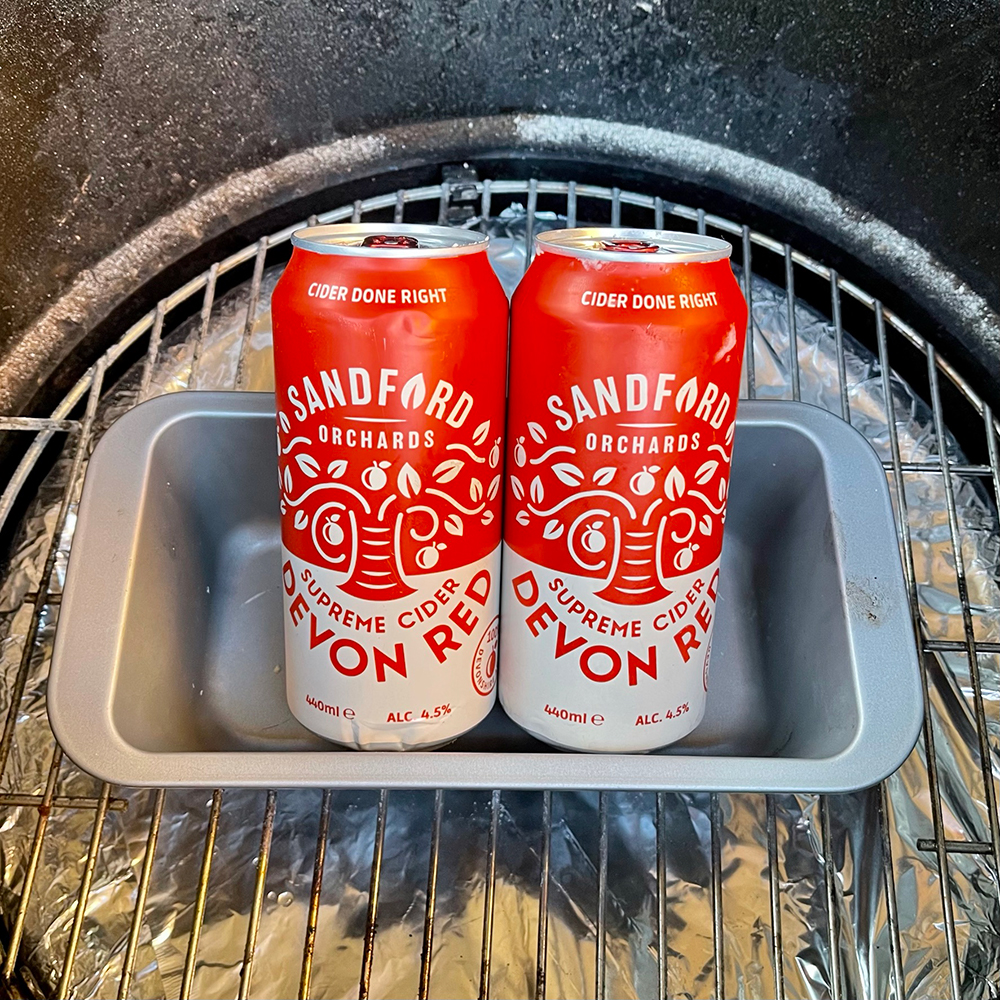
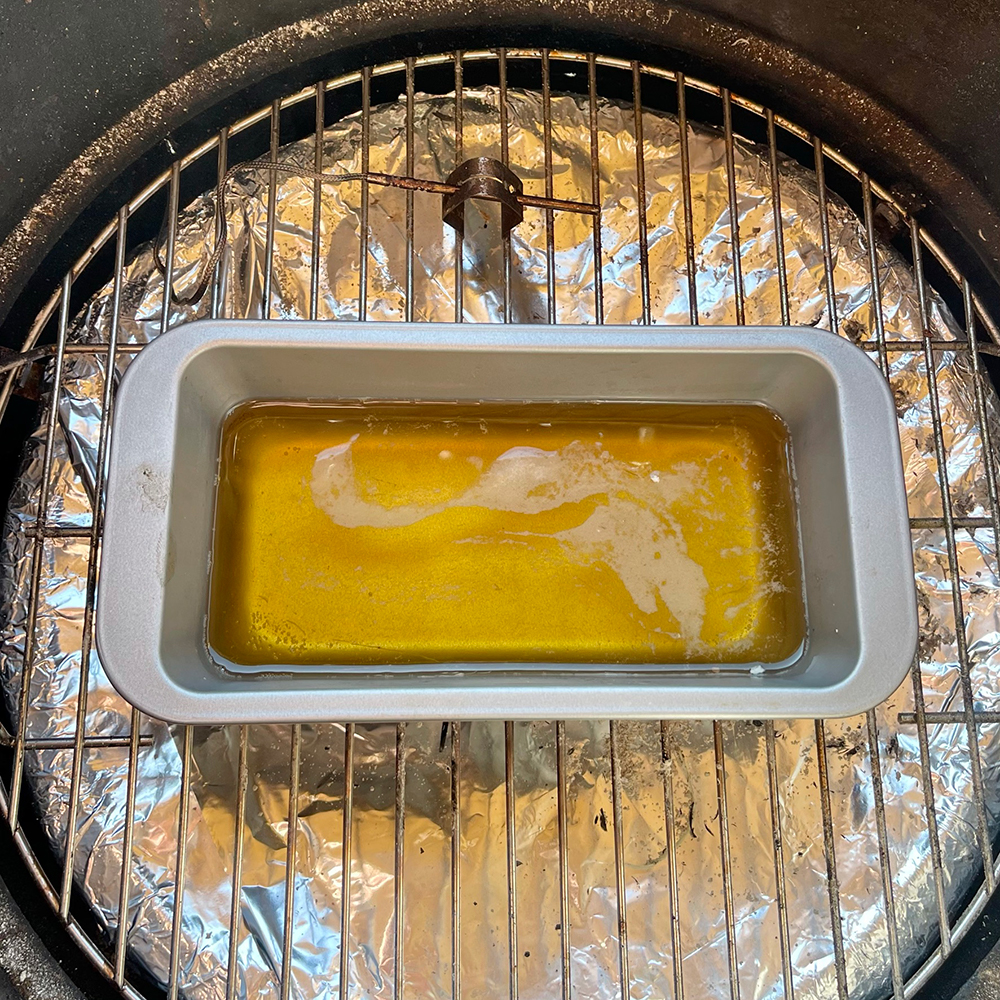
Water pan foiled (with lava rocks inside) and a small dish containing a can of cider added to the lower shelf for a bit of moisture.
Let’s Go!
I removed the butt from the fridge and went outside to light the smoker.
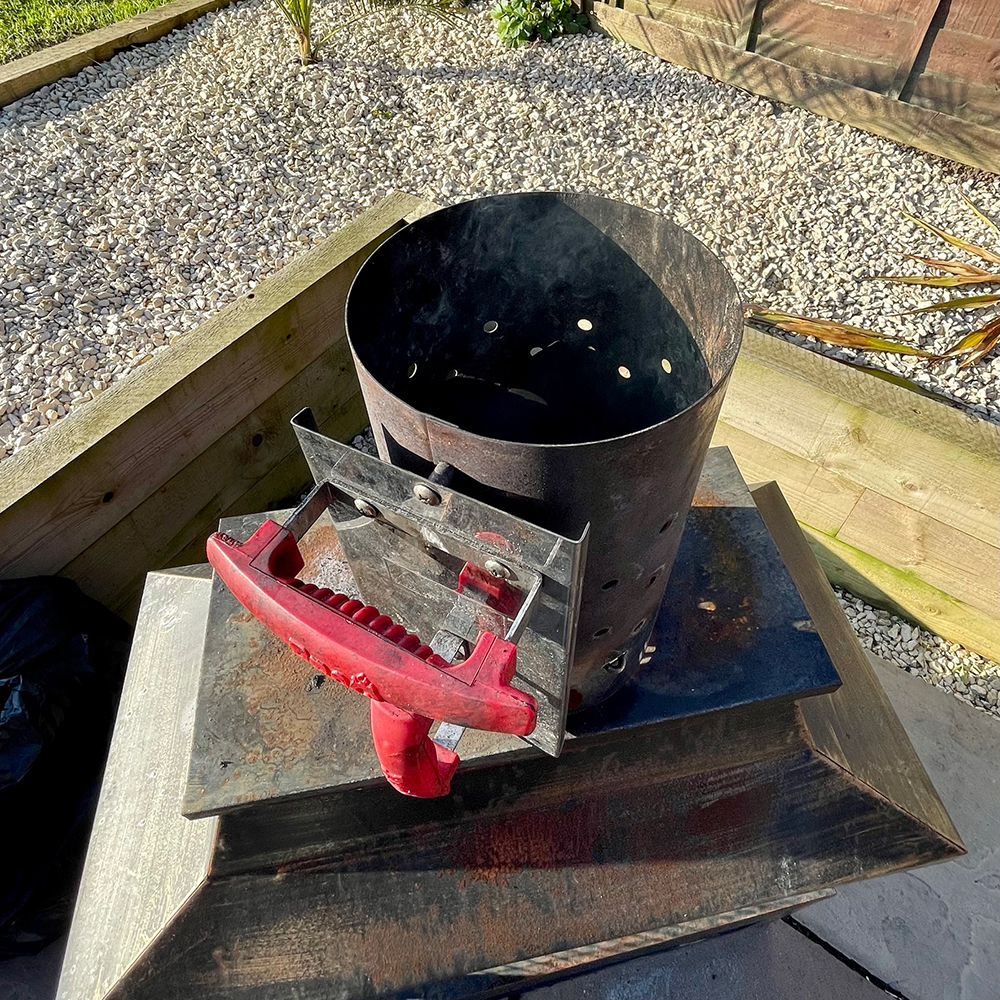
I lit a chimney (around a third full) of fuel and once well established and grey I poured into the centre of the fuel basket.
Then I set up my Inkbird with two probes . . . one for the smoker . . . one for the pork. Next I placed the butt on the top shelf (above the cider), sprinkled on a little more ‘Pork’n Rub and Seasoning‘ and placed the lid on top.
Then I headed back inside, logged on and got to work in the office . . . obviously keeping an eye on temperatures.
Time to Wrap
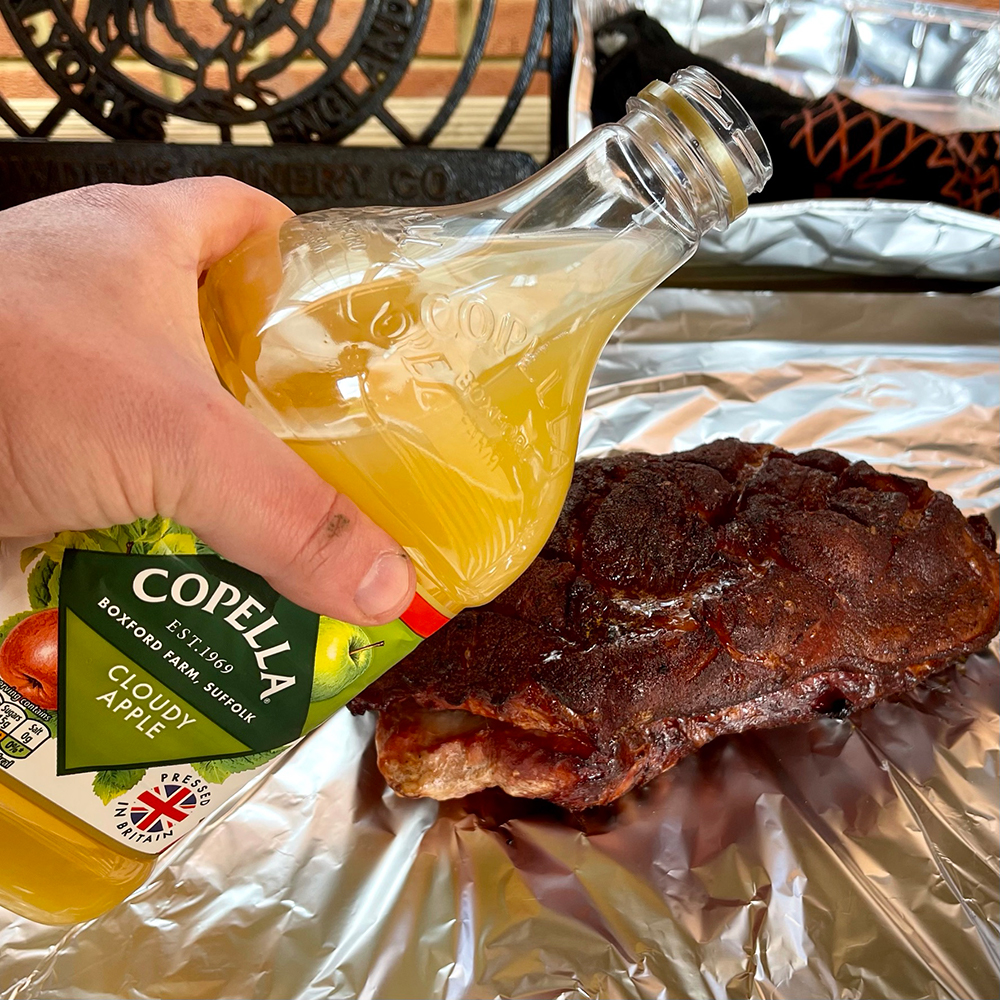
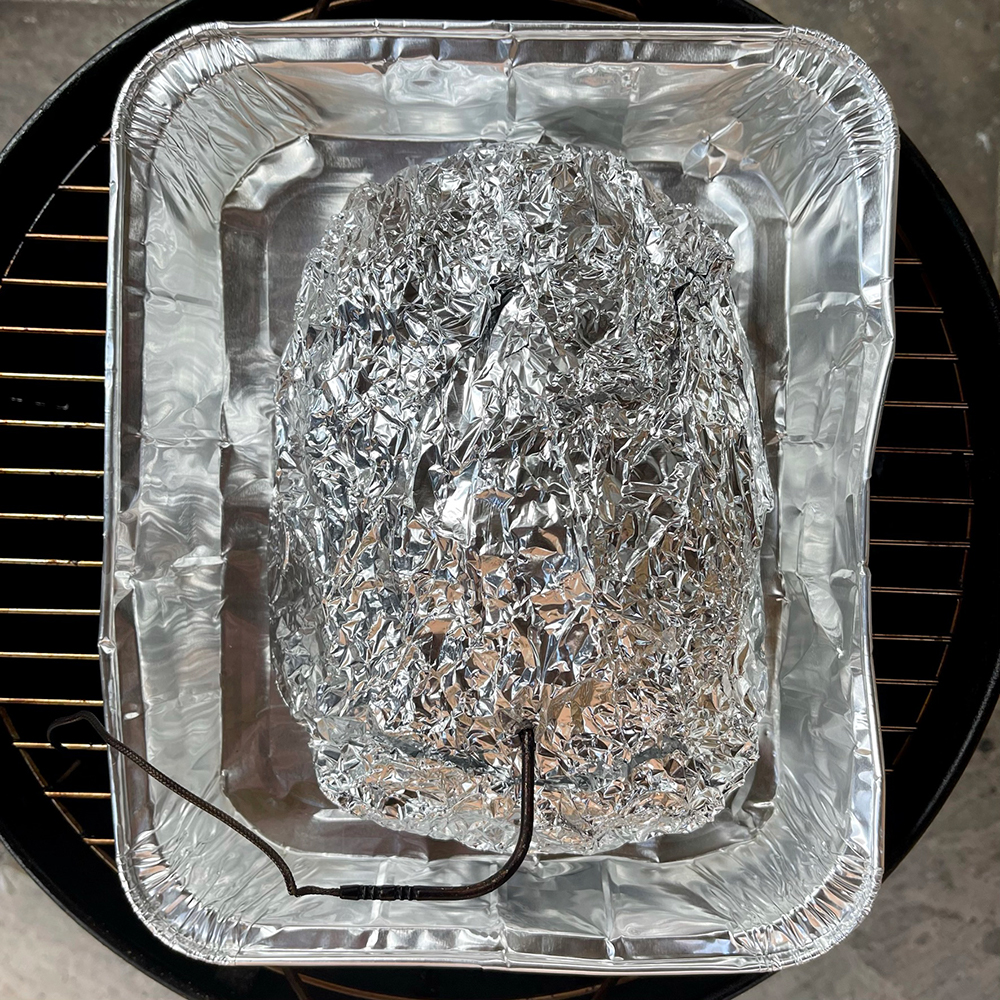
After 5 hours the internal temperature was showing 160f so it was time to head outside, double wrap TIGHTLY in foil (with an added splash of apple juice) and place back in the ProQ.
I also placed the wrapped butt in a disposable aluminium tray as occasionally I’ve accidently ripped the foil and lost some juicy goodness.
Quick check of the fuel basket . . . and we’re back on until the internal temperature shows 205f.
The Big Reveal
After another 2.5 hours the internal temperature was showing 205f so it was time to remove from the smoker and head inside to see what we’ve got.
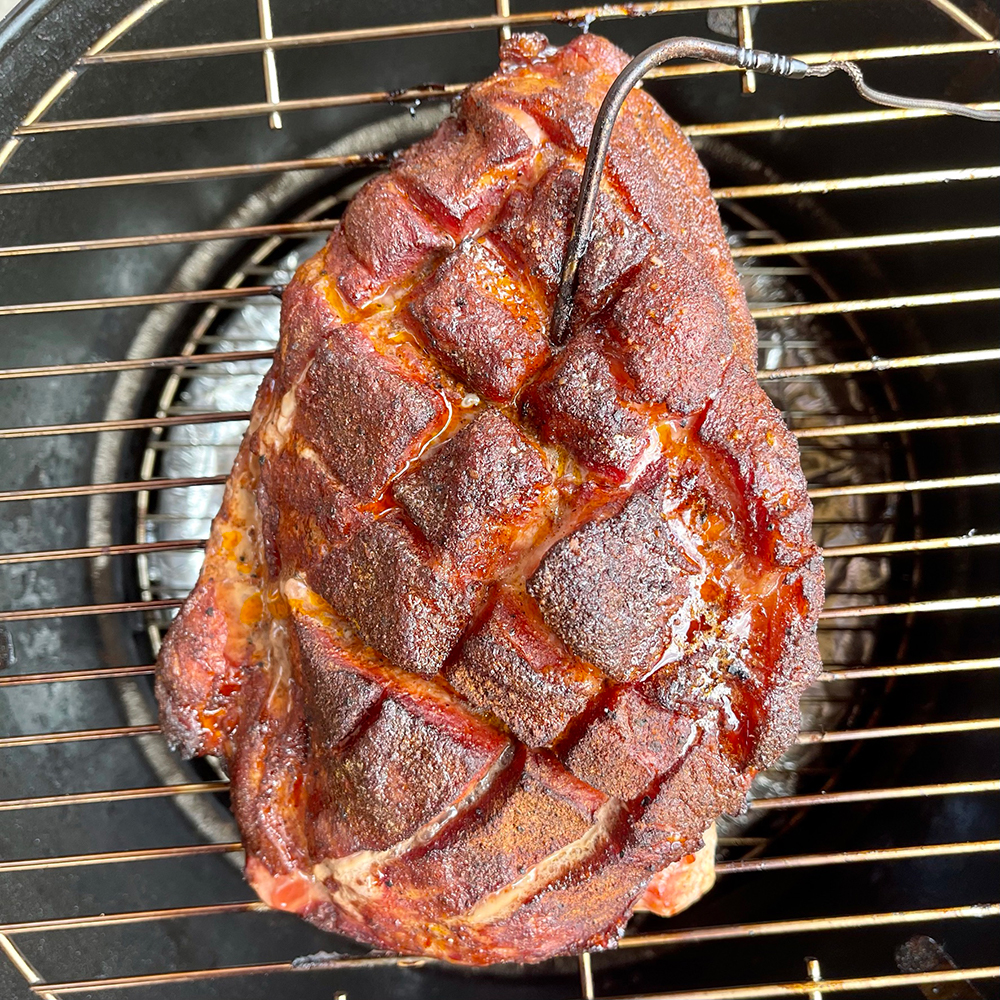
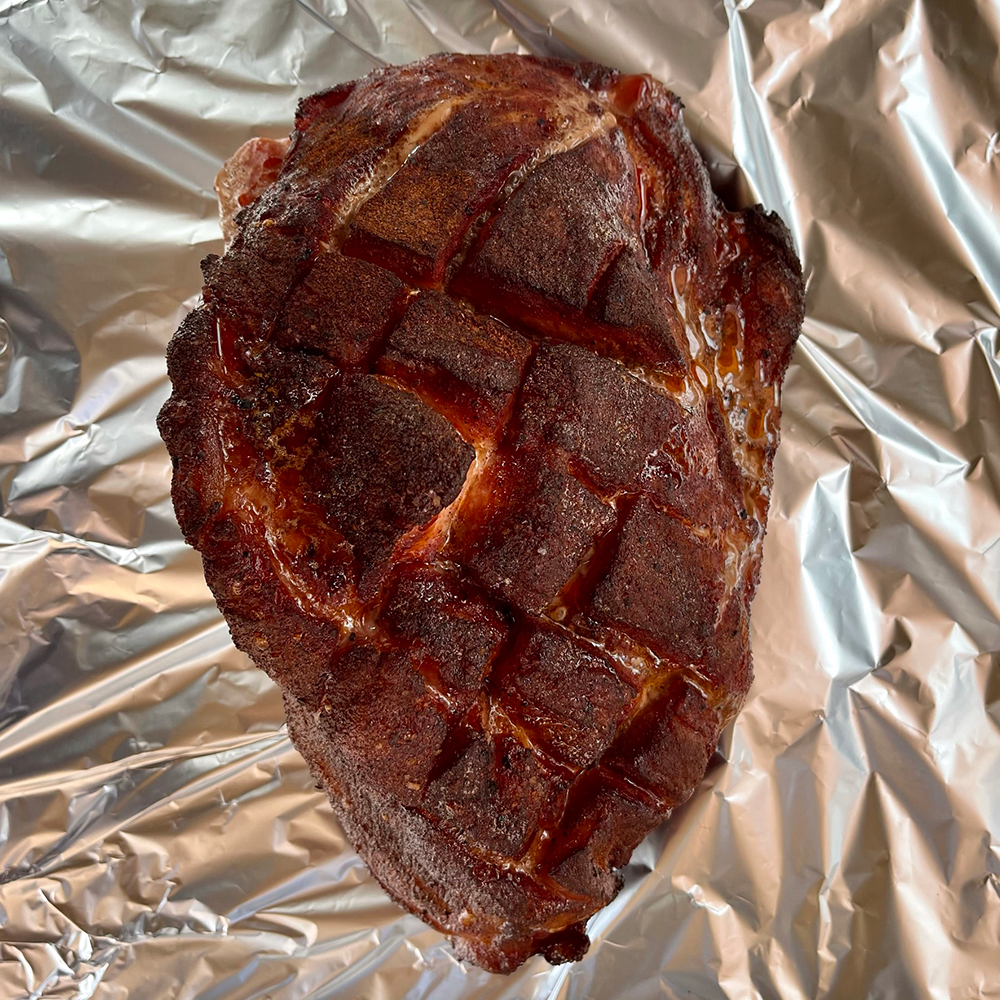
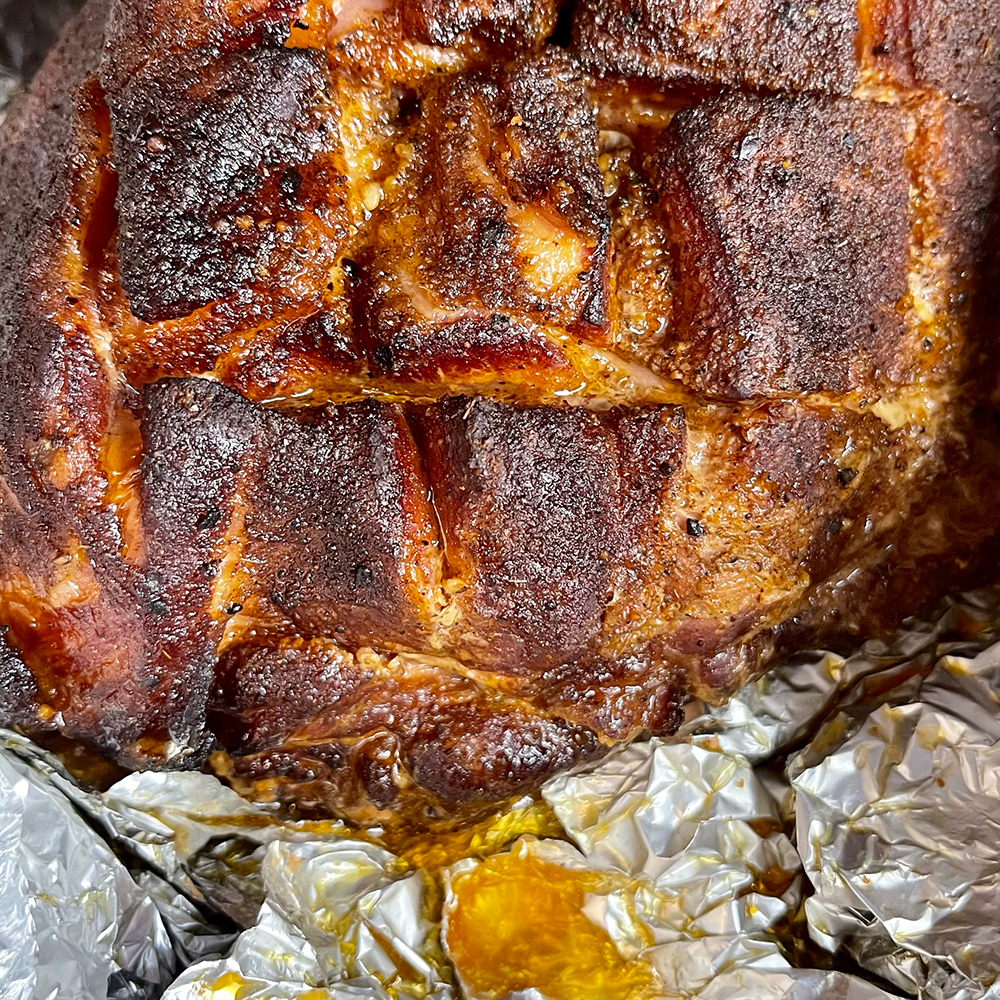
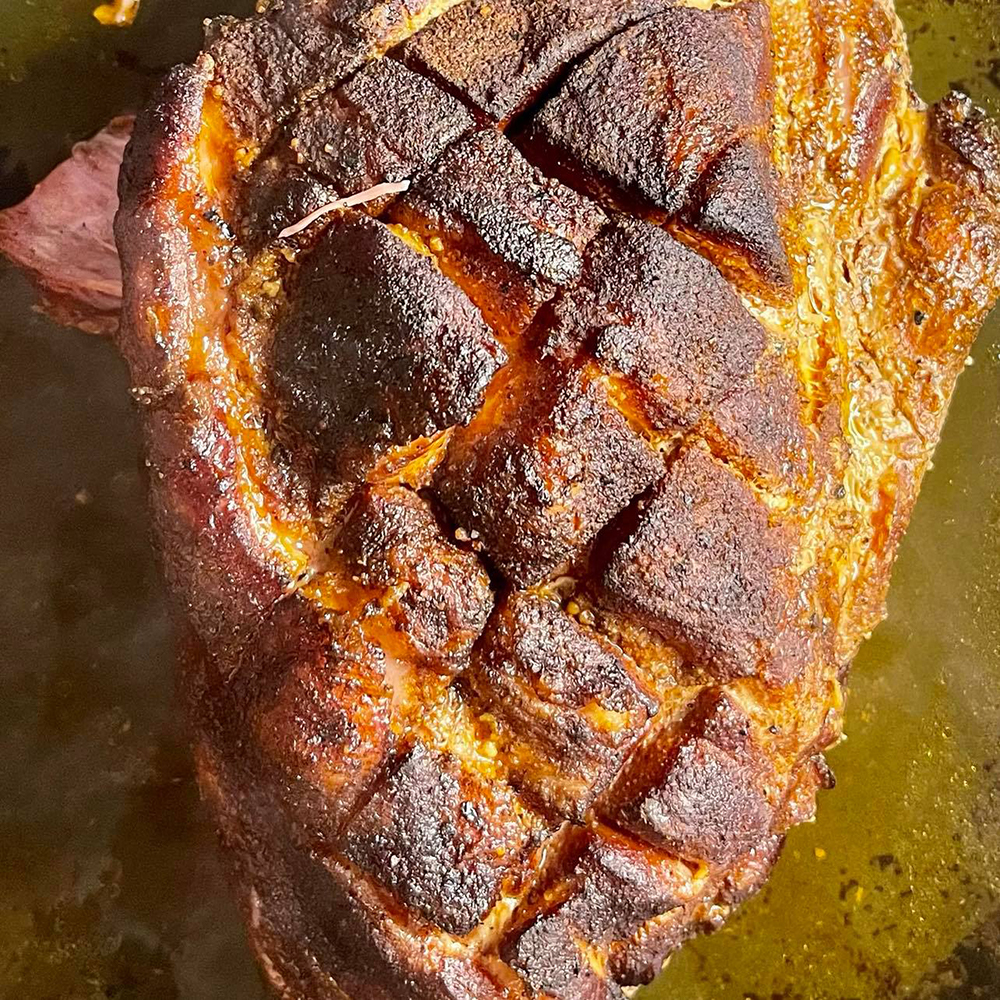
After a brief 30 minutes rest whilst I got a few things ready it was time to see what we’ve got . . . and here it is.
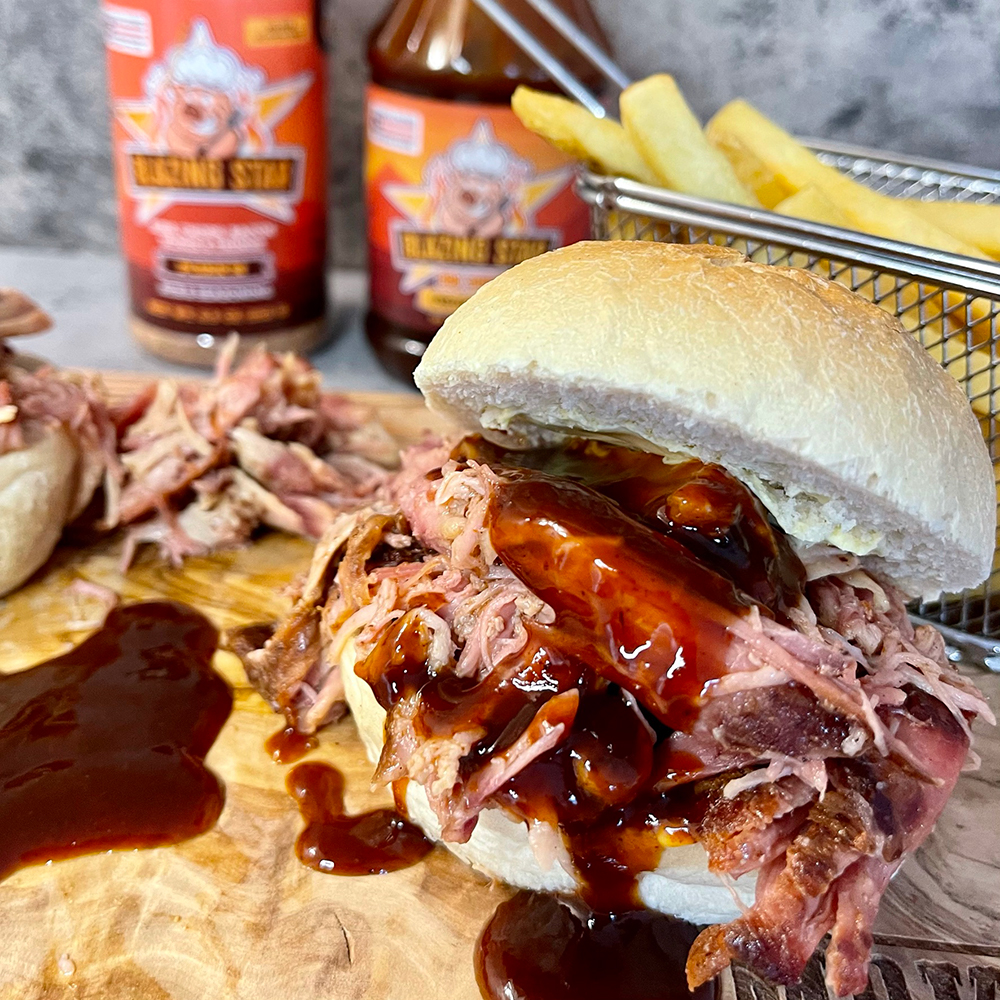
Just look at that colour and how ‘moist’ it looks (that colour in the background is due the pork swimming in juice).
The Shred
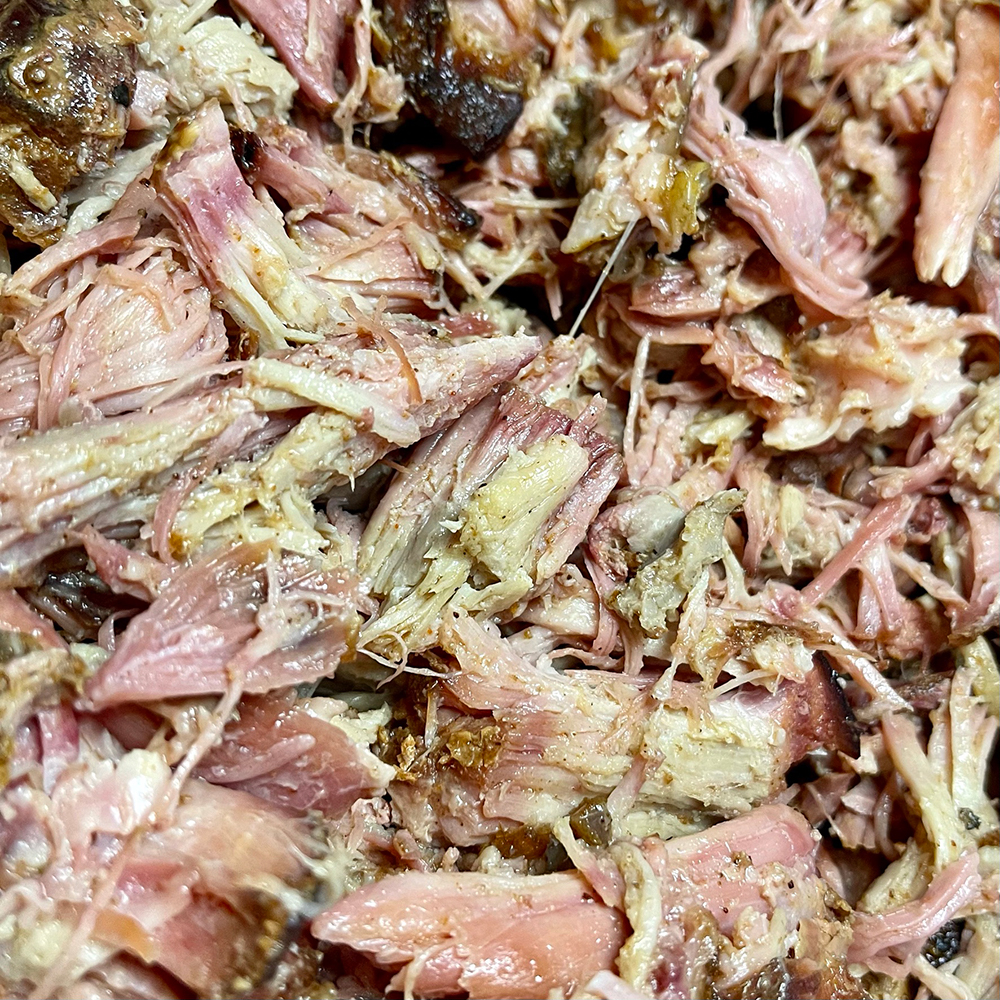
I carefully placed the pork on a baking tray and started to pull it apart . . . didn’t take a lot of effort, this thing was just falling apart.
Once all was shredded I poured over the juice that was contained within the wrap, mixed it all together and my job was done.
All in this was a 7.5 hour cook, and I’m sure you’ll agree, worth every minute!
No Wastage
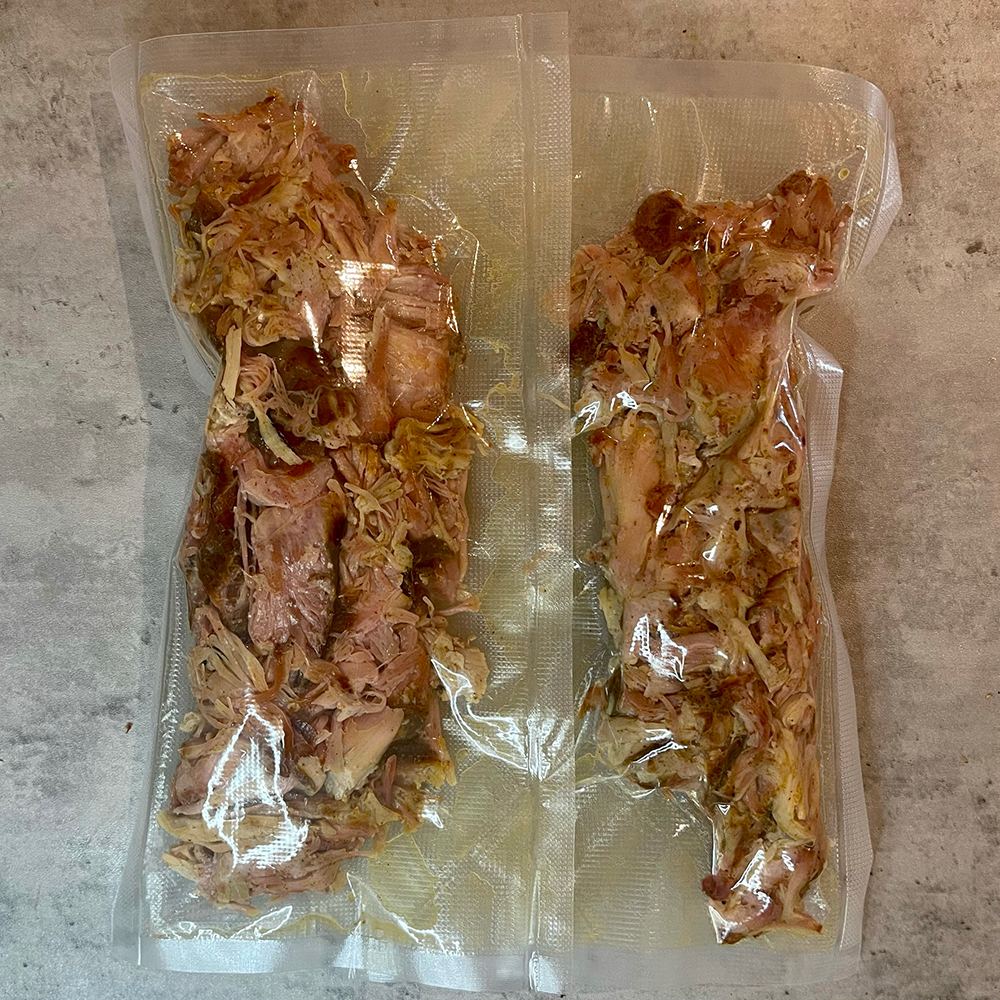
Despite only being a 2kg butt I got a LOT of pulled pork from this and didn’t want any to go to waste.
I treated myself to a ‘Vacuum Sealer‘ from Amazon and prepared a few packages for reheating later in water to top my burgers and jacket potatoes.
Well happy . . . it’s the simple things in life eh!
ProQ Fuel Efficiency
For those with a ProQ I thought it may be interesting to briefly mention the fuel efficiency.
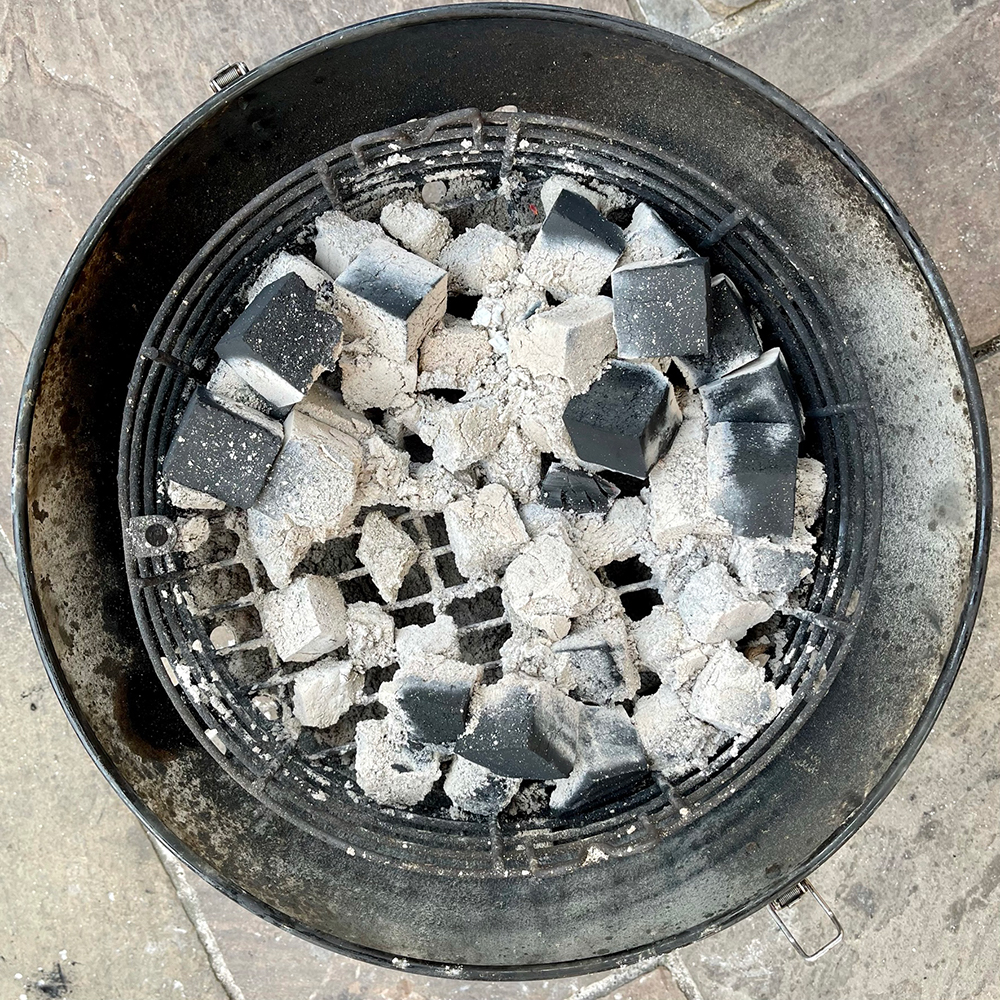
Apart from a minor adjustment of vents once I hit 250f I didn’t touch anything else . . . no fuel was added, no wood and didn’t adjust the vents again.
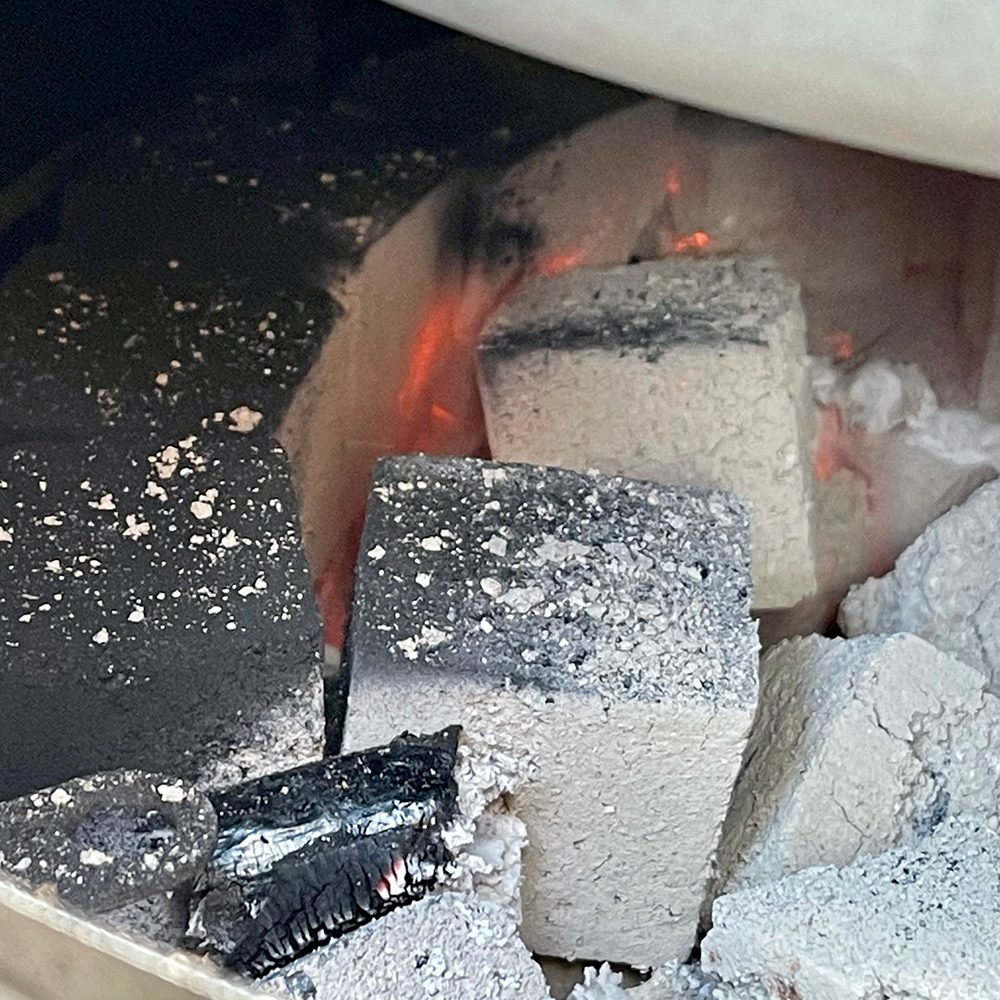
After burning for 8 hours here is what the fuel basket looked like.
. . . probably had another hour or so before I would have needed to top up a little to maintain the temperature.


